
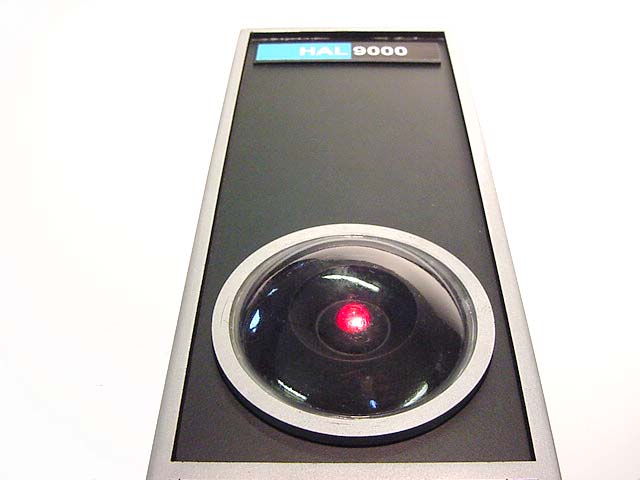
Making Hal 9000
Welcome to my HAL9000 webpage! This project started in Feb 2010 and completed in March 2010.
**UPDATED 2019 - each HAL kit ships with a laser cut brushed aluminum screen!! 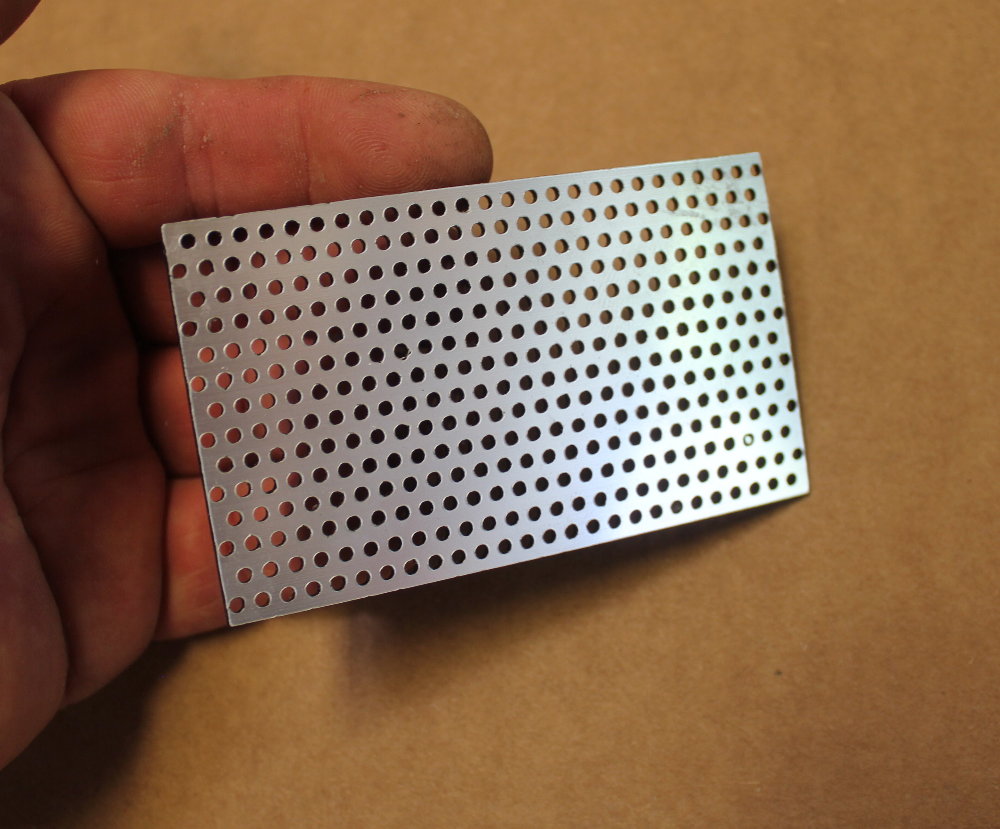
Built entirely at Dream Studios.
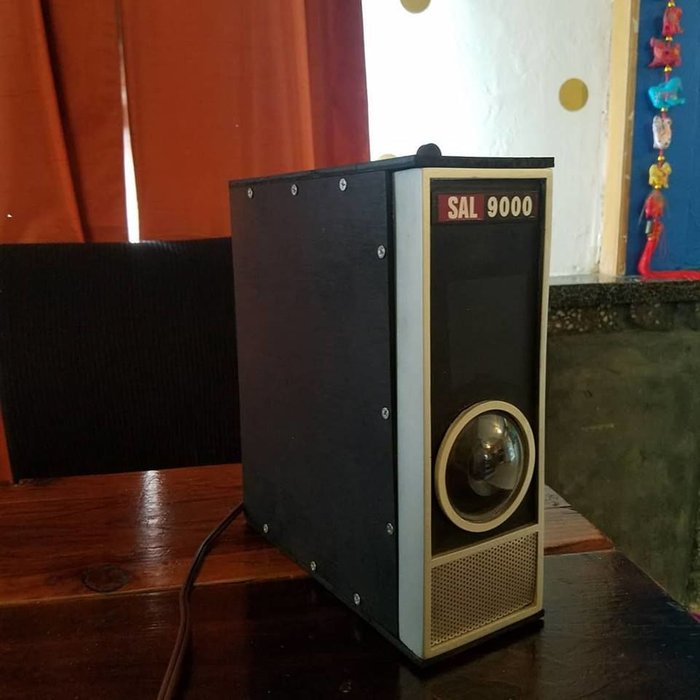
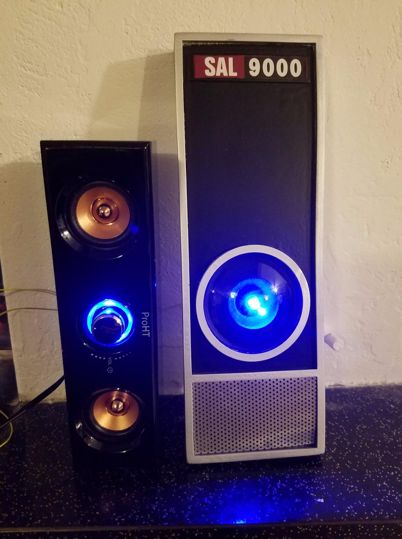
UPDATE: You can choose between these two style decals:

Please allow a minimum of 3-4 weeks for shipment after order.
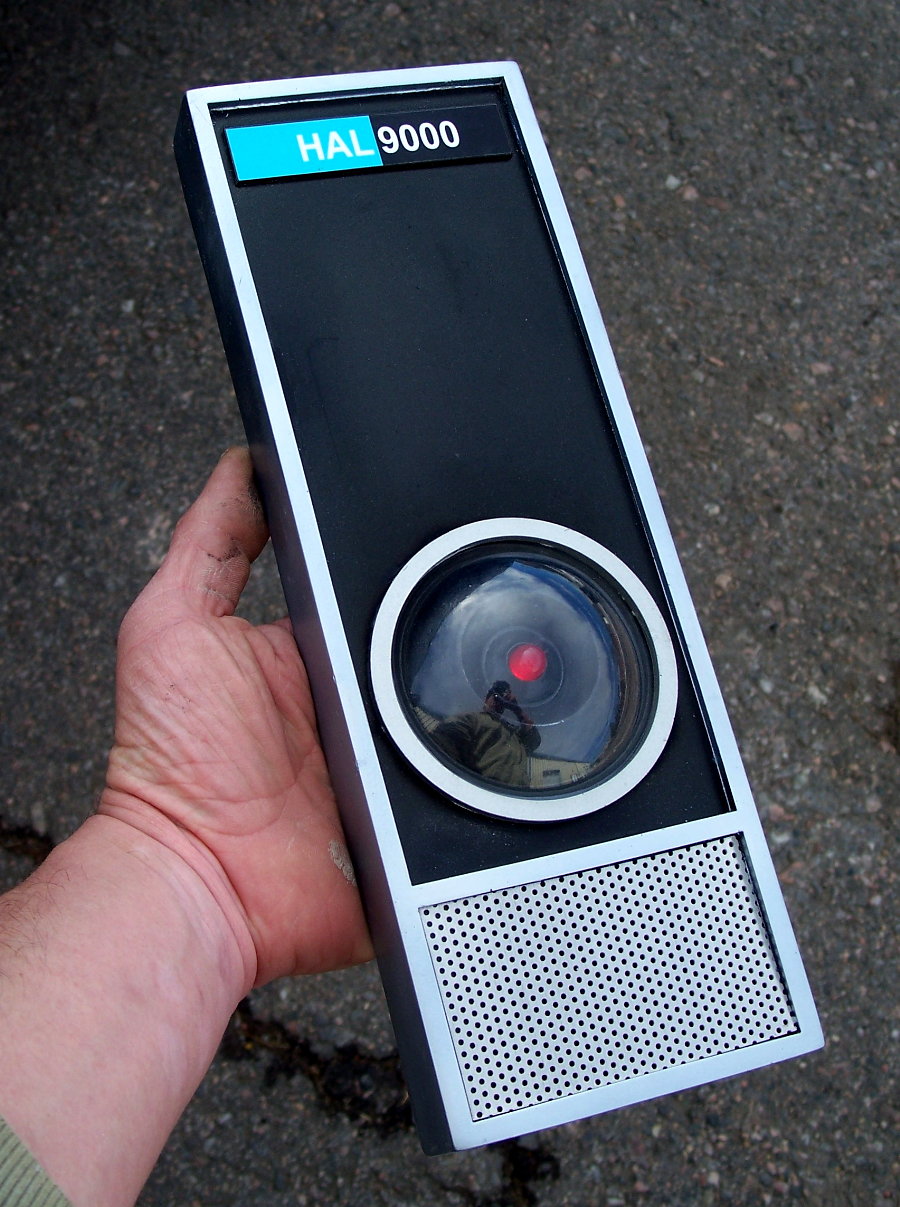
**FOR ANYONE INTERESTED IN MODDING this Hal 9000 With Speakers, a real IR Sensor, thermostat nest controller, here are the specs: The eye lens housing is 3.1" (79.1 mm) diameter. The speaker box housing area is 3.78" wide (96 mm), and 2.2" (56.4 mm) tall. The ENTIRE unit is 4.28" wide and 12" tall.
This is an excellent example of how you can customize this kit. David Strine utlized this HAL kit to modify Amazon Alexa. Check out his INSTRUCTABLE HERE: http://www.instructables.com/id/HAL-9000-SAL-9000-Alexa-Pi-Hybrid/
HOW IT WAS MADE:
After analyzing many libraries of frame captures and reference photos of the HAL9000 from 2001 and 2010, I decided on a height scale for the faceplate.
Once I had a height measurement, all the other pieces were scaled accordingly and drawn out in my CAD software. To do this properly I decided to create vectors for each individual height layer. This necessitated vector files for: 1.) The baseplate (etched with the positions of the upper layers) 2.) The gridplate 3.) the decal plate 4.) the lens rings
Here's what this looked like directly off my laser cutter:

And here's a test fit:

Now I needed to create the body of HAL. I did this by laminating a few sheets of high density/low grain wood (poplar) but to the measurements of my CAD file. Once that lamination was cured, I trimmed the edges flat with the faceplate.


The photo below shows the laser cut acrylic being laminated onto the wood faceplate body.

Once the lamination was solid and the edges routed smooth, we machined the inset hole for the eyepiece:

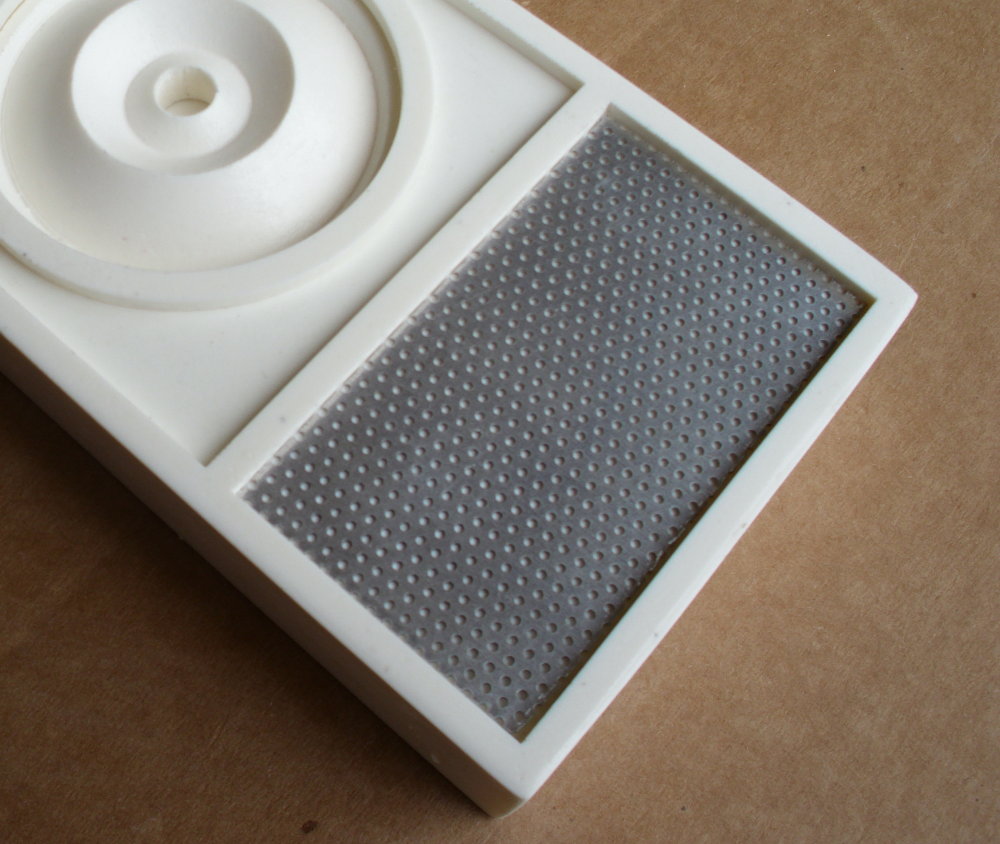
The following photo shows how the laser cut grid plate was fastened into position.
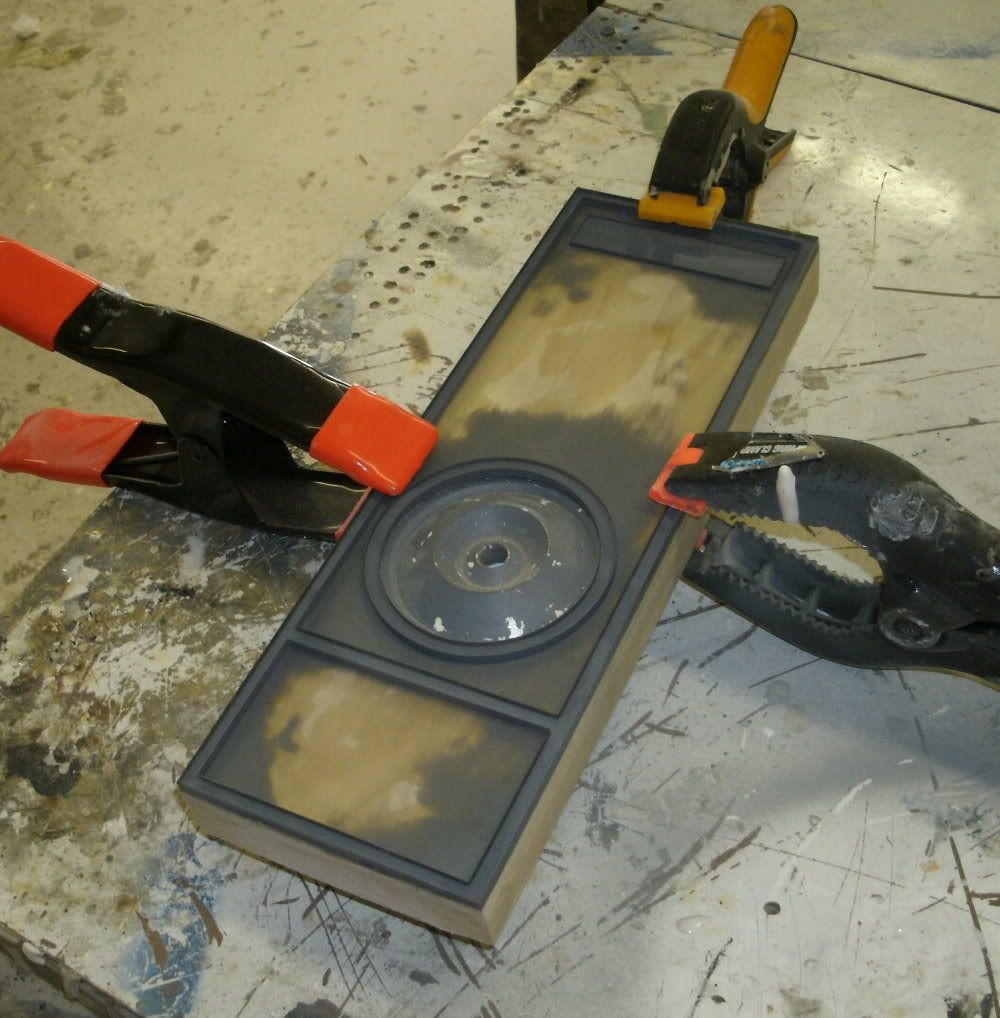
Although the wood was milled fairly smooth and grain free, wanted the faceplate to have REALLY smooth sides, so I lined them in styrene strips and trimmed the corners flush.

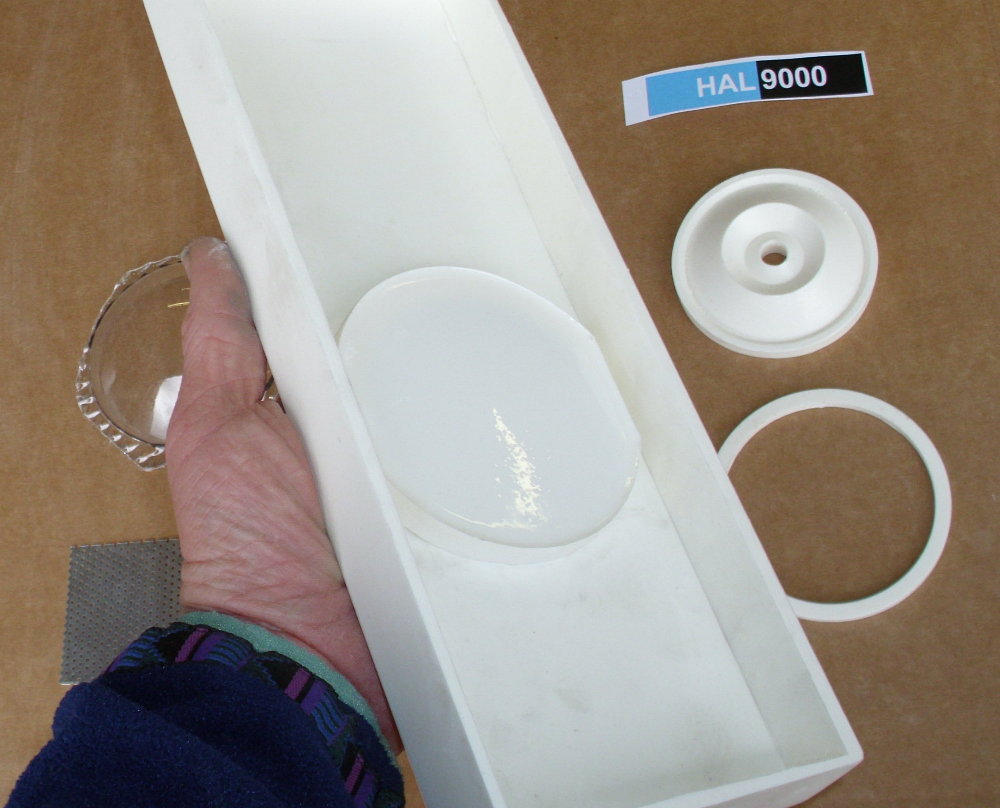
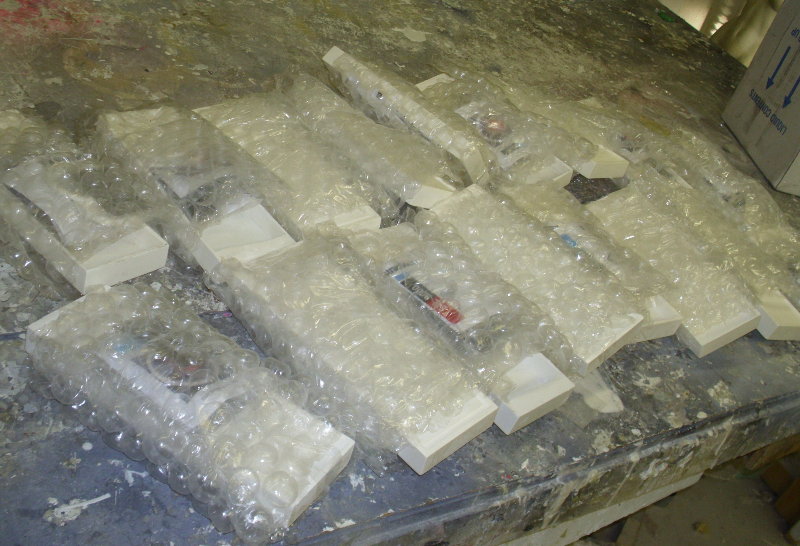
To make hollow cavity castings, I crafted a positive brick that is designed to lay inside the laminated faceplate mold.
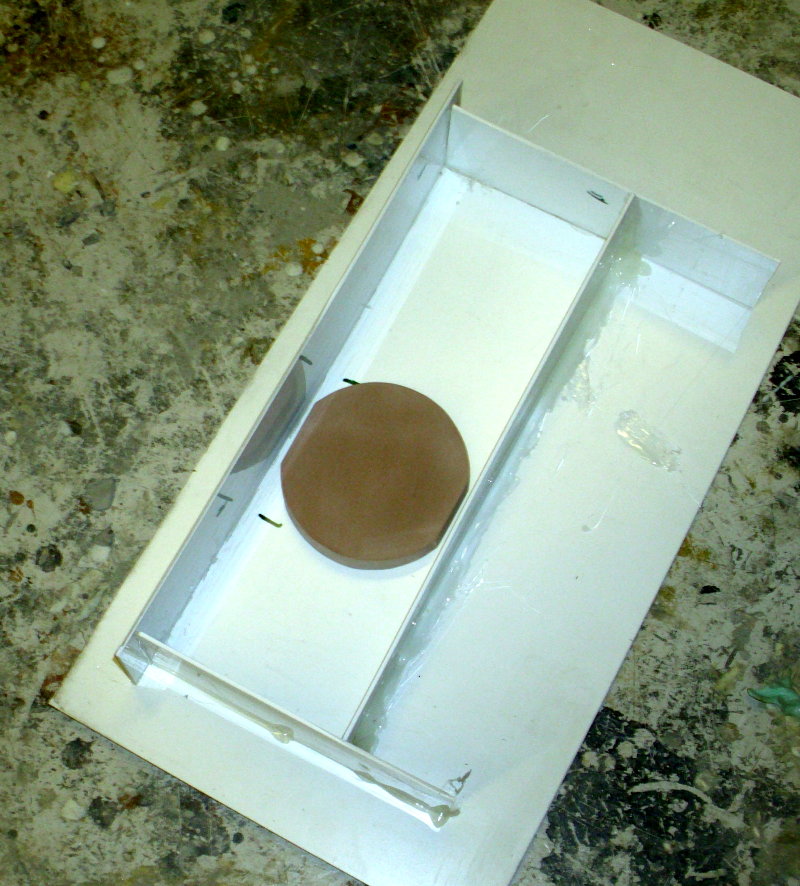
_______________________________________________________
The body is cast hollow to allow for electronics (LED for the eye, motion sensor/speaker circuitry).
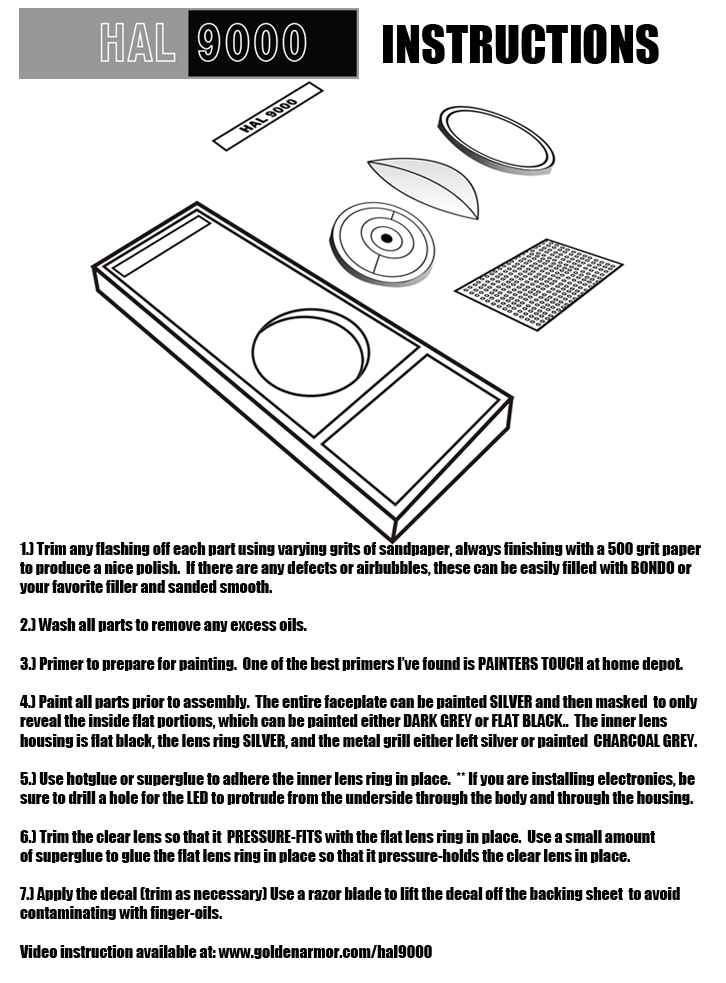
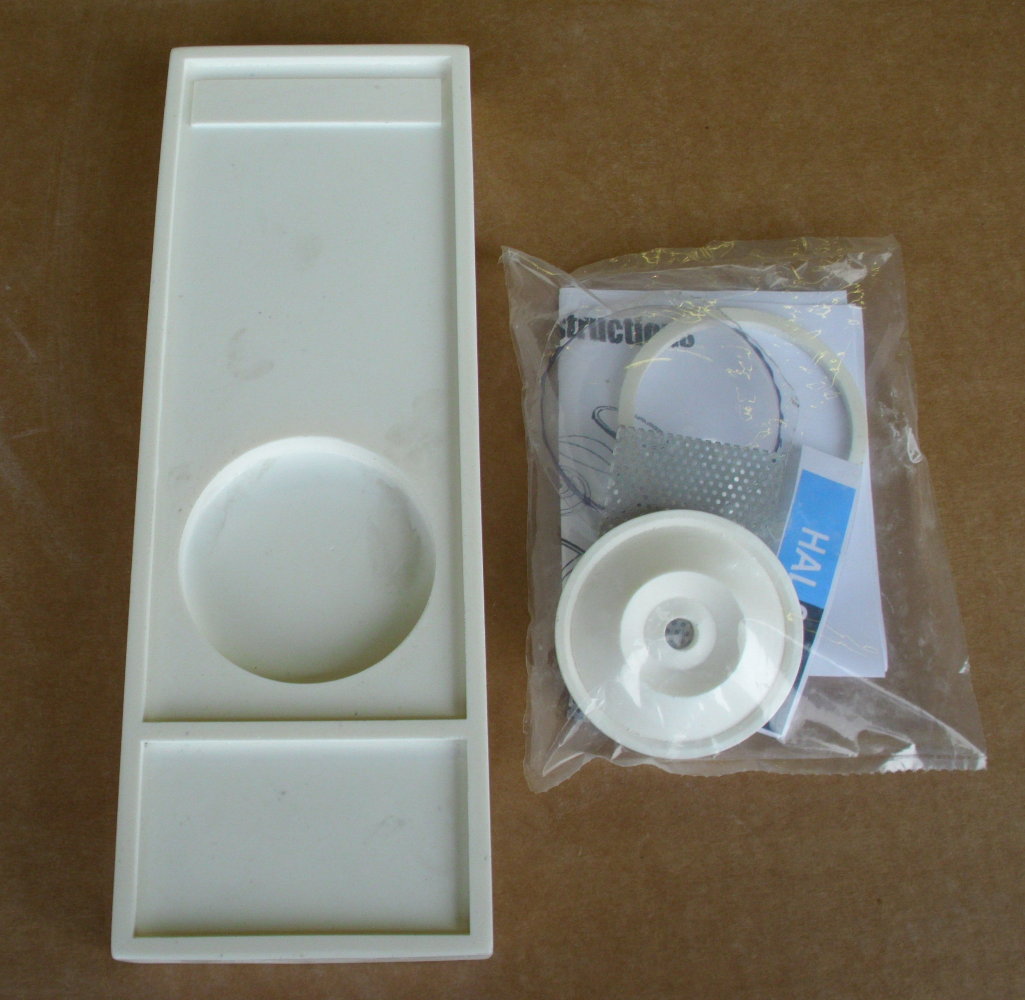
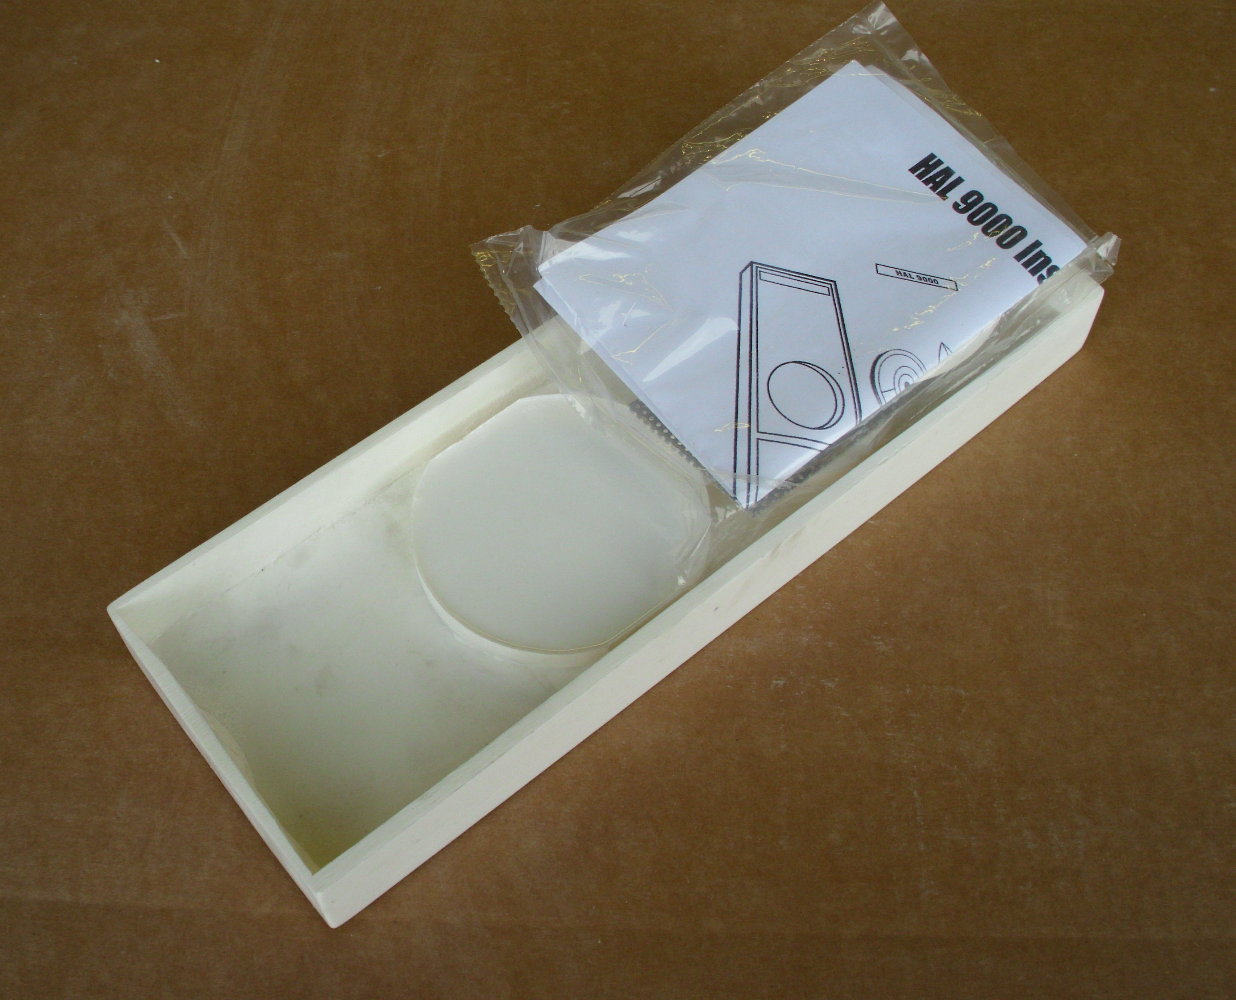
Instructions that ship with each kit:
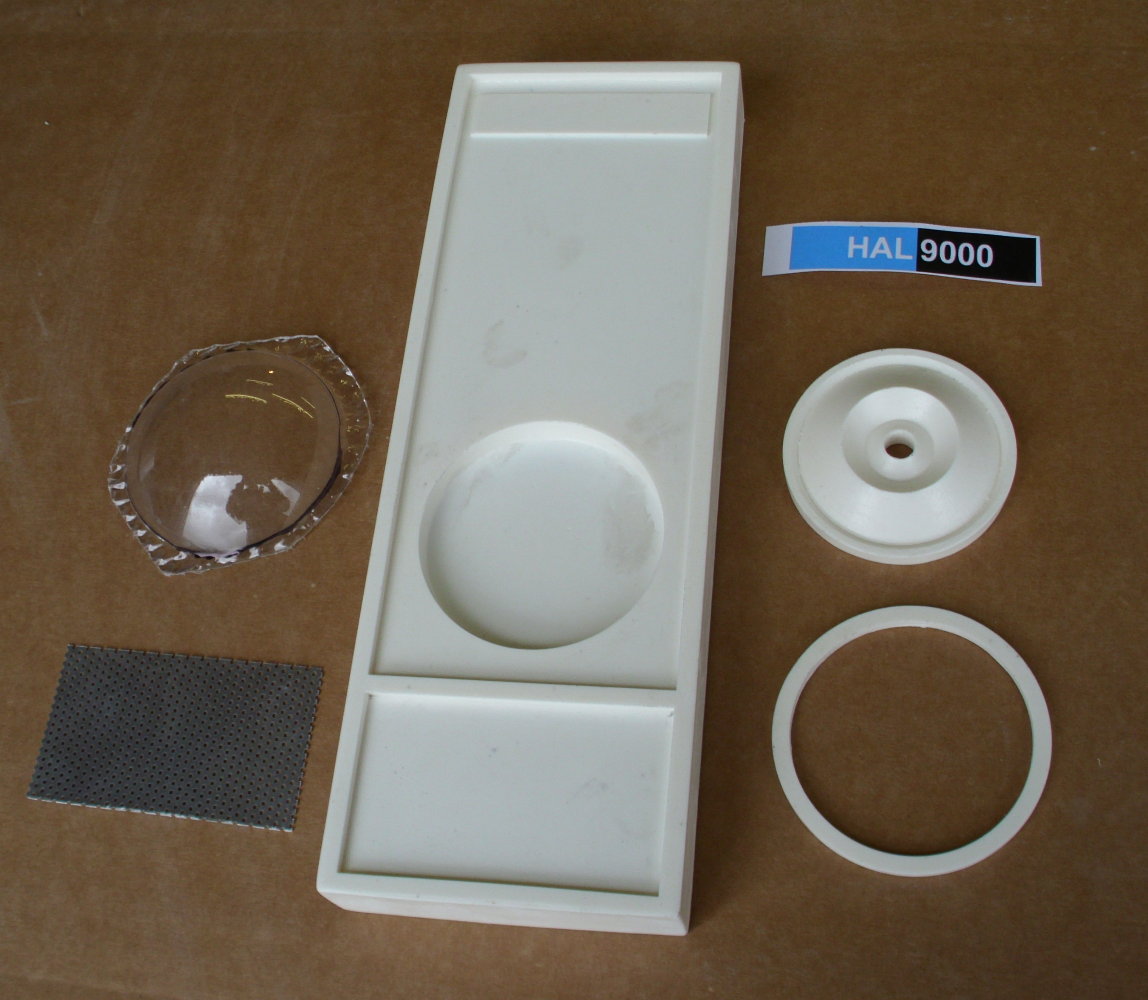
The kit includes:
1.) The faceplate casting (hollow in the rear to allow electronics installation
2.) Laser cut professional Vinyl Decal (your choice of HAL or SAL)
3.) Inner lens ring
4.) Clear lens dome
5.) Outer lens ring
6.) pre-cut metal speaker grill
BODY MEASUREMENTS:
4.3" WIDE
12.6" TALL
1.2" Deep (for electronics)
You can add an electronics package to this for $12. Includes on/off switch, 9v battery connector,
resistor, shrink tubing, LED (your choice of BLUE or RED), wiring, instructions.
Electronics Package

BUILDUP PHOTOS
To order your very own HAL 9000 click the BUY NOW button or email impervium@hotmail.com
A nice tutorial of this kit online. Special thanks to Steve Neill.

Be sure to visit these exciting links!!!
Studio Scale Filming Miniatures
MULTIPASS!
HELMETS
JETPACKS
TUTORIALS. This page has a massive wealth of information!

Also, SIGN UP for an instant free offer.
Reader Comments (1)
Amazing reproduction!!! Totally from scratch. Great work!!