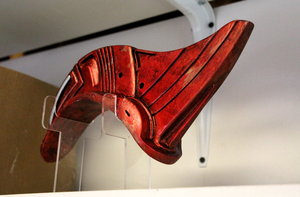
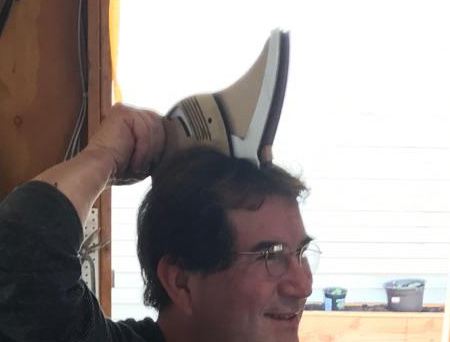
Yondu's Prototype Mohawk Fin
Yondu's Prototype Fin! Lifesize replica.
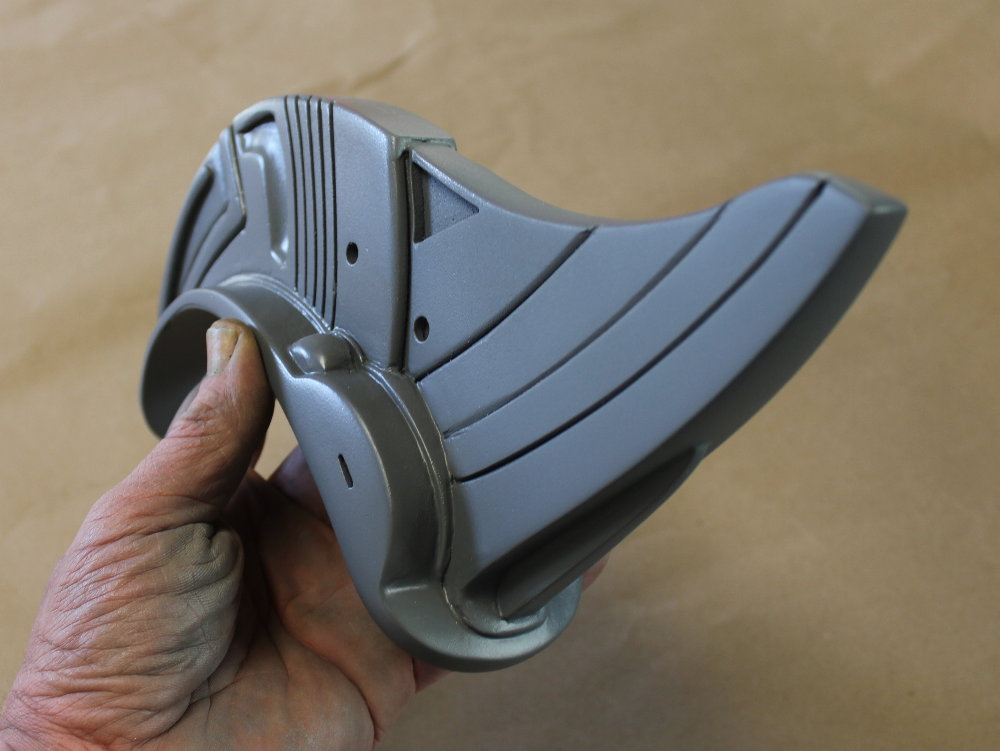
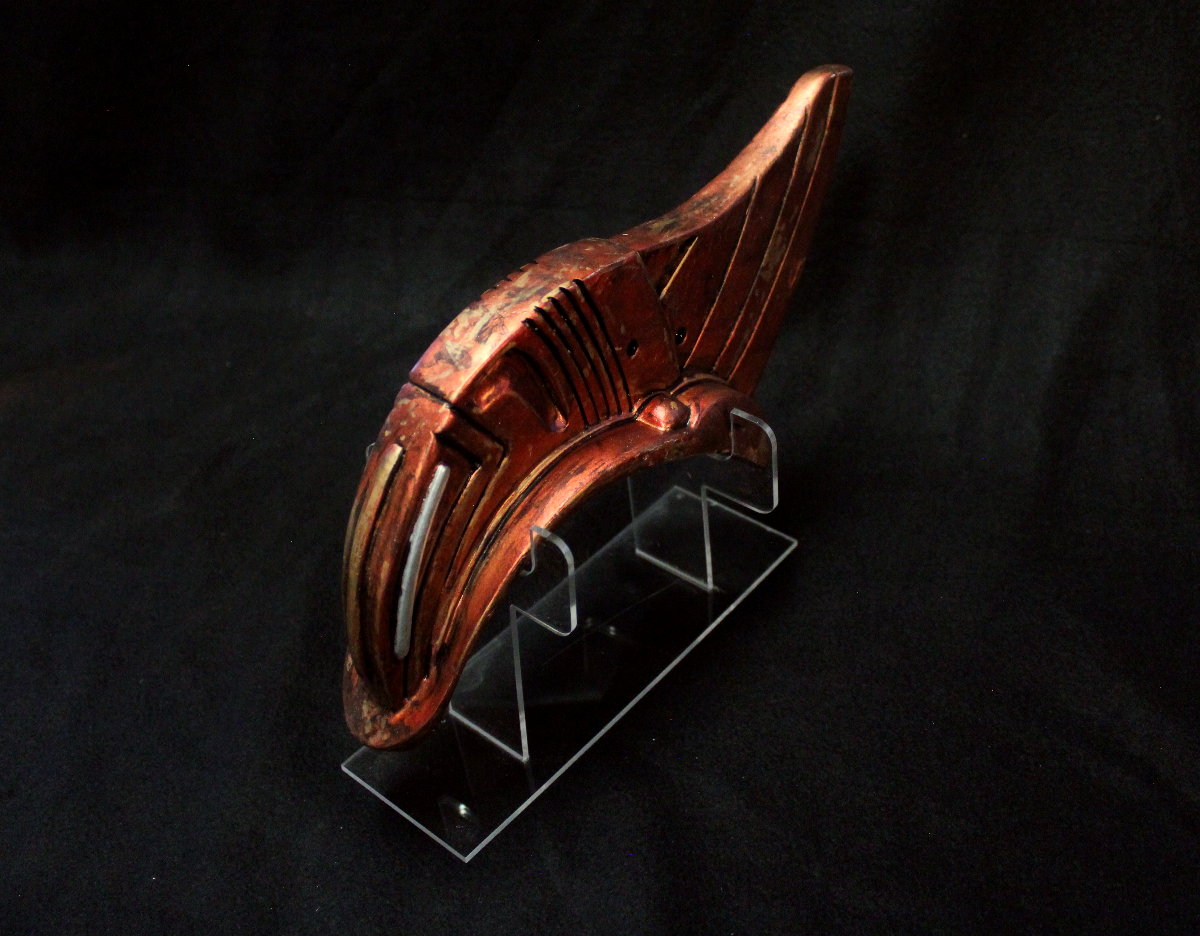
Another awesomely executed film with wonderful designs! This is a lifesized replica of Yondu's Prototype Fin. This is a one piece casting that can be trimmed, cleaned, painted, detailed.
***Video tutorial coming DECEMBER 2018
This is primarily a display piece and there is no guarantee it will fit your head. It will need modification if you plan on using this as a wearable COSPLAY item.
I created Yondu's fin using a variety of materials and approaches, involving wood and acrylics that were forged using traditional methods and laser cutting.
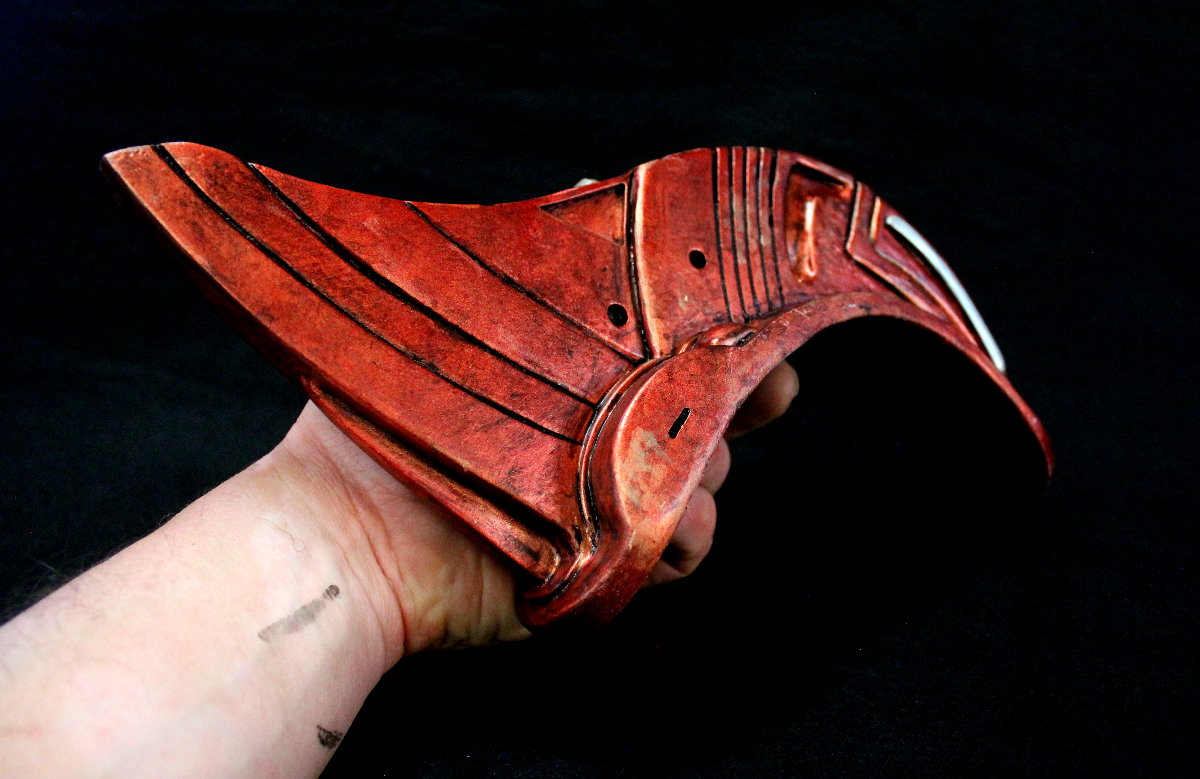
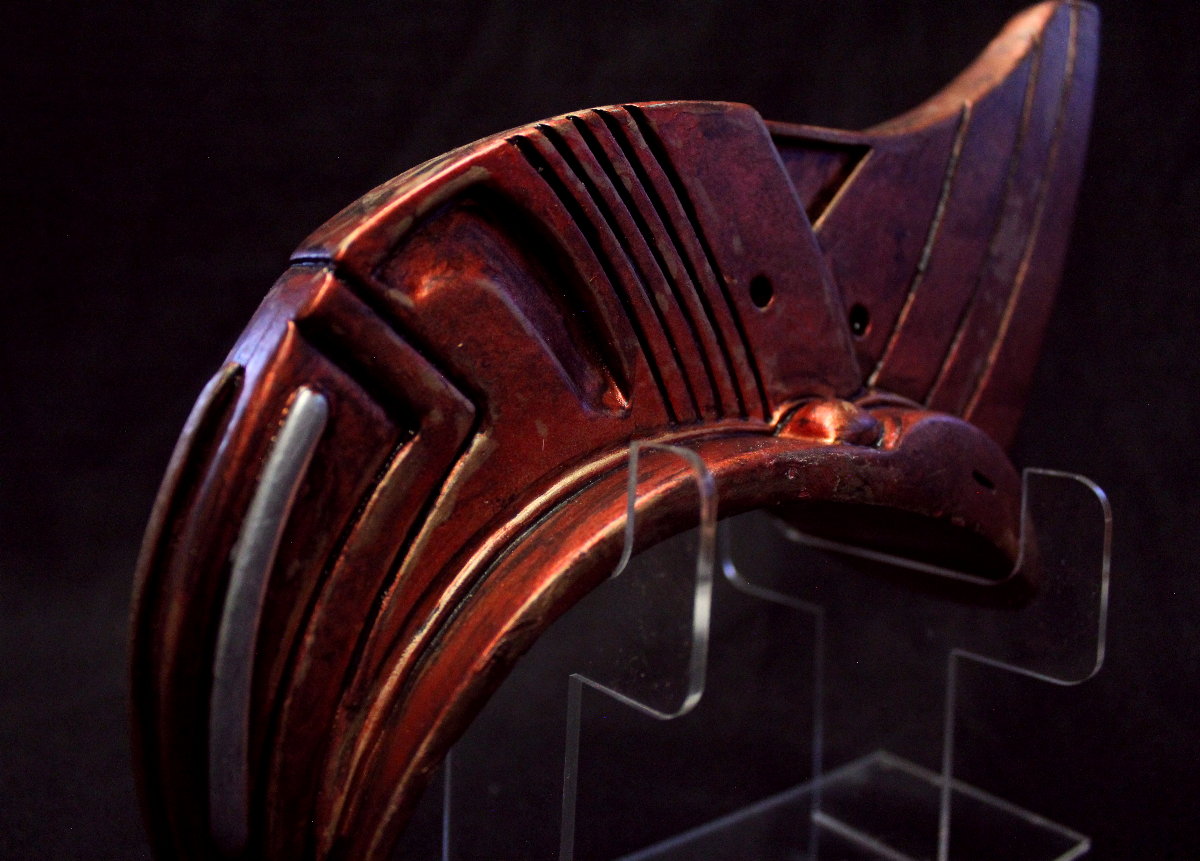
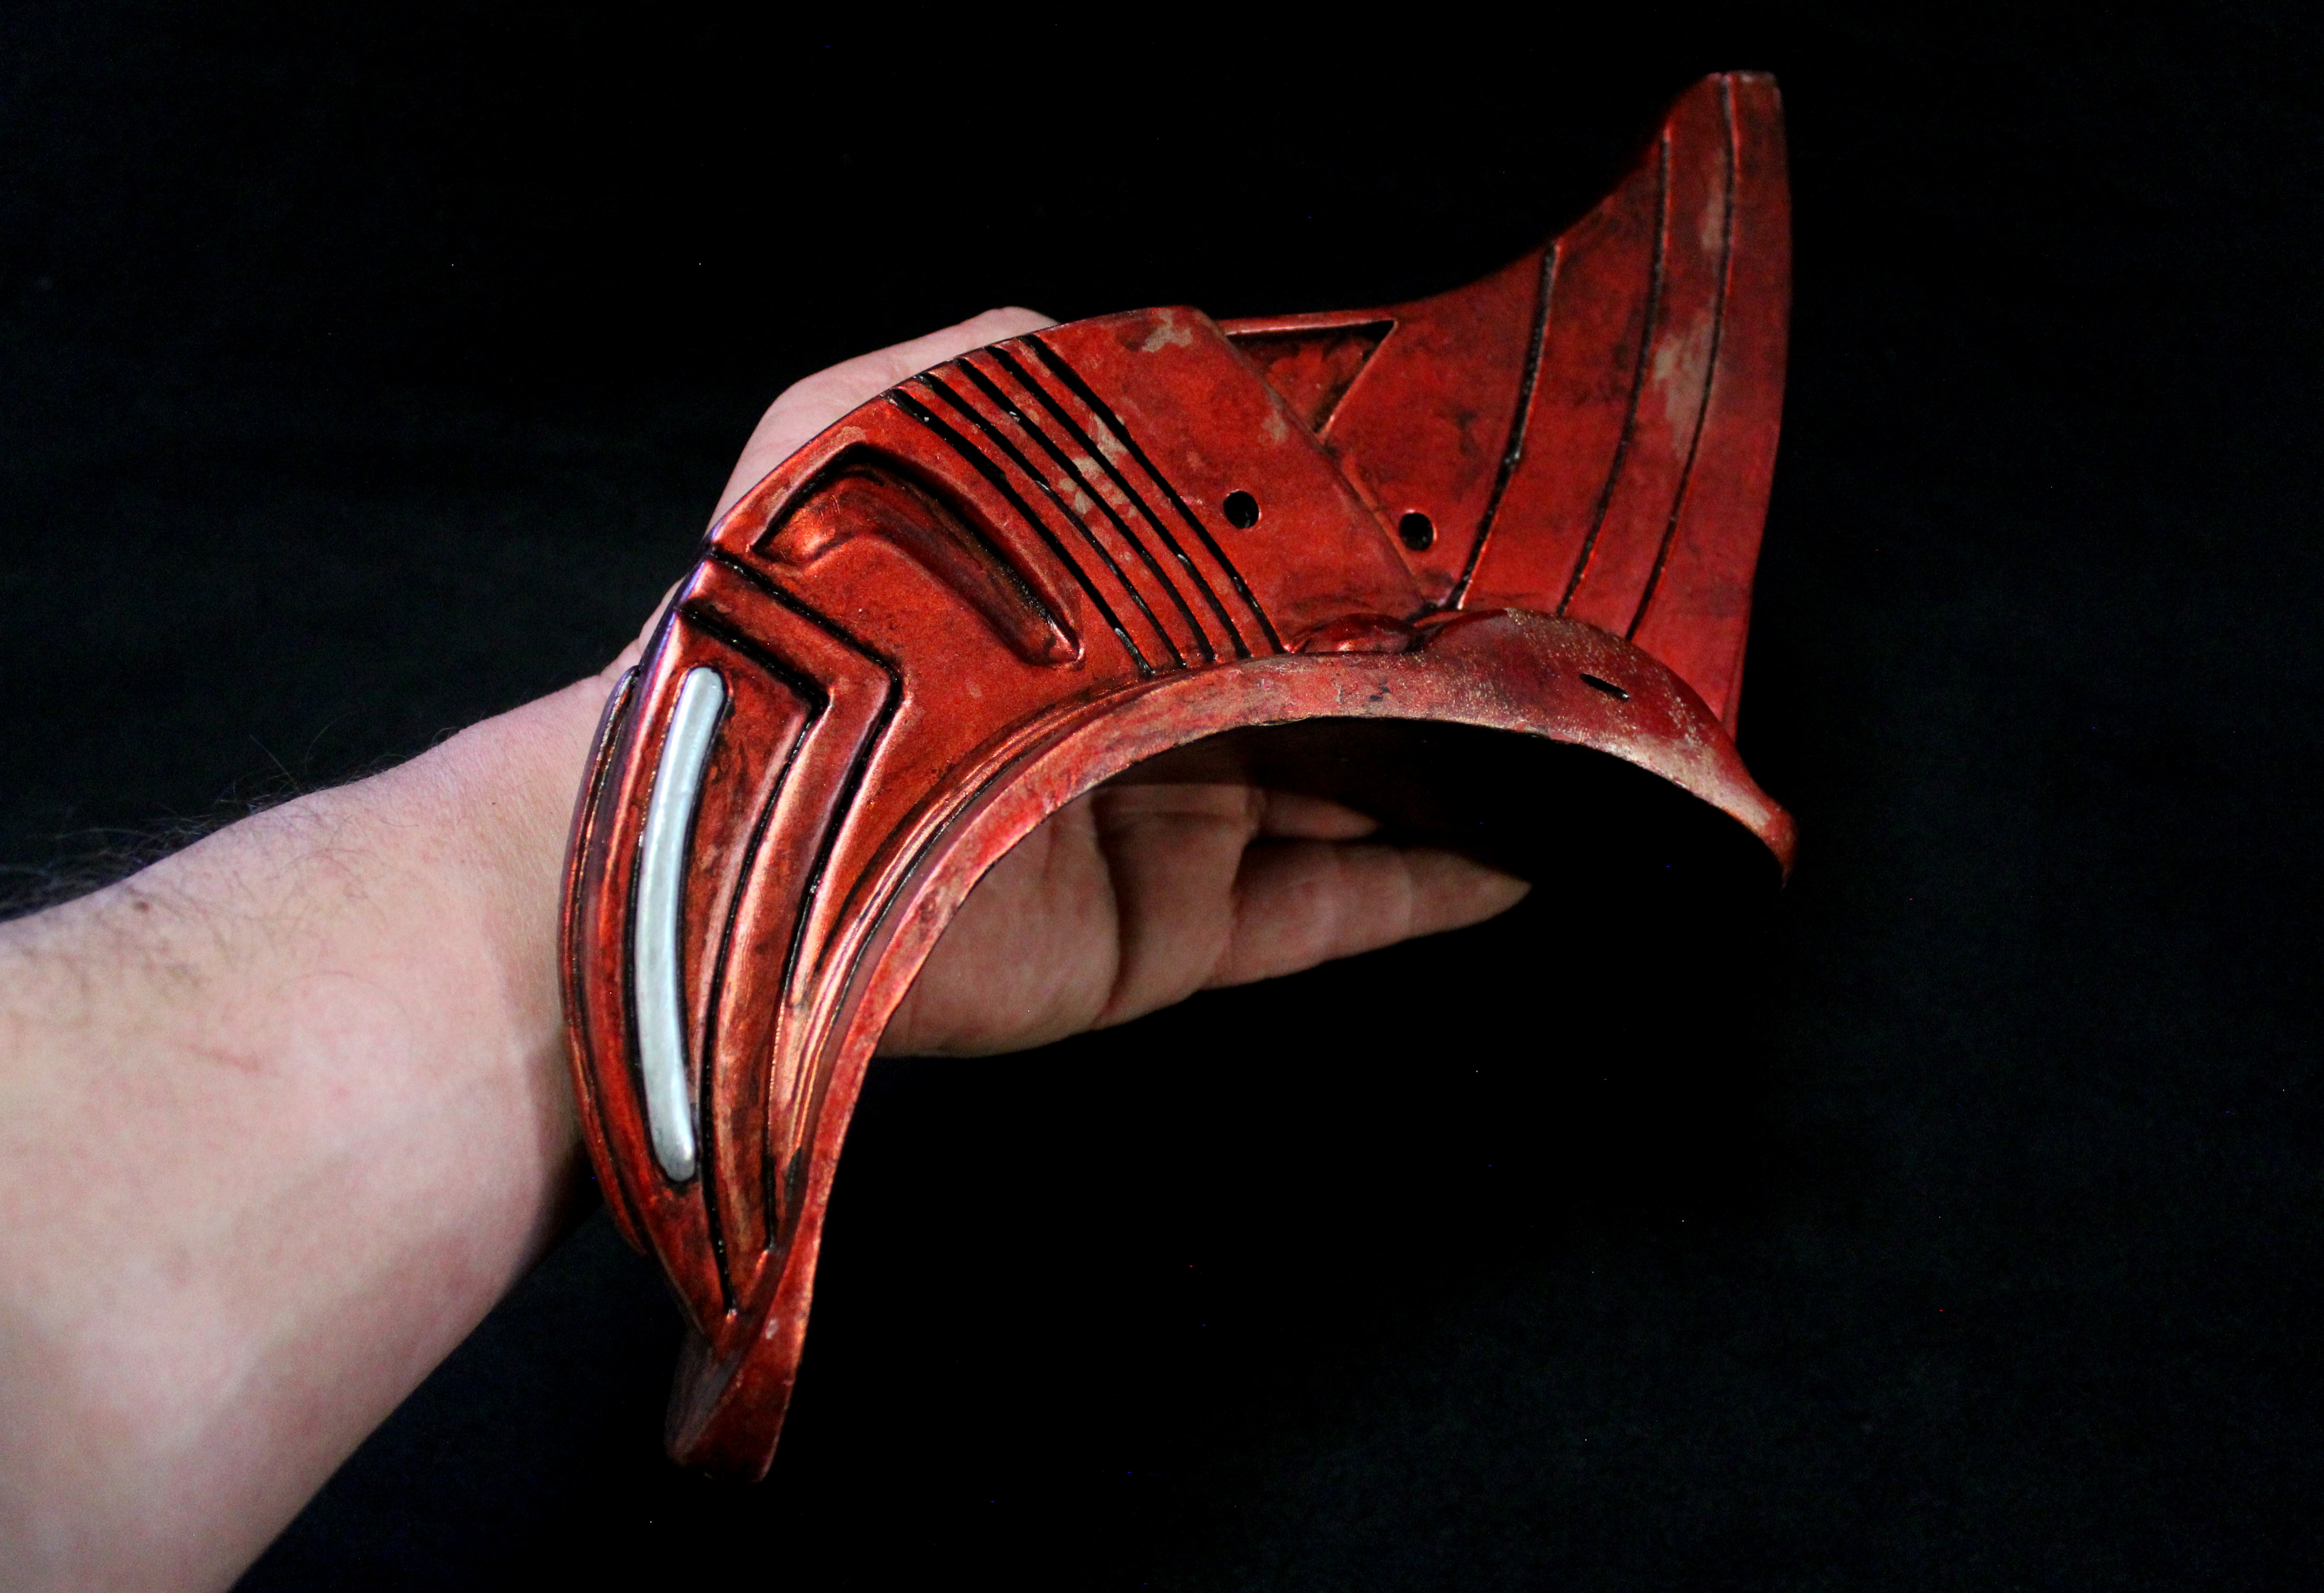
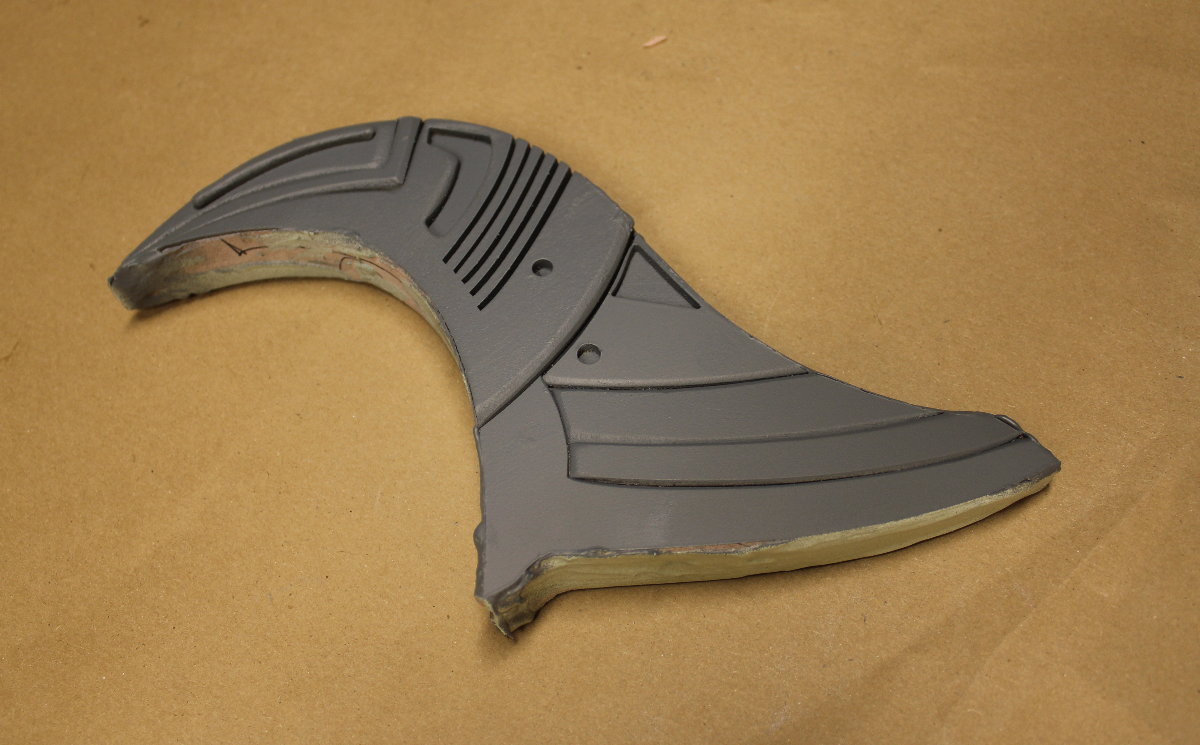
Here's a more coppery colored version:
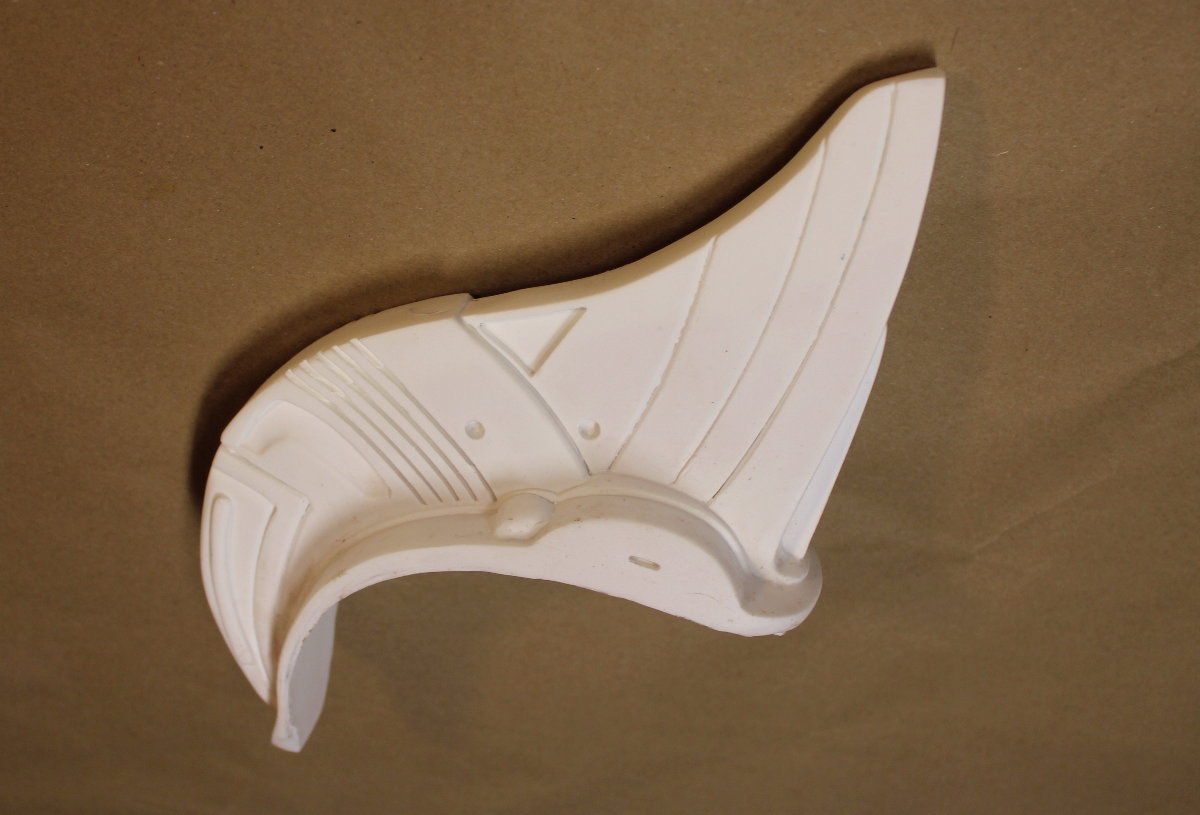
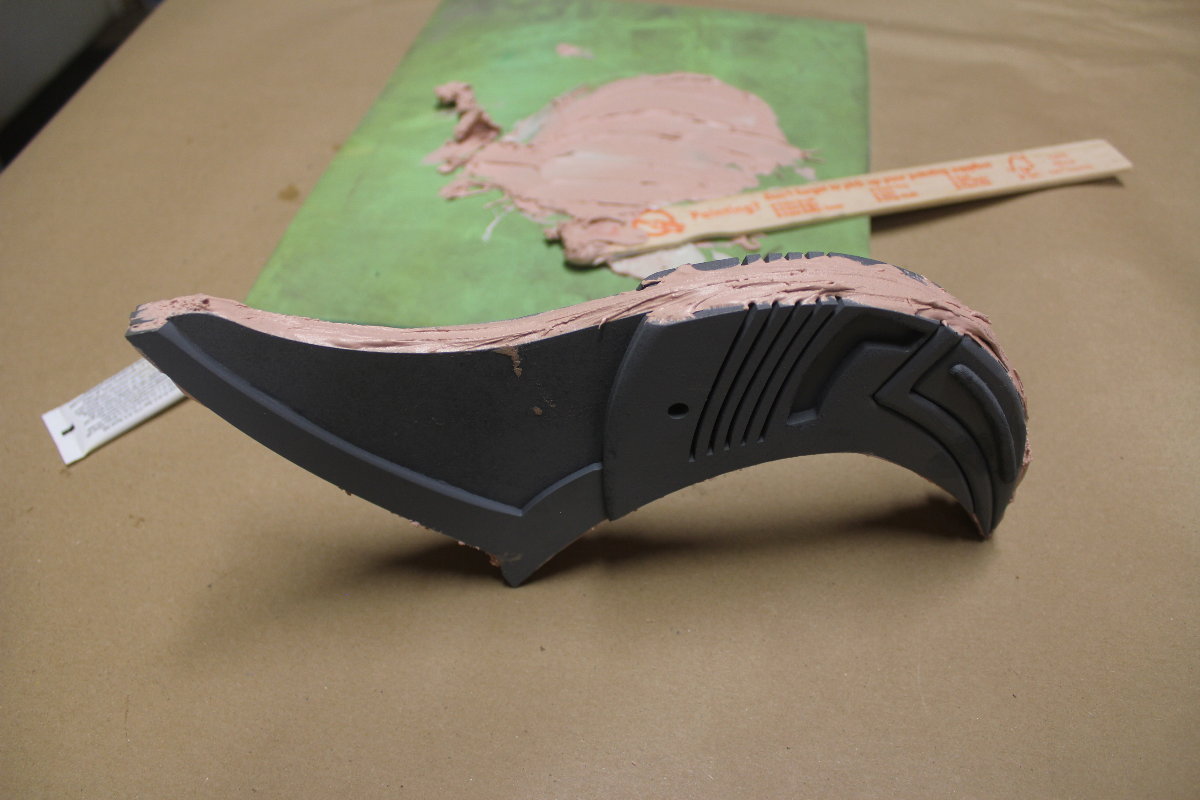
The raw kit casting:
I don't have a tutorial video for it but here's the steps:
1.) shape the bottom of the fin to your actor by either shaving down the slope or buliding it up with bondo
2.) fill the seamlines on the bottom edge with bondo and sand everything flush
3.) wash your parts with soap and water and dry thoroughly
4.) paint the fin BRONZE
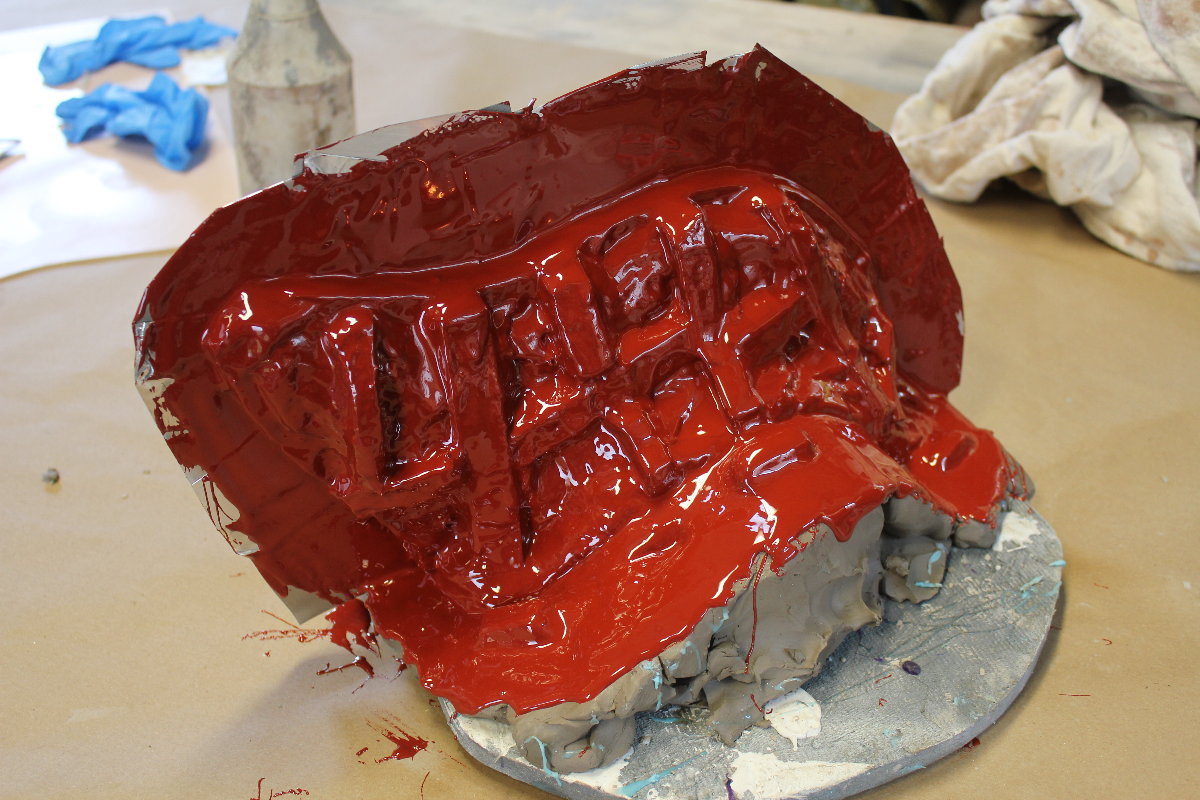
5.) tint the fin using a transparent red either from a rattle can (e.g. testors transparent red) or a heavily thinned down paint through an airbrush. You want to keep the shine of the bronze color underneath
6.) weather with light touches of bronze, gold, and dark grey/black in the cravaces.
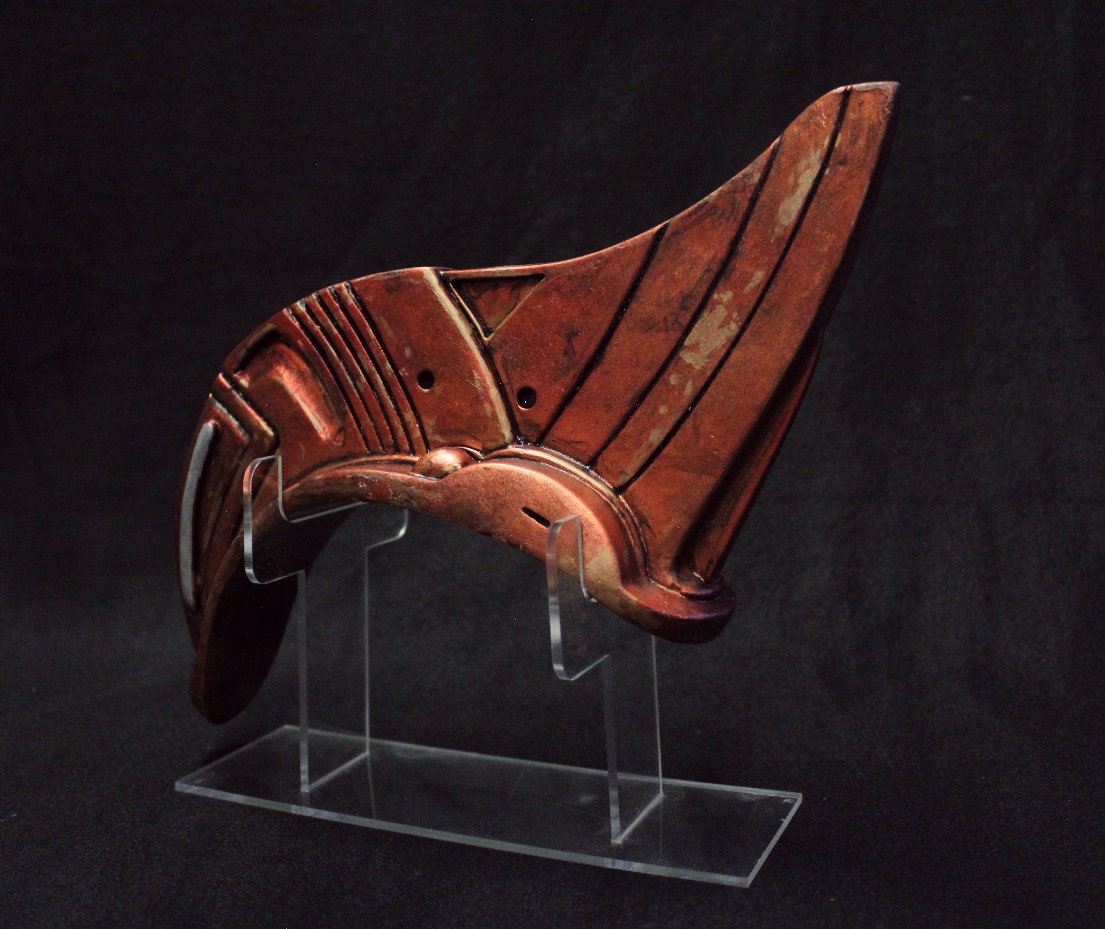
Paint colors are a mix of crimson and copper, with lowlights and highlights of black and light grey. The display stand is made of 3 acrylic parts and is included with each kit (unassembled).
TO CUSTOMIZE THE FIN TO FIT YOUR HEAD (TO BE USED AS COSPLAY)
1.) Try the fin on. If you have a shaved head that would be best, otherwise use a bald cap.
2.) Where there is a gap you can fill it using APOXIE SCULPT. This is a 2 part sculpting medium. You mix parts A and B and it becomes rock hard in about 4 hrs. You mix up a bit of this and push it into the mohawk where there was a gap.
3.) Put the fin back on your head and smush it down so the clay contours to your head.
4.) Once the apoxie sculpt is hardened up, use more apoxie sculpt (or bondo) to patch any areas that need filling. Sand to finish.
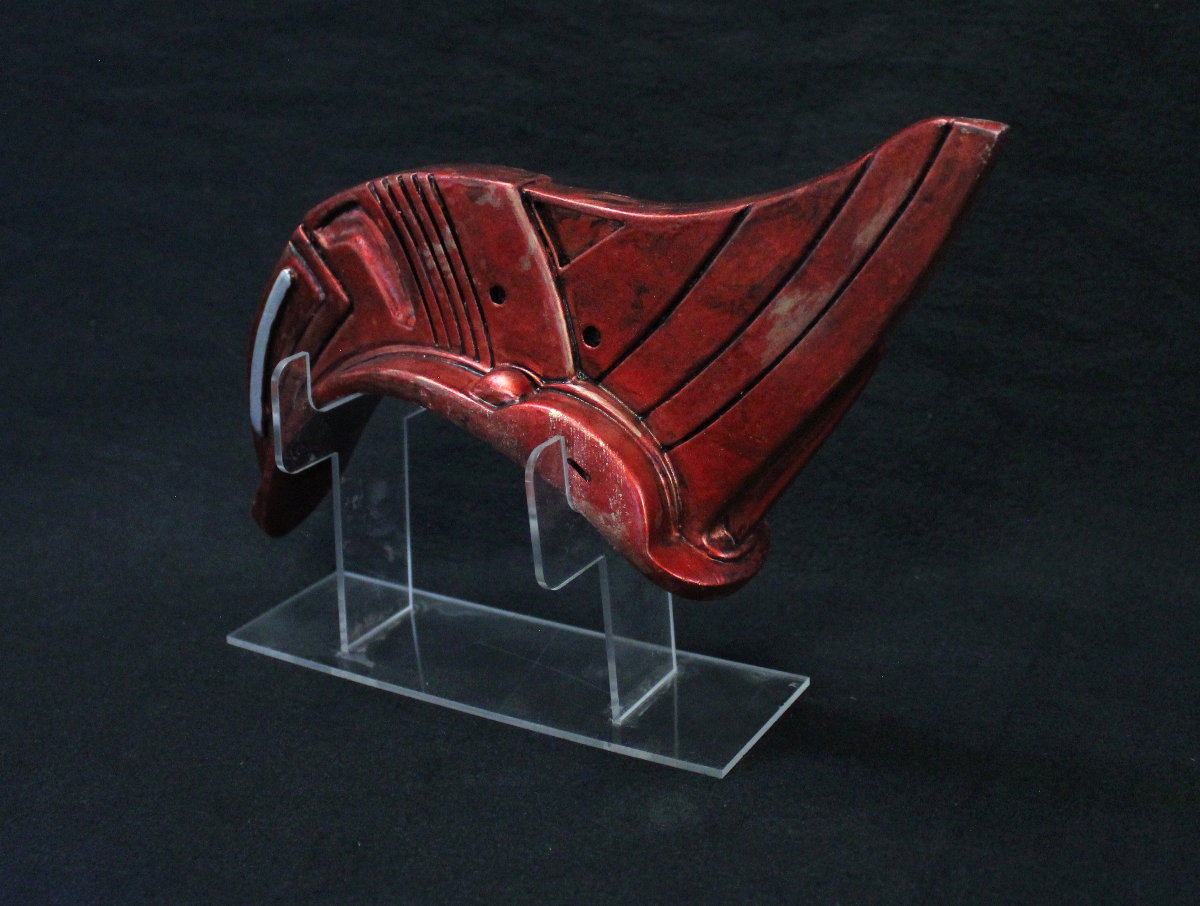
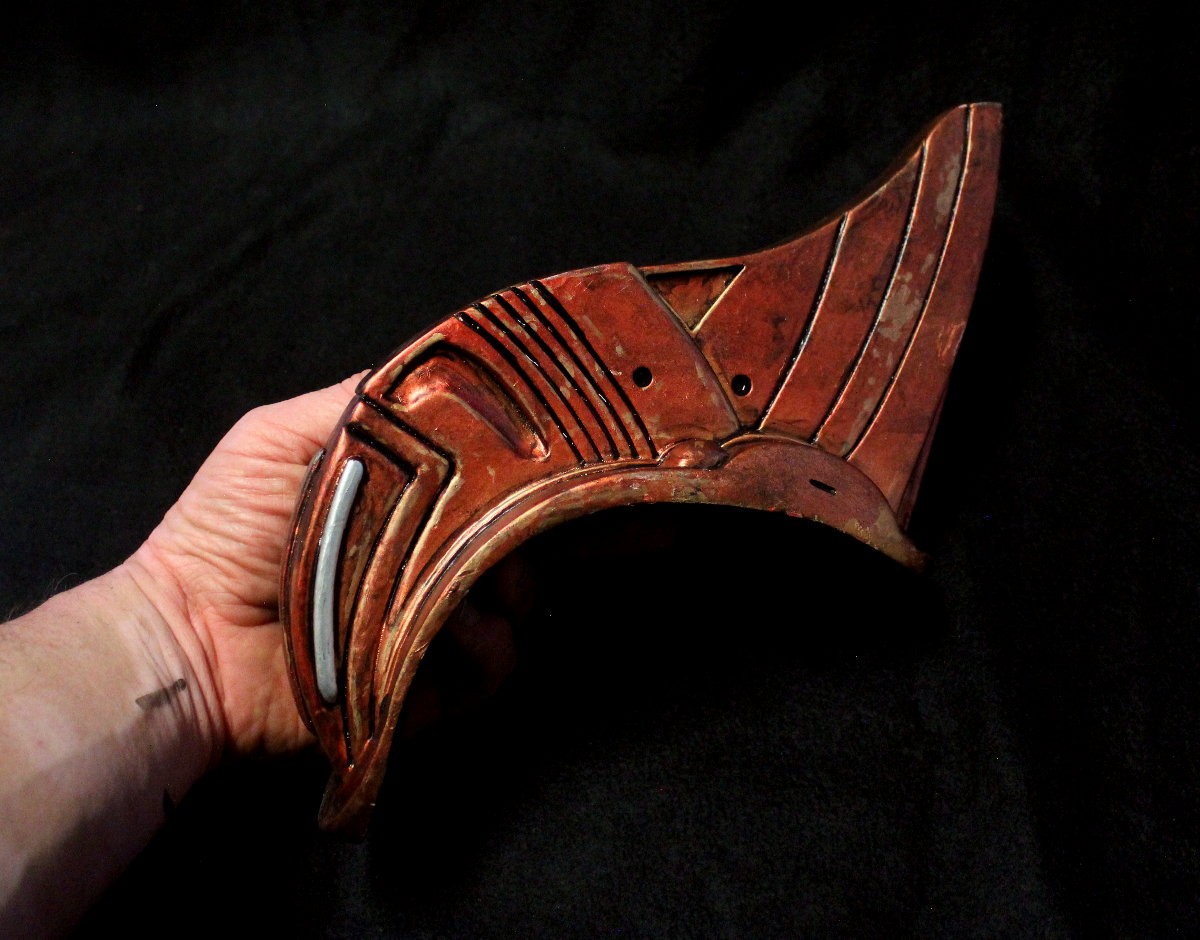
The last two photos show how you can control the warmth tone using tranluscent red paint. In one version I left the red subdued which resulted in more 'coppery' tone. In the second pic I was more aggressive with the red which resulted in a much warmer appearance:
HOW IT WAS MADE
I examined as much reference material as possible and started thinking about the different layers that comprise the mohawk structure. I then spent a few days designing vector artwork representing the topography levels (lots of layers!)
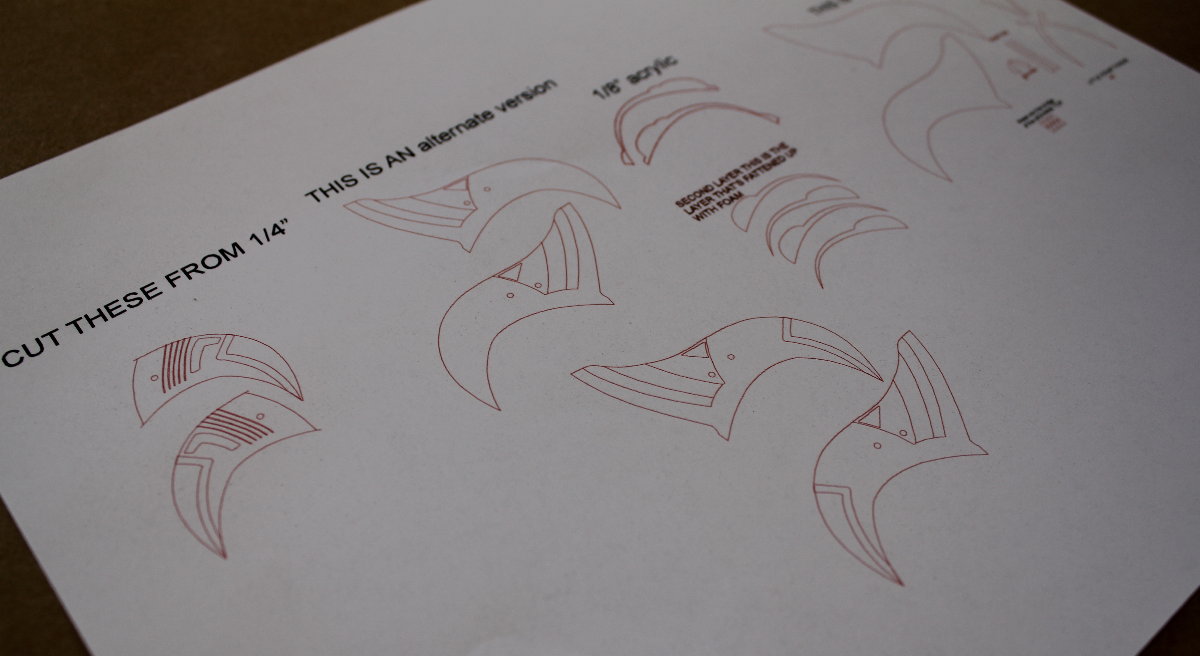
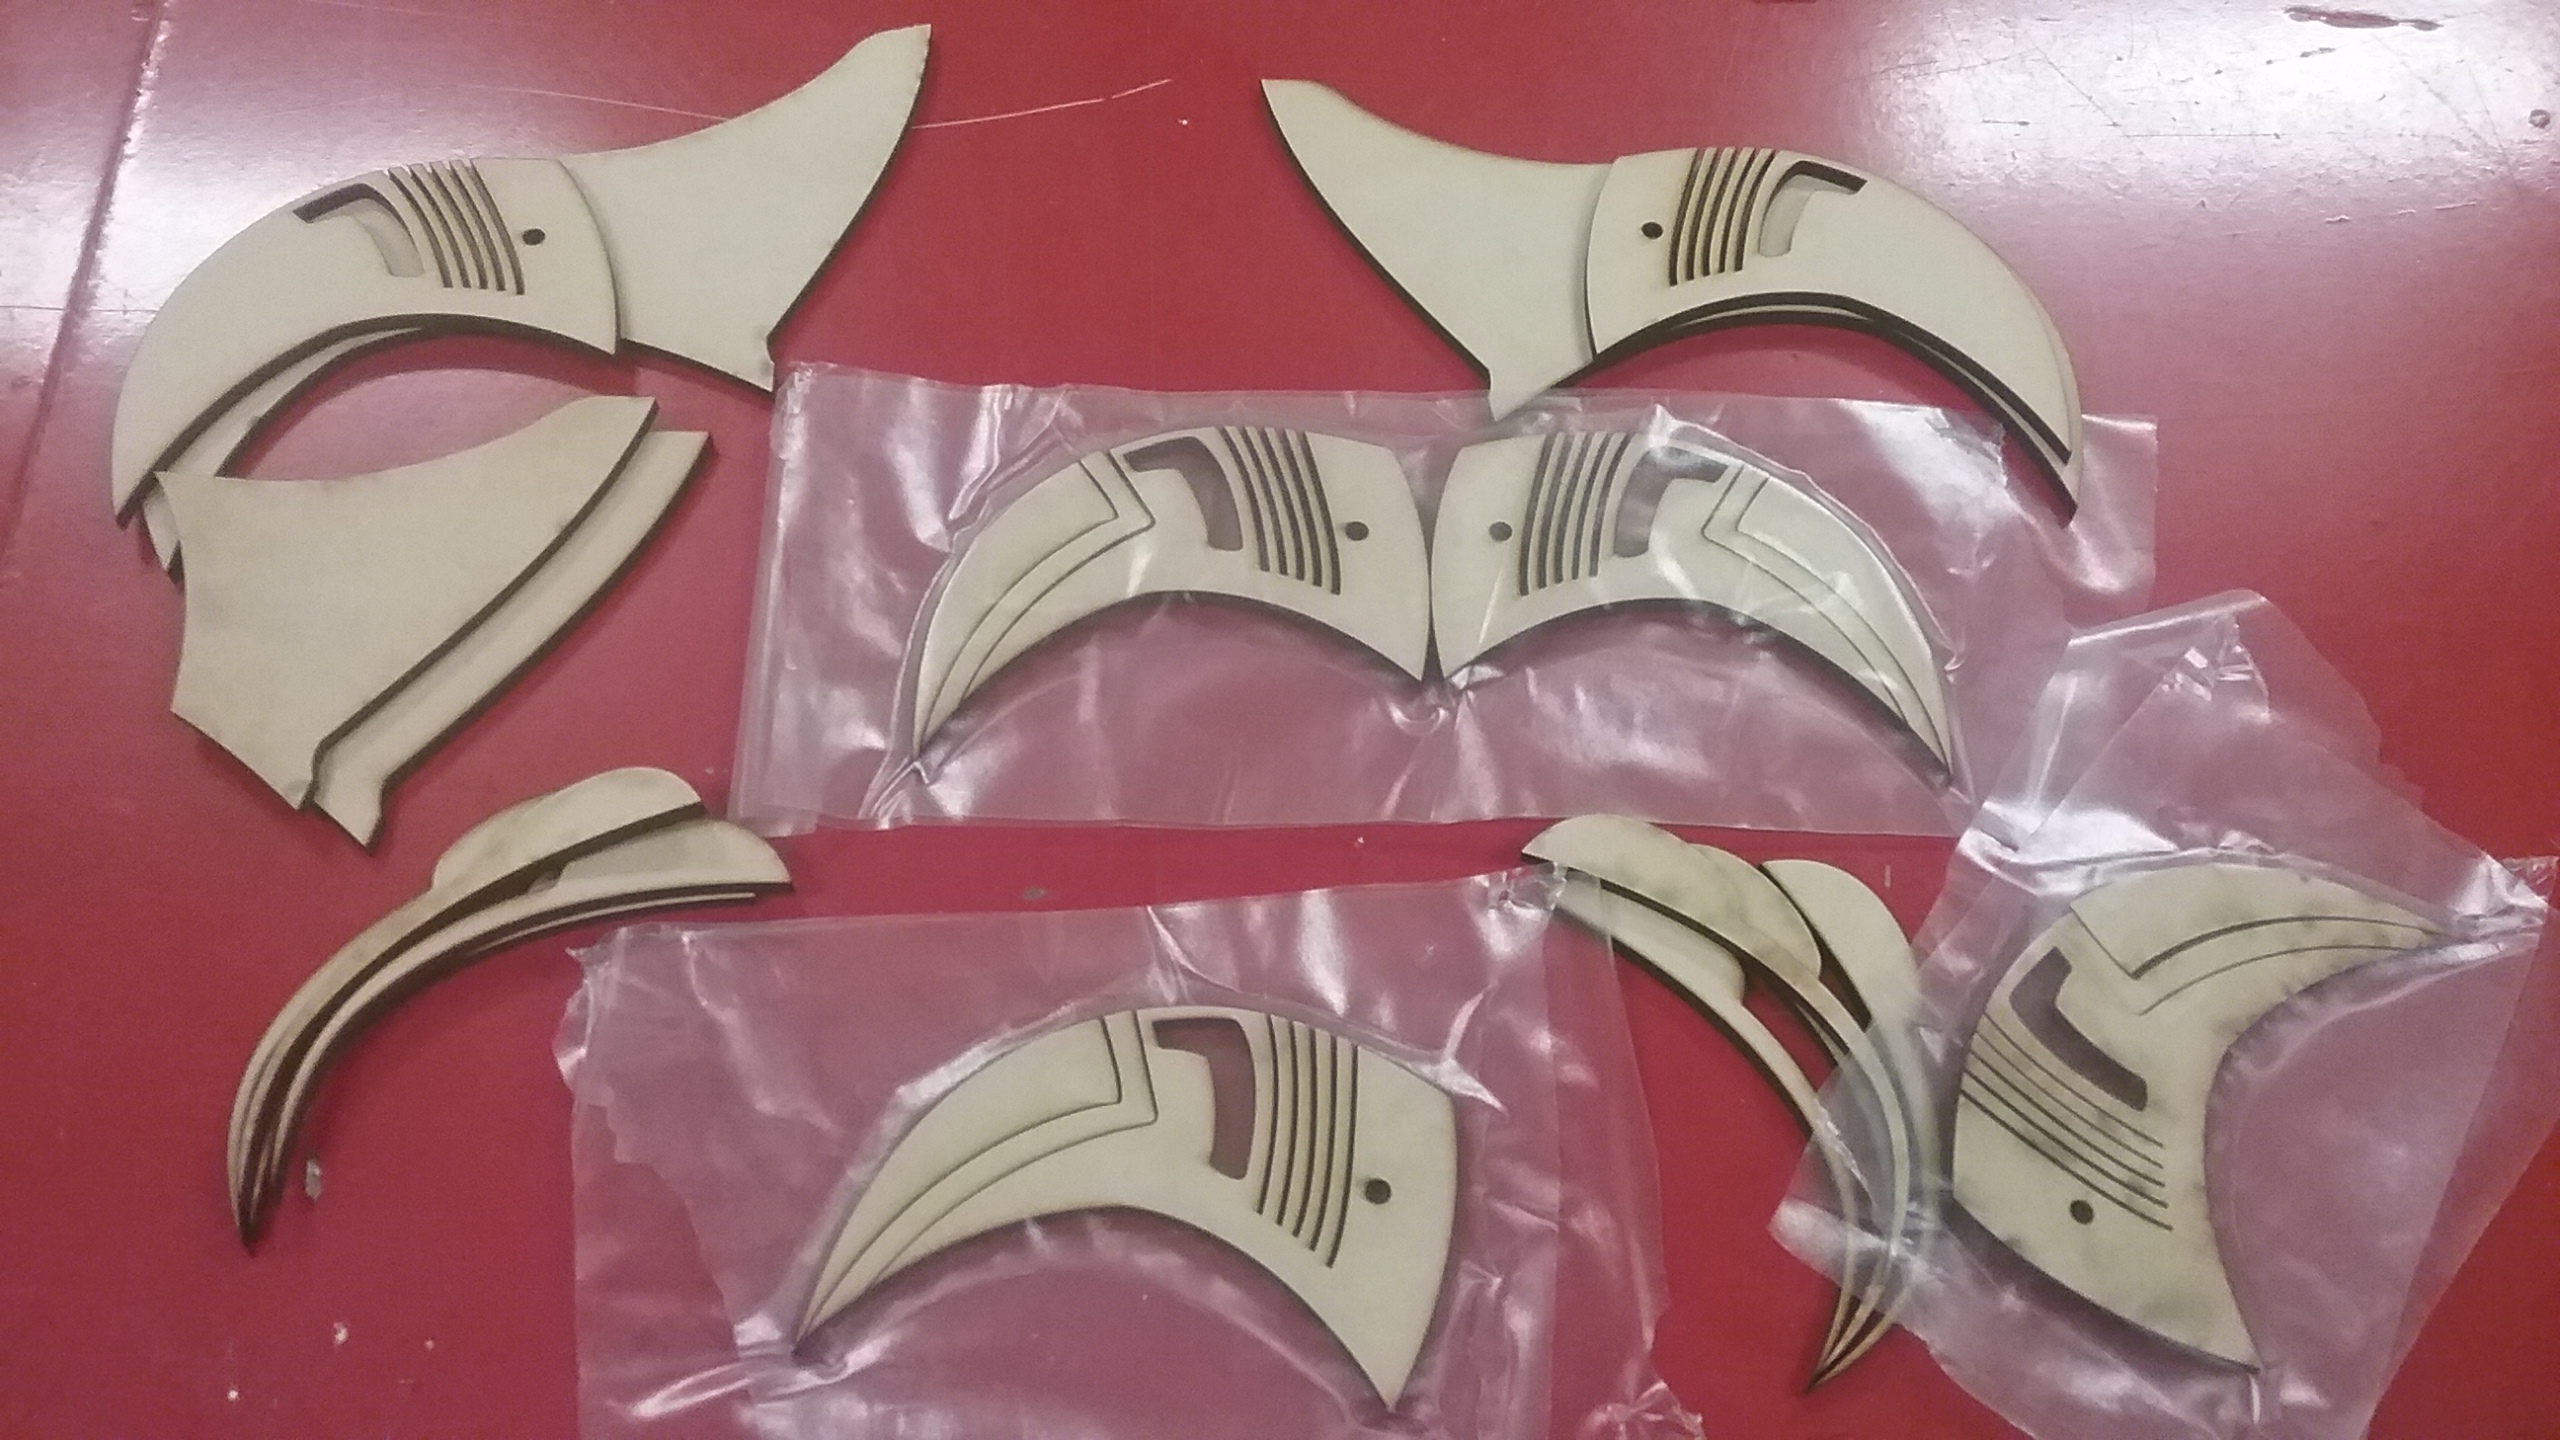
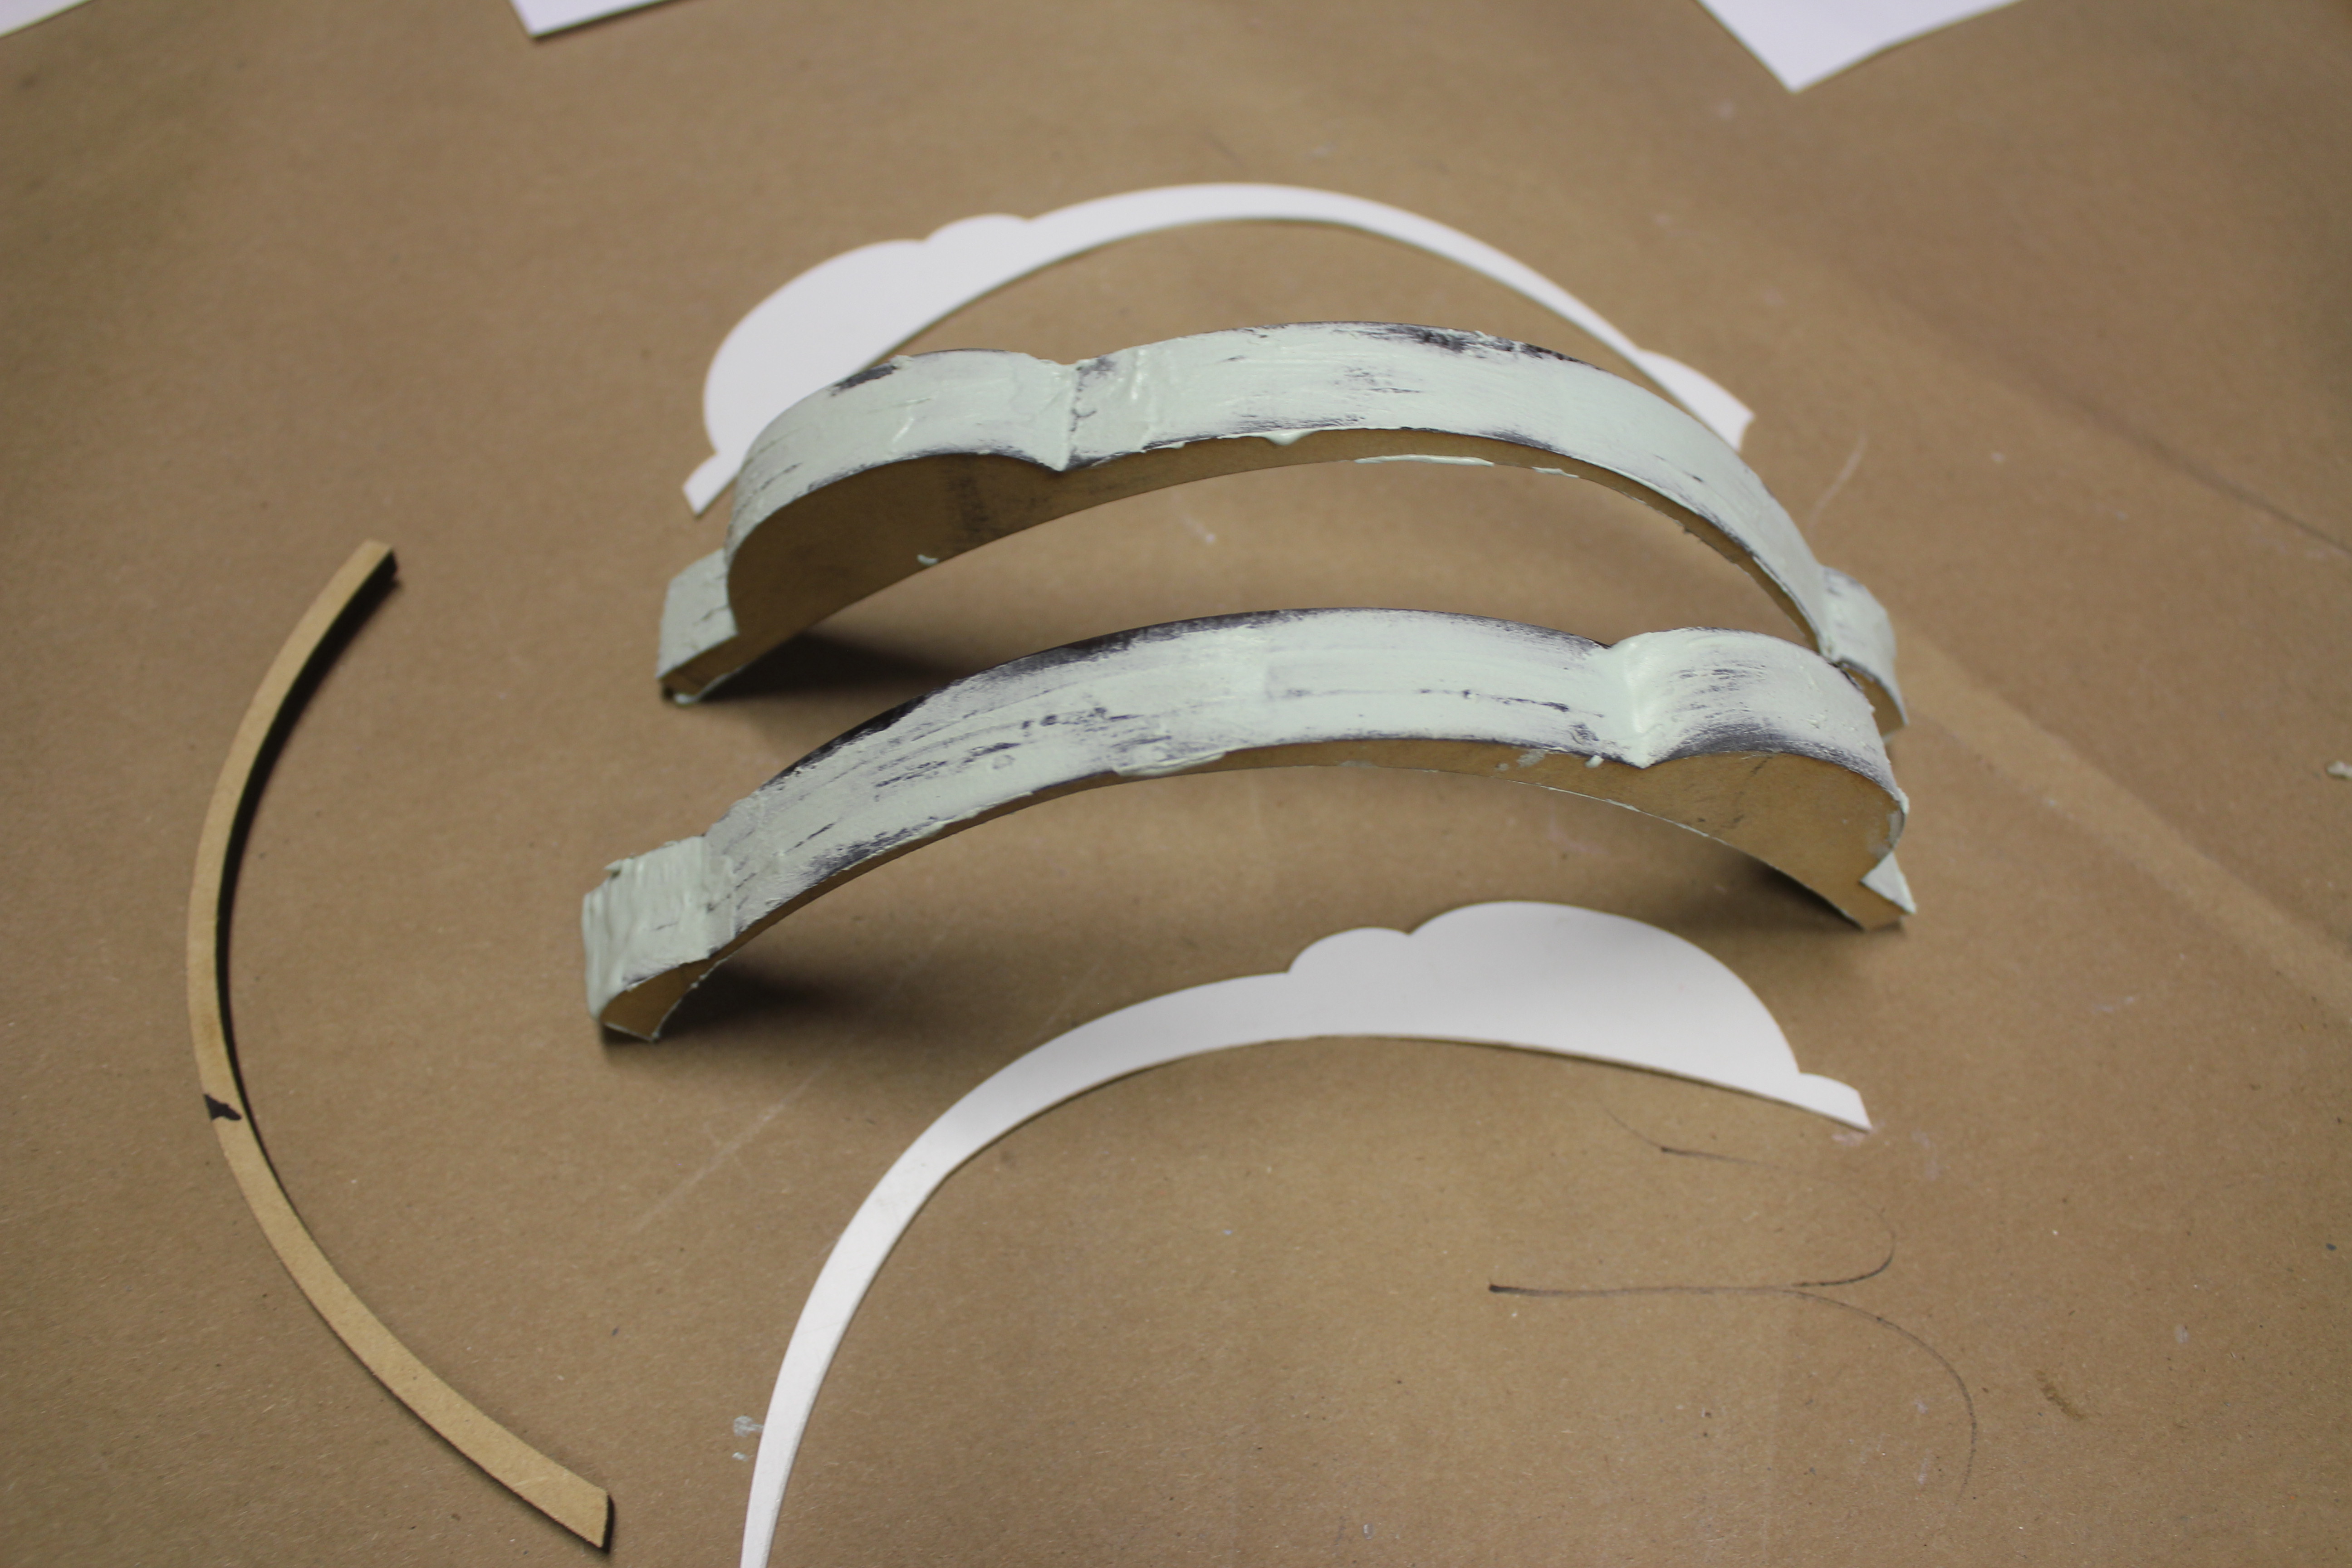
I decided to use several different materials to laser cut the layers: MDF, styrene, and acrylic. for the thicker surfaces I used 1/4" MDF, for the thinner finer details I used styrene, for the details that needed to be curved, I used acrylic and comatex.
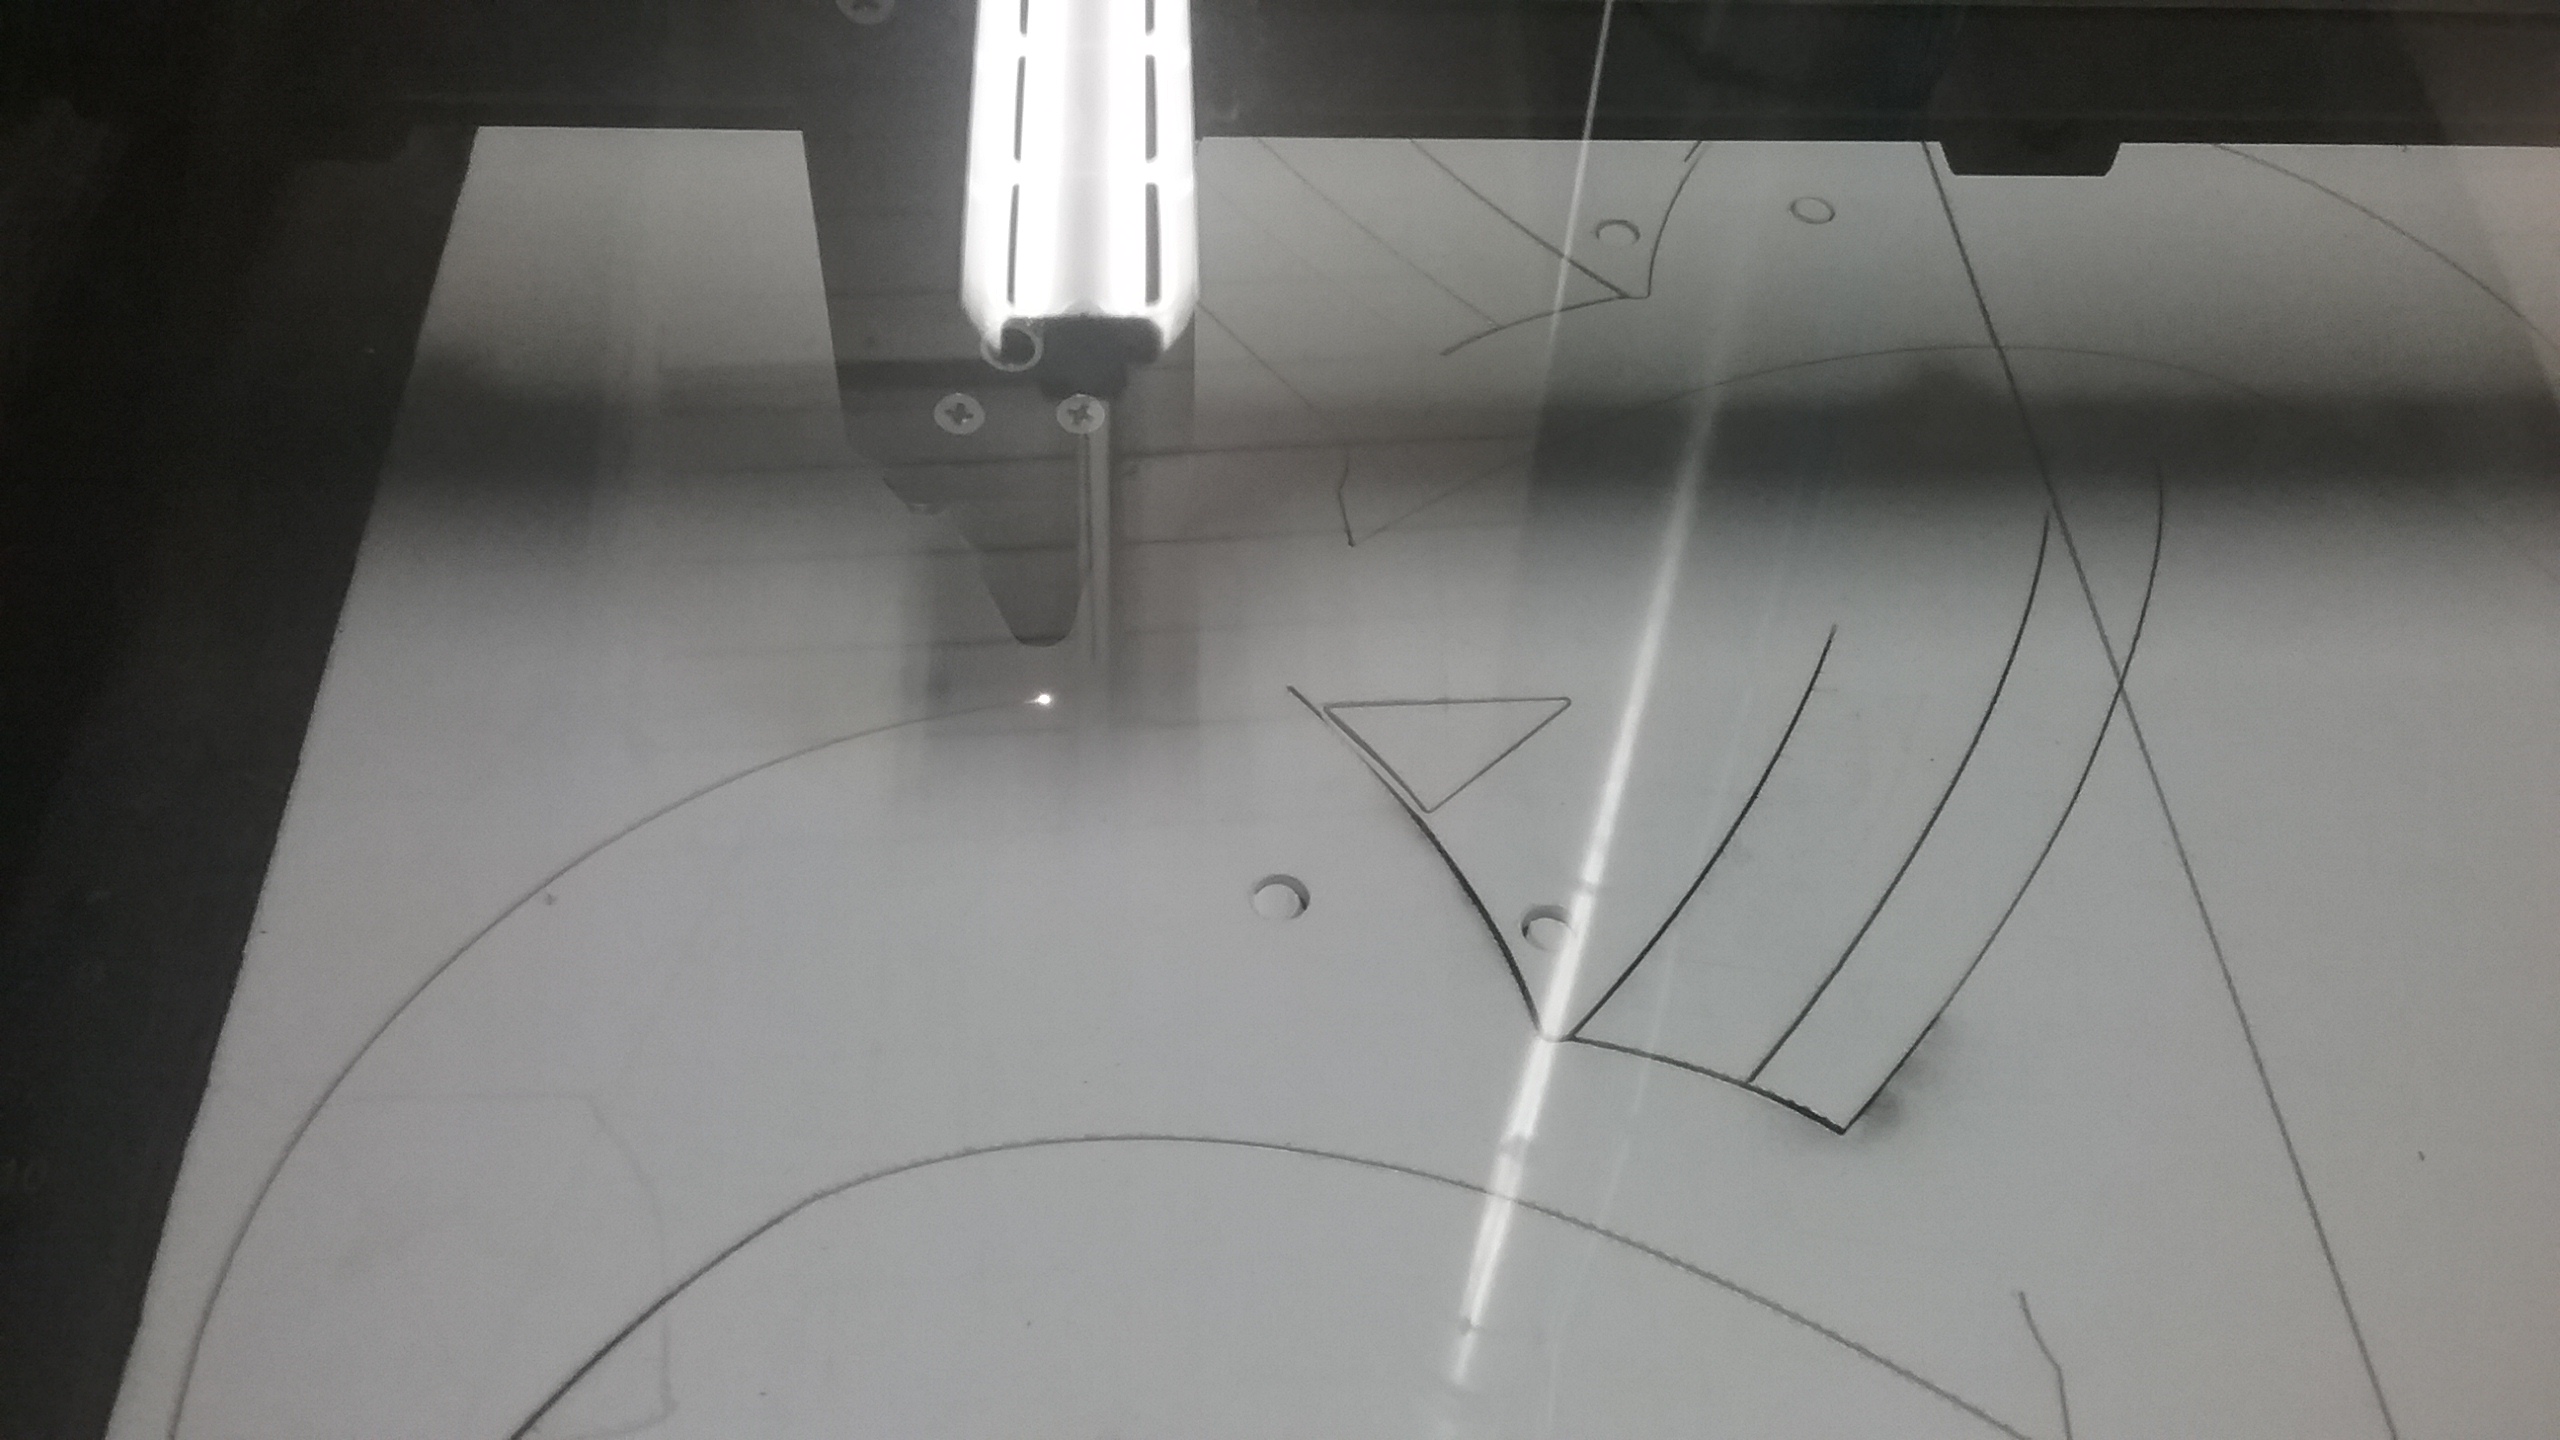
Laser cutting the MDF sections:
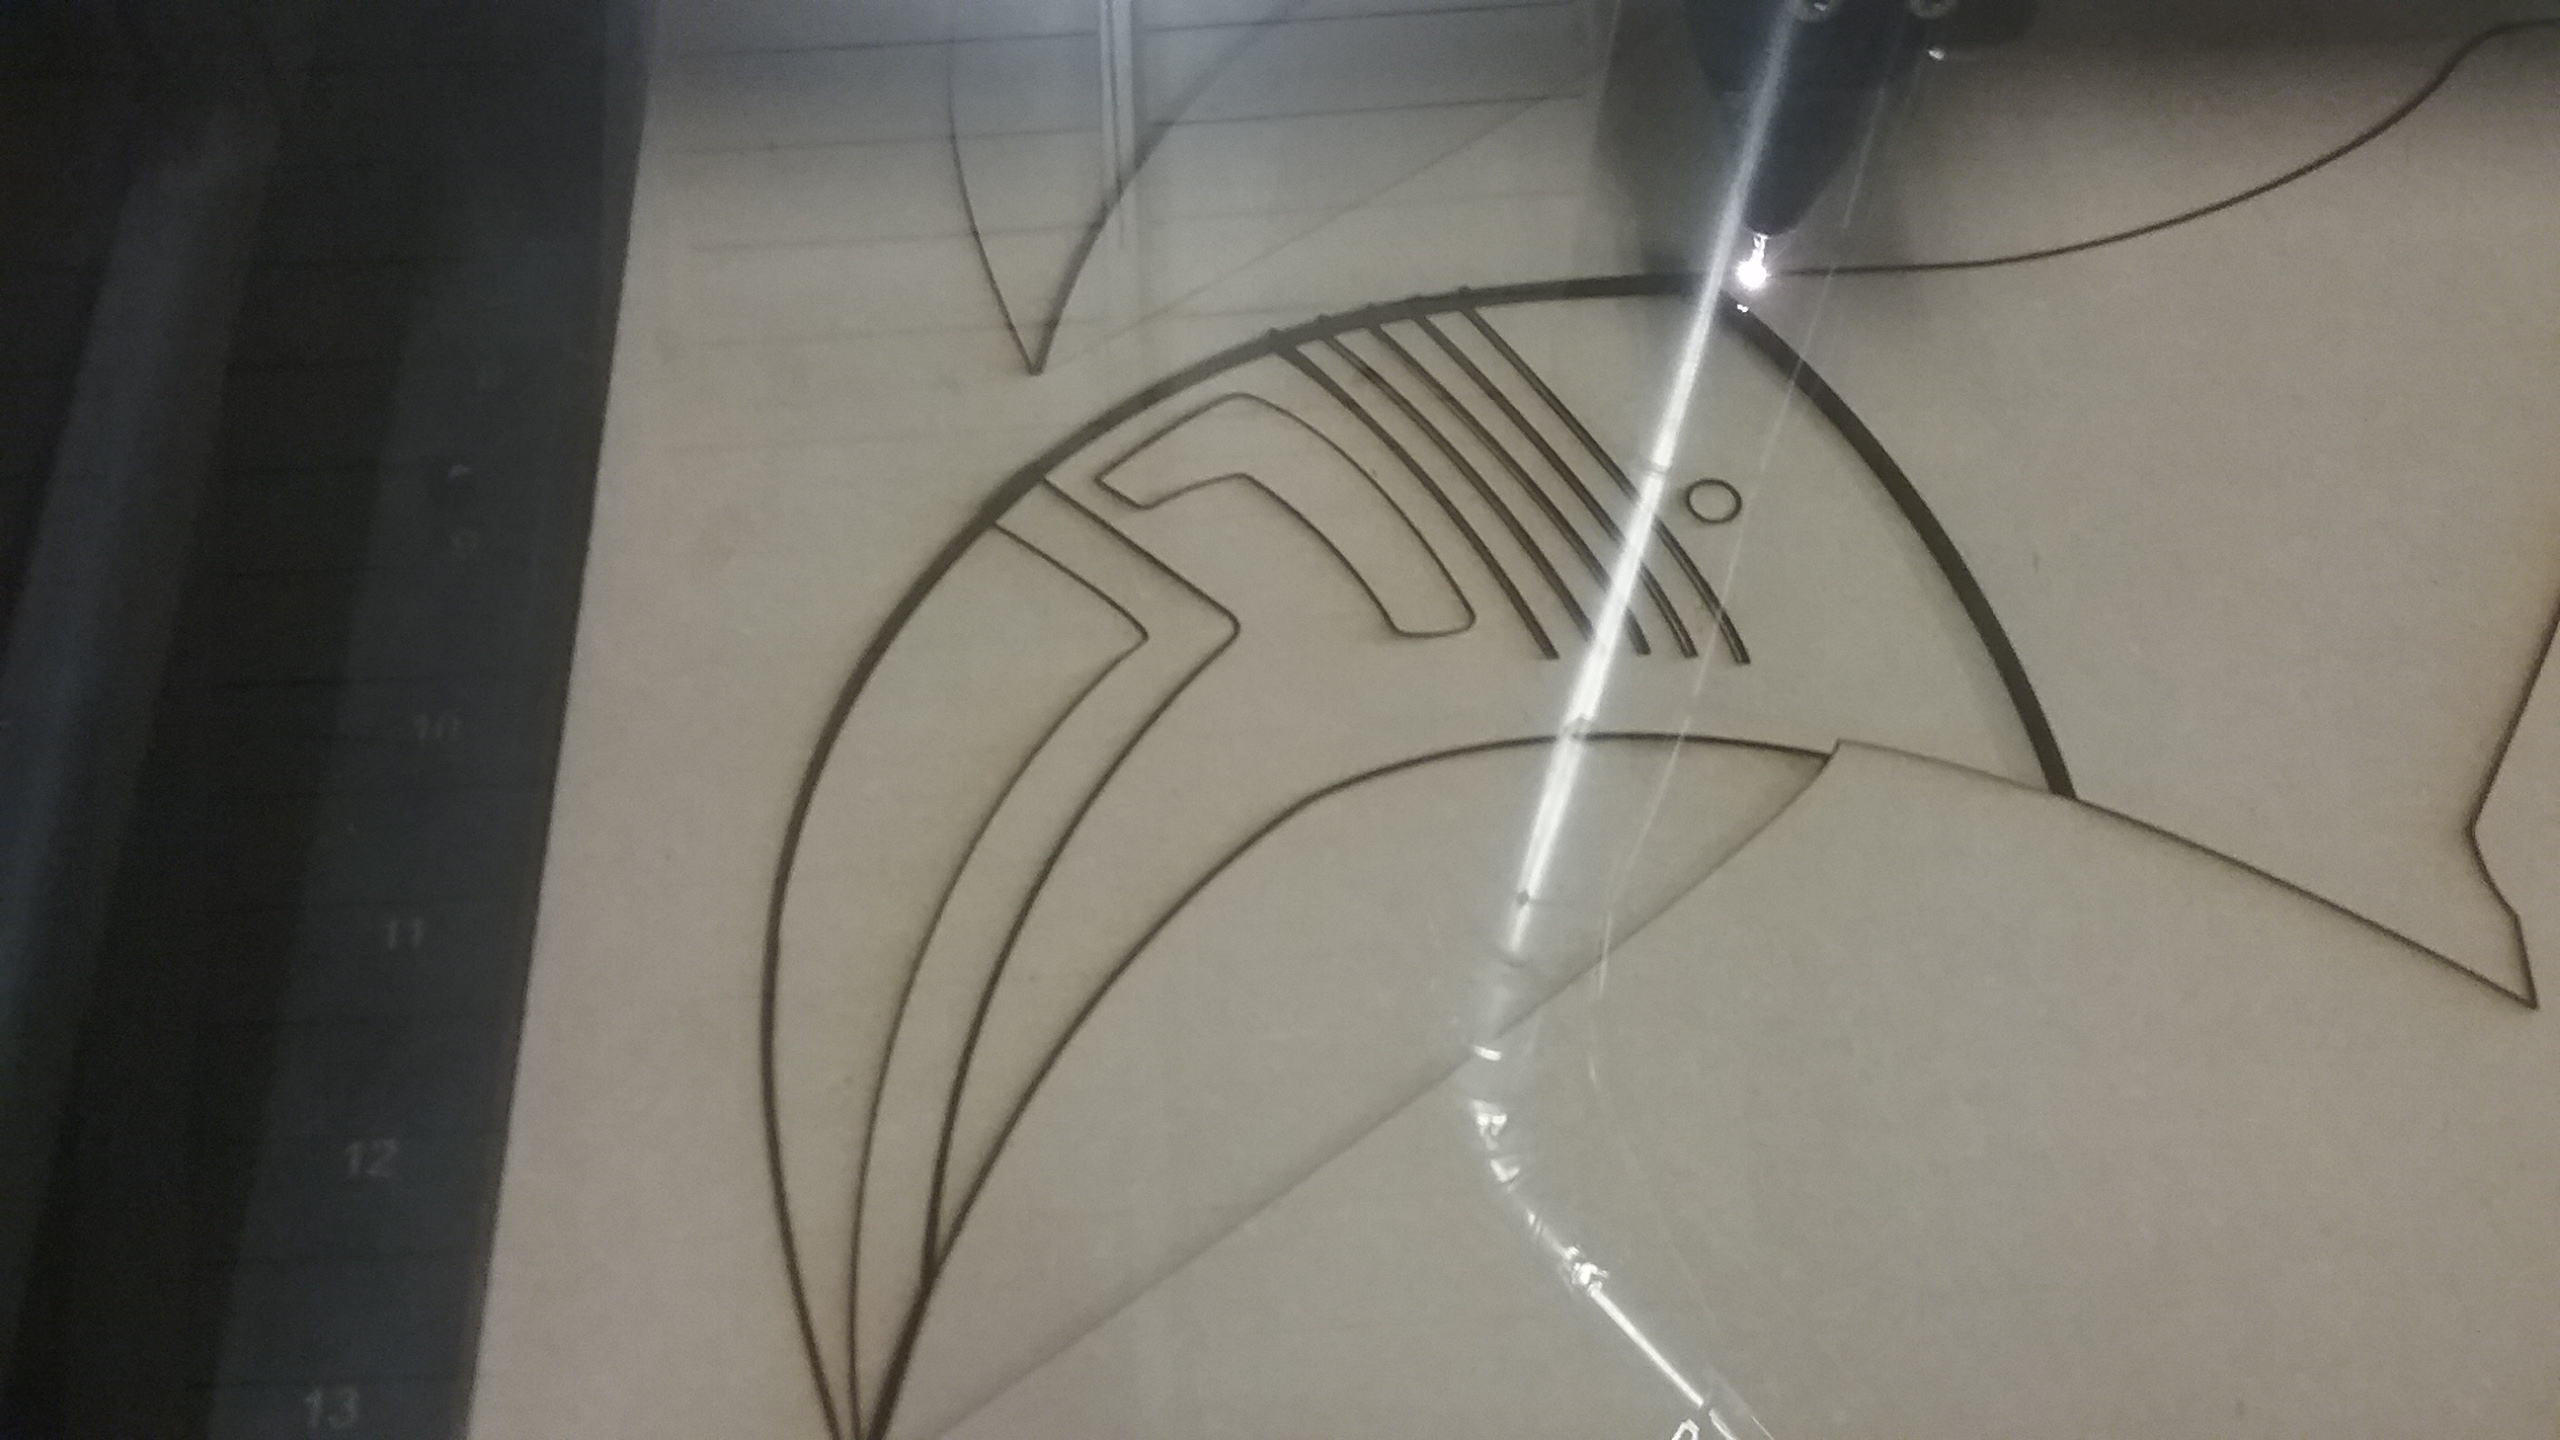
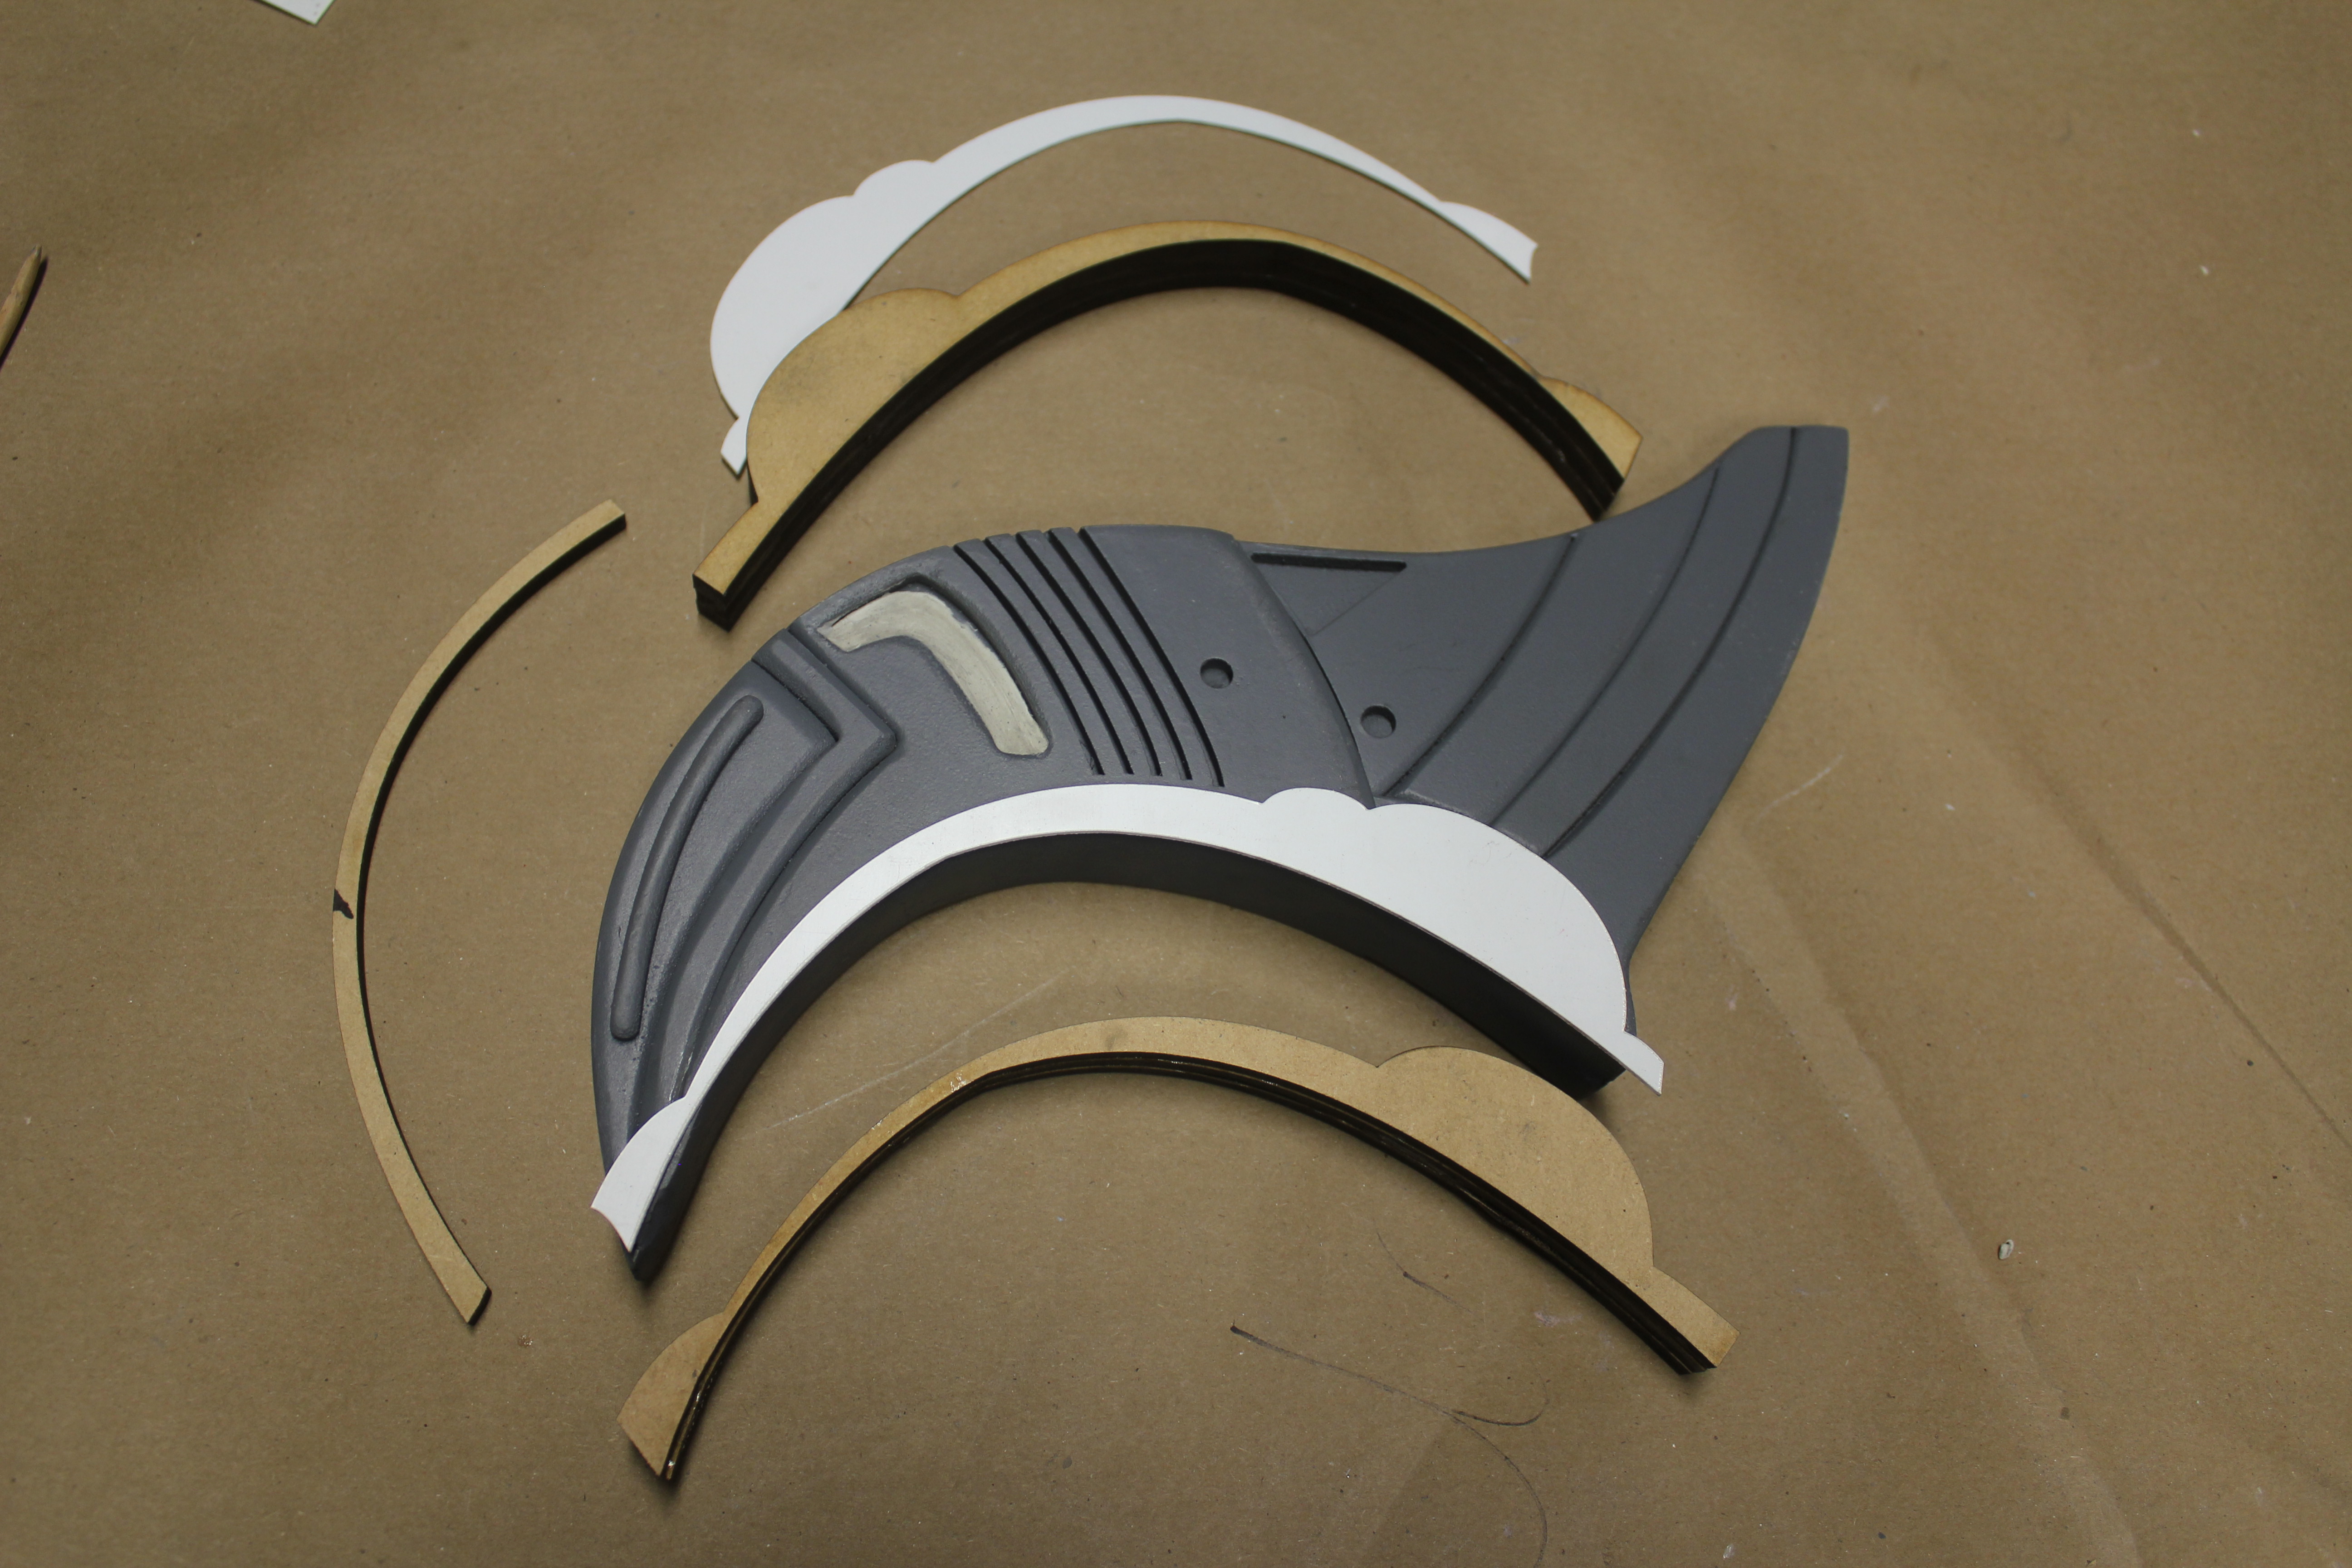
As usual, I cut the same shapes out of different gauge materials. This allows me to try various options before settling on the final assembly.
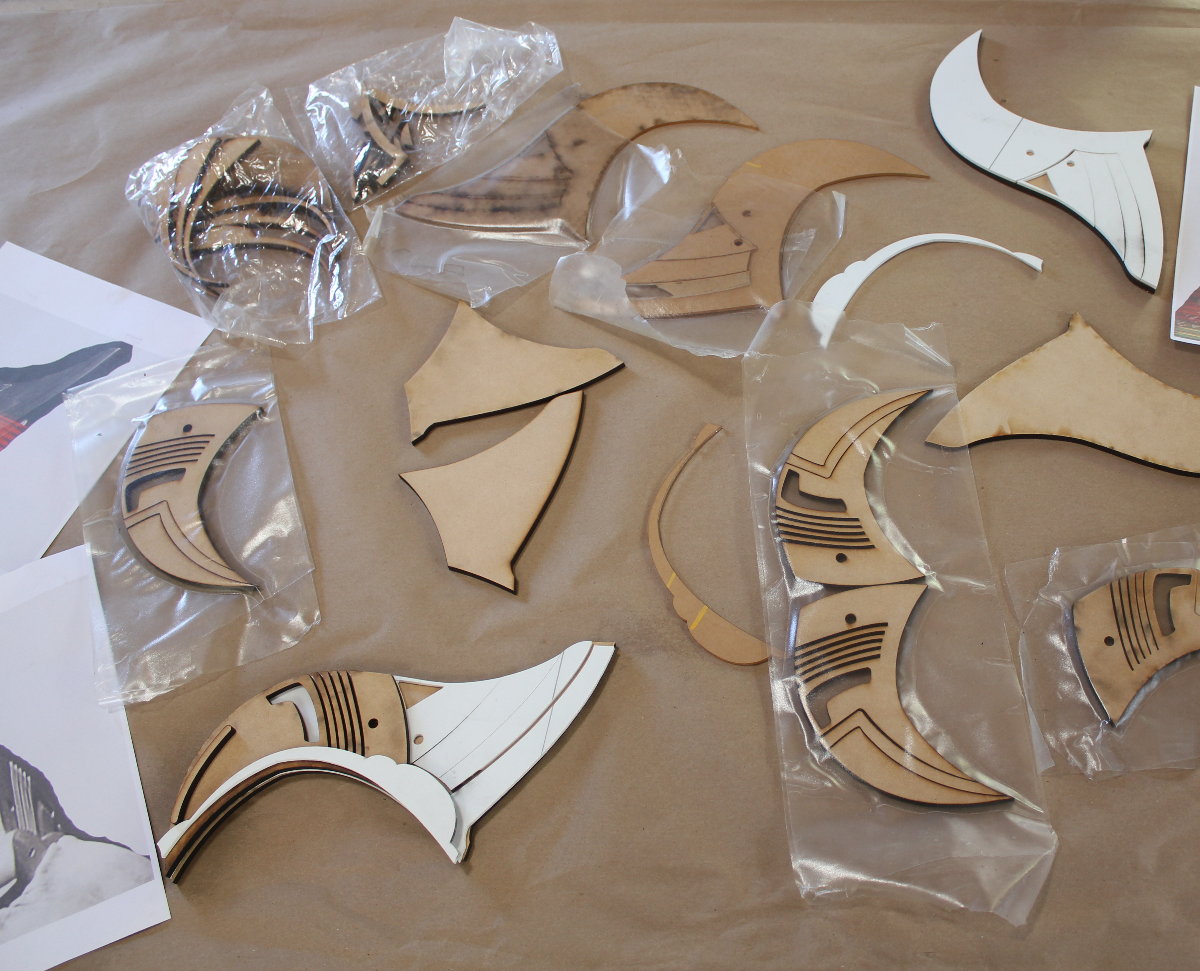
I settled on using shaved MDF for the base layers, topped with a front section of styrene and acrylic and a back section that's 1/4" mdf and styrene.
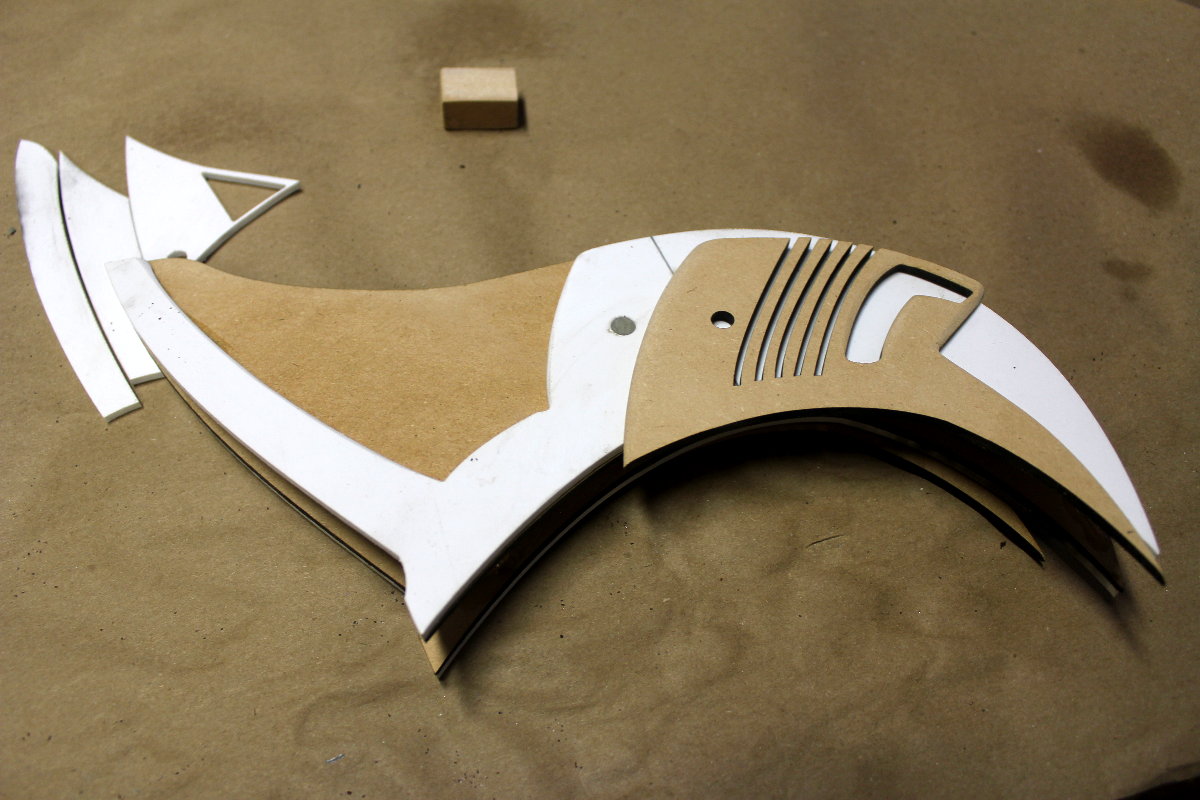
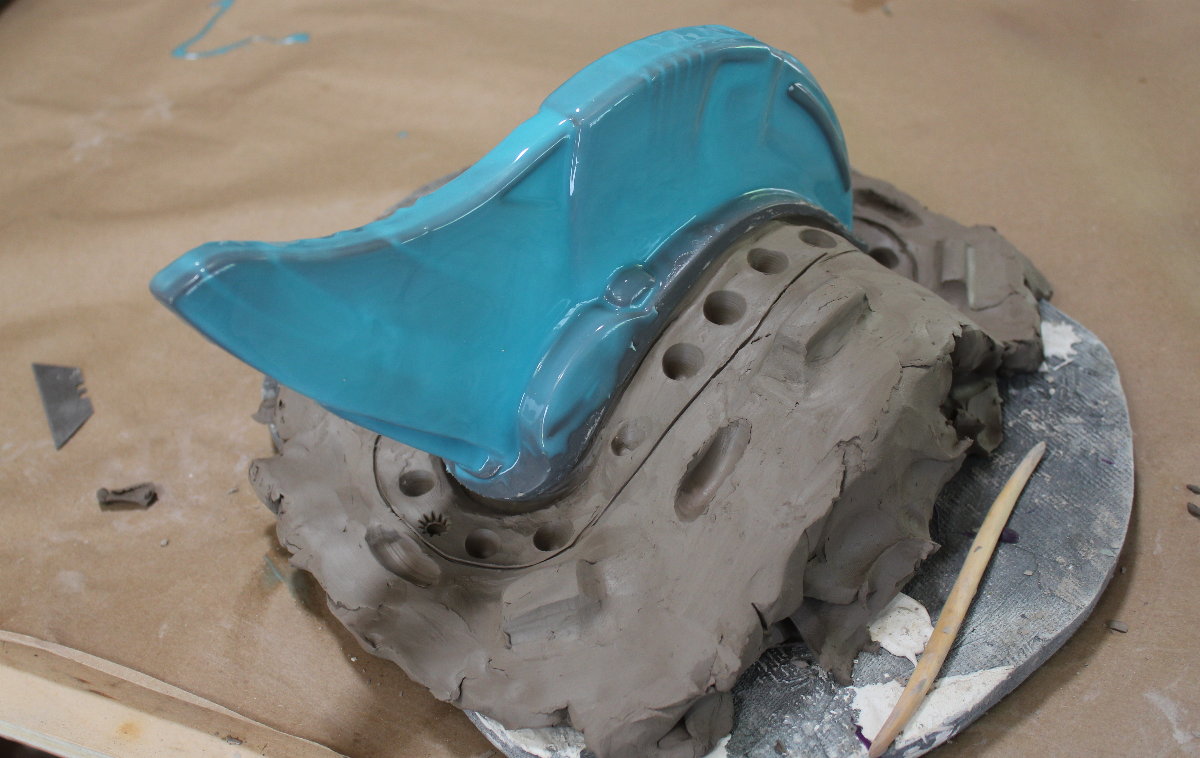
Starting assembly:


Checking the scale of the fin:
I used bondo to fill out the middle cavity.
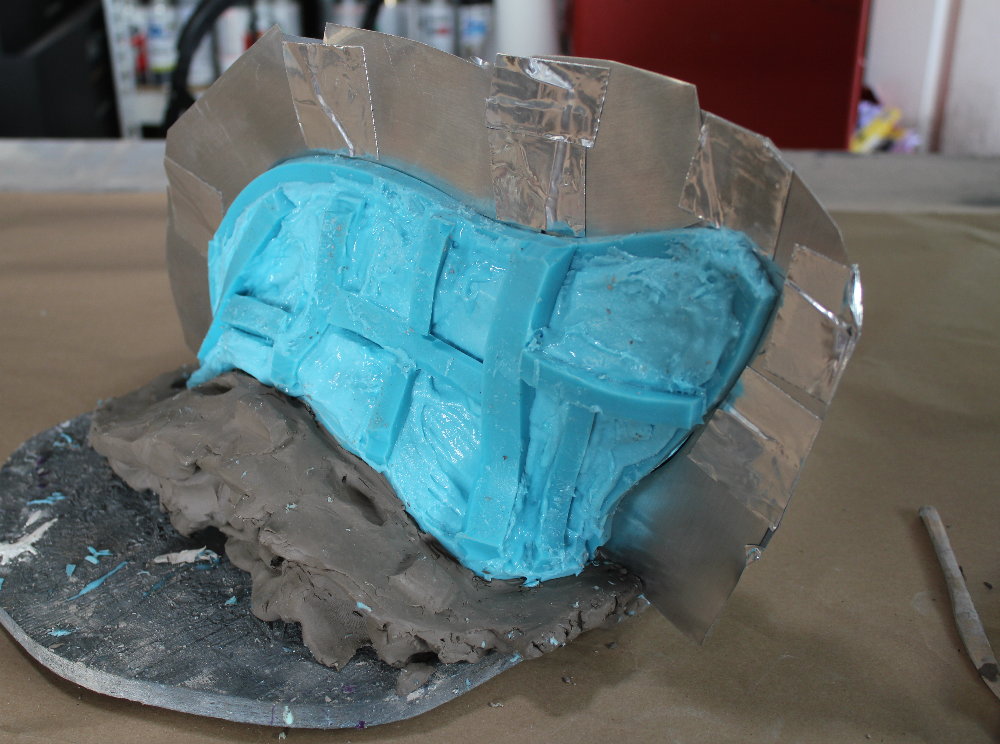
Laser cut styrene and MDF to build the support structure:
Refining the shapes using strene, epoxy clay and fillers:

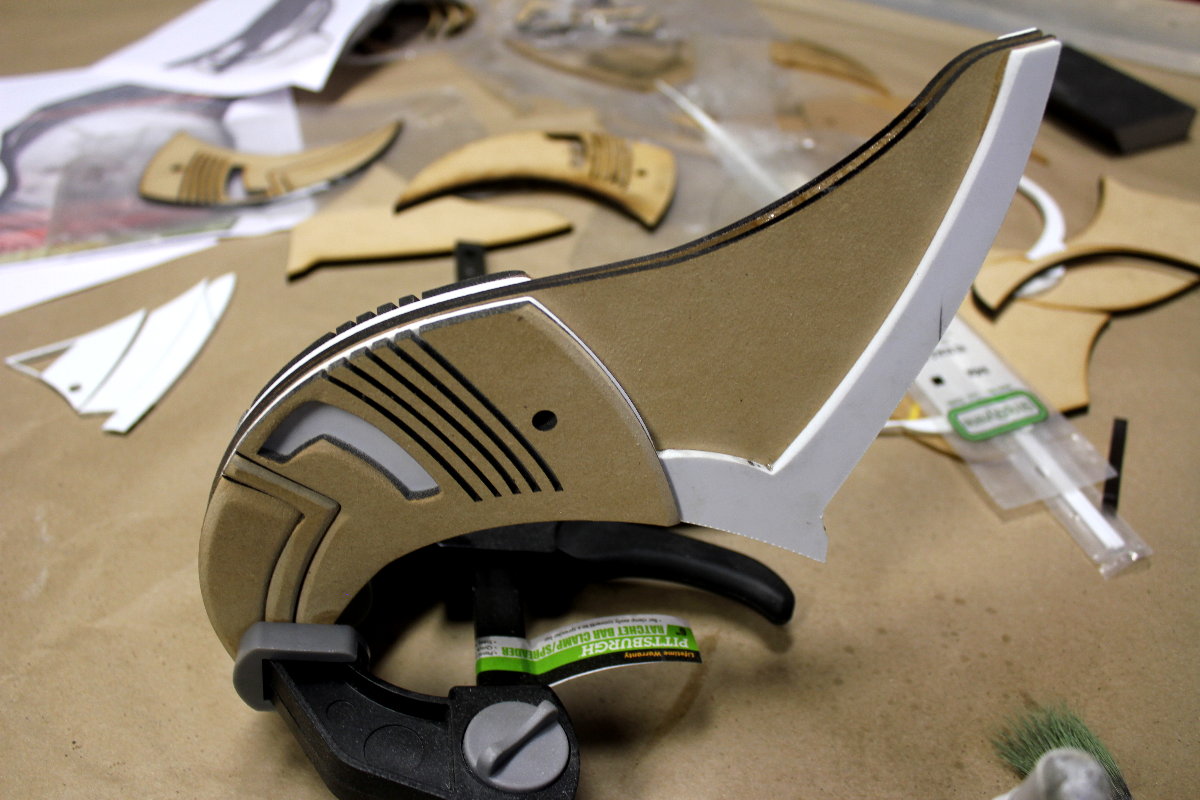
Blocking in more detail using MDF and modeling clay:
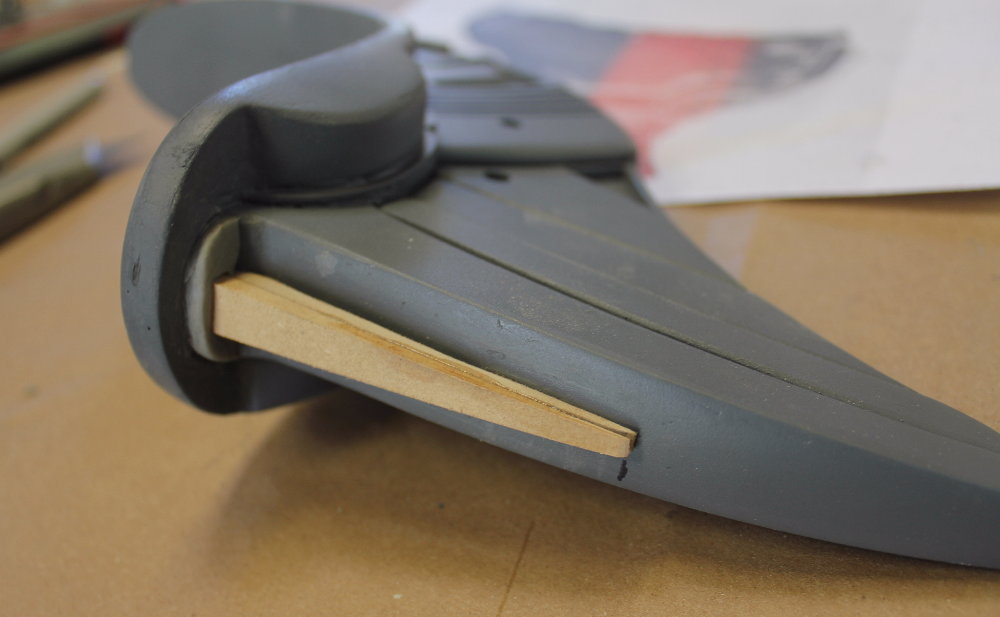
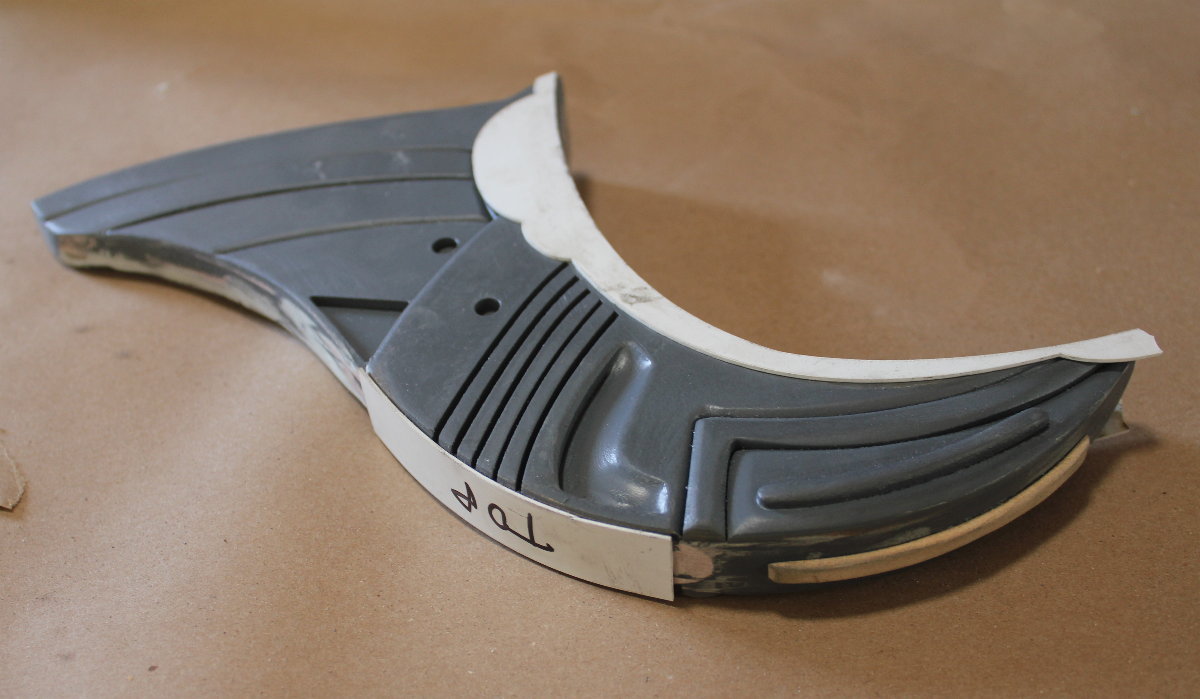
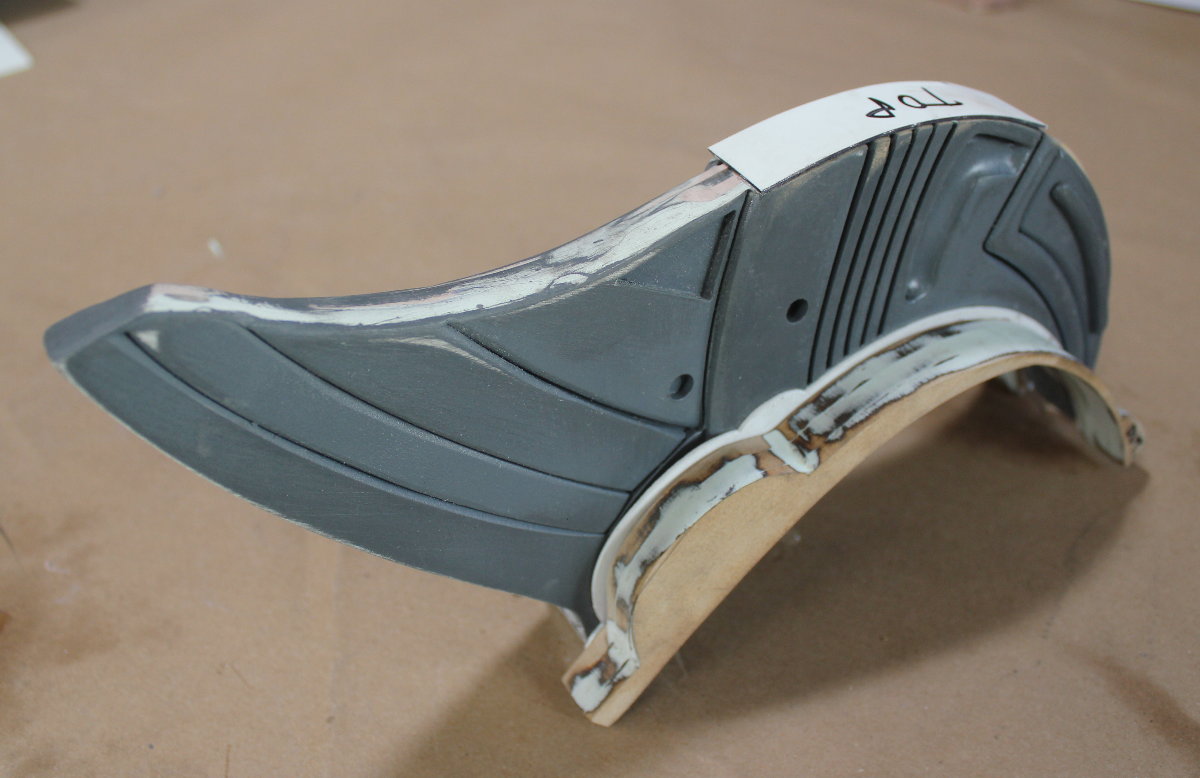
The final clean and polish:
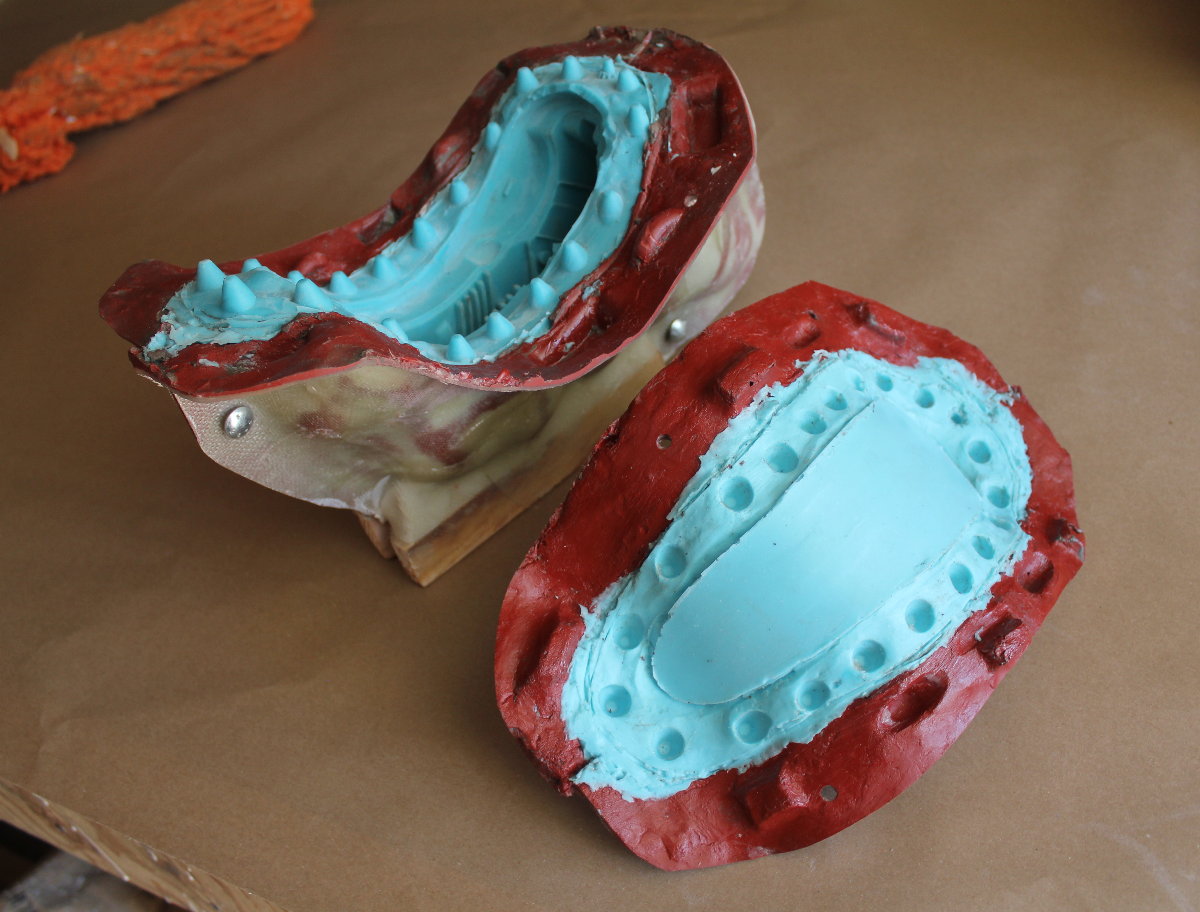
MOLDING
Dividing wall made of metal:
Applying the fiberglass gel-coat:
Untrimmed 2-part fiberglass jacket:

Finished, trimmed production mold:
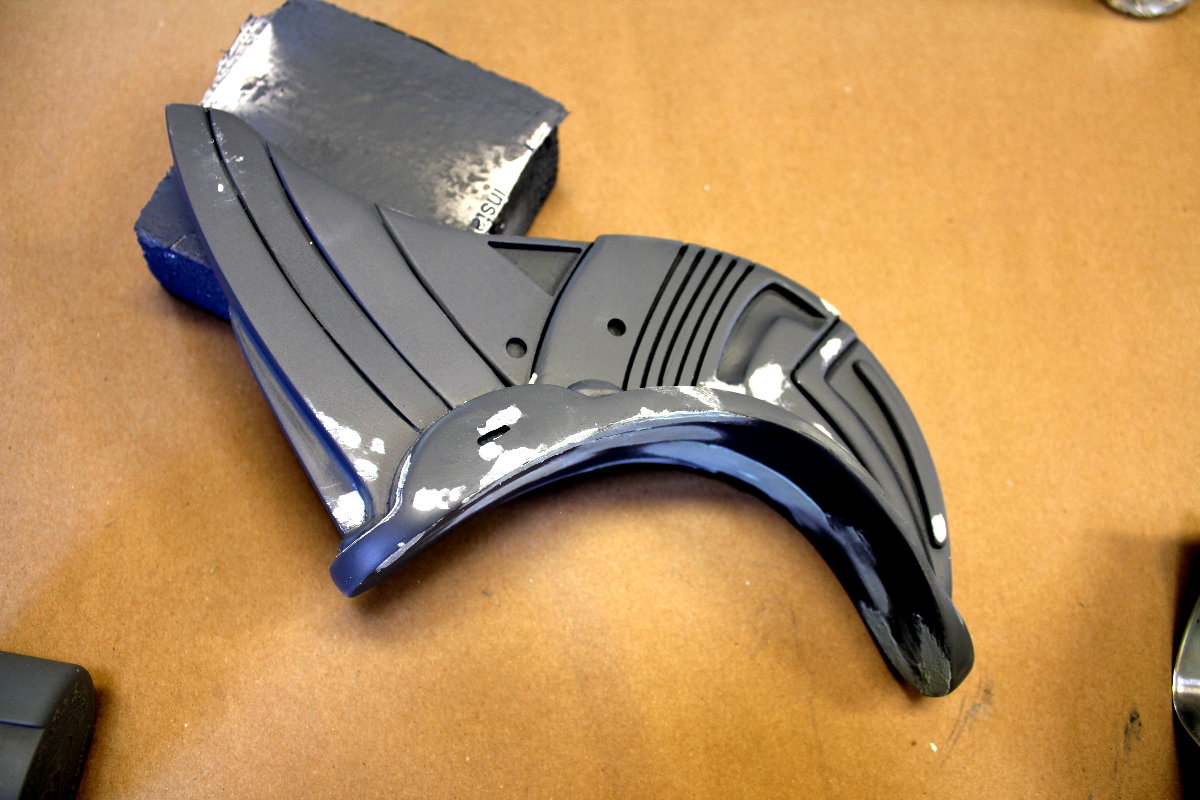
Here is the resulting one part kit. This photo demonstrates, the raw, untrimmed, unpainted kit. It will require some filing, trimming, and general cleaning before it's ready to paint.

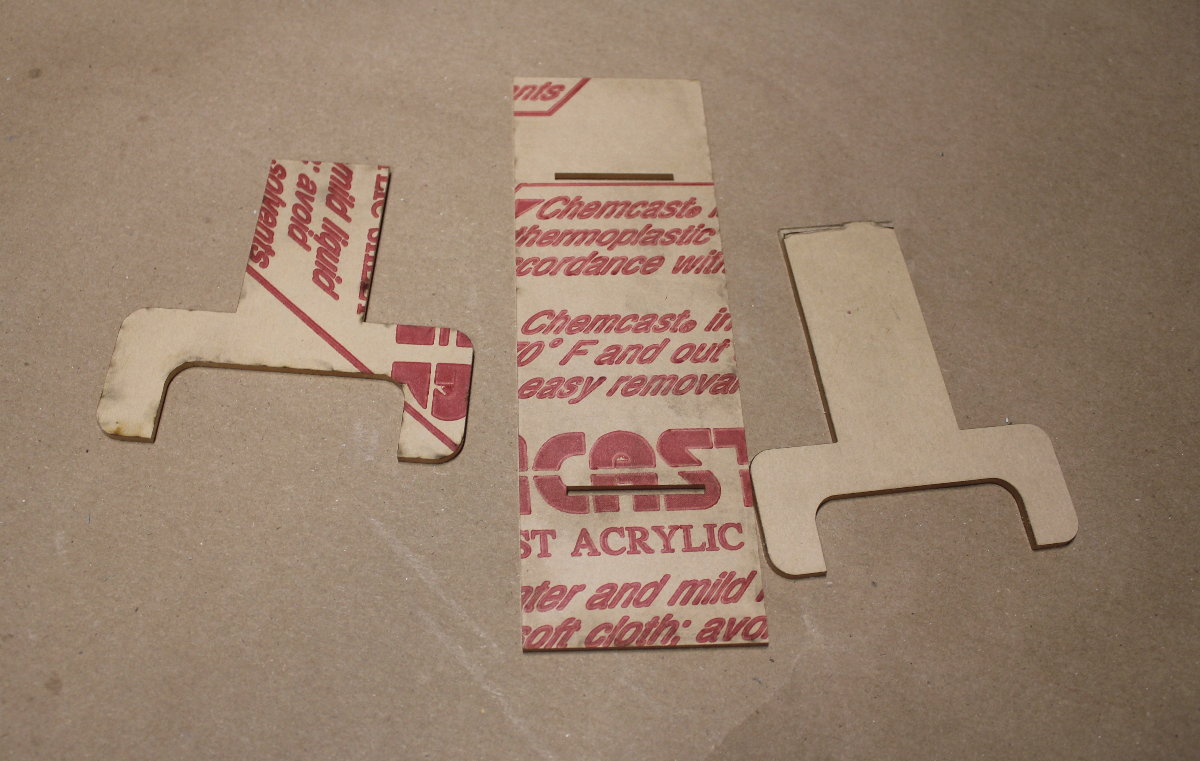
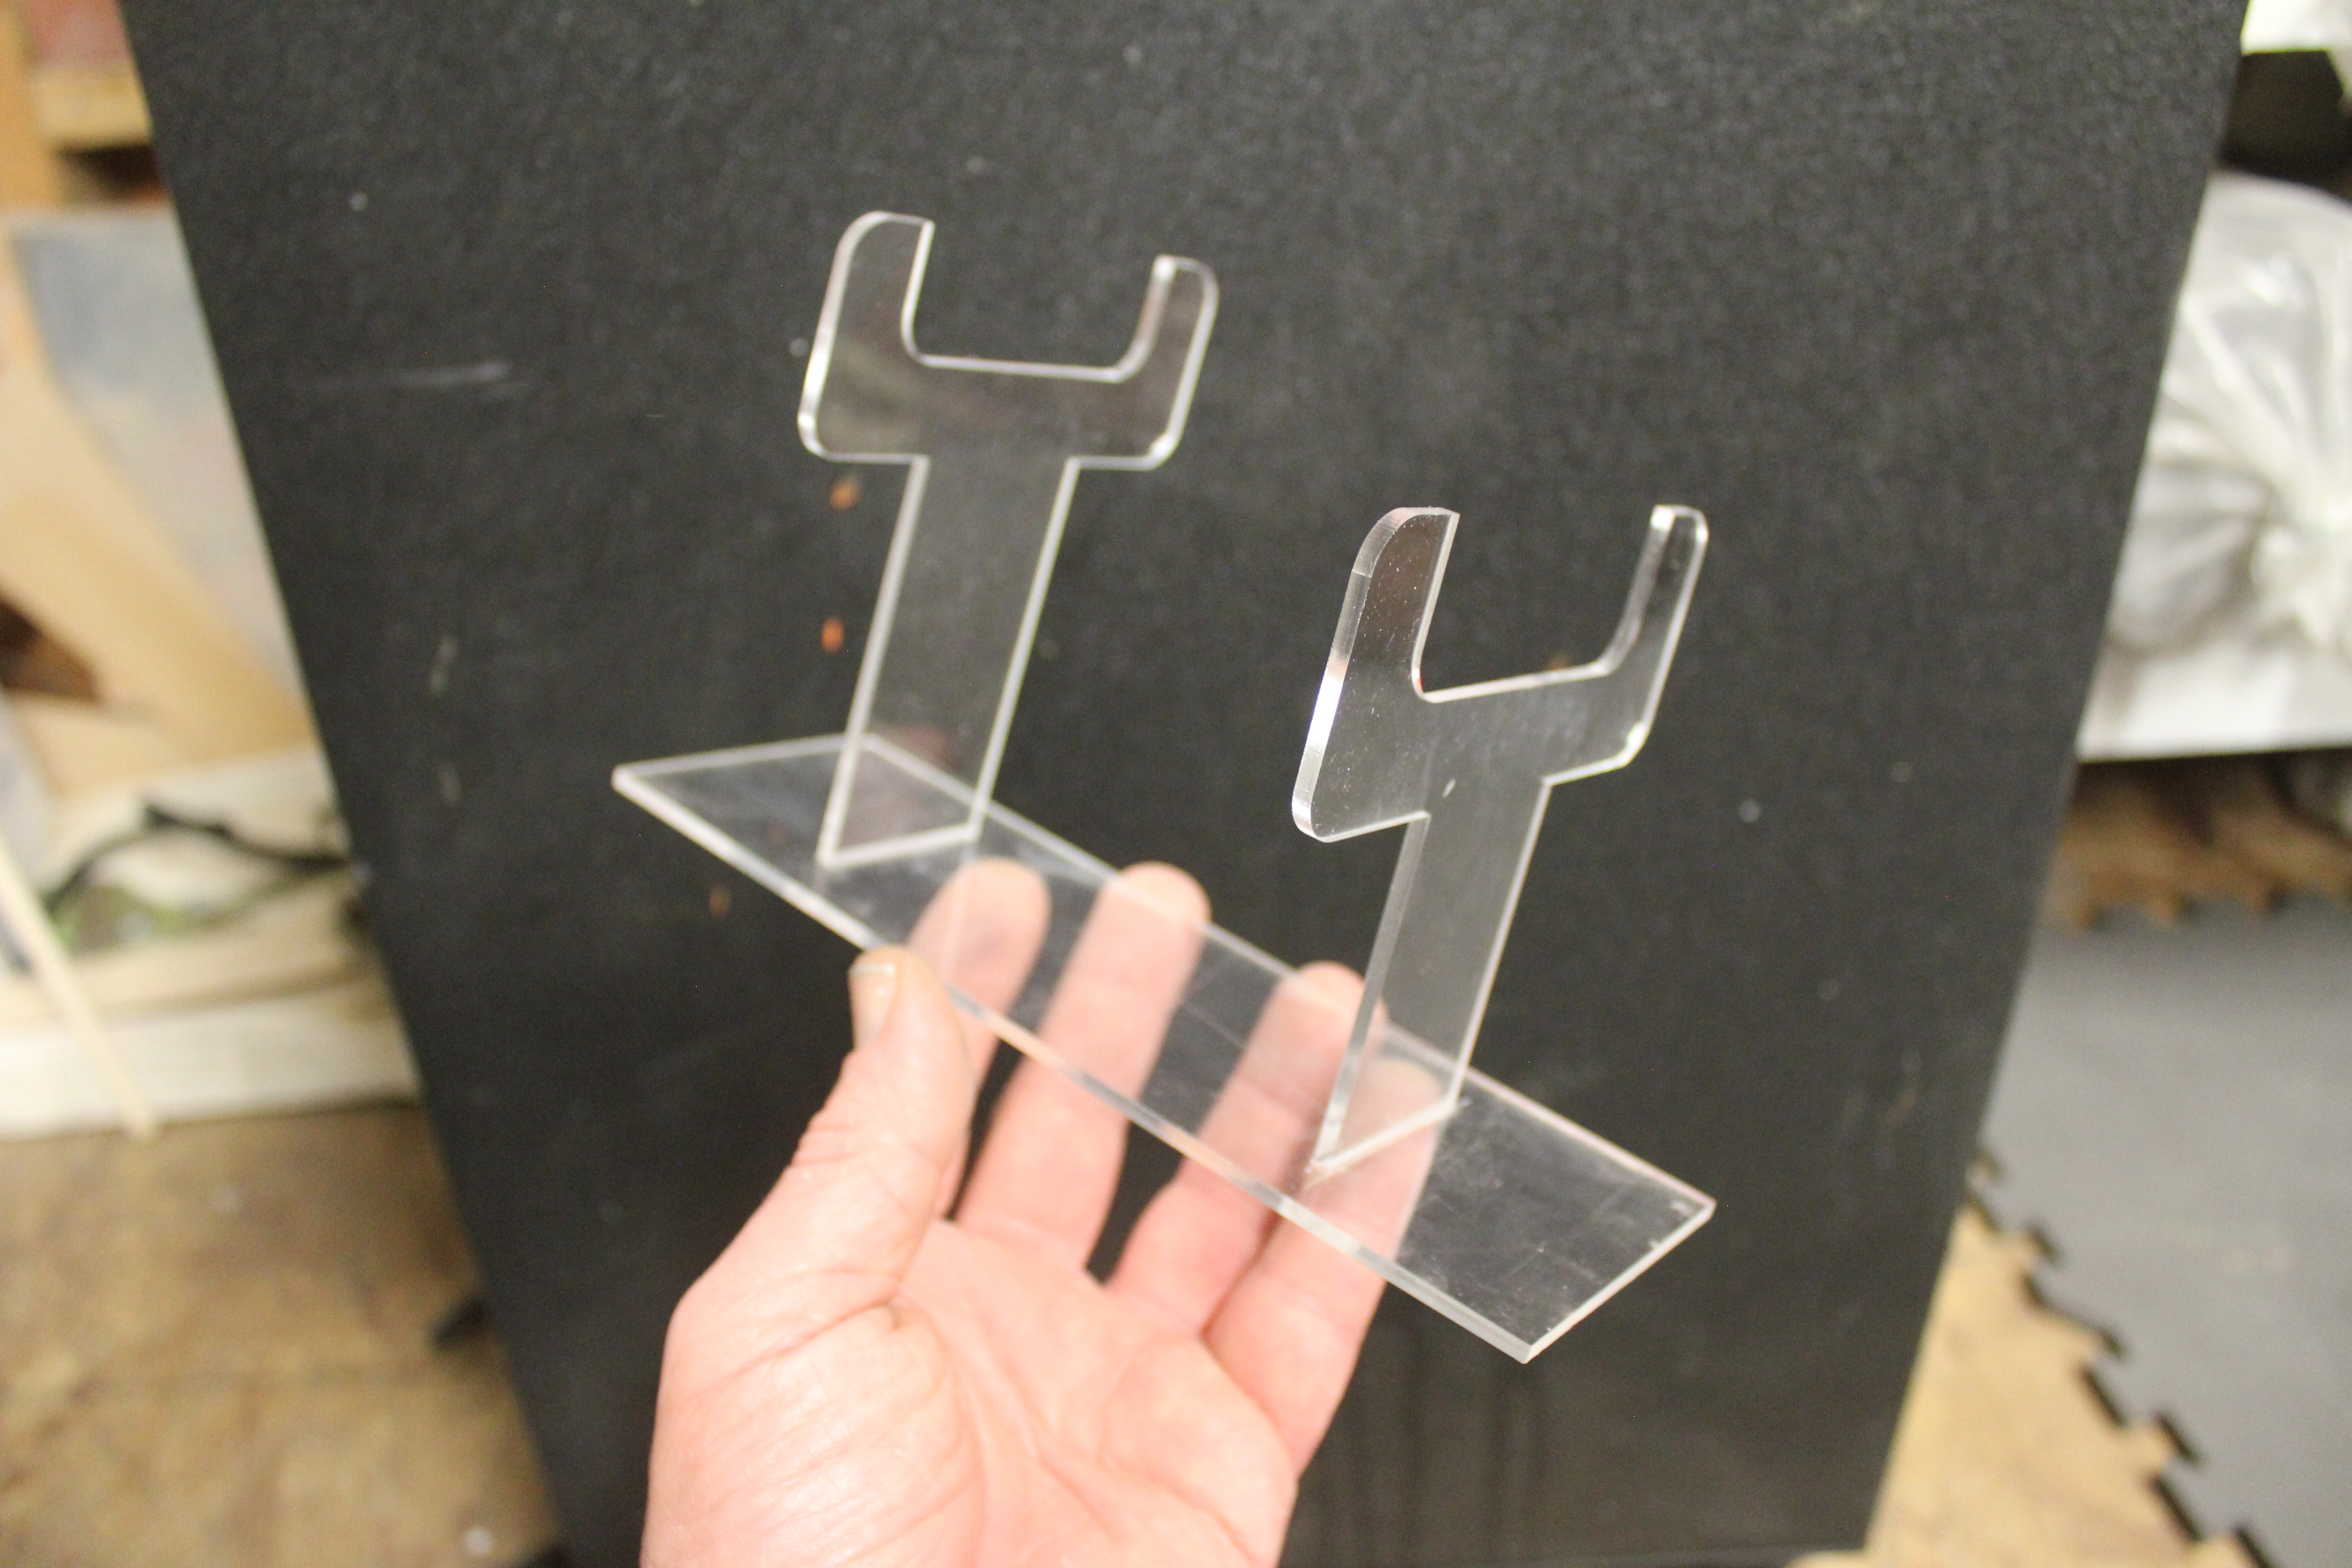
ACRYLIC DISPLAY STAND
I designed an acrylic display stand for the fin. It consists of three laser-cut acrylic parts. The base is slotted to make it easier to assemble the arms.

VISIT THE INFINITY ORB!