
Astromech Build-up Tutorial
Hello and thank you for visiting this blog!! This will update every week until it is completed so please continue checking back.
This blog is set up as an in-depth tutorial for building up a lifesize Astromech from the kit parts seen here: (click on photos to view fullsize)

The sample kit showing in this tutorial can be seen in more detail here: www.goldenarmor.com/astrohomepage.html
With a set of kit parts, and the help of this tutorial, you will be able to create this:

Please keep in mind that these are KIT PARTS. They are untrimmed and will require some tools, time, and patience to complete. You should not attempt this kit without proper knowledge of garage kit building. That is, pieces may require extensive bondo and sanding applications. You should have power tools on hand to assist in these building stages.
Here is a run-down of the kit parts:
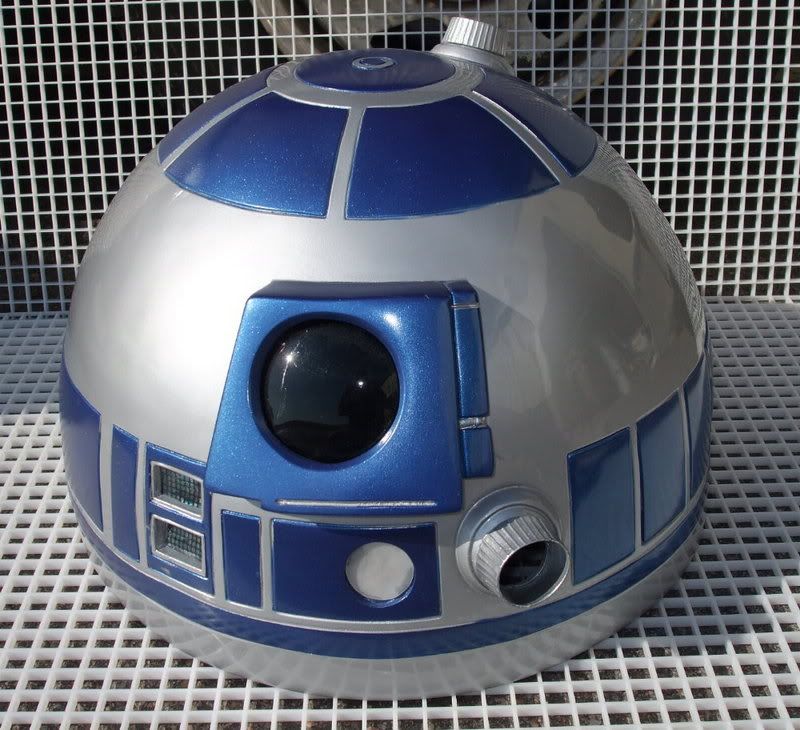
- The Dome with various small resin detail pieces and lenses
- The Body
- Left Leg (with various detail components)
- Right Leg (with various detail components)
- Left Boot (with boot pins set of 2)
- Right Boot (with boot pins set of 2)
- Left Battery Pack
- Right Batter pack
- *(optional) middle boot
- *(optional) middle leg
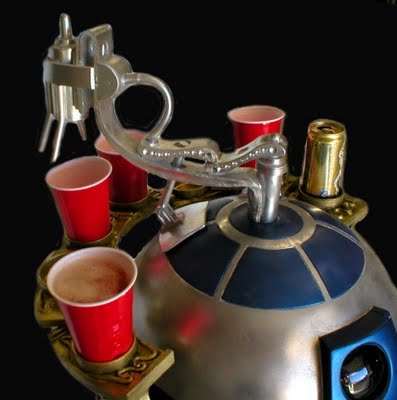
An optional accessor is the drink serving tray and serving dispensor.
There are only 7 main stages (excluding optional electronics installation) to building up one of these kits:
- Trimming
- Cleaning seamlines
- masking
- painting
- bolting legs
- assembling details
- weathering
- *(opional) electronics - sound and lights
Let's start at the DOME and work our way down to the boots, and finish with some details on the optional electronics. Ready?!??
THE DOME


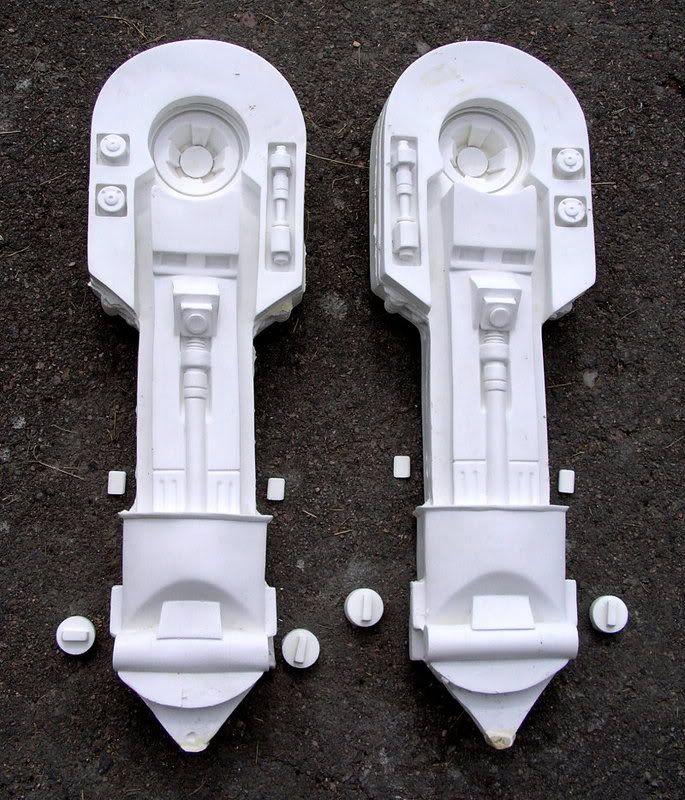
LEGS
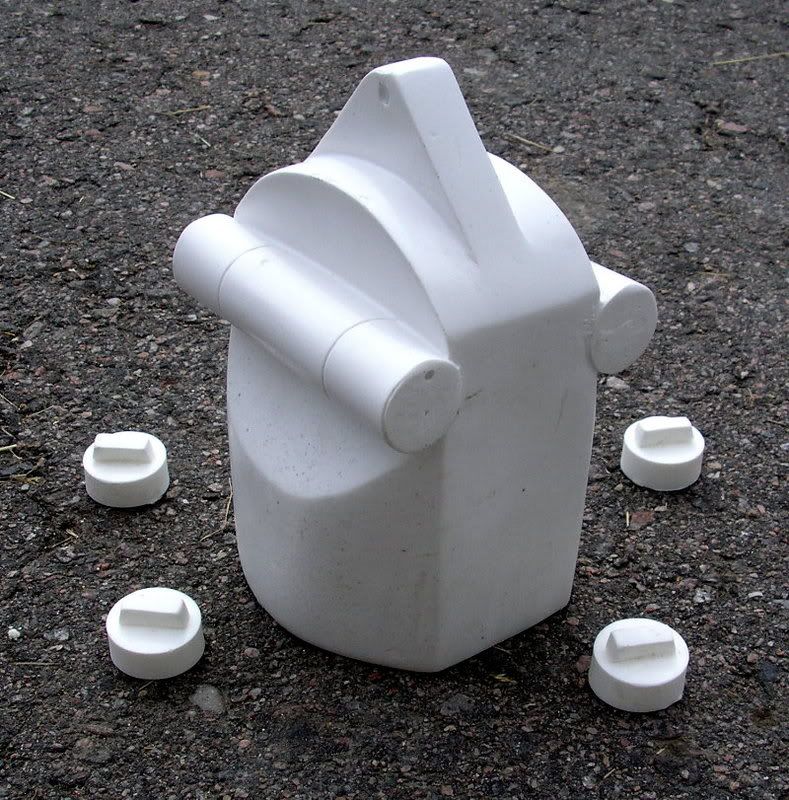
Both the left leg and the right leg are composed of 5 pieces each. 1.) The main leg shell cast strong yet lightweight 2.) two detail chips 3.) two rod caps.


BODY
The body is a single piece casting, which will save you hundreds of hours of work compared to an aluminum skin kit set. You create the vents by cutting styrene pieces and glueing them in the slots. The body is cast in an 8 stage urethane/fiberglass matrix which keeps it hollow, lightweight and super strong.


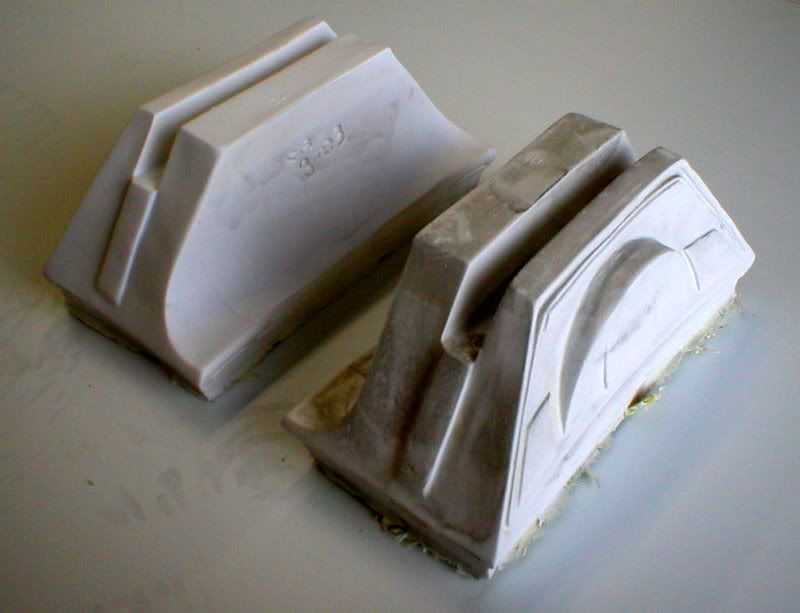
BOOTS
The left and right boots are made of hollow cast shells. There is enough interior room to install a motor and wheels if you're crafty.

BOOT PINS

BATTERY PACKS

MIDDLE LEG
The middle leg is composed of the middle boot, the leg component, and four rod caps.

ELECTRONICS
You can accentuate your buildup with electronics. I'm not very proficient with servoes, motors and actuators so I limit my electronics to lights and sound. Here's some details about some light options for this droid:
These are laser cut acrylic grids patterned EXACTLY to the transparencies provided with the dome kit.

The matched 1mm holes correspond with each of the color dots in the logic transparencies. Here's how to utilize this: First you need a logic display circuit. It comes to you pre-wired, attached on a battery clip and on/off toggle so all you need to do is bundle then and attach some 1mm fiber optic filament (not included). Showing here:


NOTE: the logic circuit is available by emailing impervium@hotmail.com You will need two of these logic circuit boards to create the lighting for both the front and rear logic ports.

This shows the array configured to the REAR LOGIC port:

This shows the array configured to the FRONT LOGIC ports.

VIDEO DEMO HERE:
COMING SOON..........

Reader Comments (1)
how do you connect the wiring? that's what i need to know.