
Studio Scale Escape Pod MODEL
Studio Scale Escape Pod
SEPTEMBER 2025 UPDATE: I will be remastering the escape pod at the beginning of October 2025. This means the masters will be brought back out of storage and brand new molds produced from the masters. Ultimately, this means the cast parts will be crisp and fresh and straight.
I love this ship, from the moment I saw it on screen as a little kid in 1977. This is an exercise in 3D Modeling and printing. It's also an exercise on the wallet since nearly a thousand dollars was spent on vintage donor kits. Though the base of this model is initally born from pixels in the computer, many dozens of authentic donor parts are used to provide detailing and the ENTIRE model is plated and paneled the old fashioned way with sheet styrene. Enjoy.
ATTENTION!: THE BUYNOW BUTTONS ARE ONLY FOR BUYERS THAT HAVE A U.S. ADDRESS. PLEASE DO NOT USE THE BUYNOW BUTTONS If you are overseas, please email first as we need to arrange for a third party carrier.
BOOKMARK NOW. Email impervium@hotmail.com

Build-up by John Simmons
FREE 32 MINUTE VIDEO TUTORIAL:
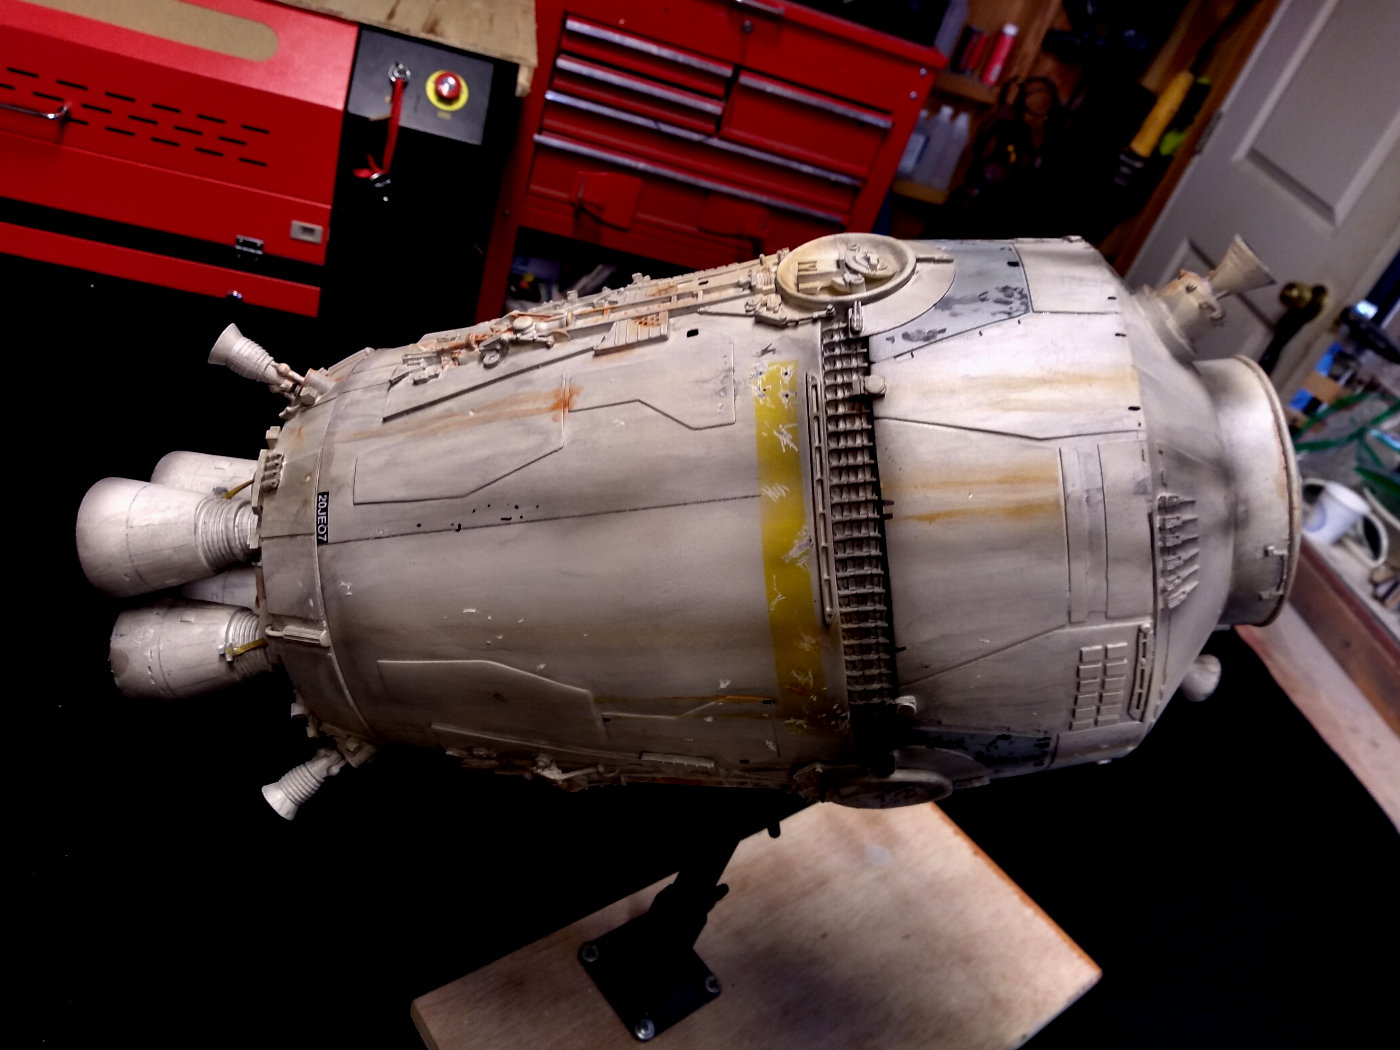
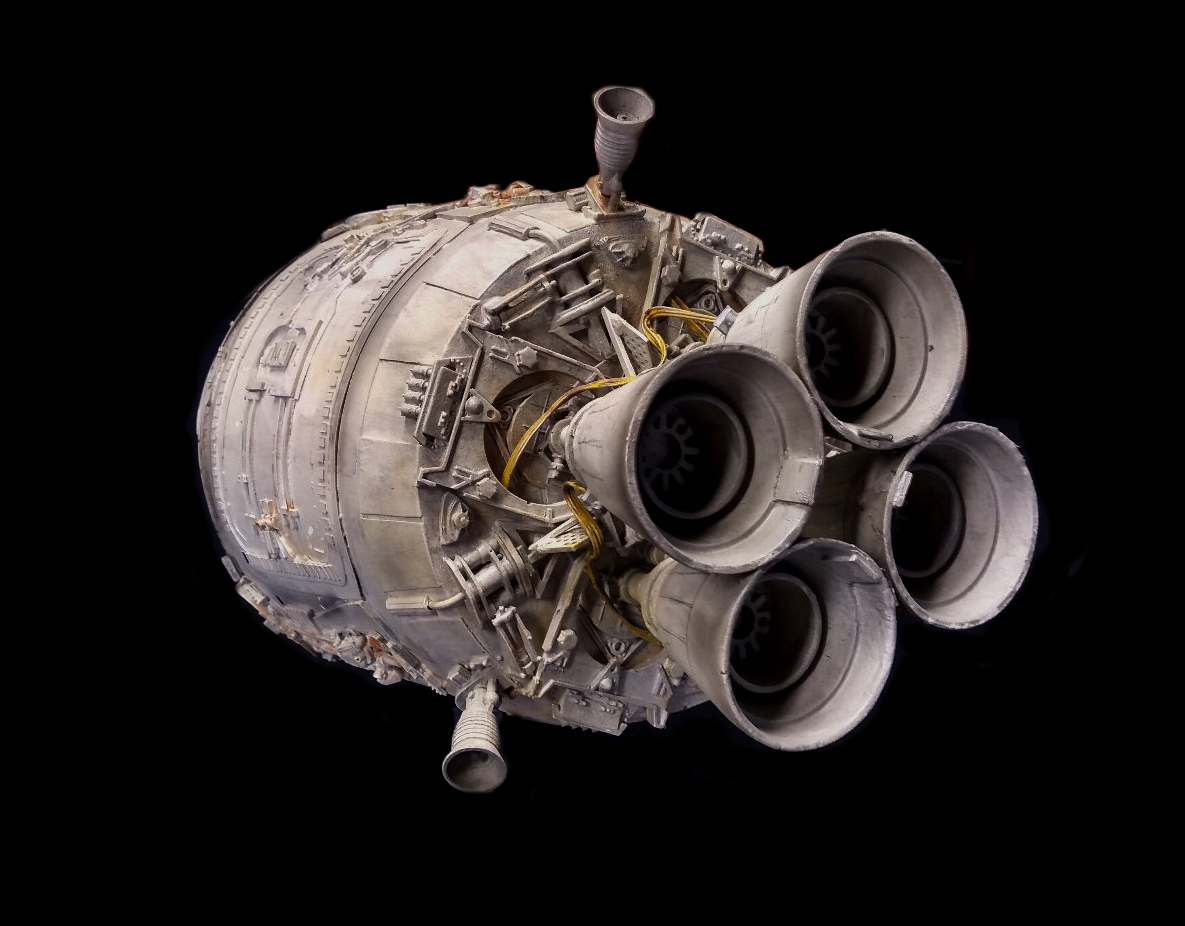
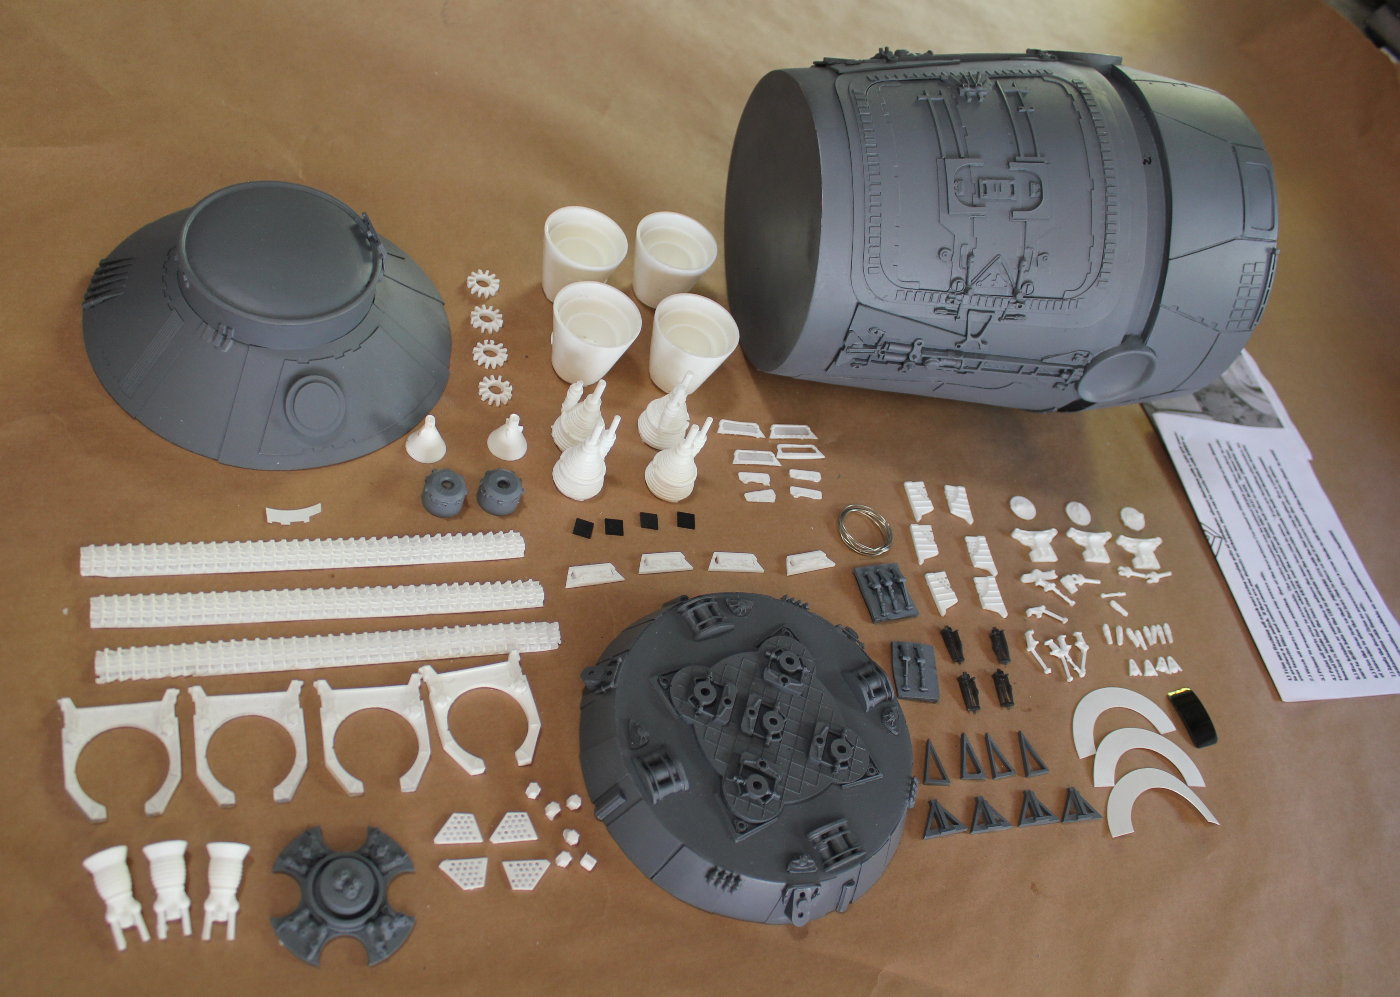
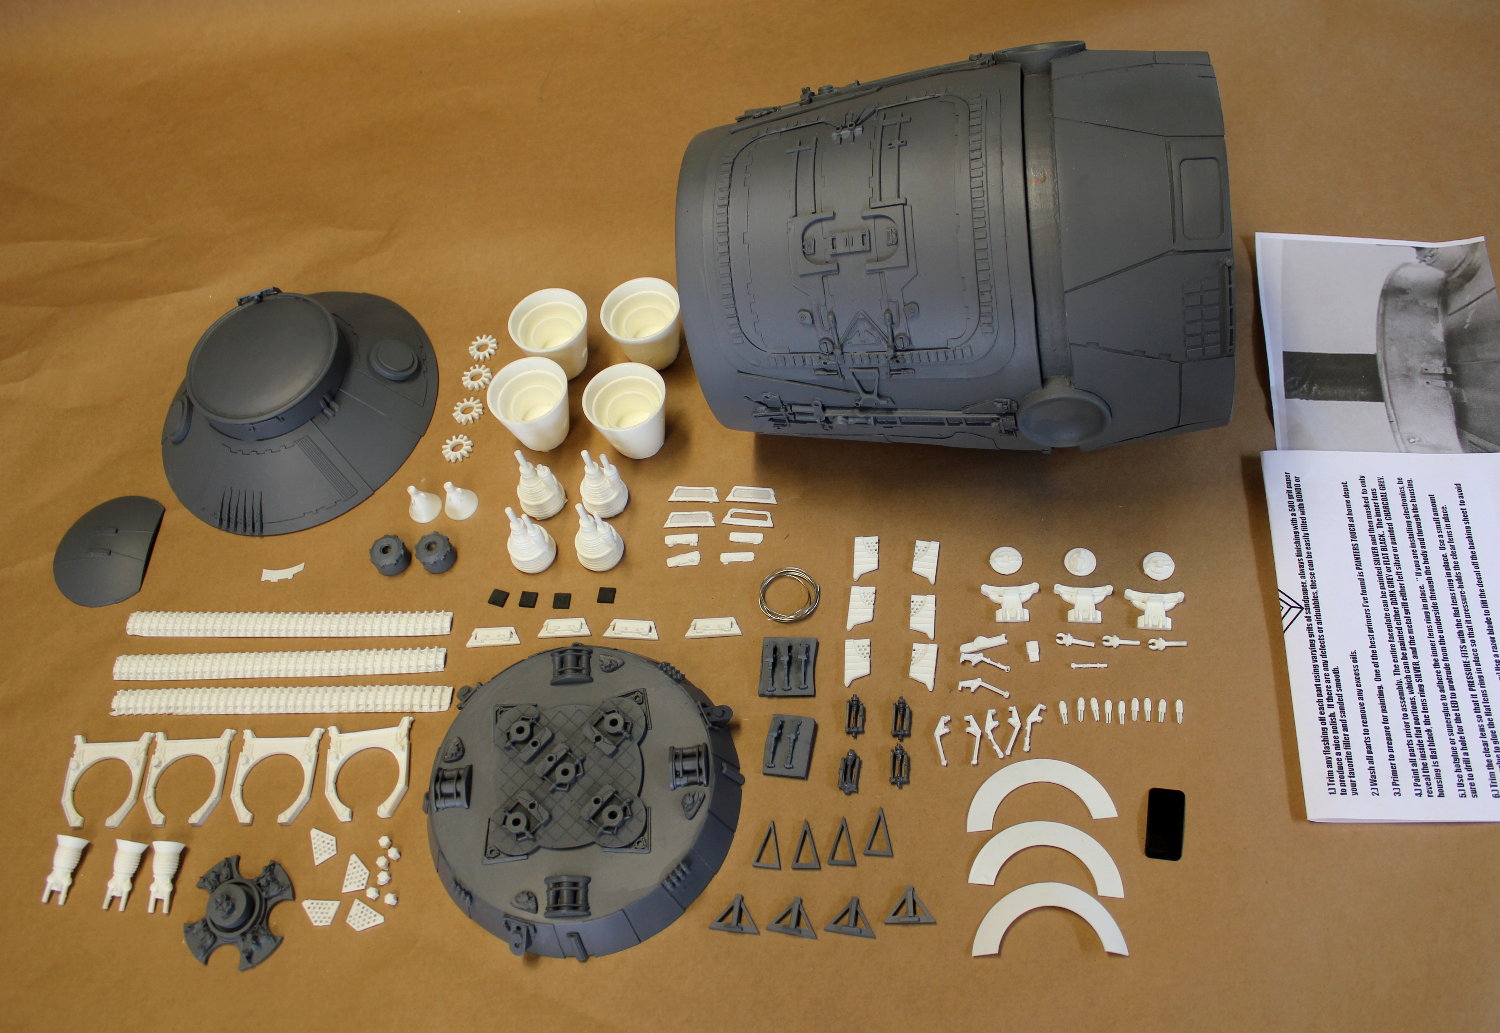
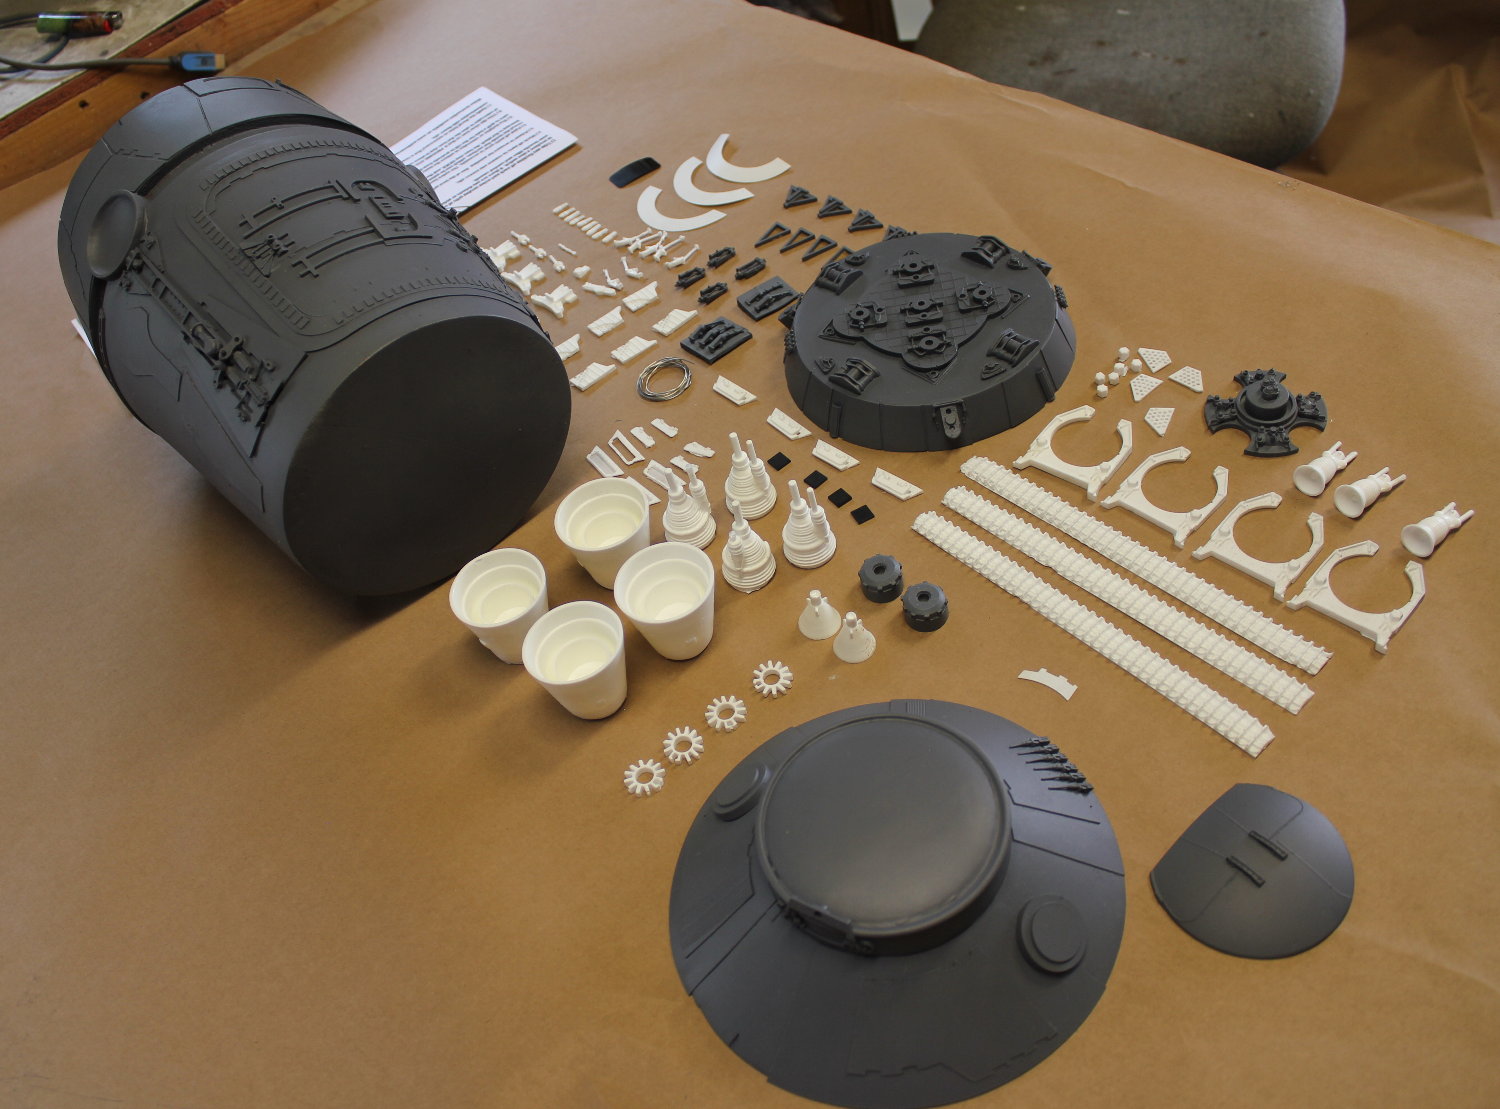
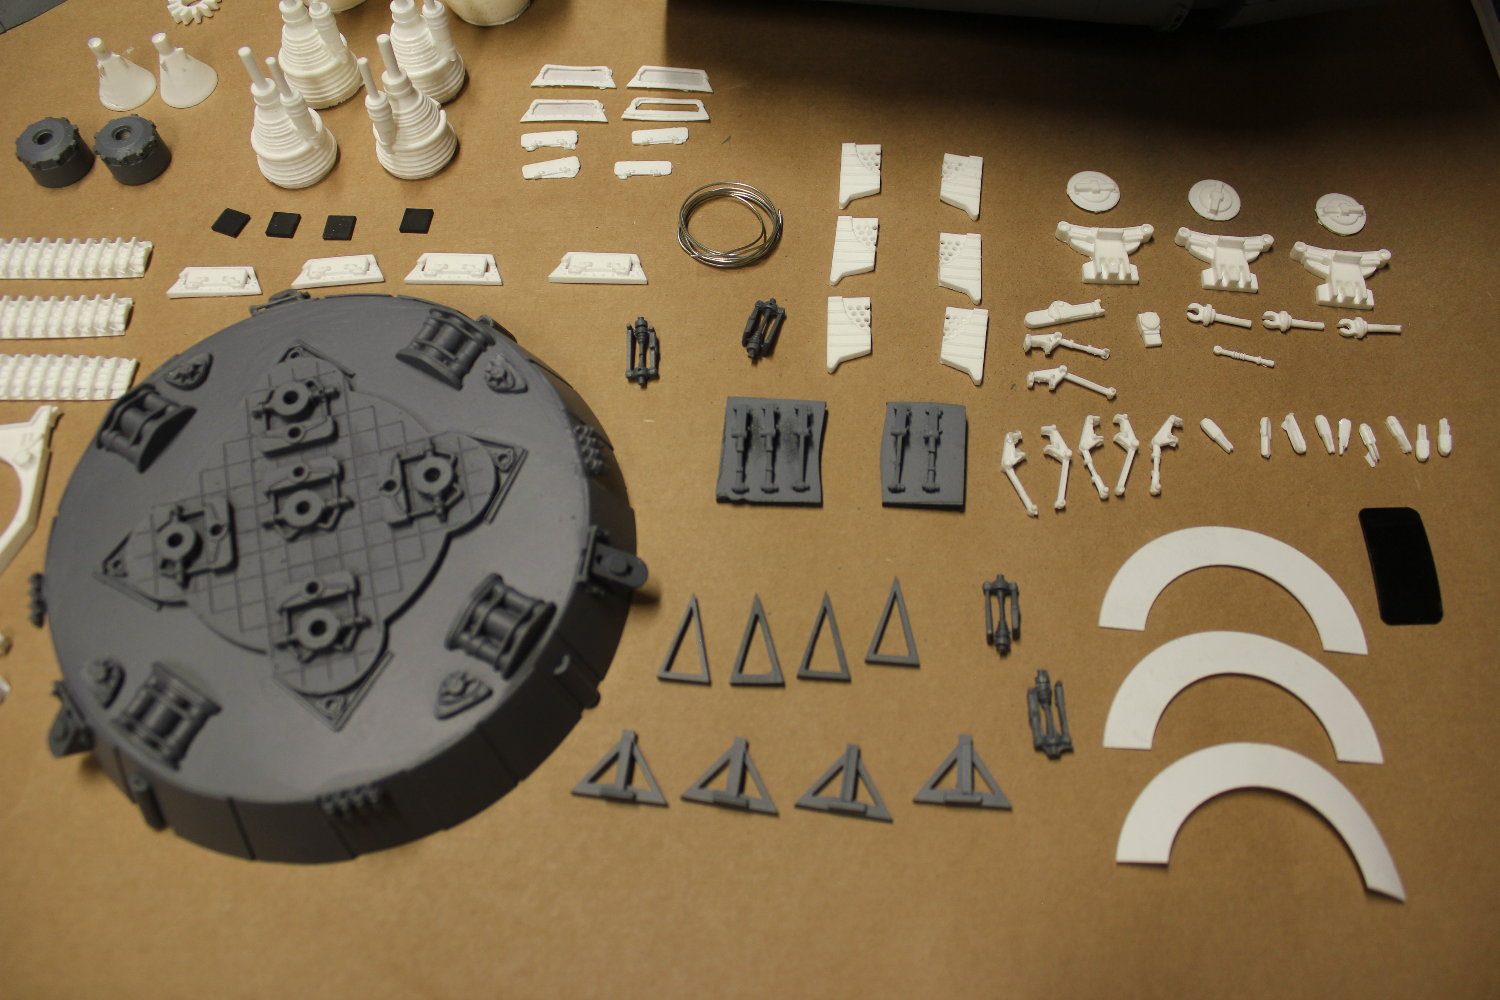
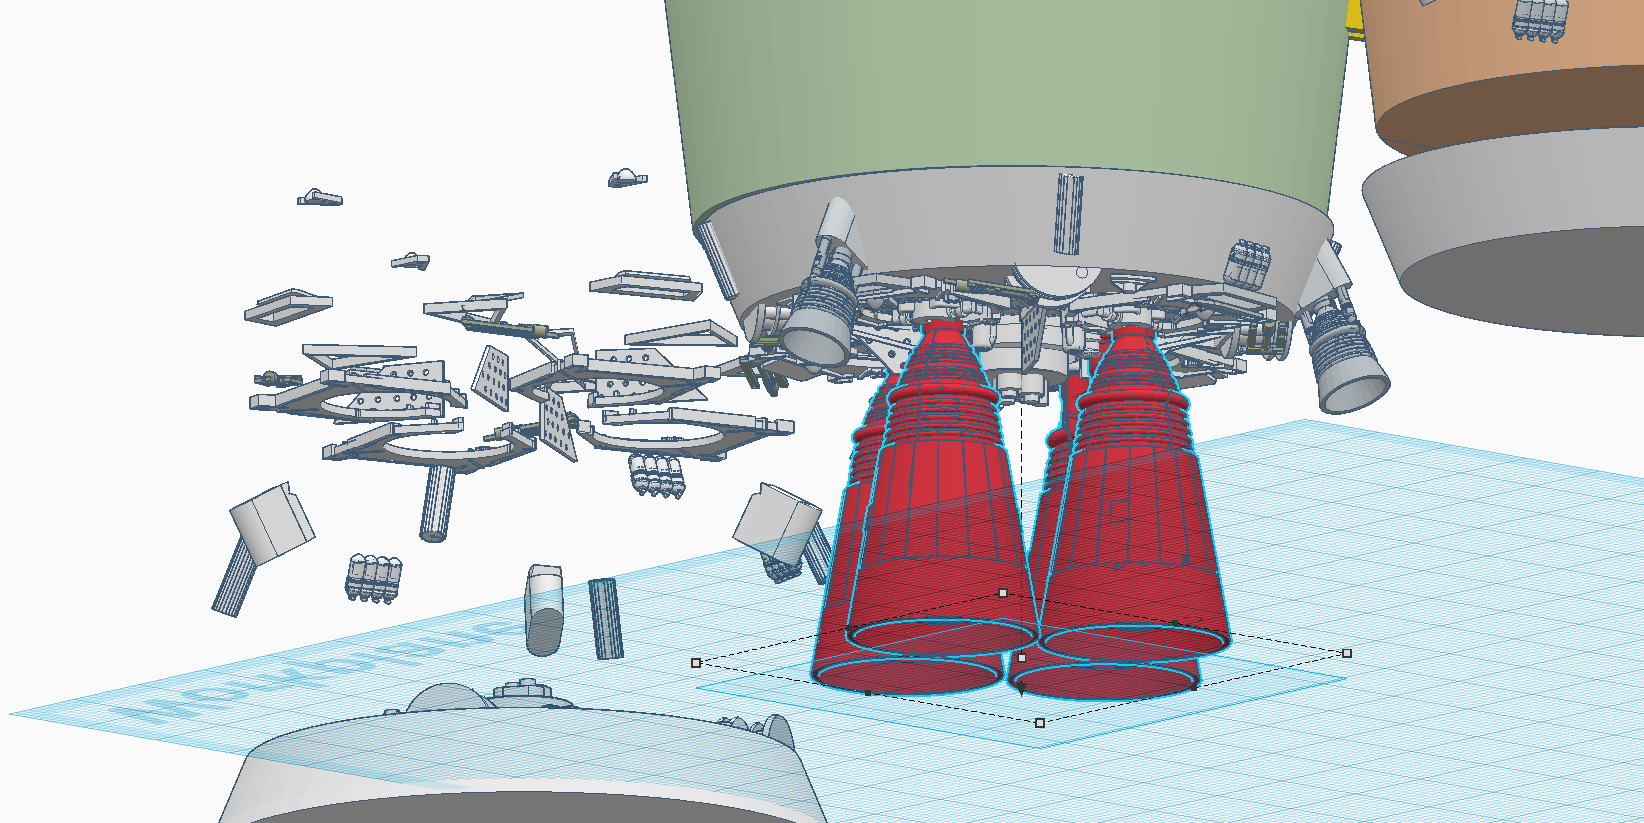
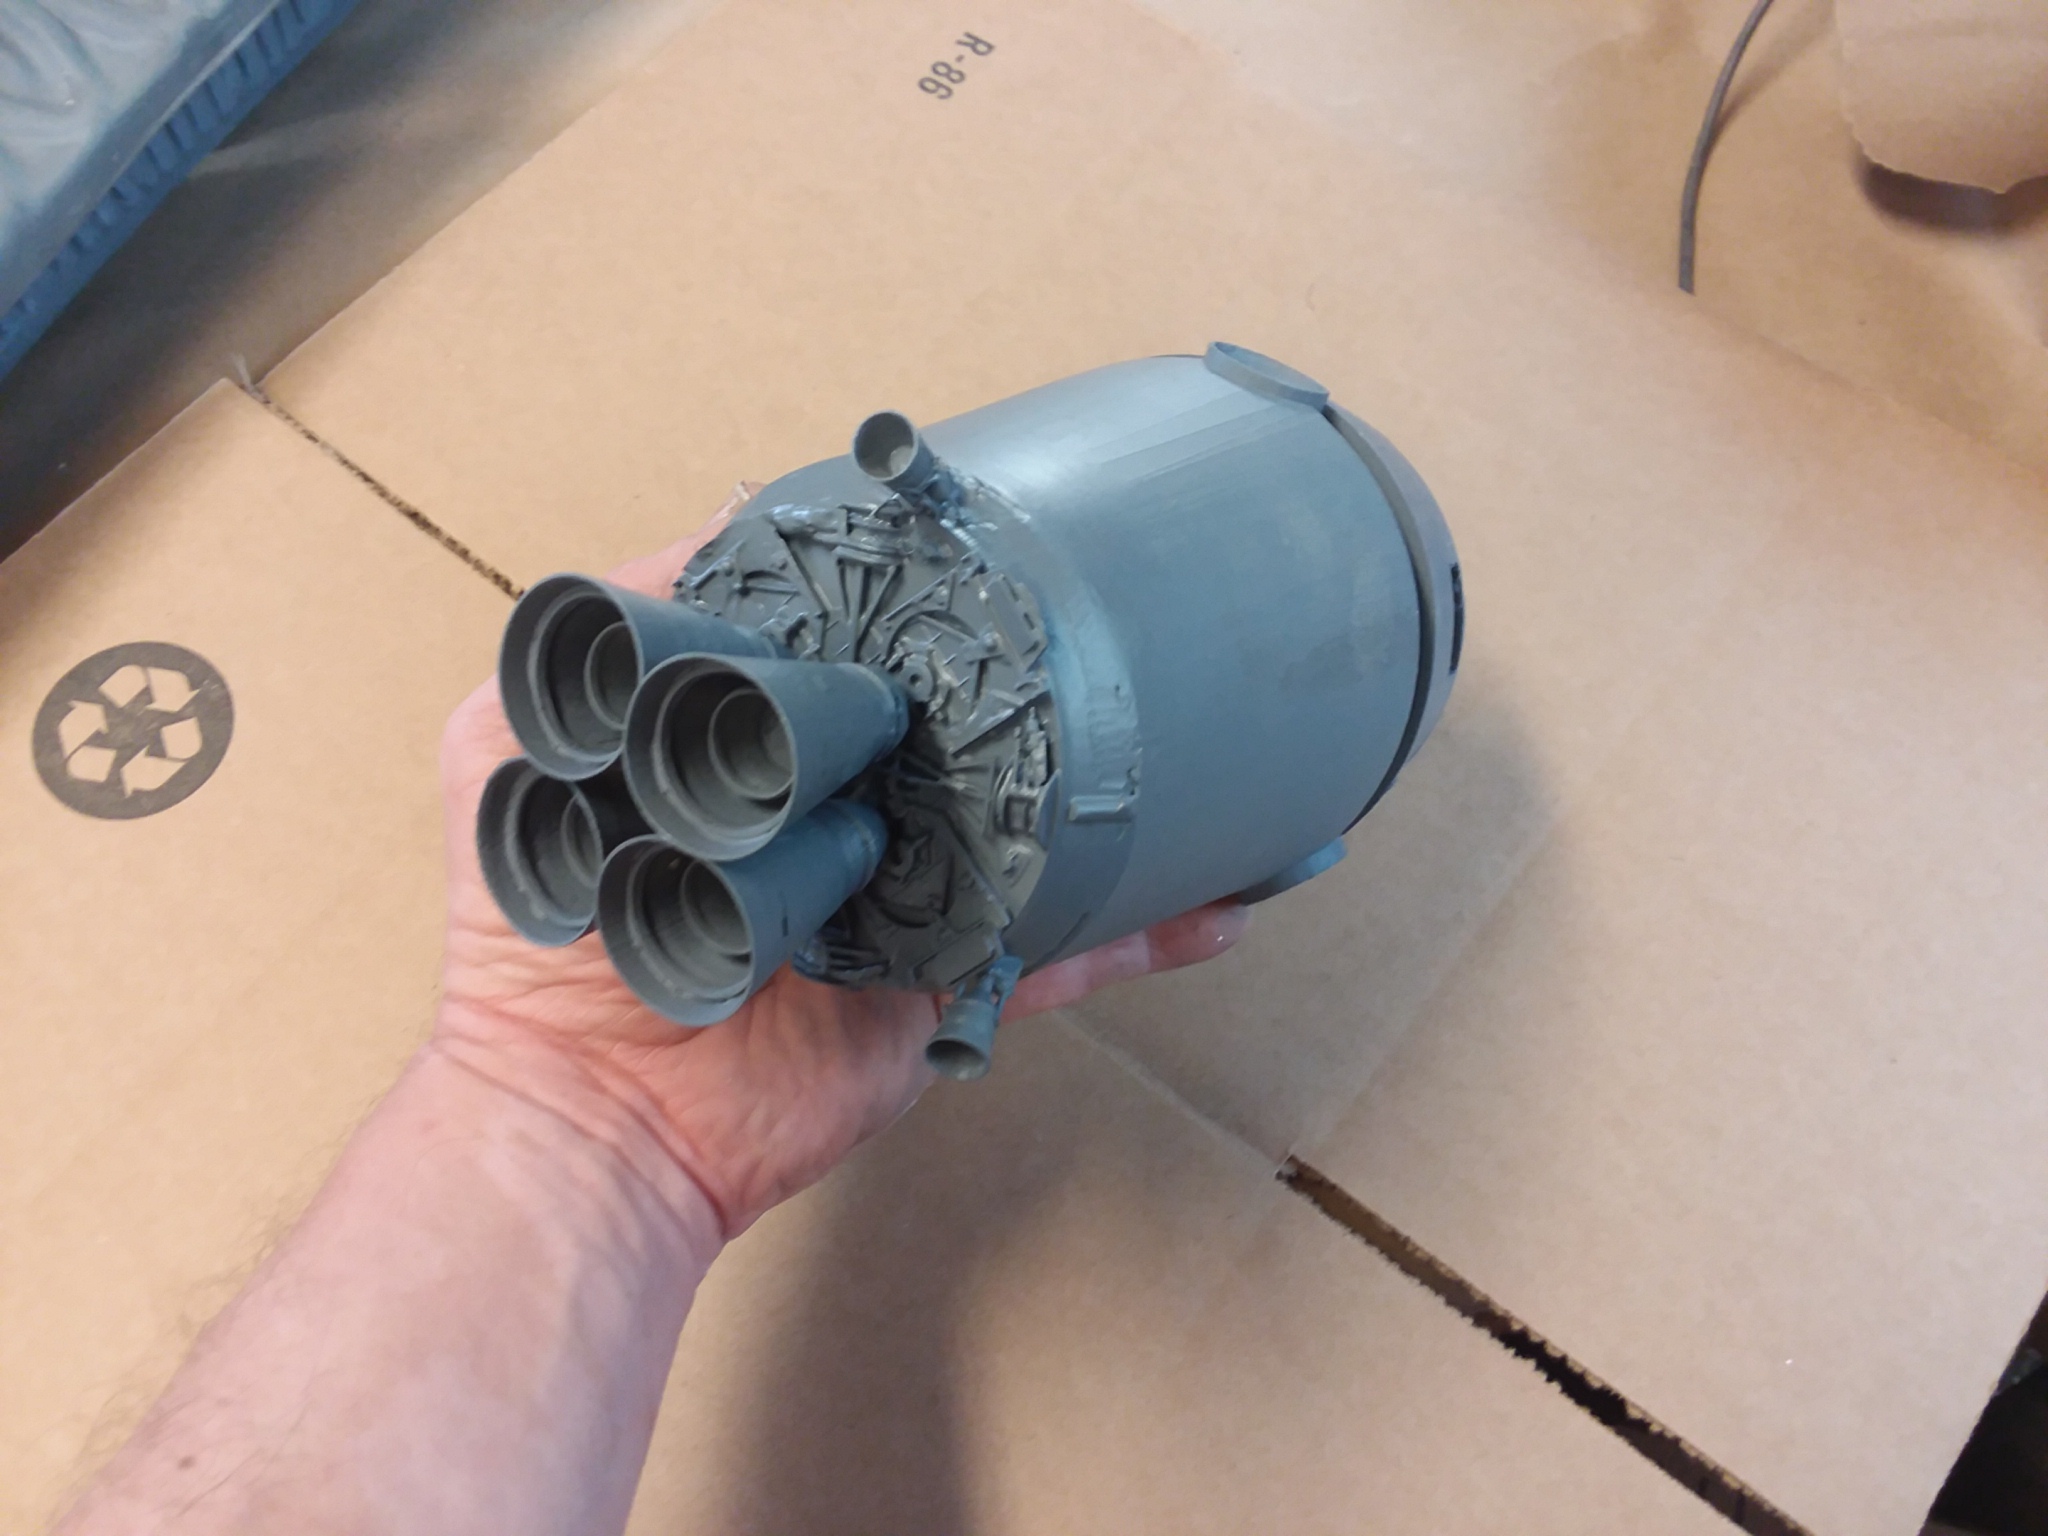
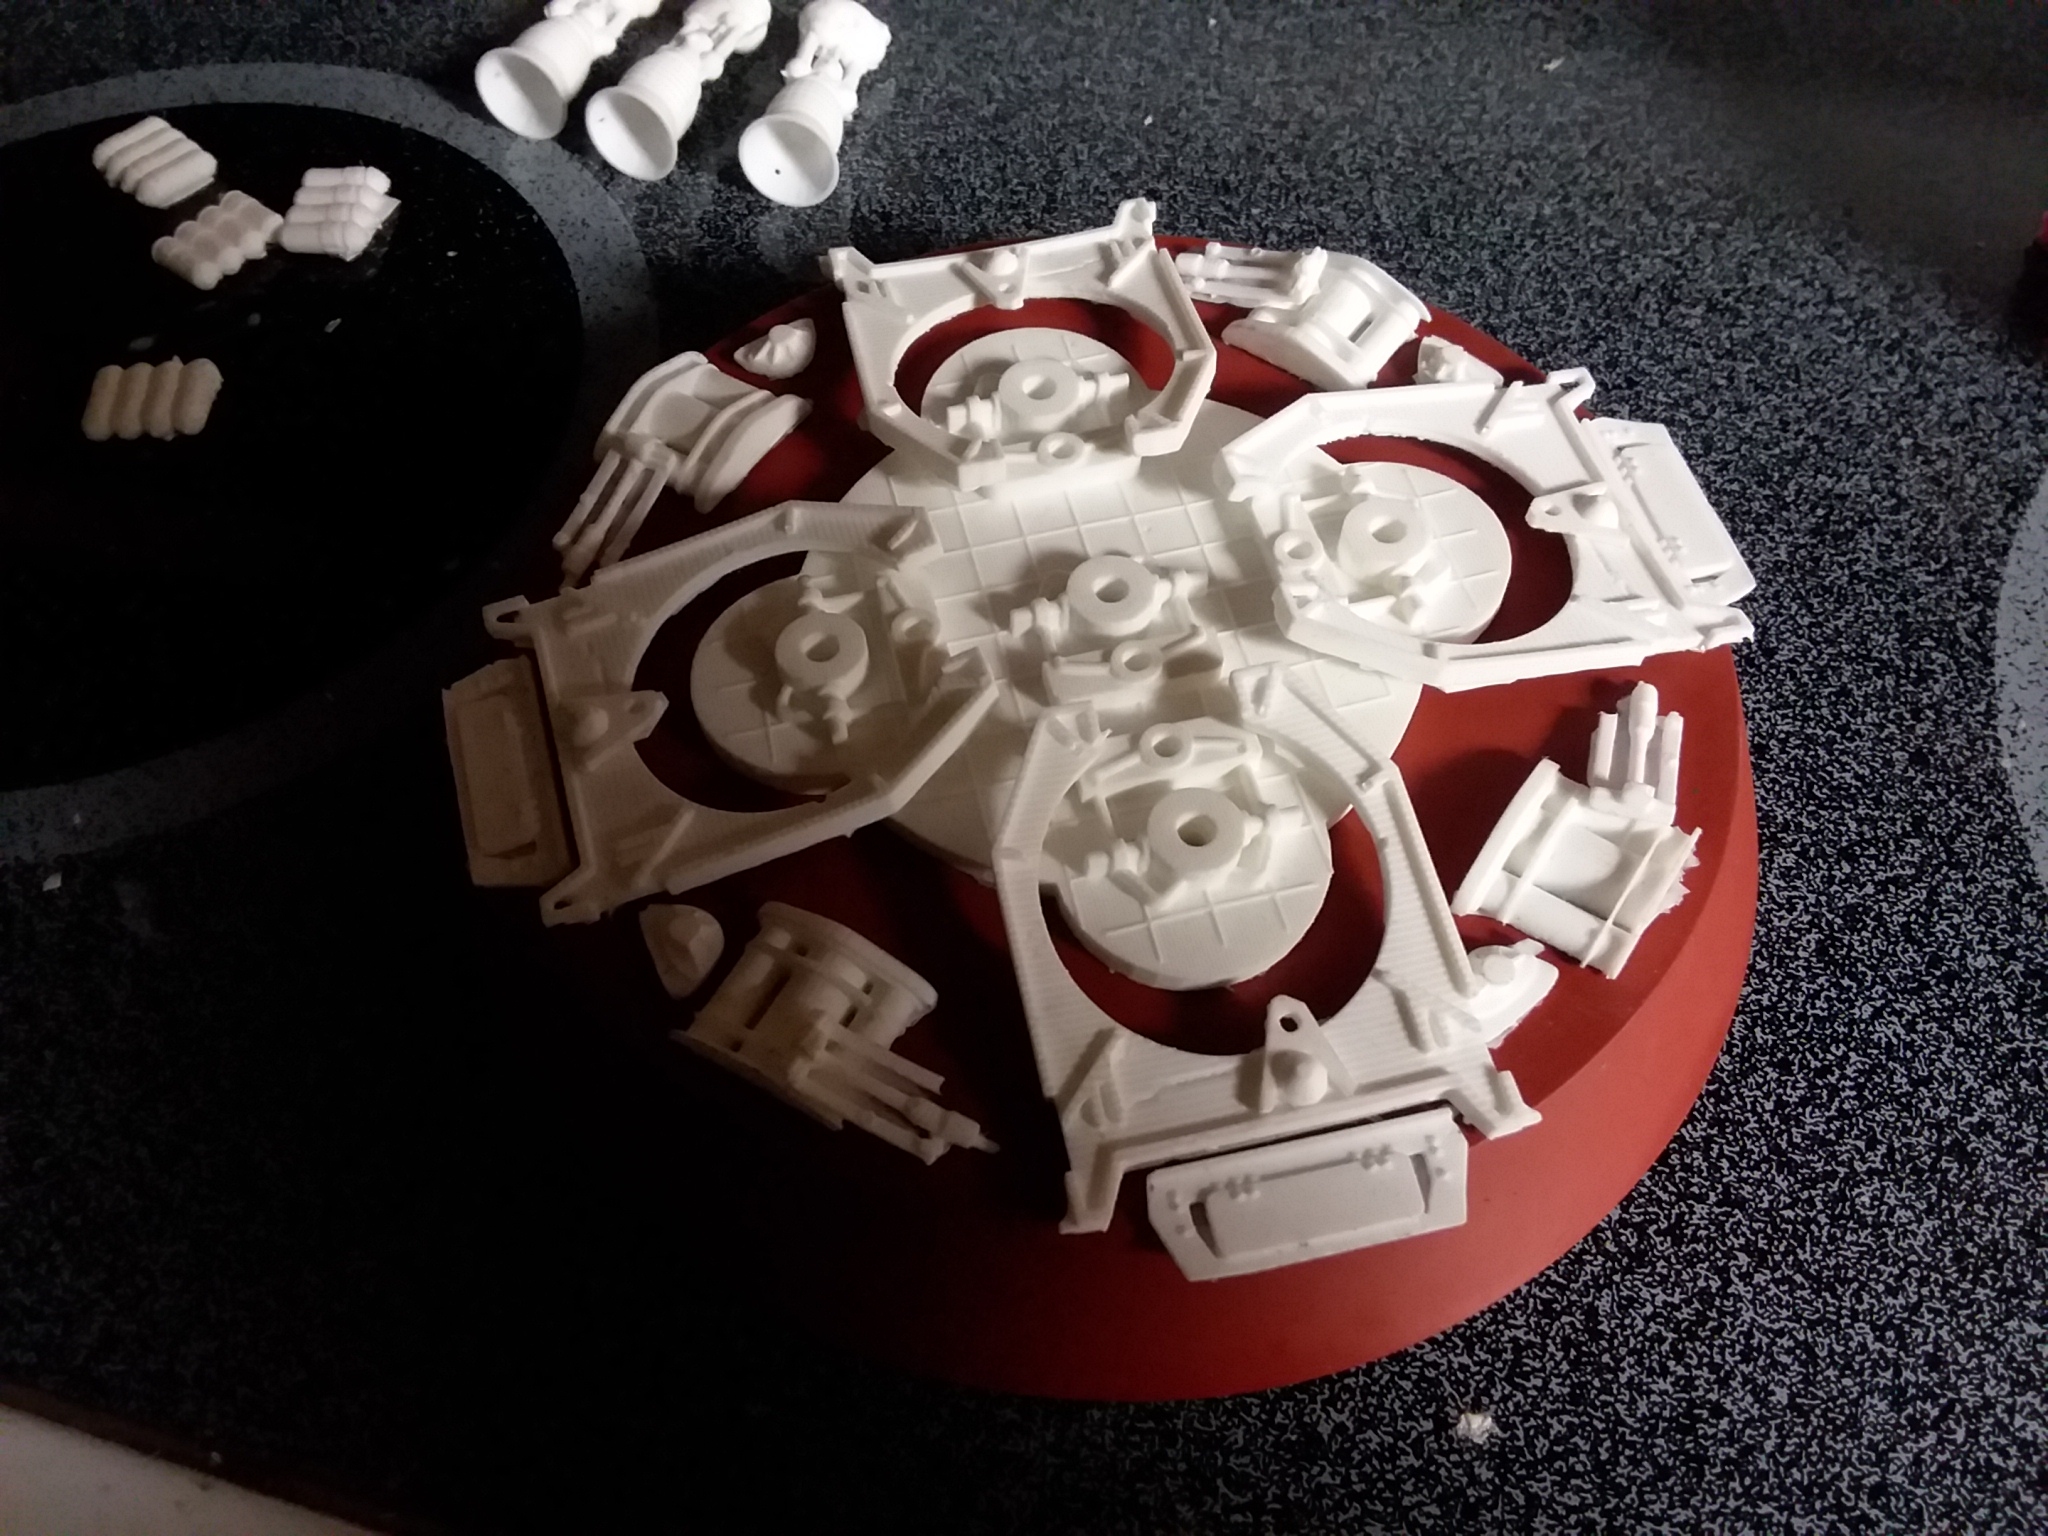
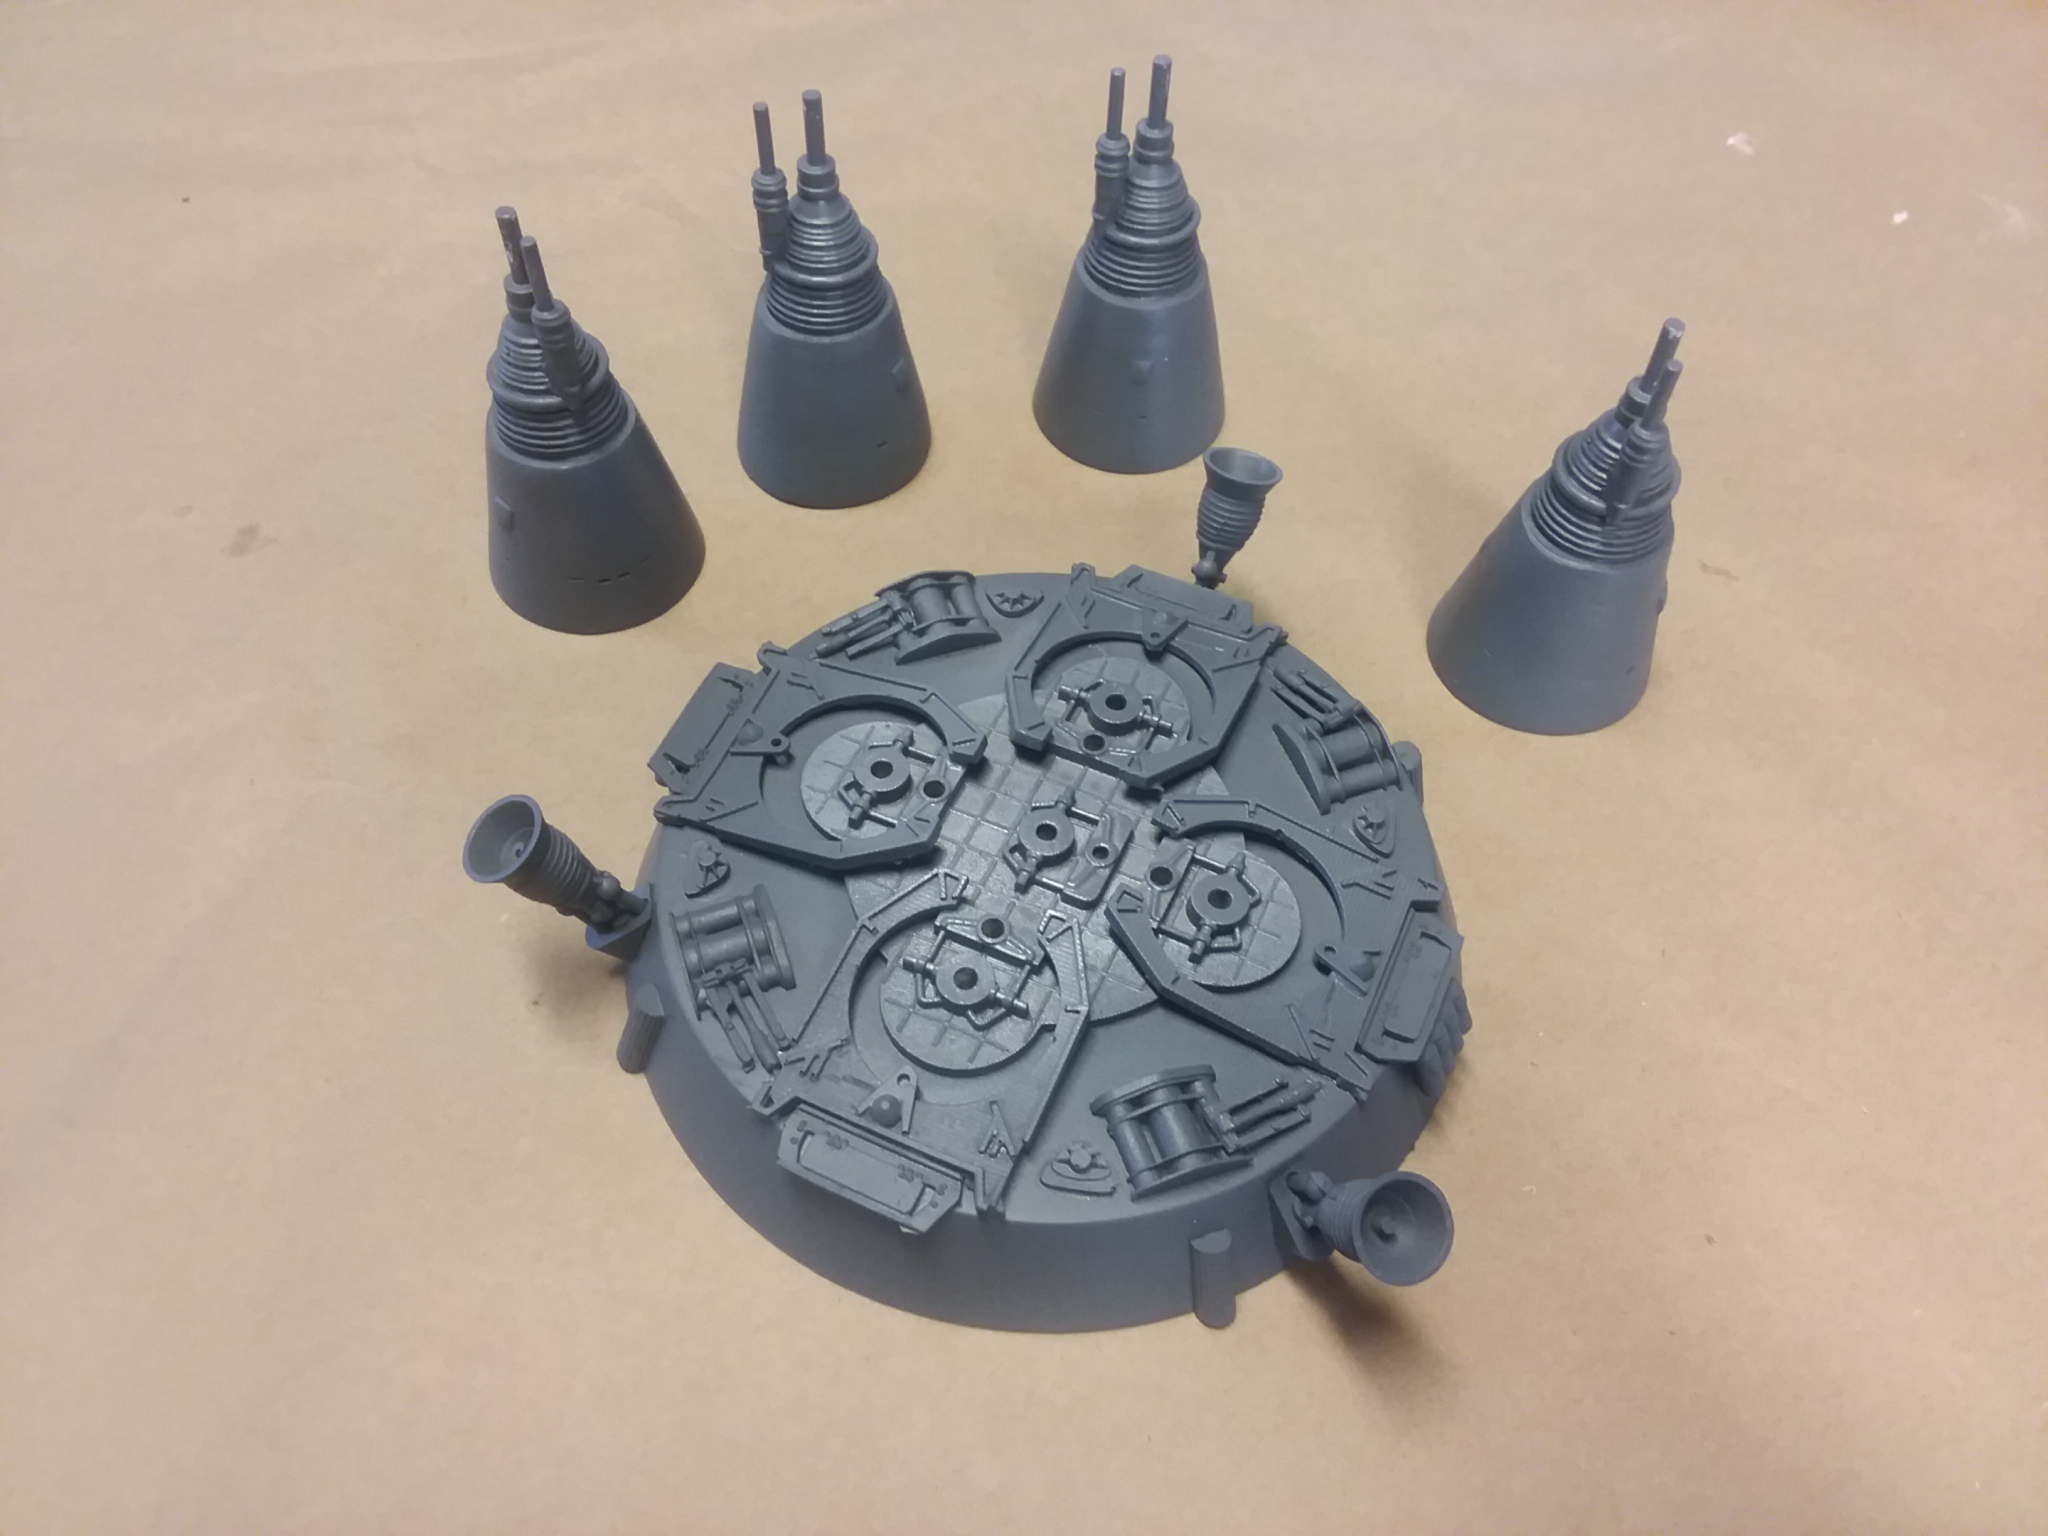
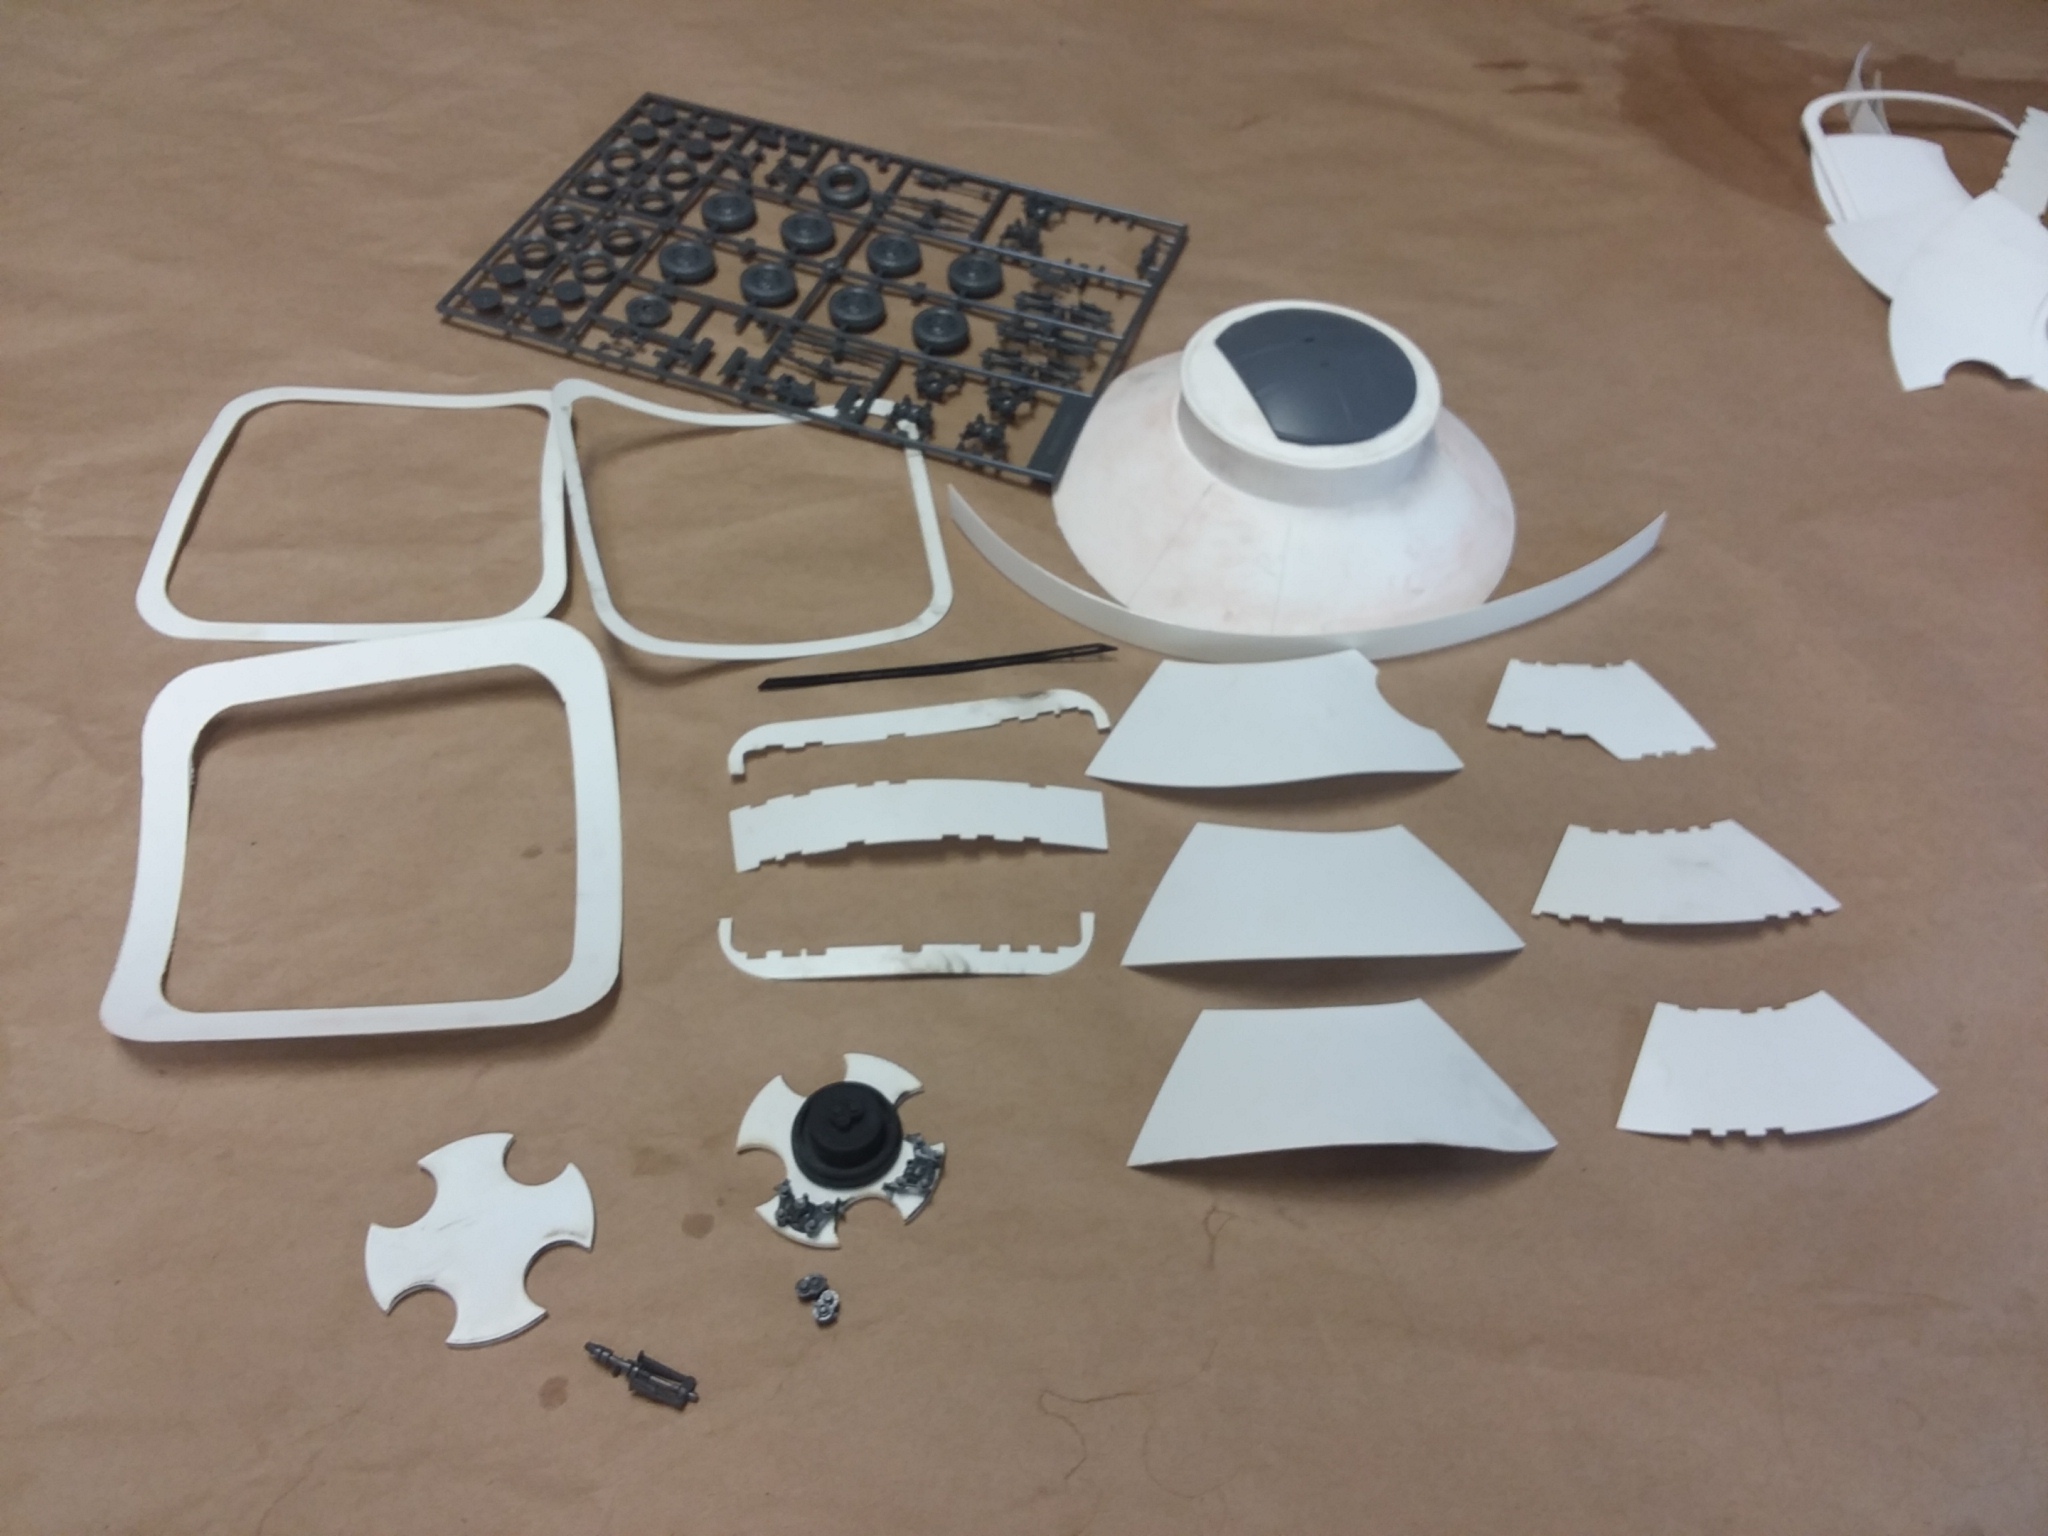
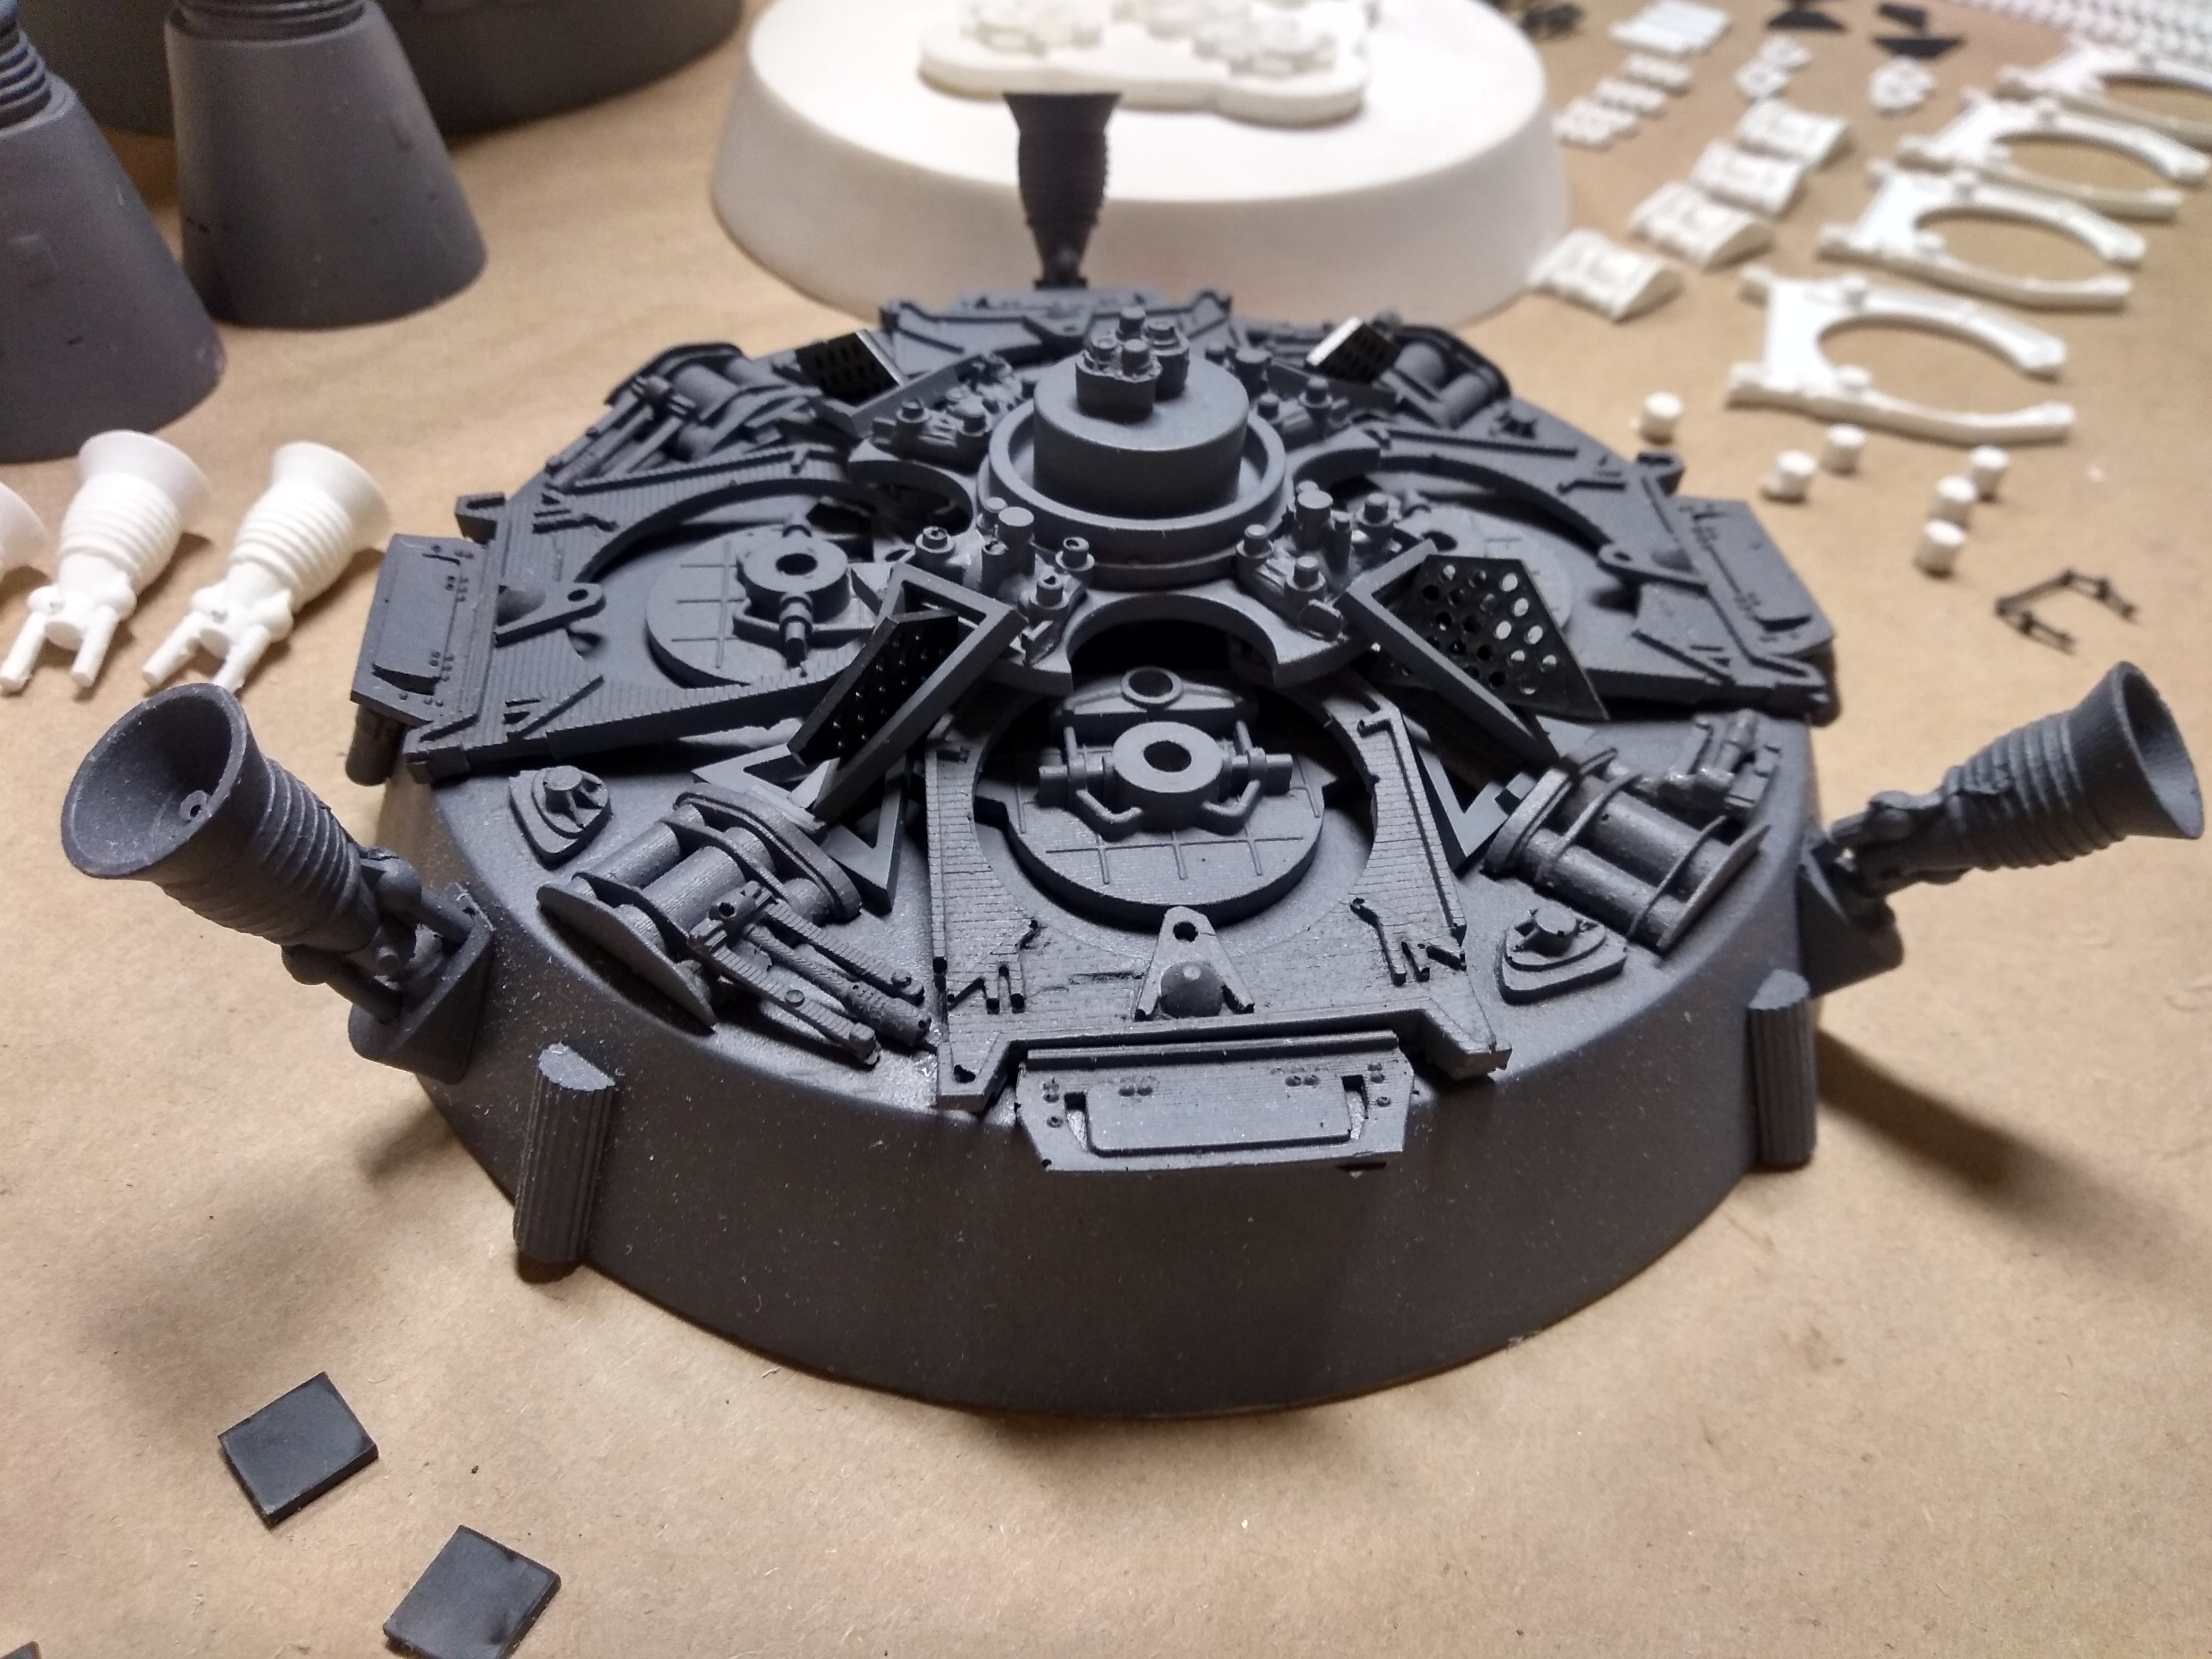
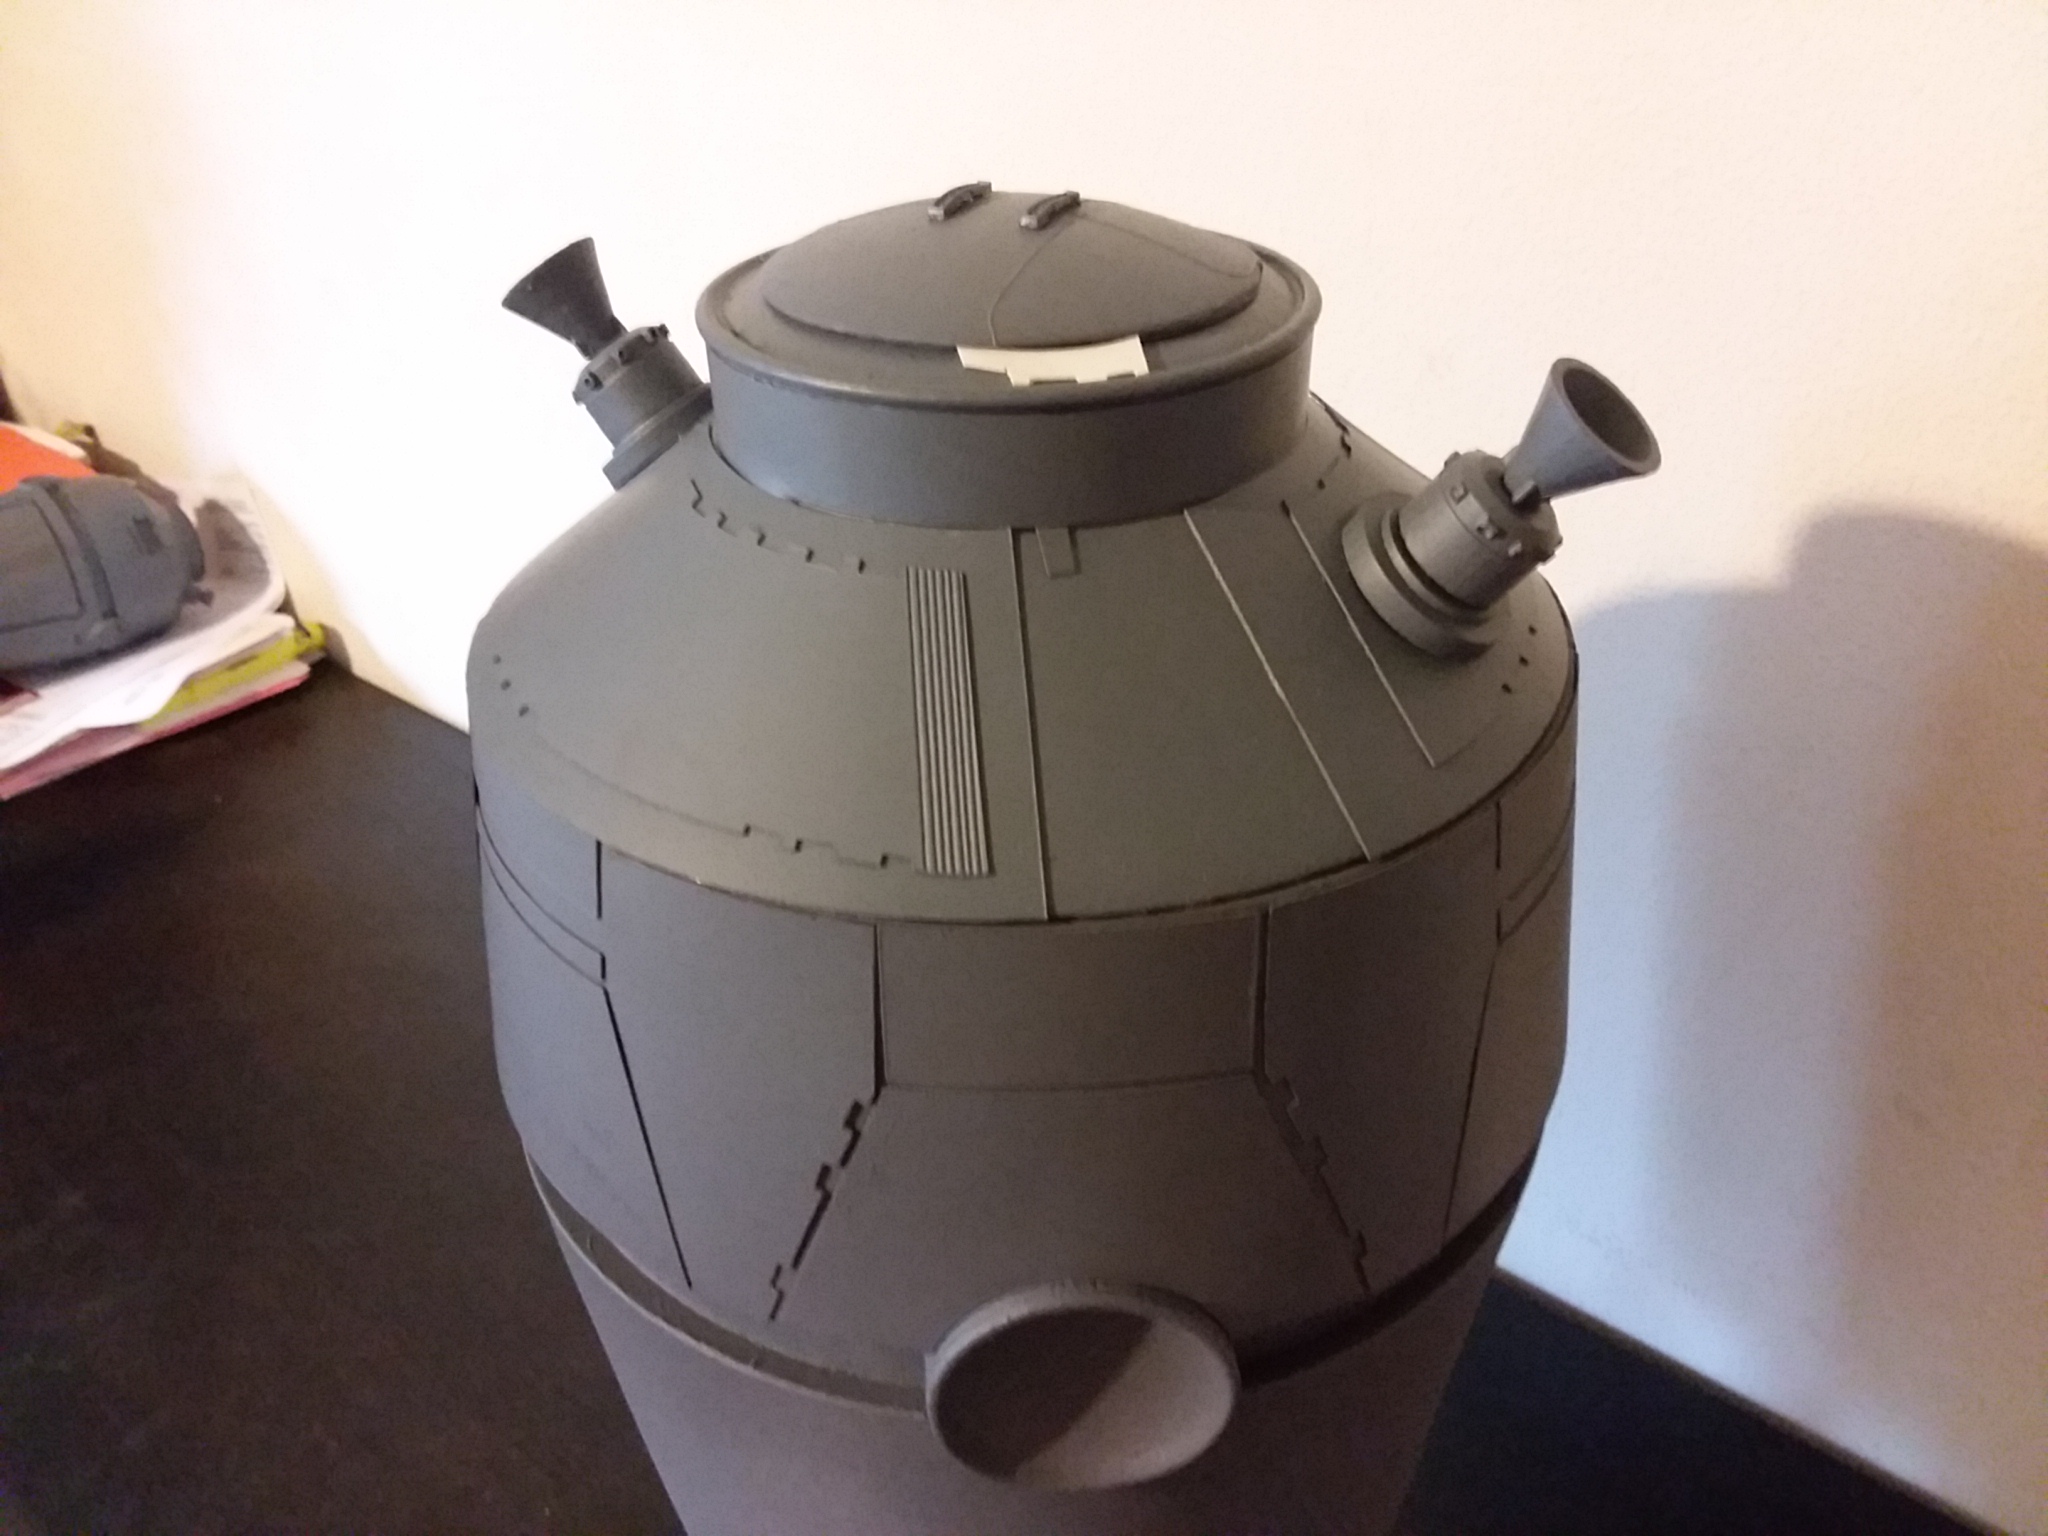
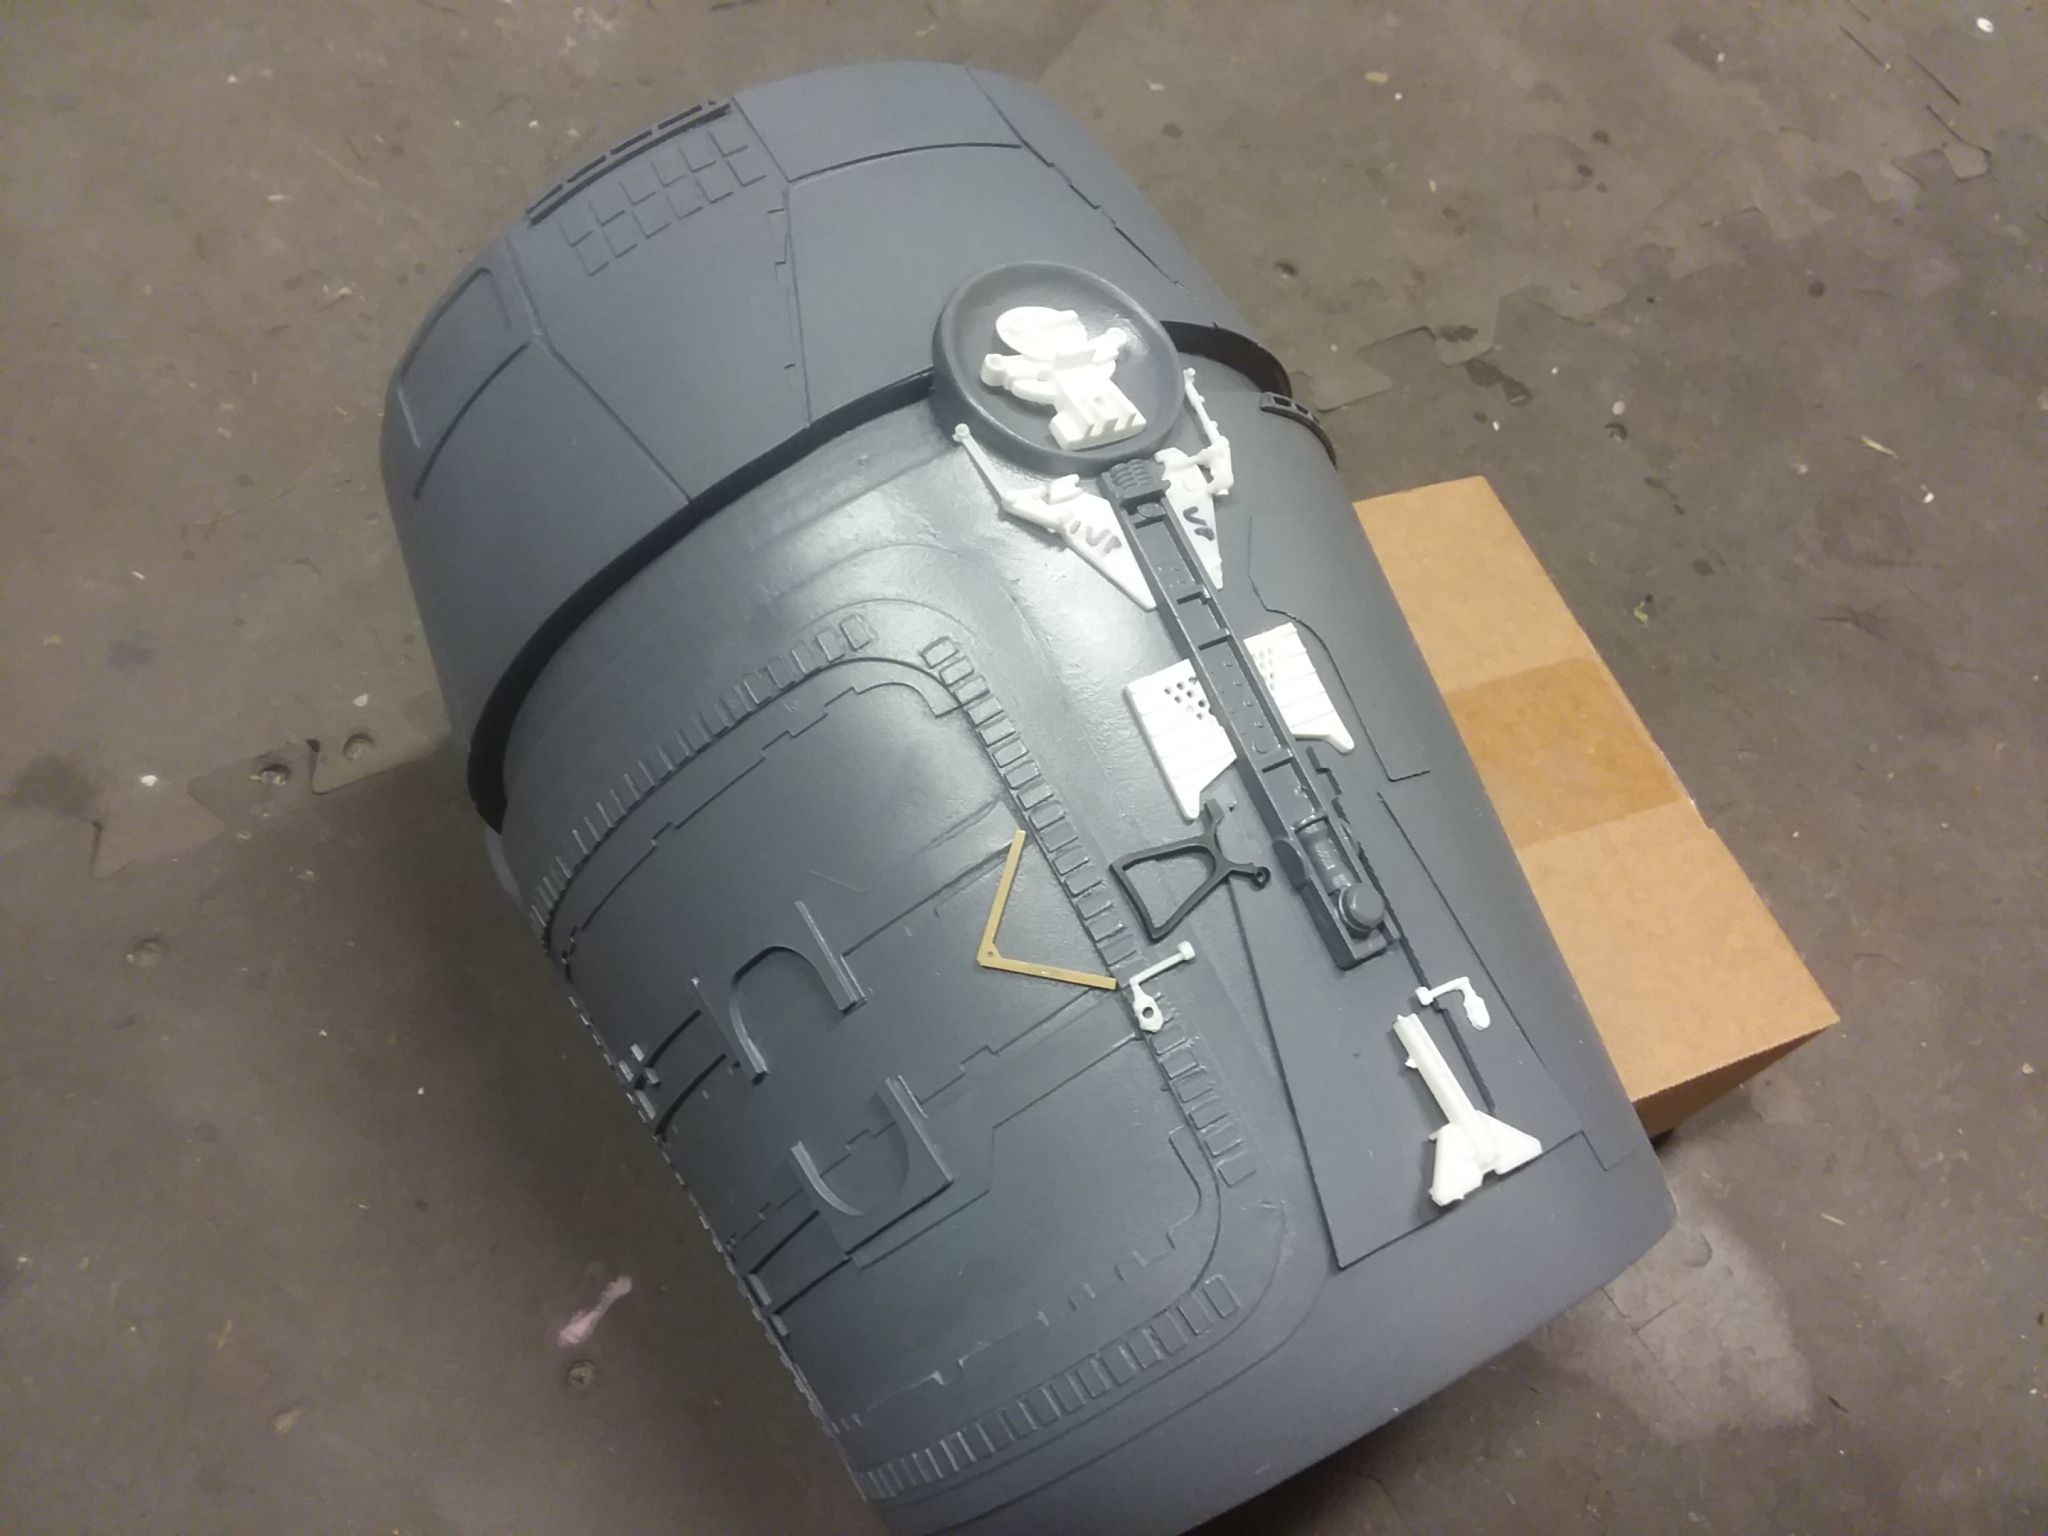
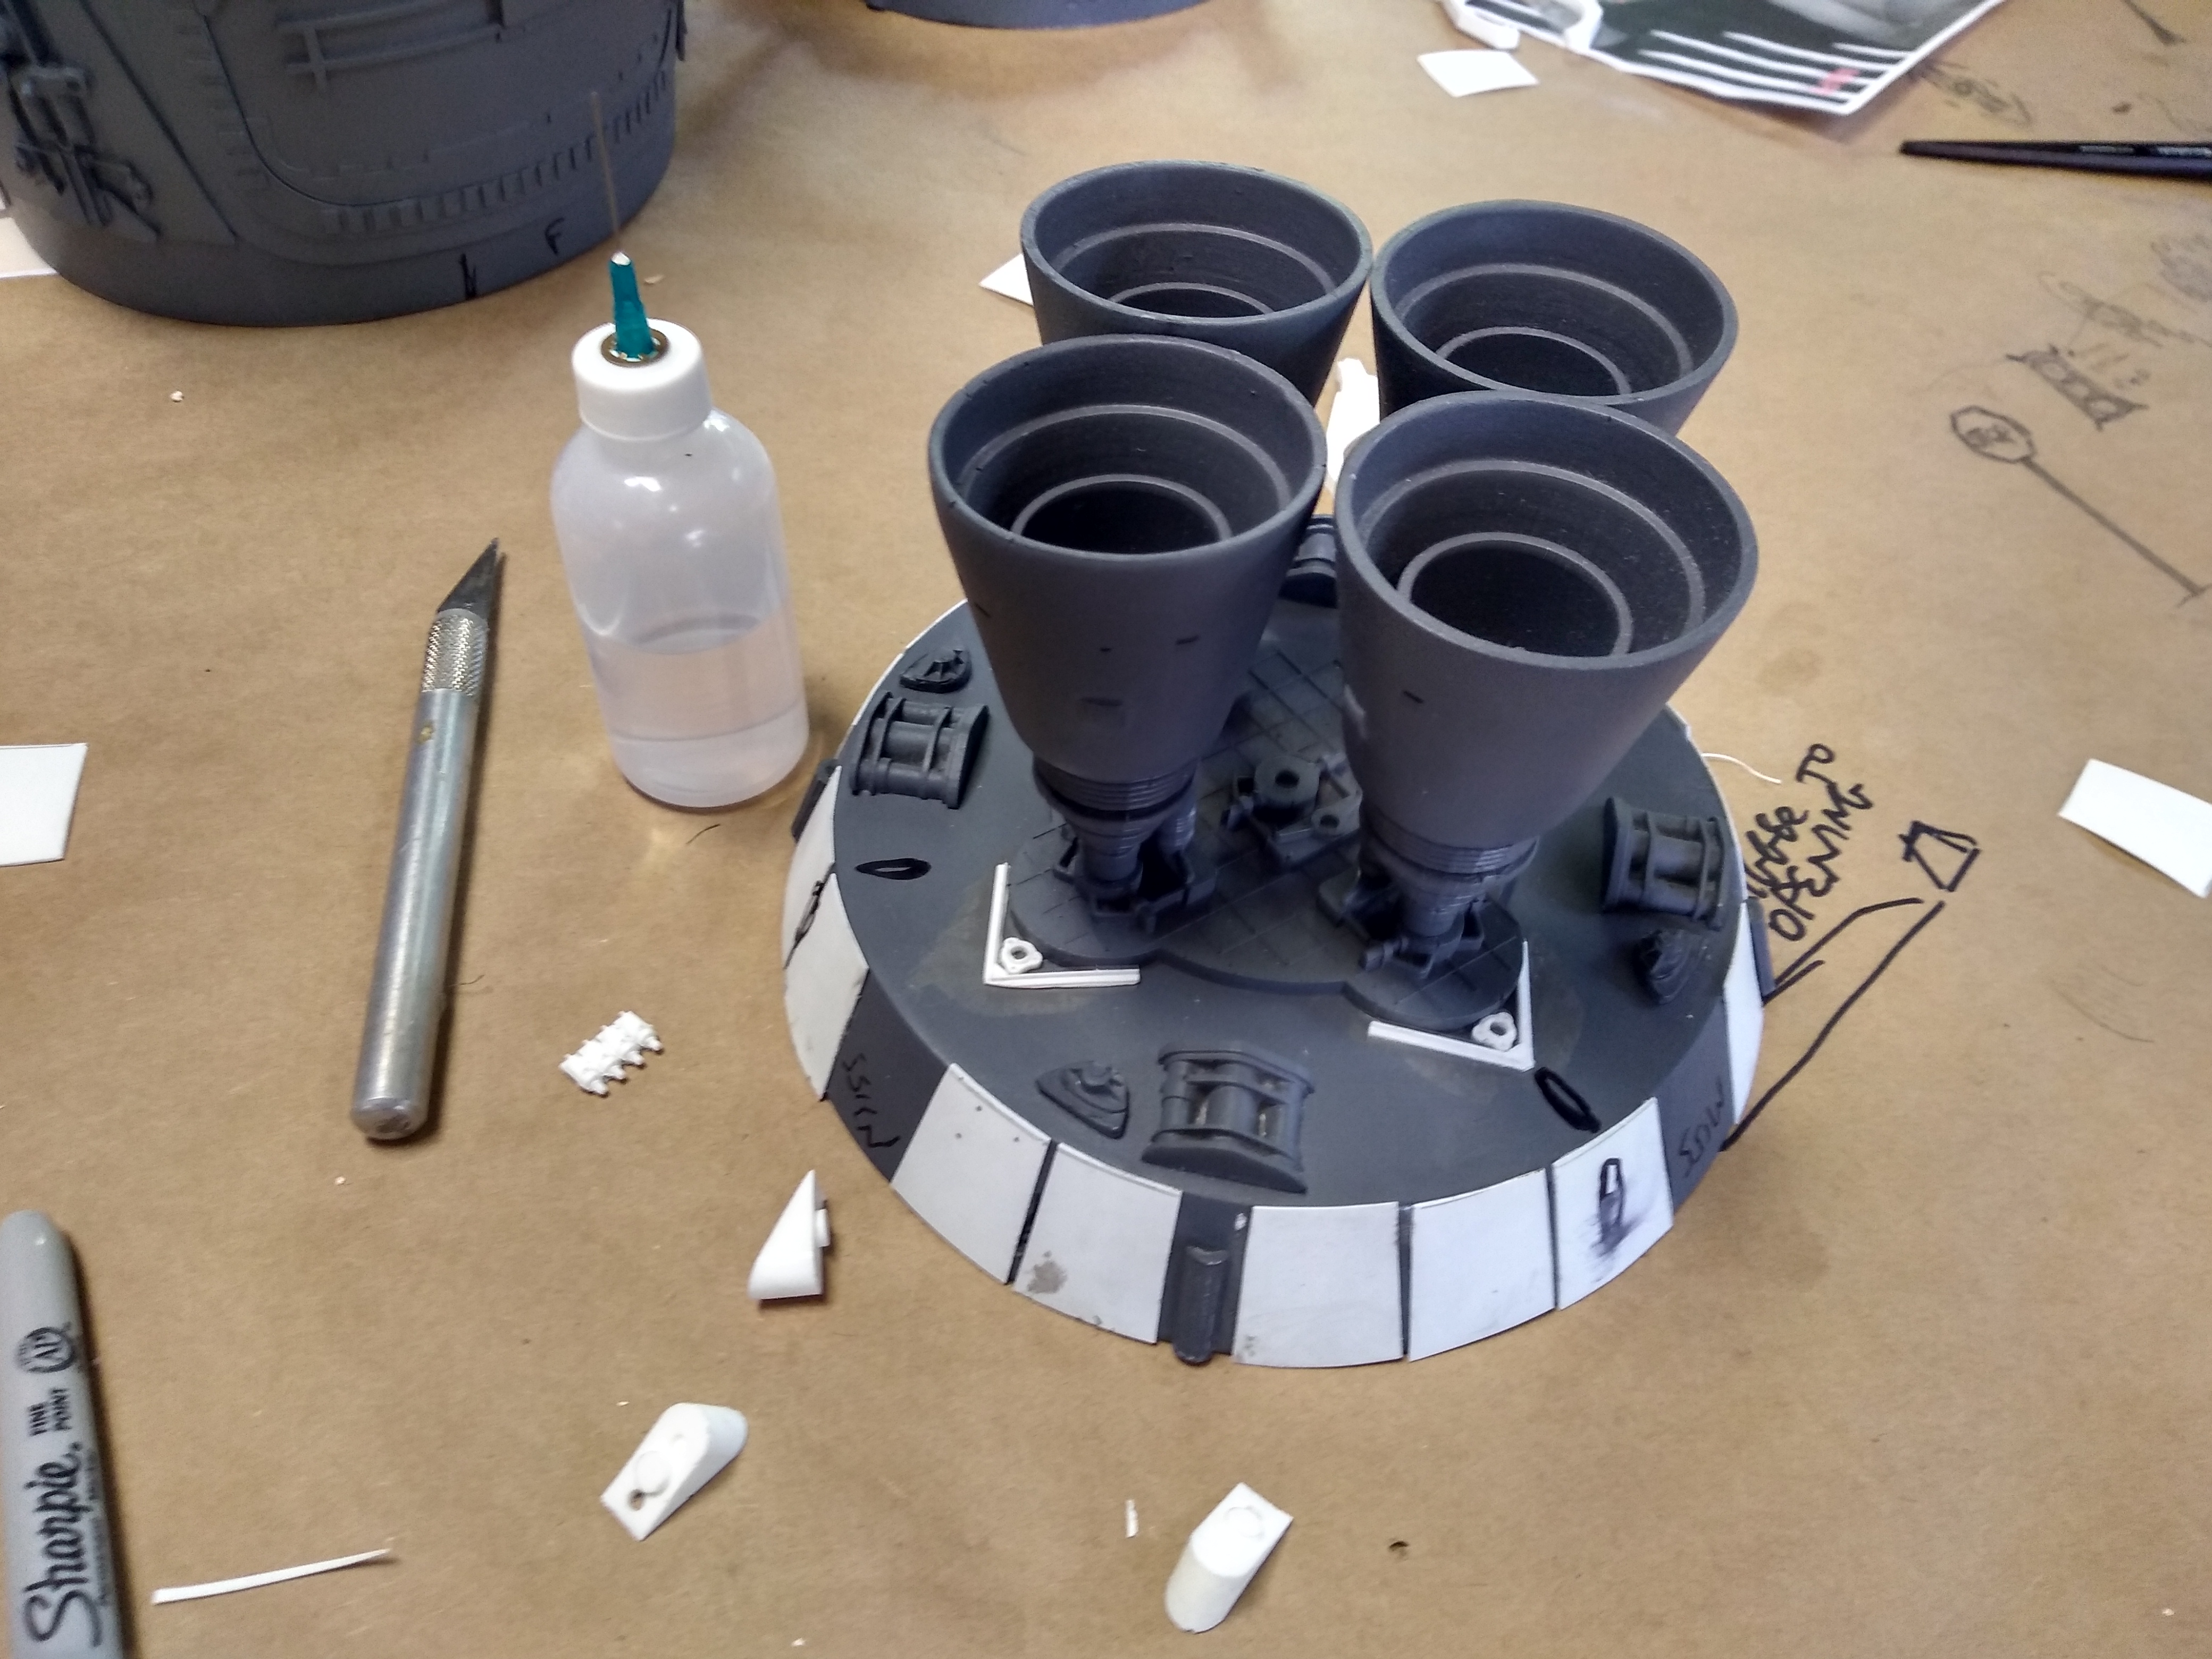
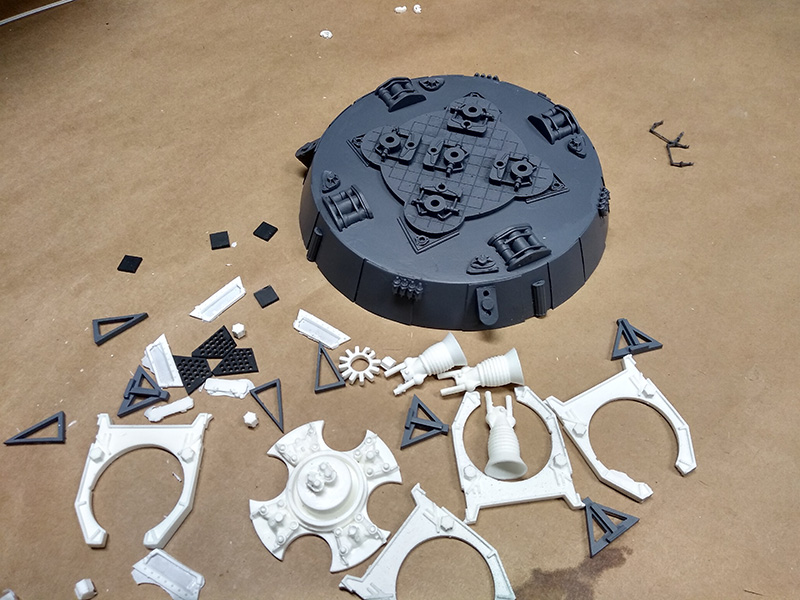
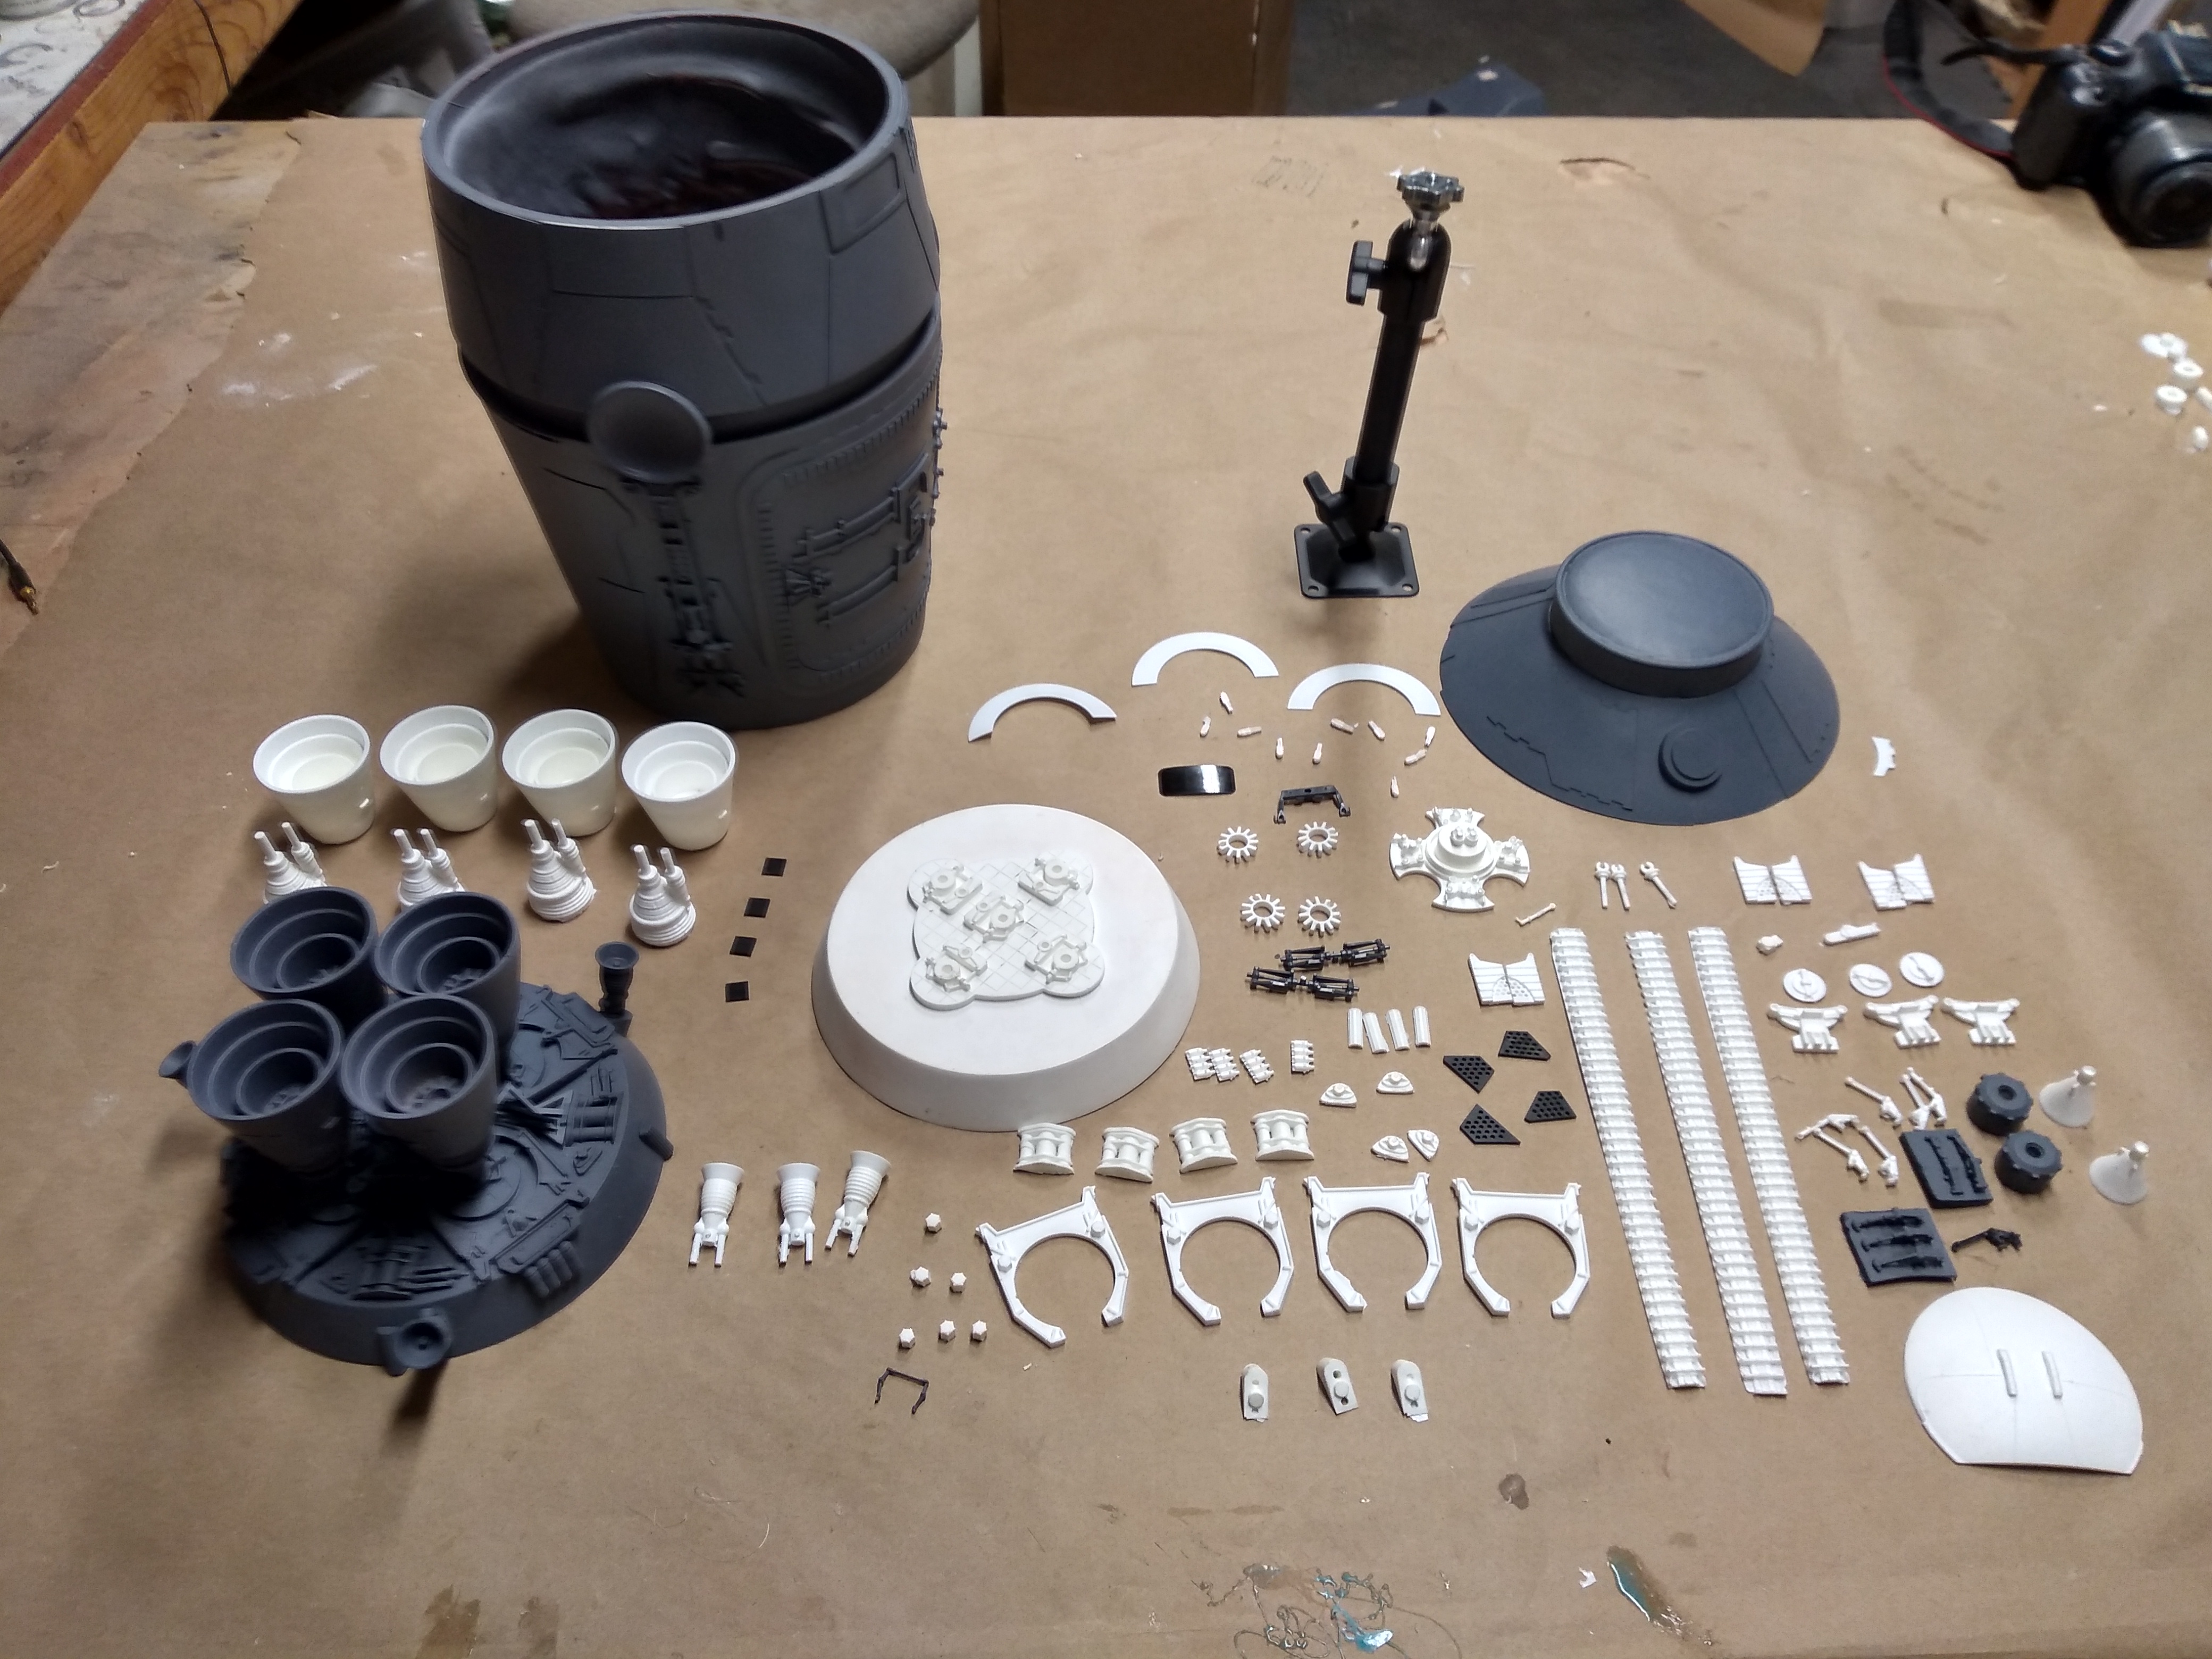
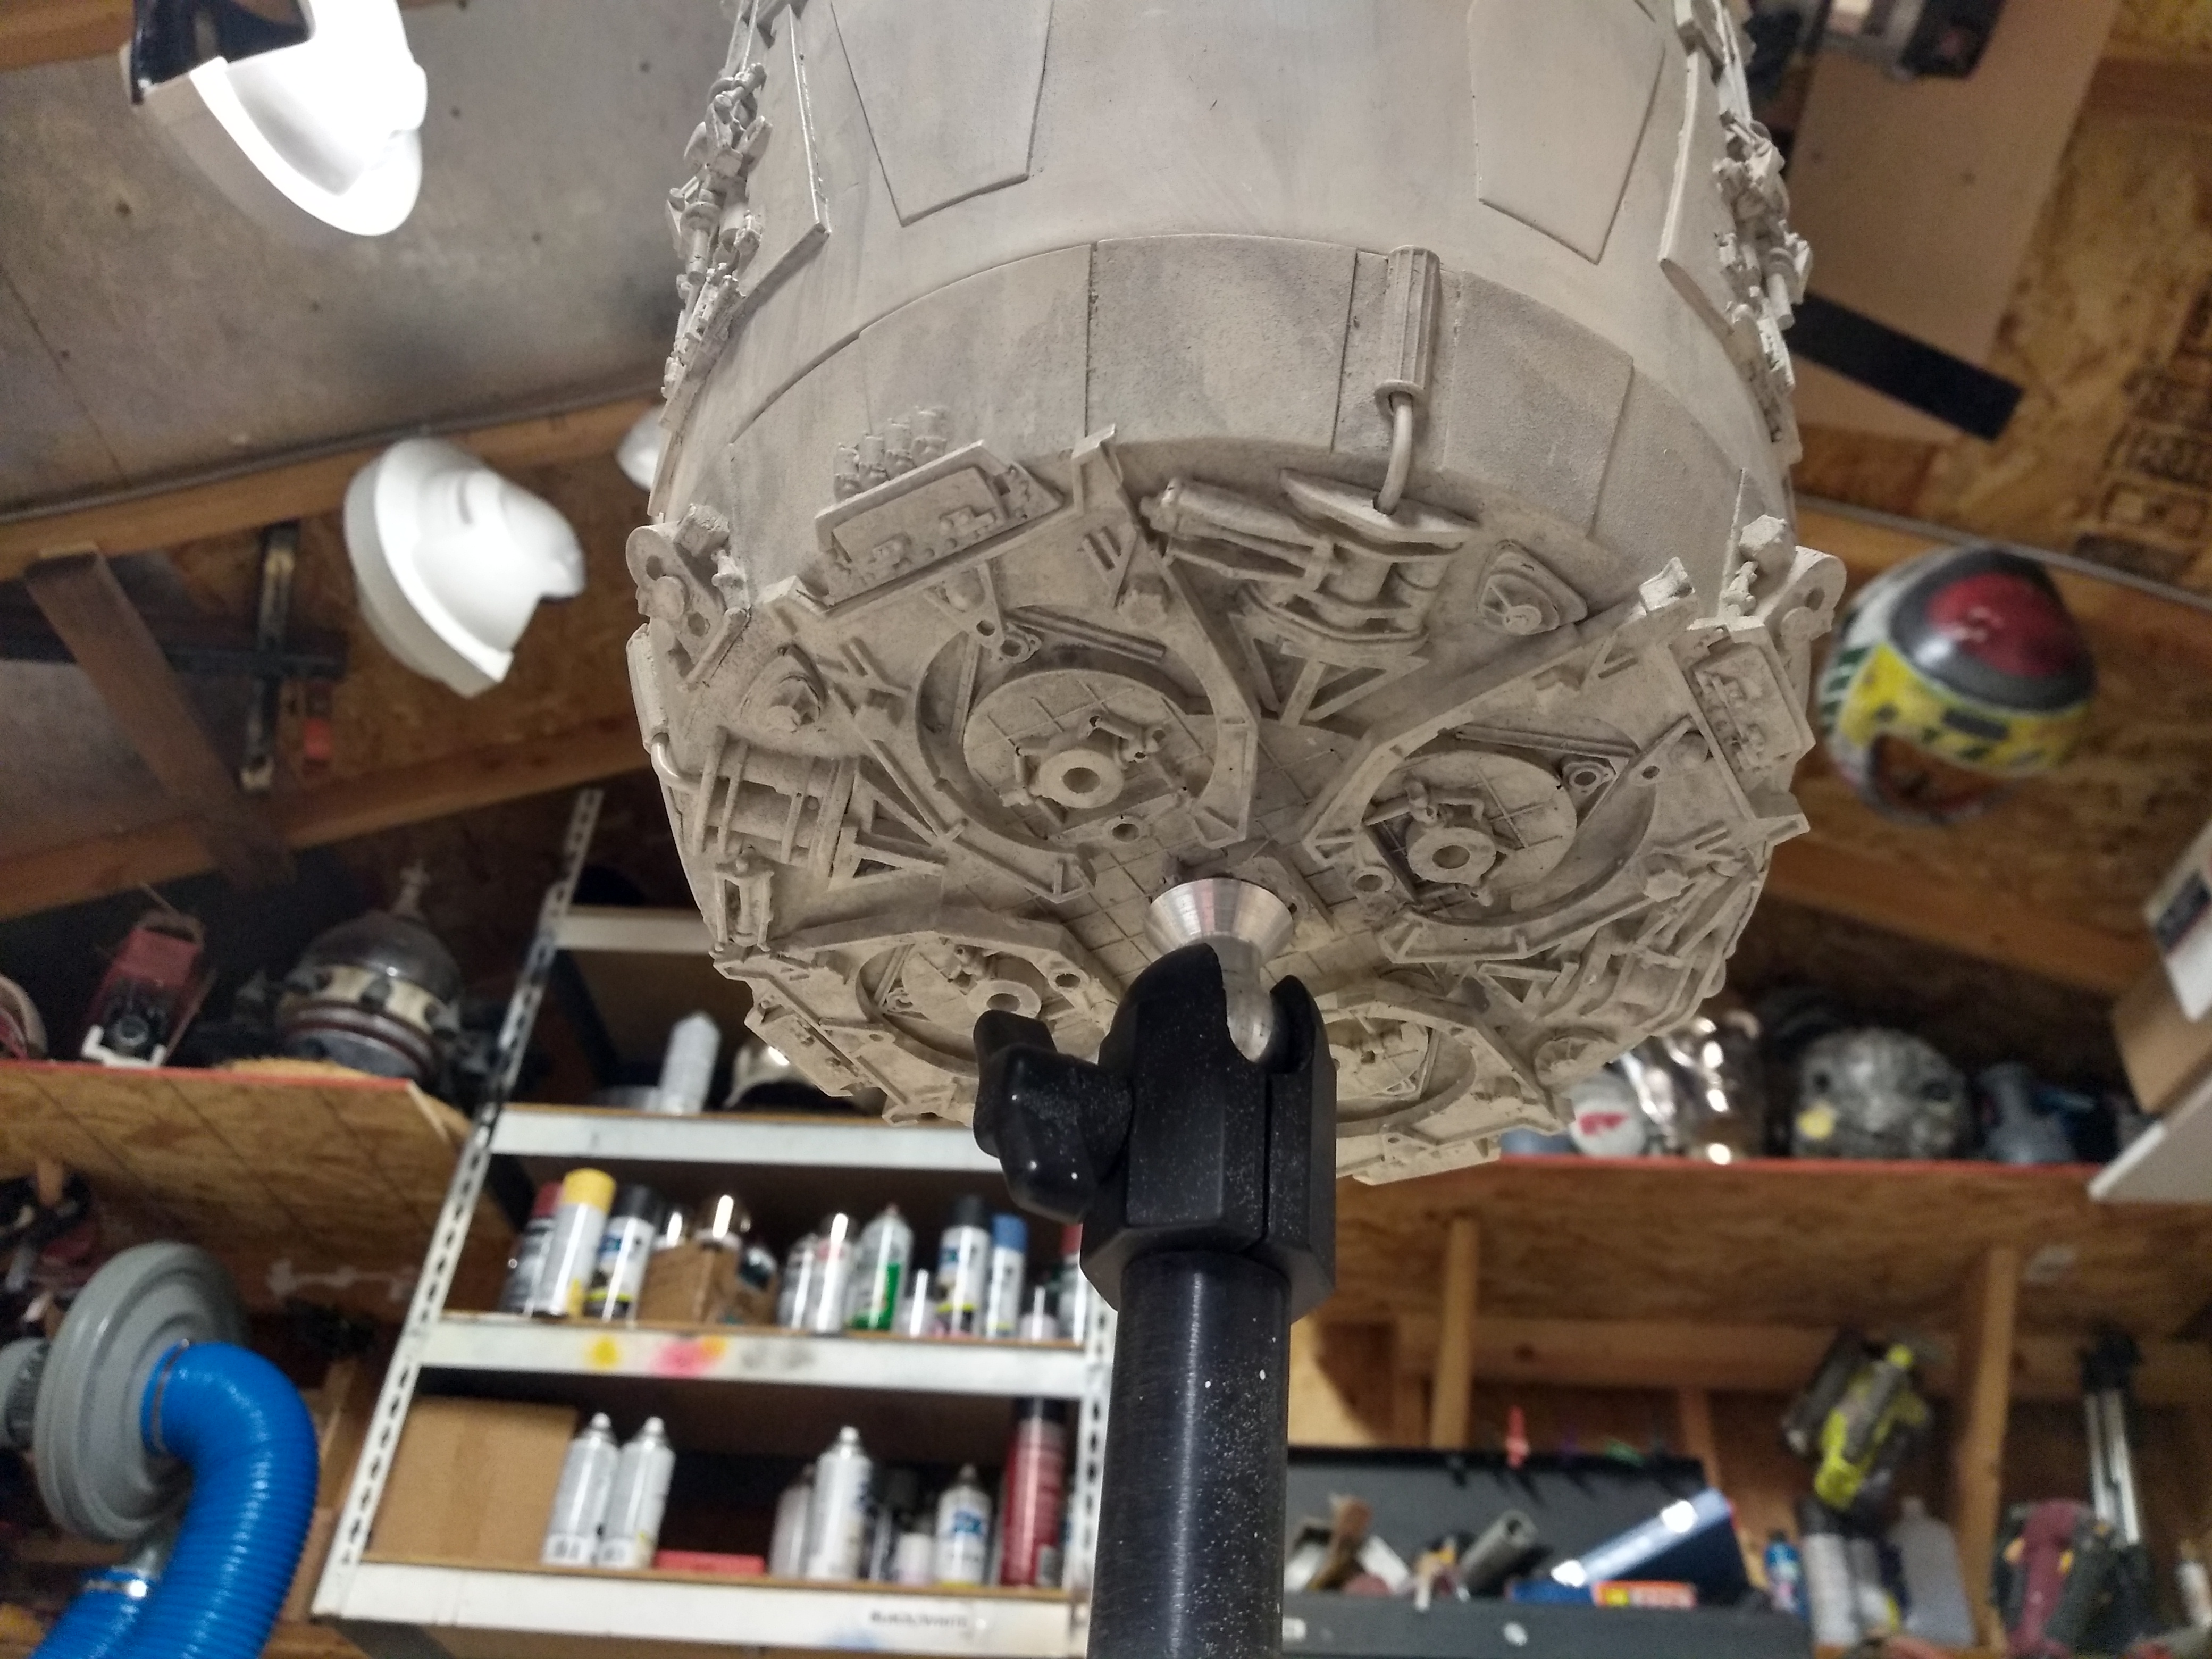
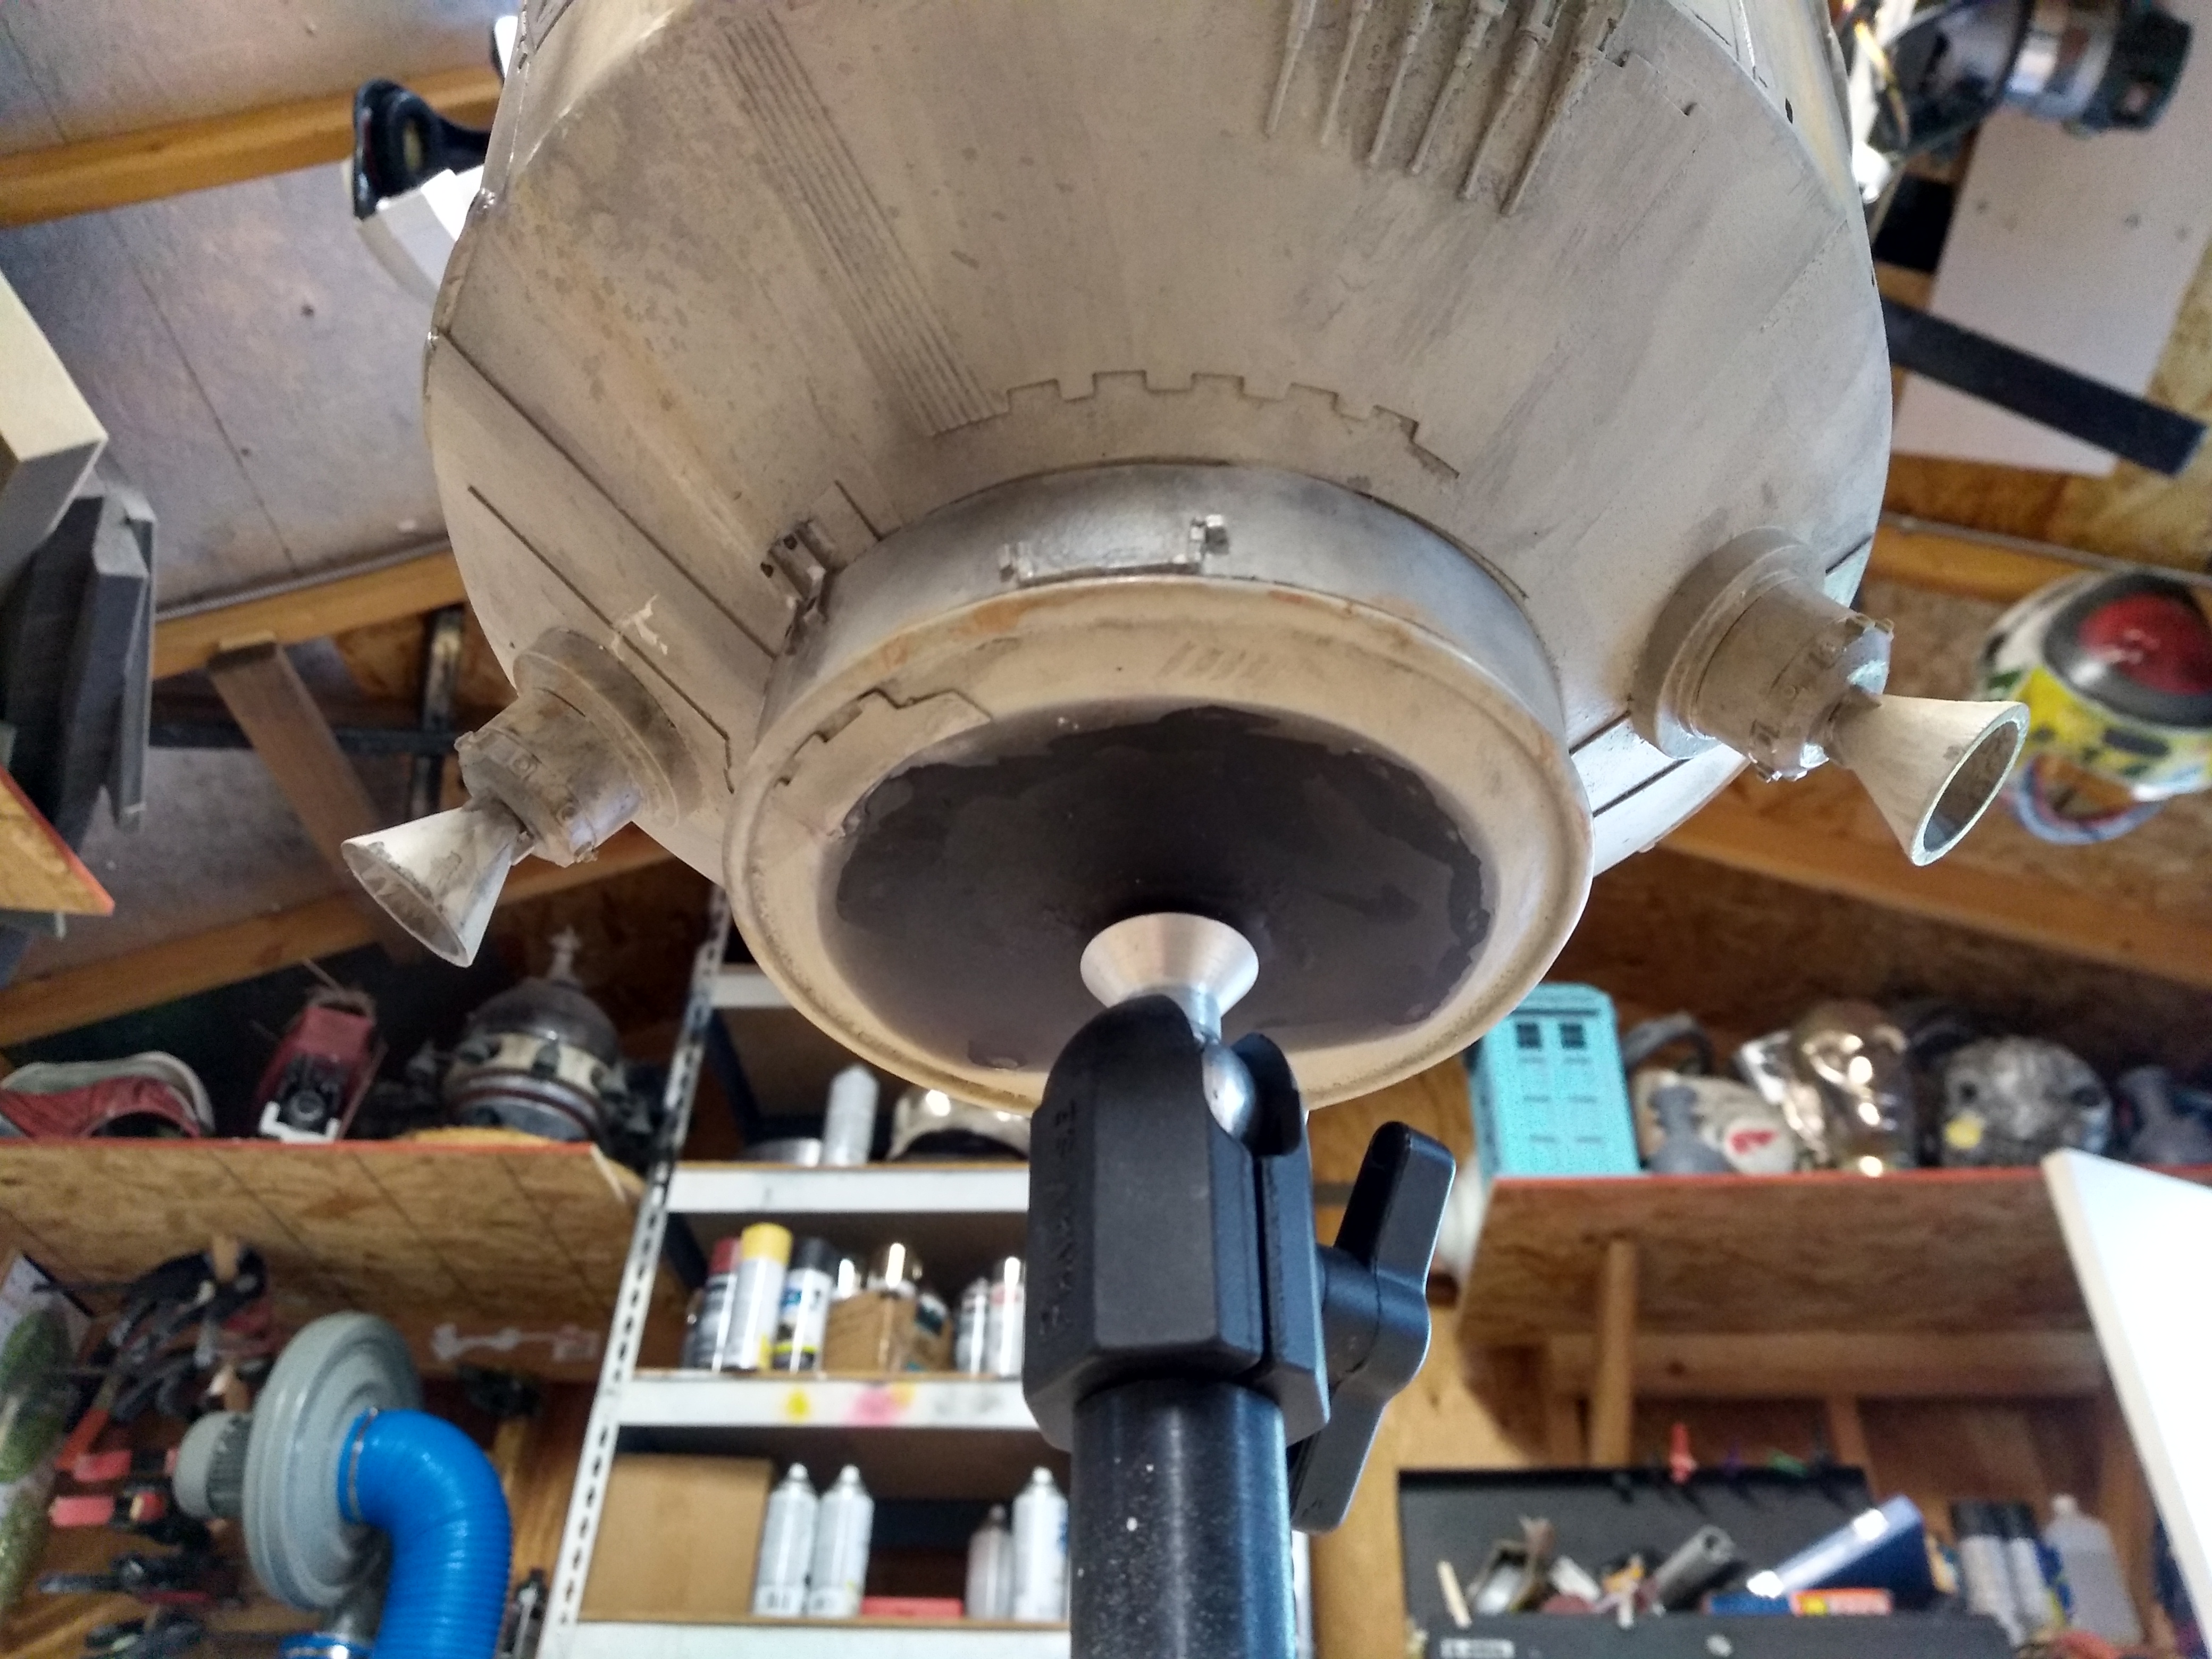
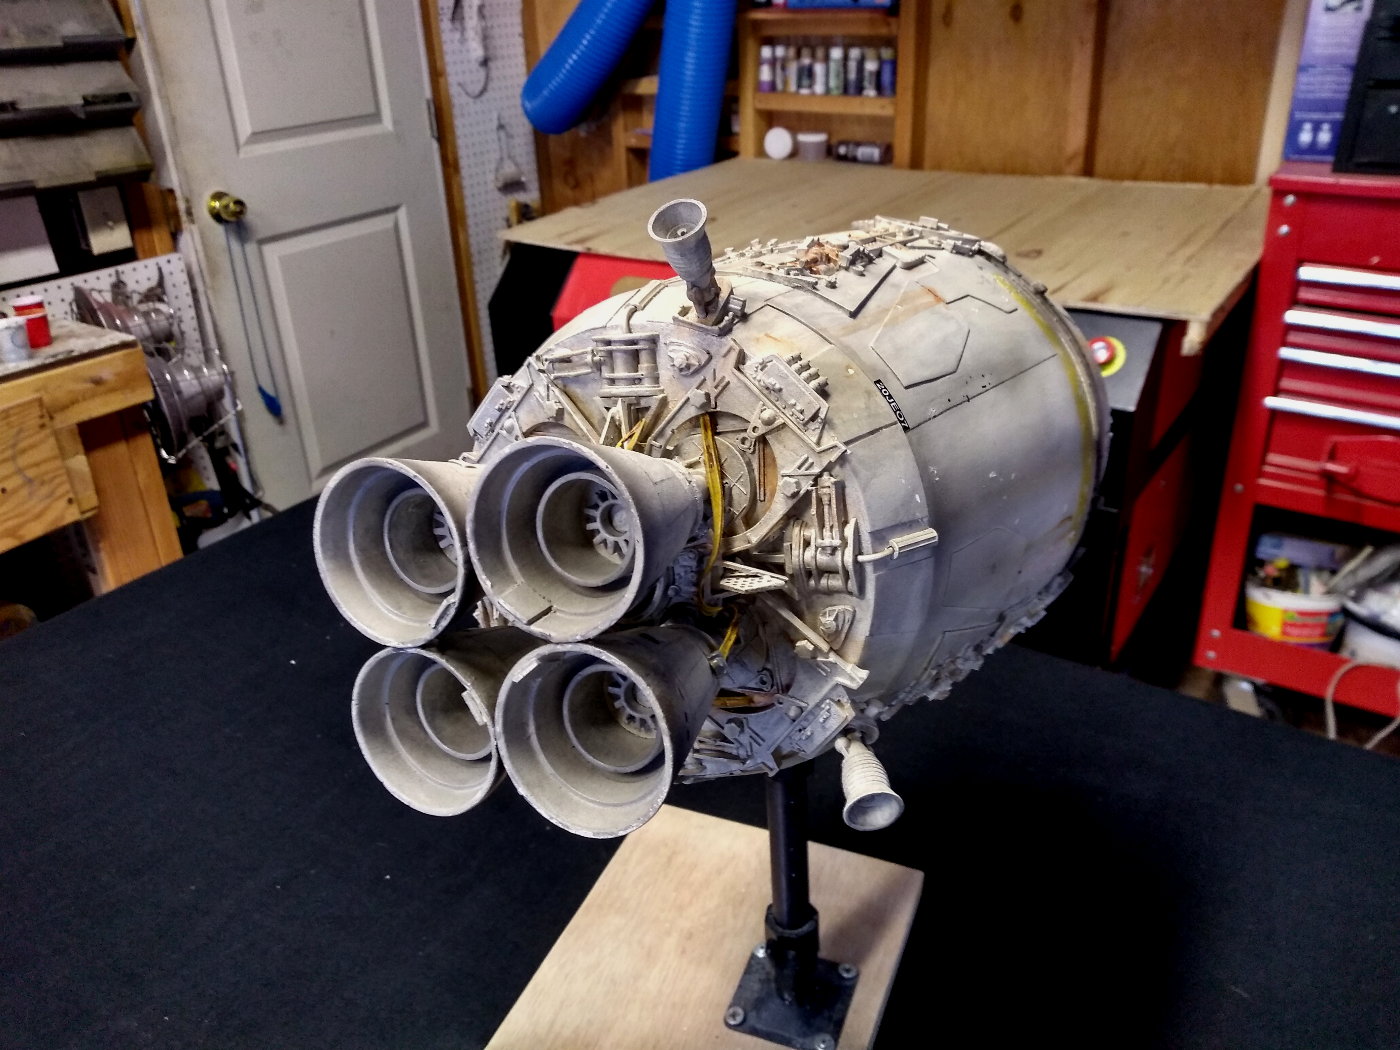
The studio scale escape pod consists of over 112 individually cast parts, laser cut parts and 7 pieces that are 3d printed. The hull is separated into 3 sections, each hollow cast to allow for 1.) a lighter weight model and 2.) access to the interior for various mounting options. All 9 engine cones are engineered with pegs to set deeply into their platforms. The tank tread castings were kept seaprated to maintain crisp castings.
There are many undercut areas and overlaying unjoined parts on the original so I decided to leave many components unattached and separated, including the covers over each circular port which are provided as laser cut thin styrene slips.
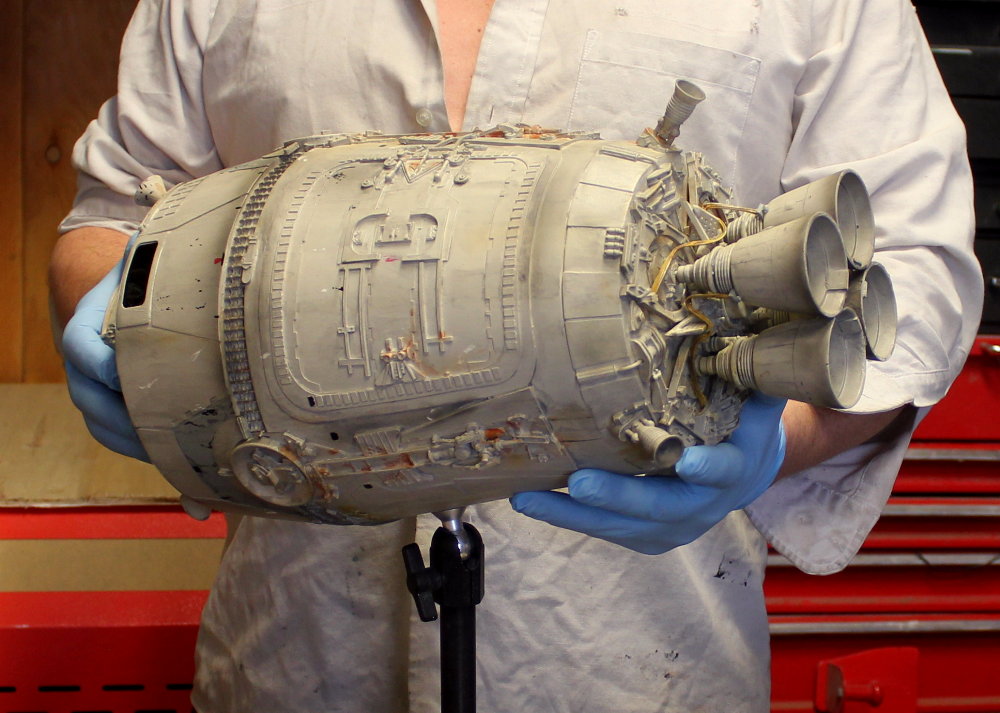
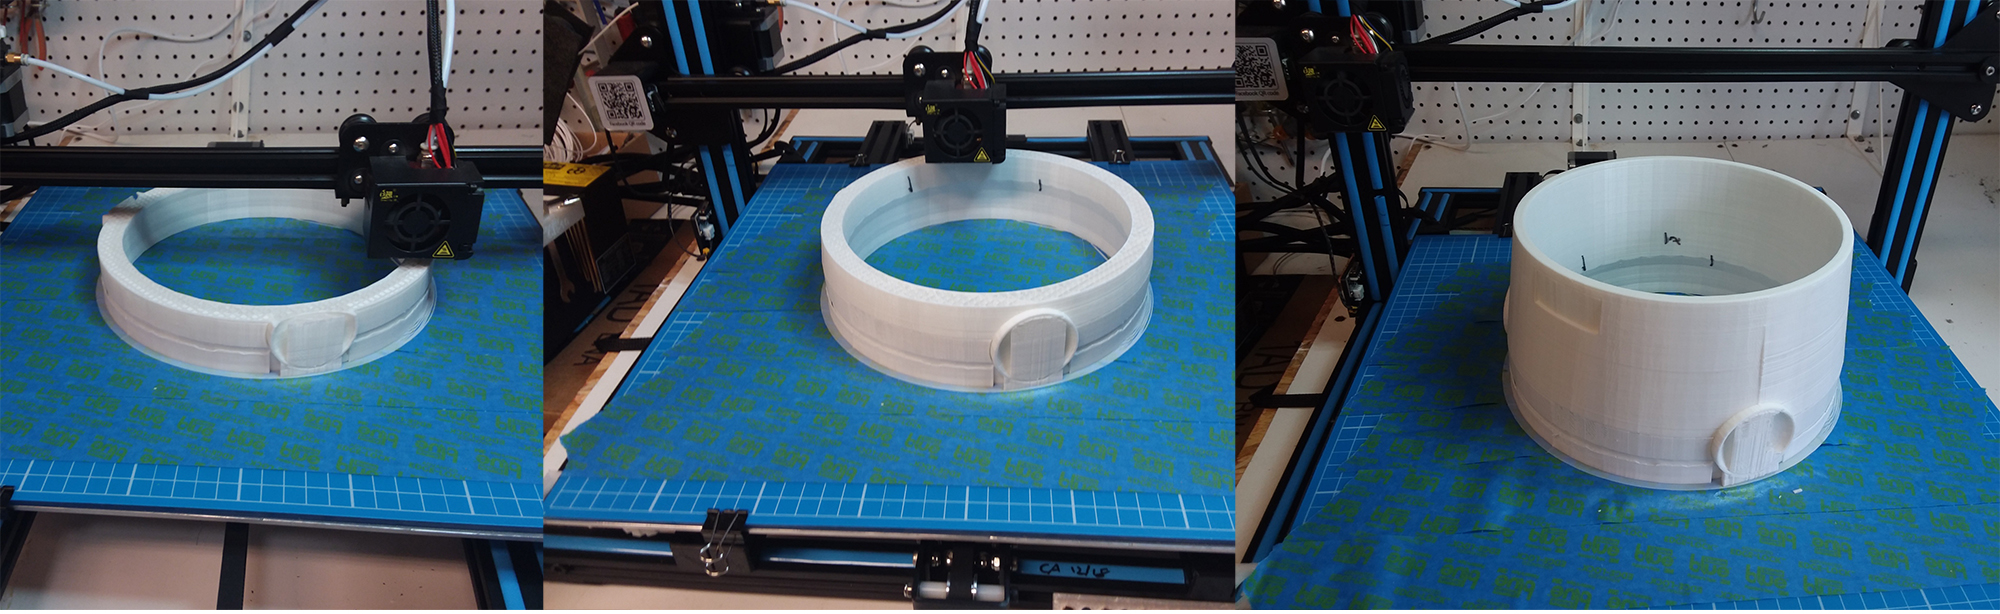
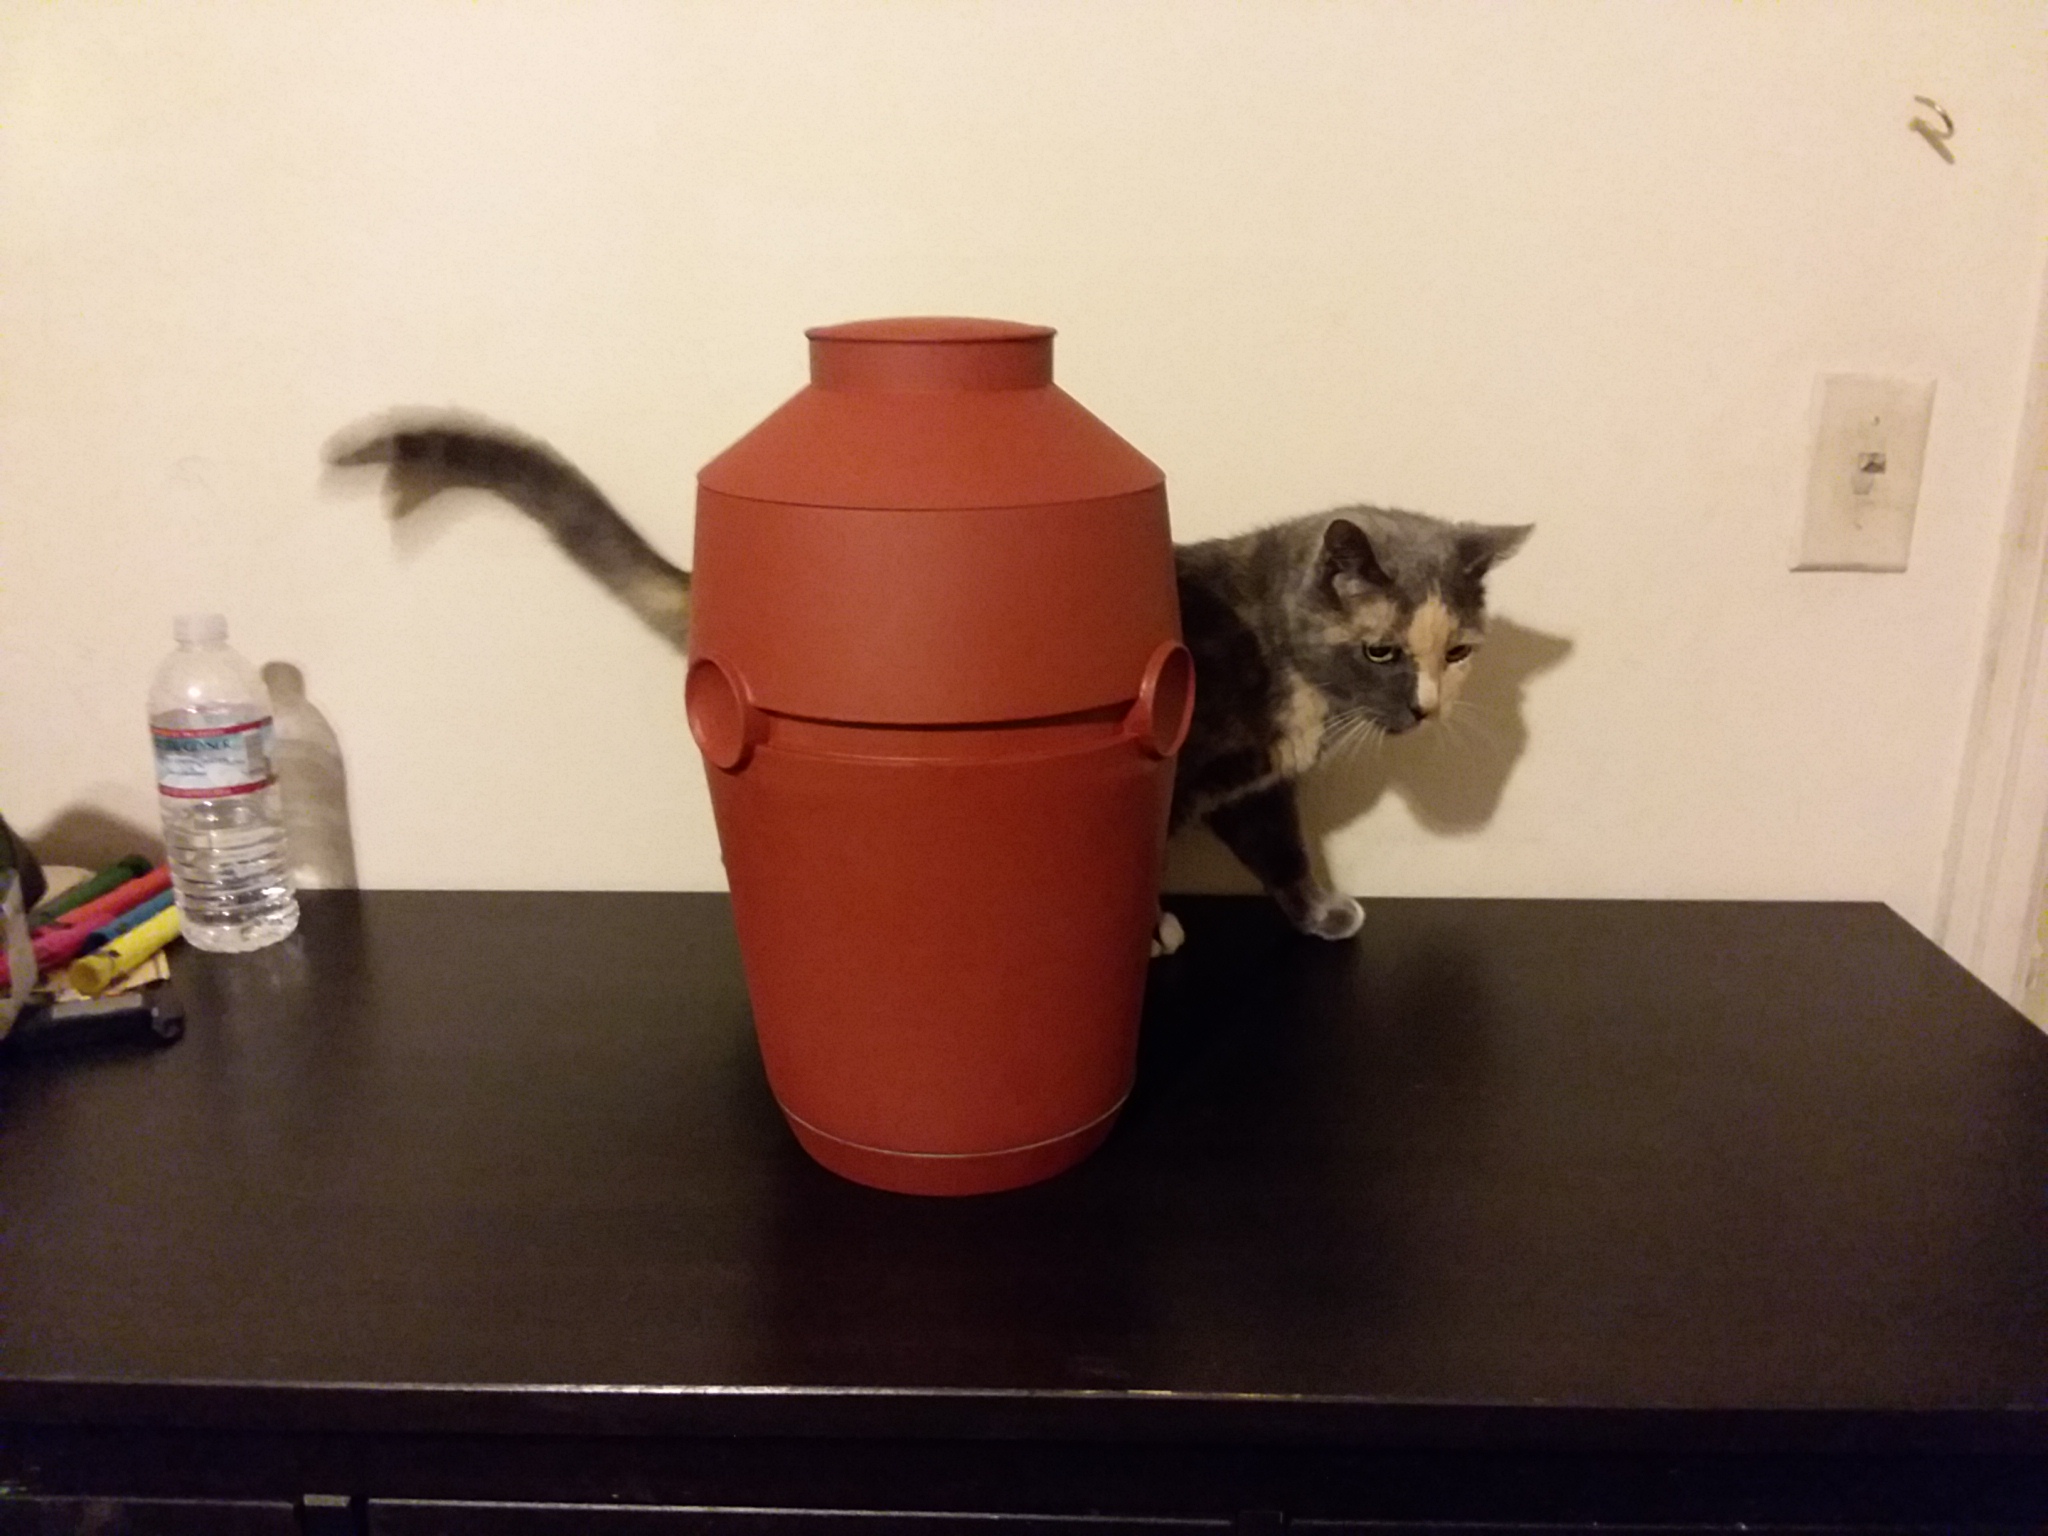
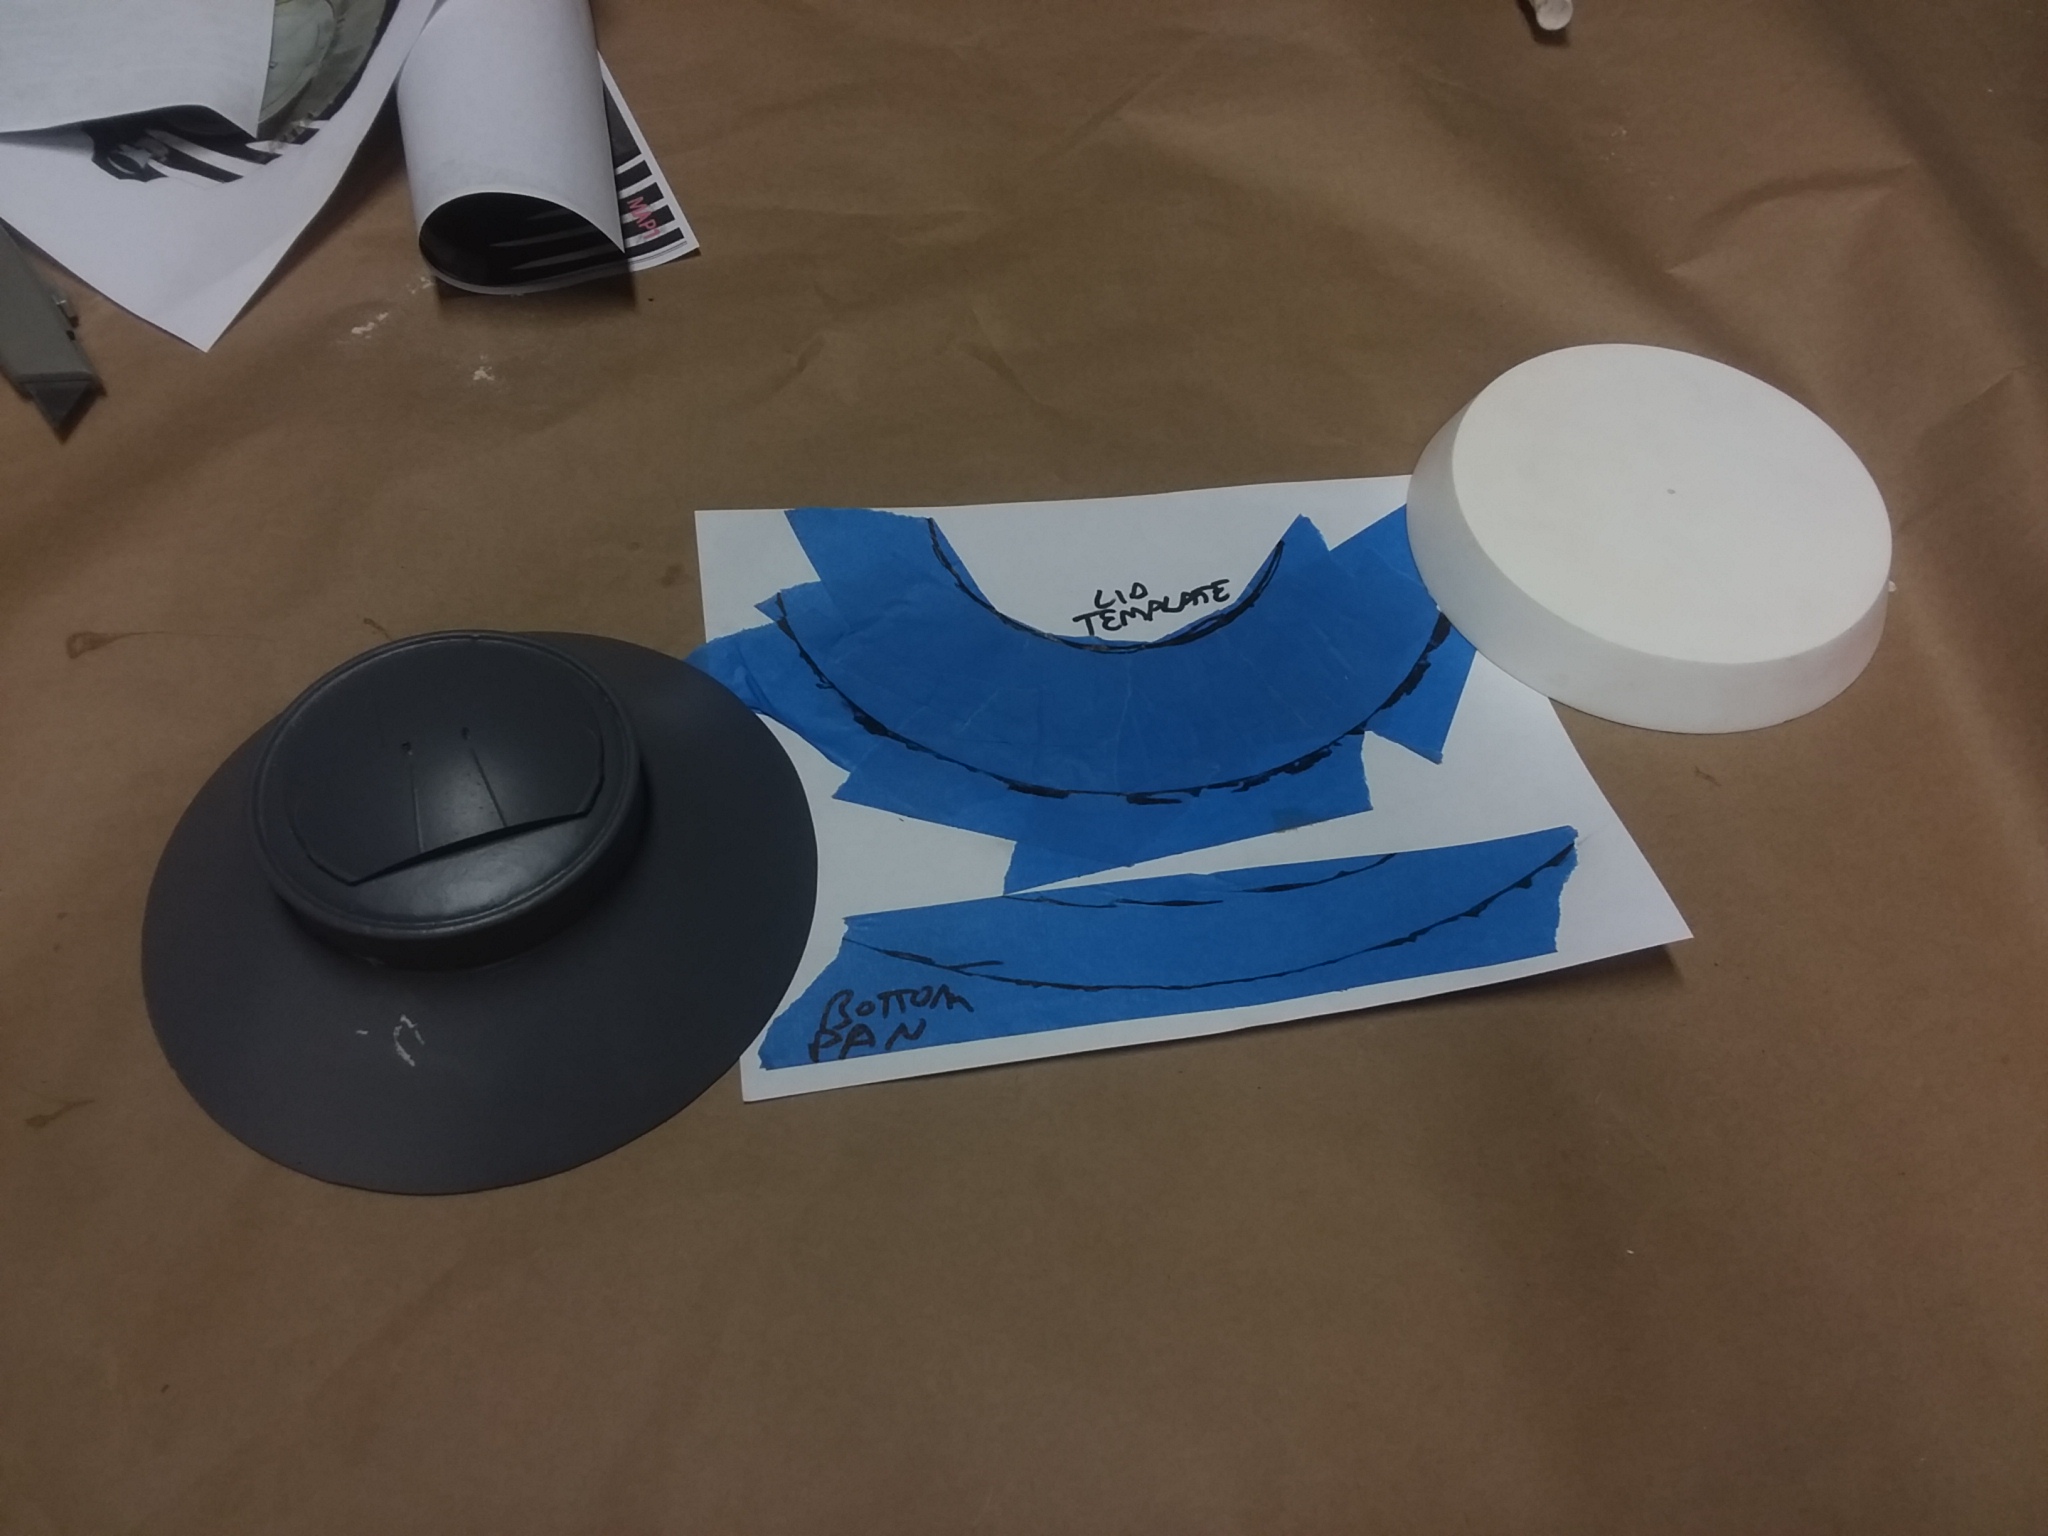
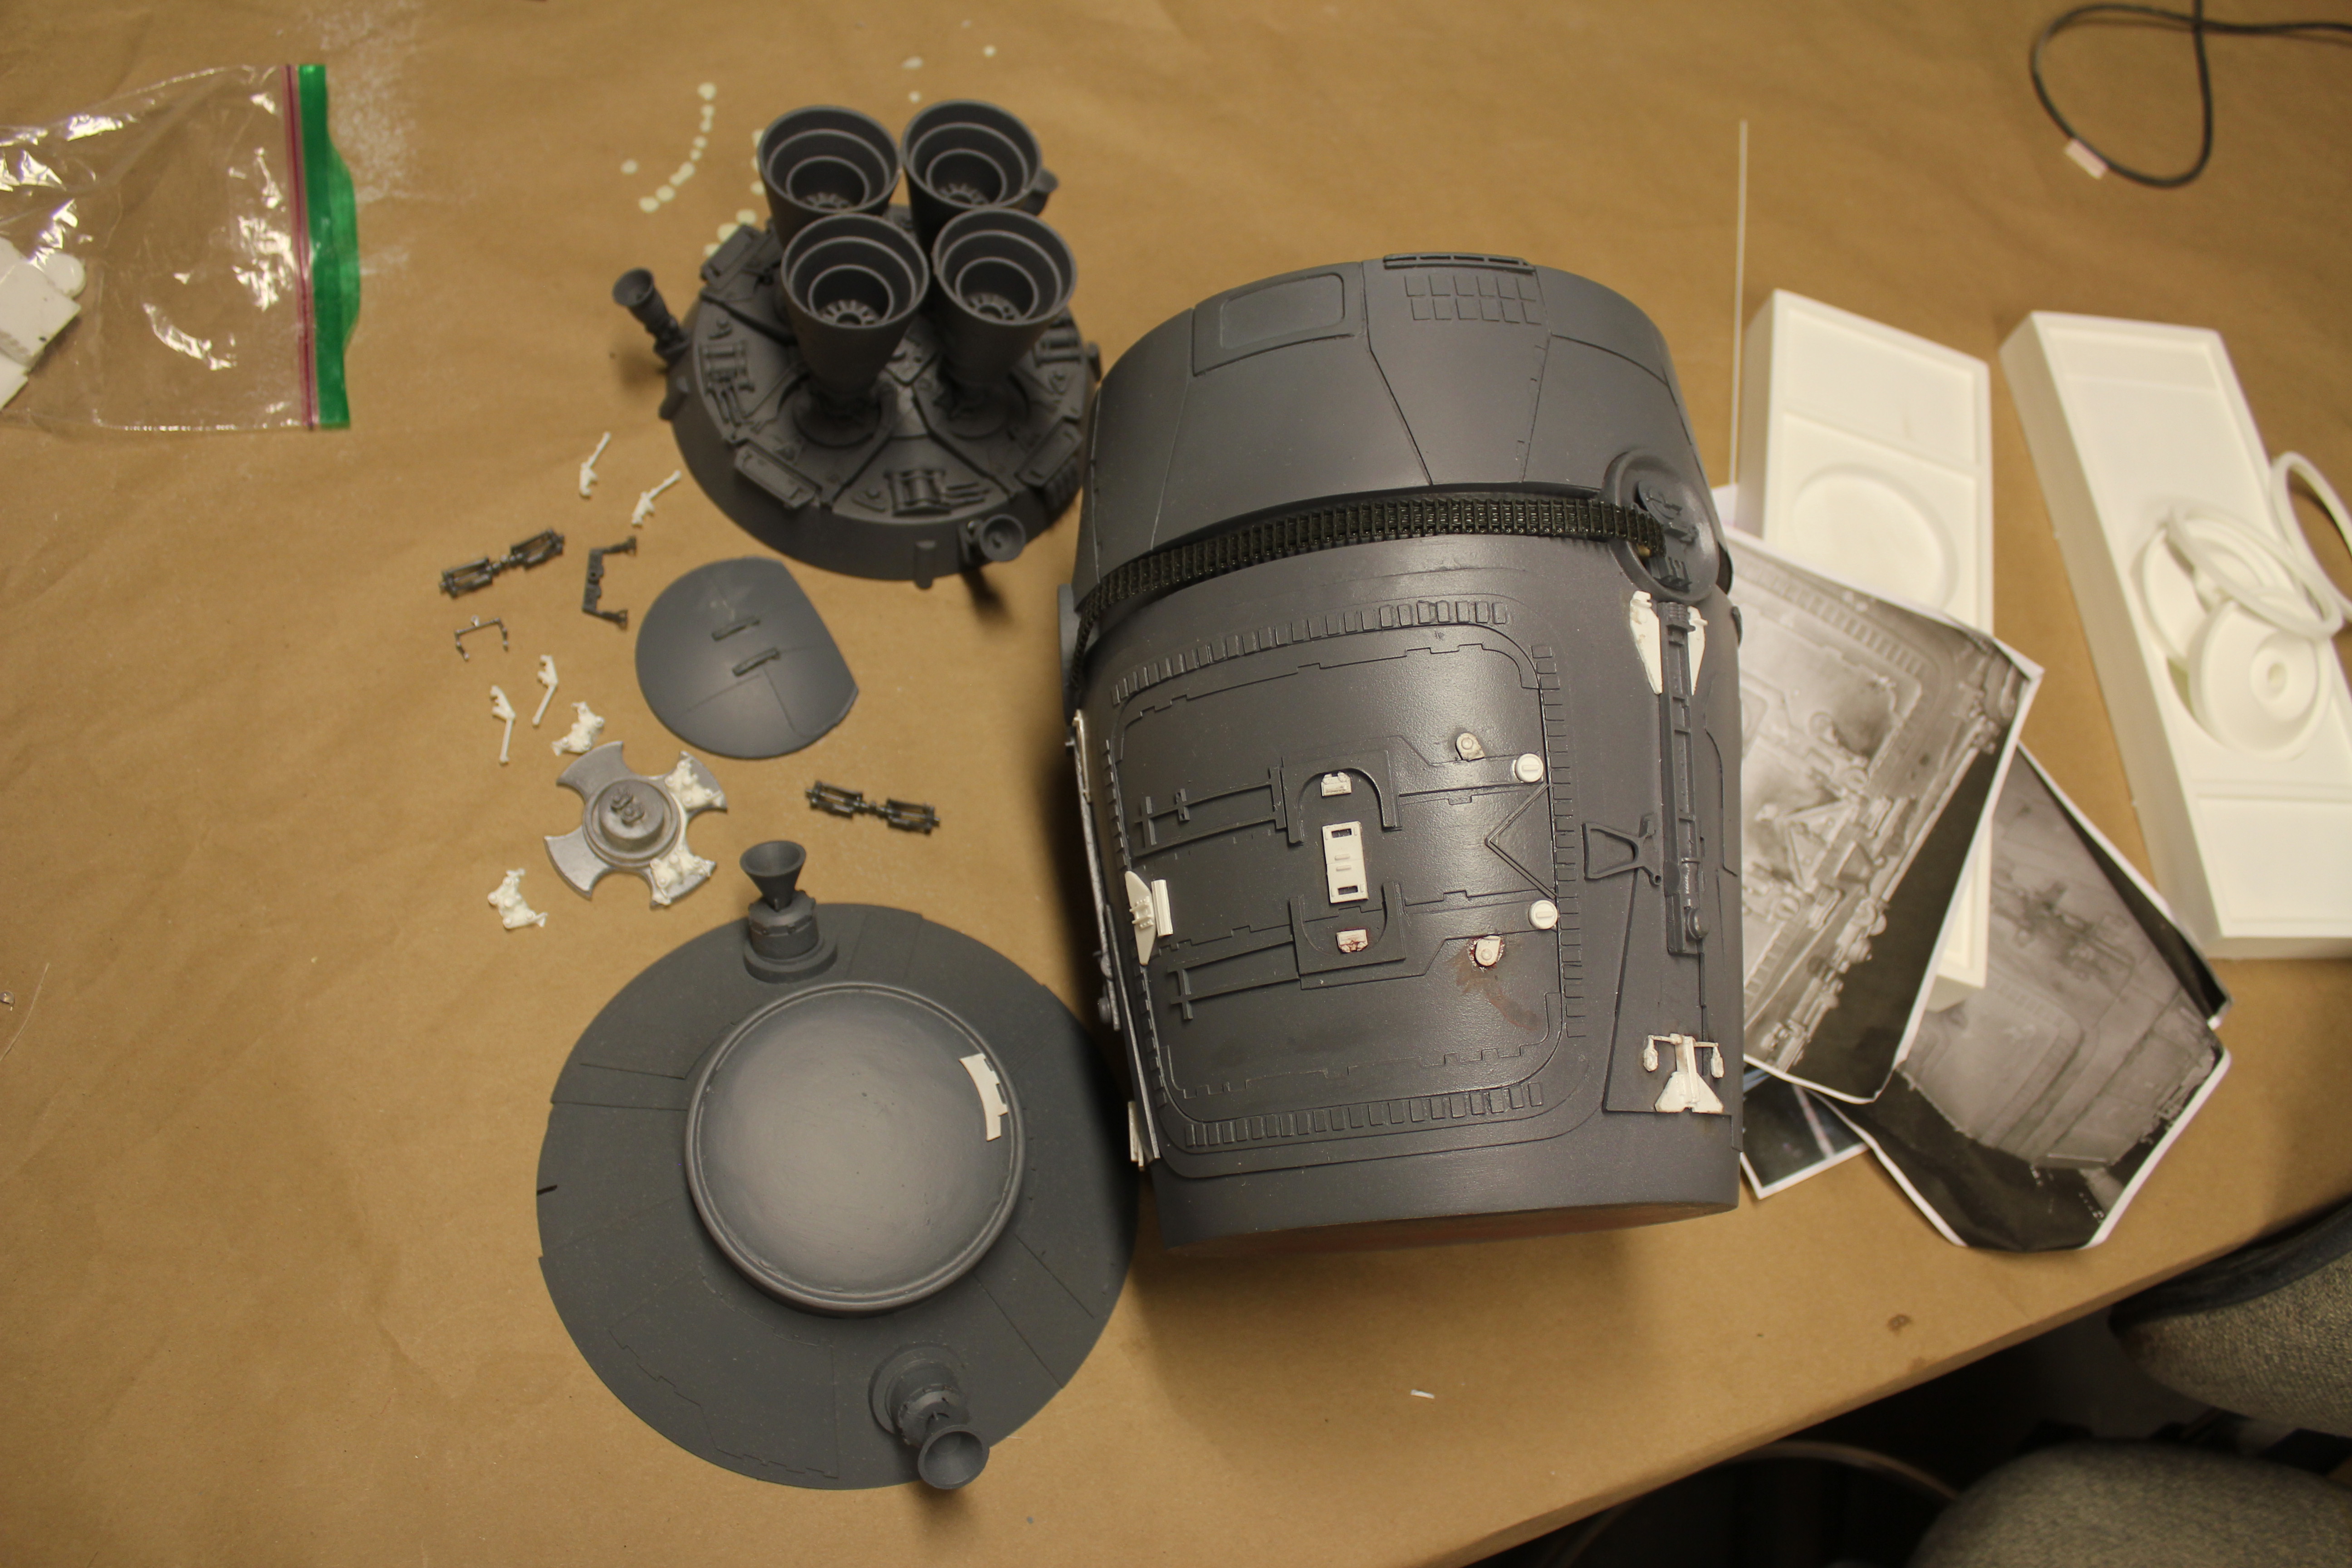
The kit has a diameter of 8.75" and is over 18" long. The main hull is broken down into 3 main parts: the lid, the hull, and the bottom pan, so shipping can be accomplished in a 12" cubed box.

THE KIT:
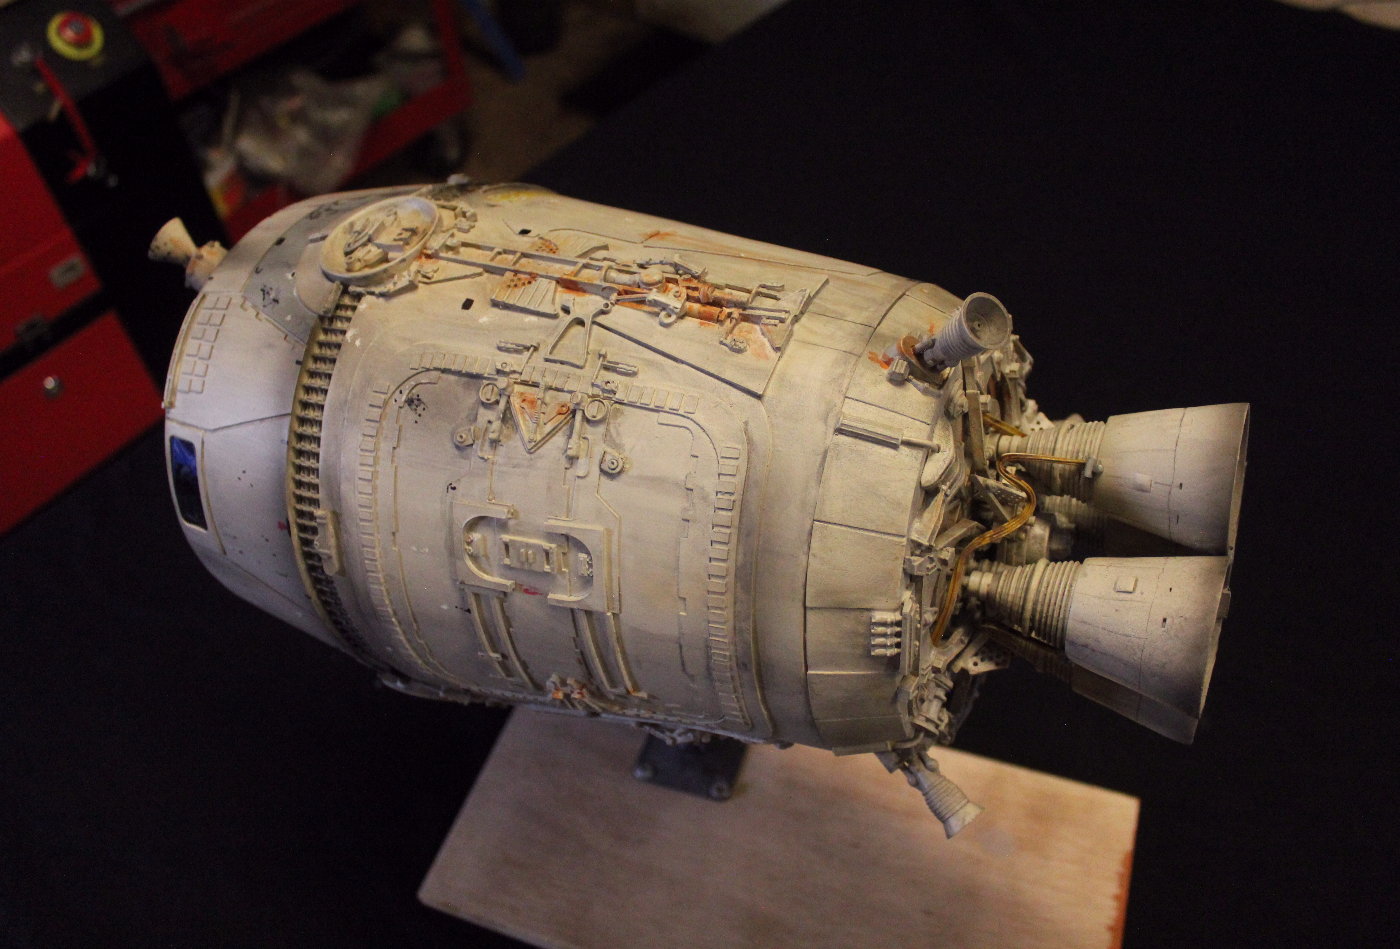
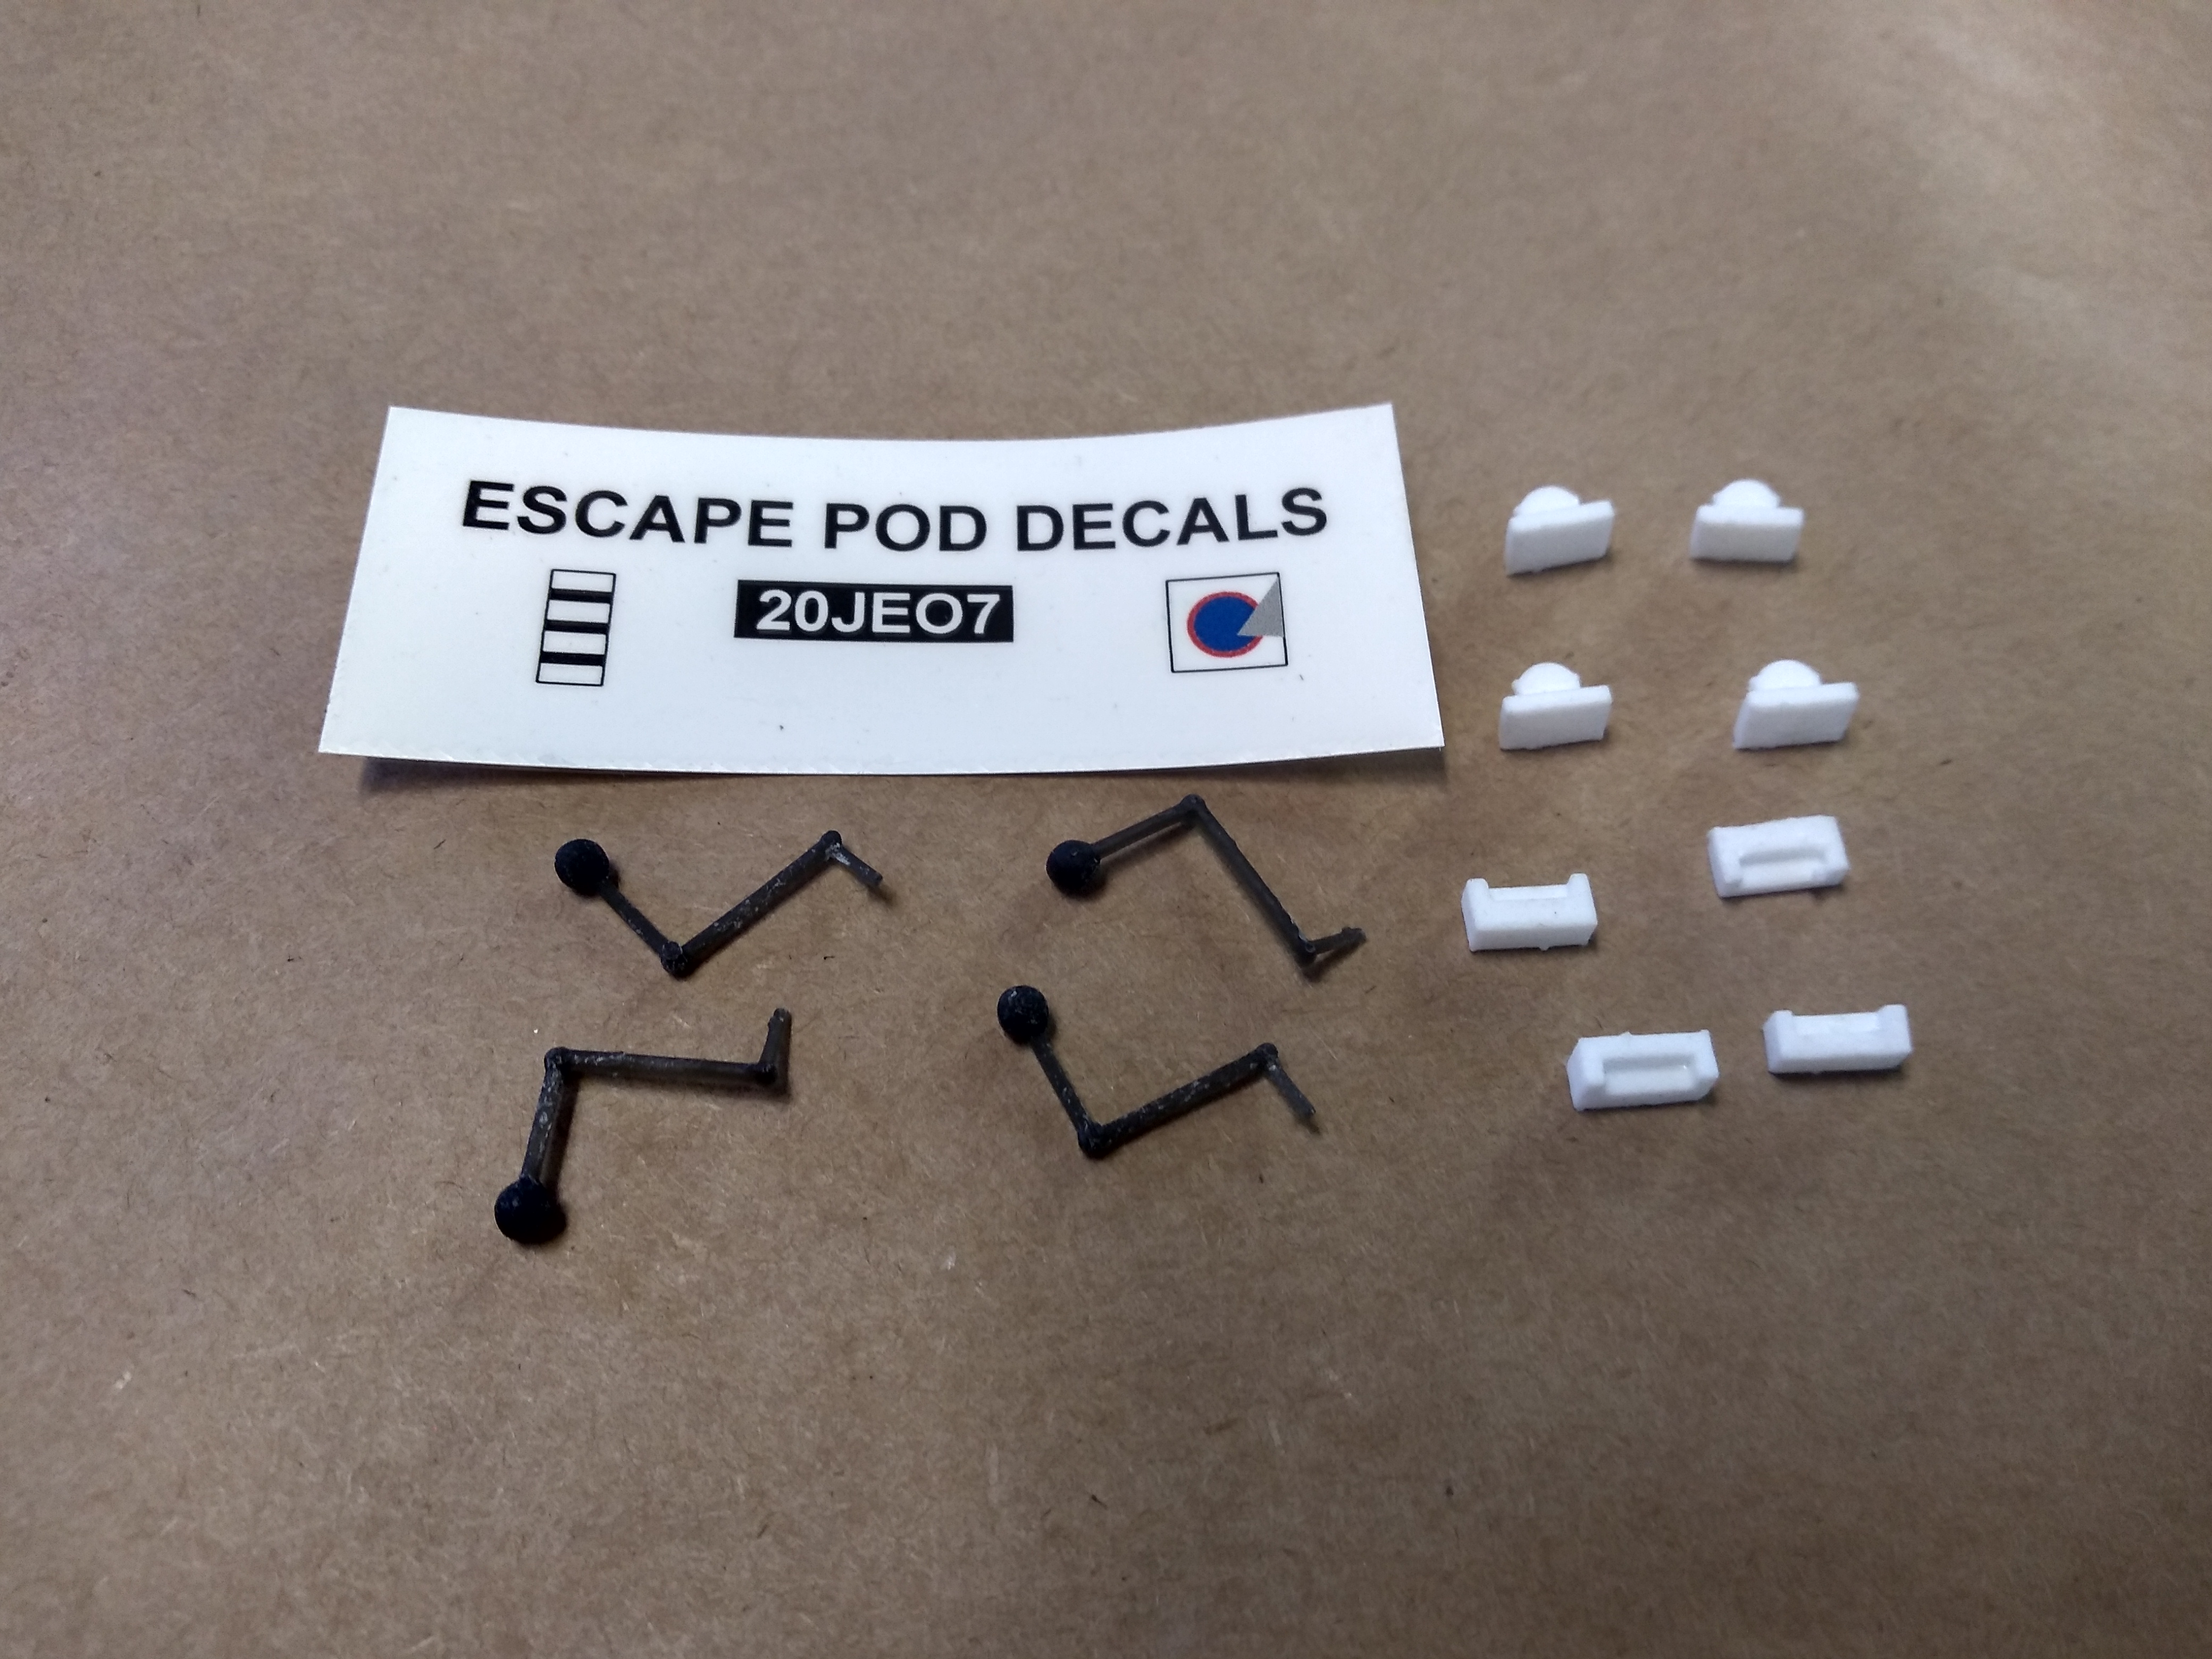
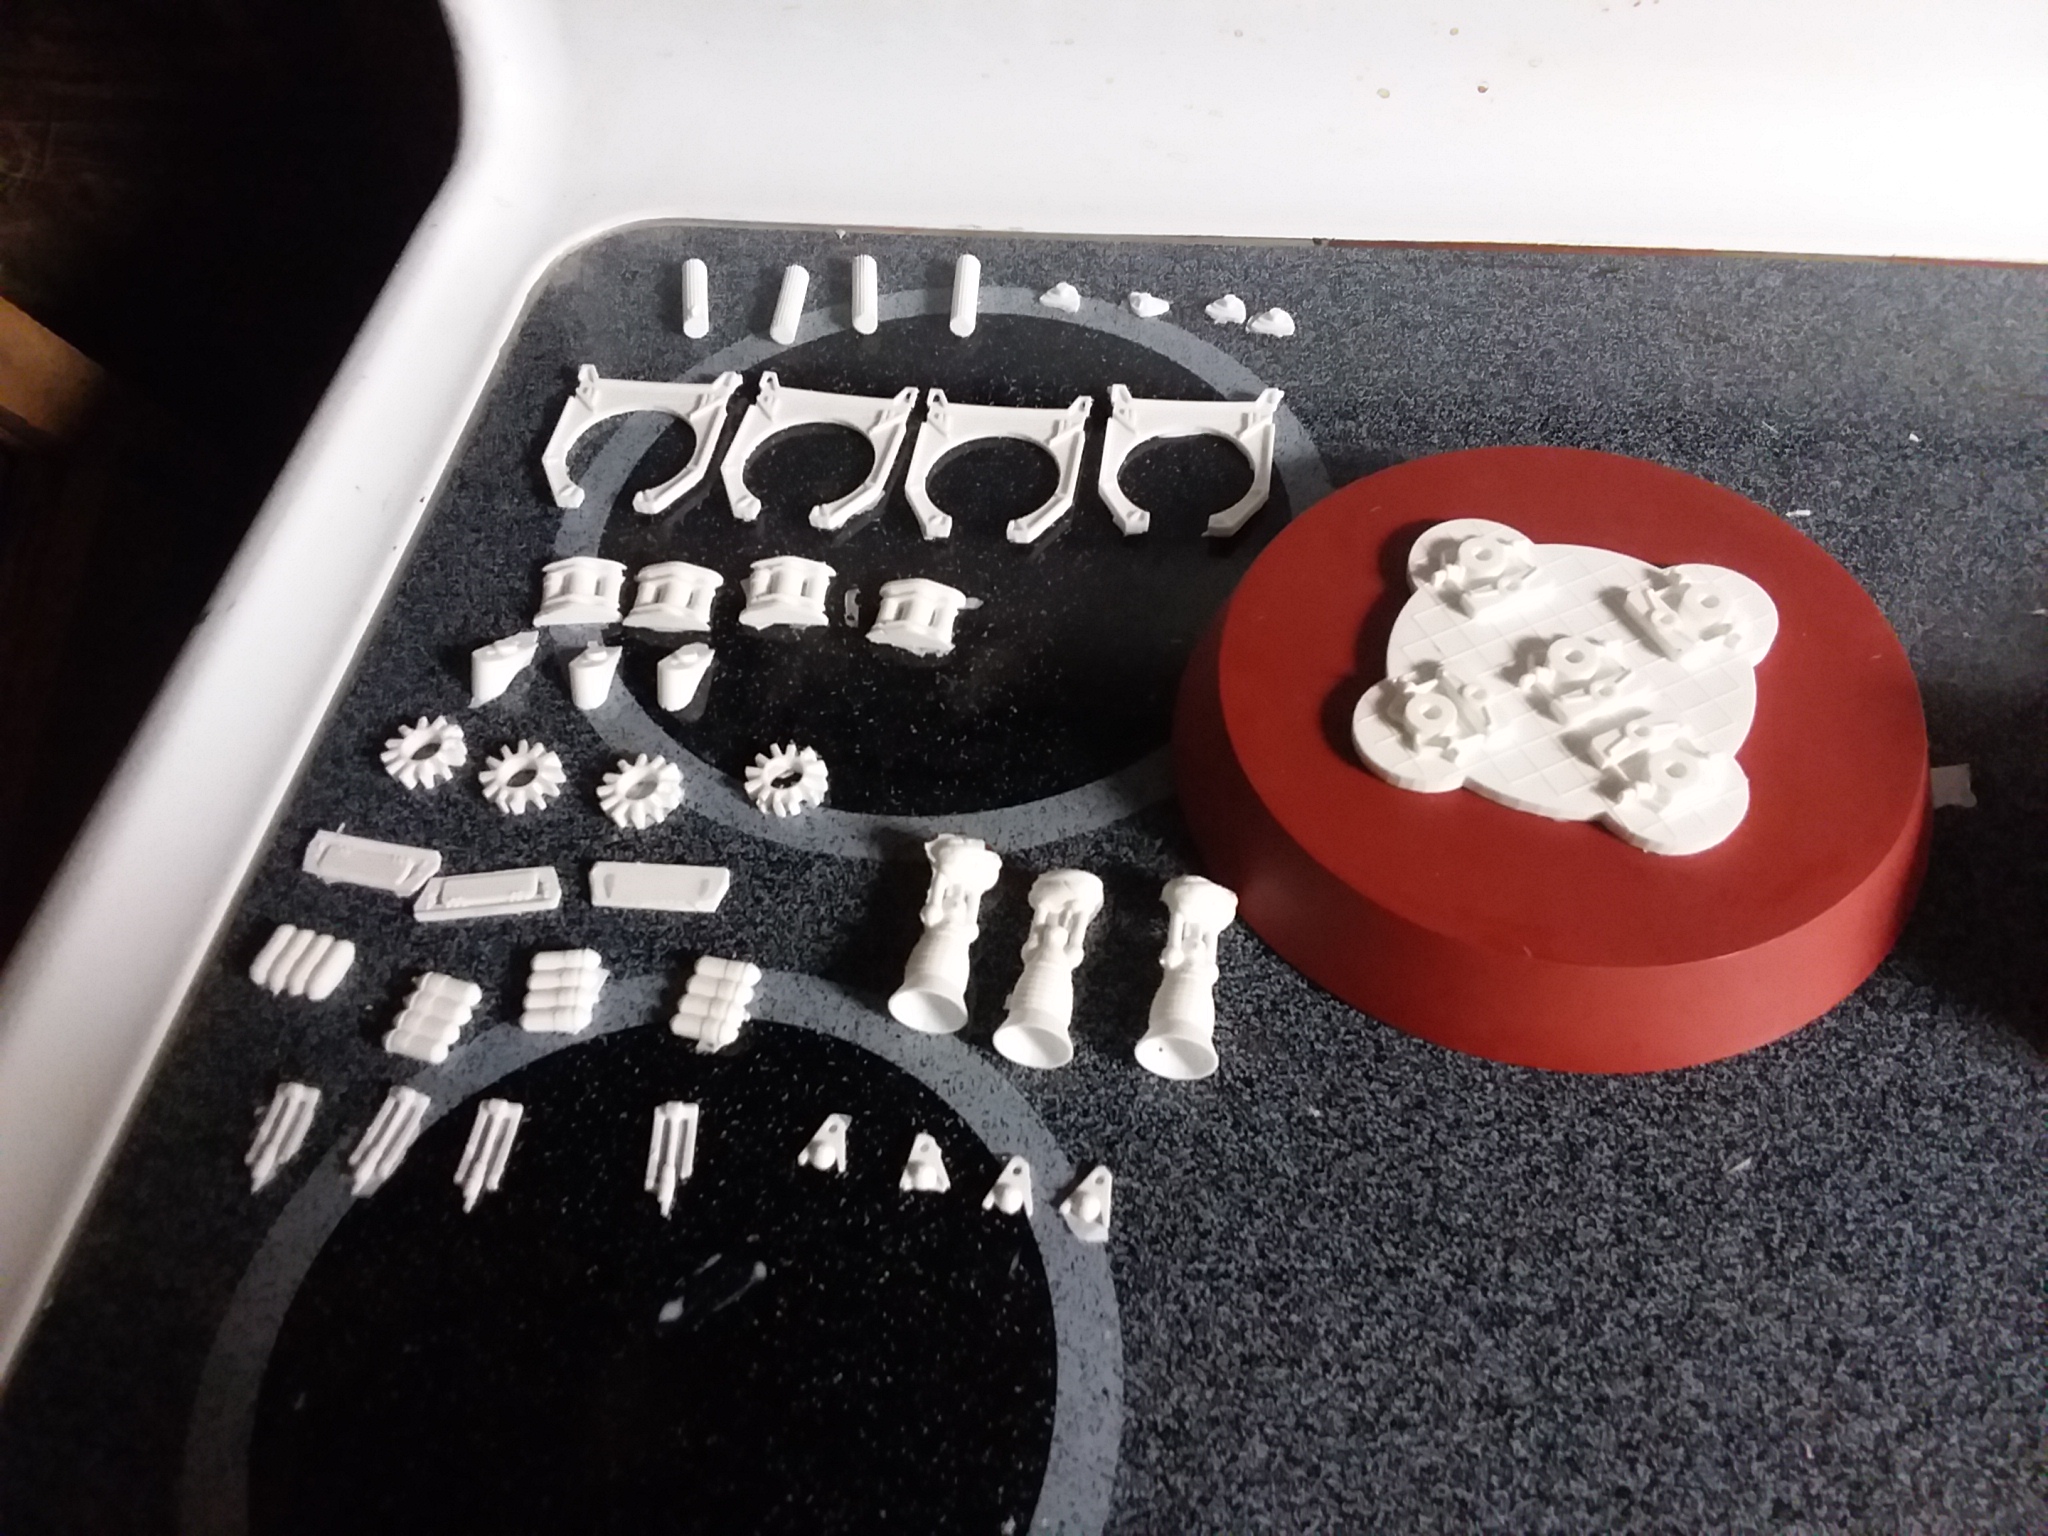
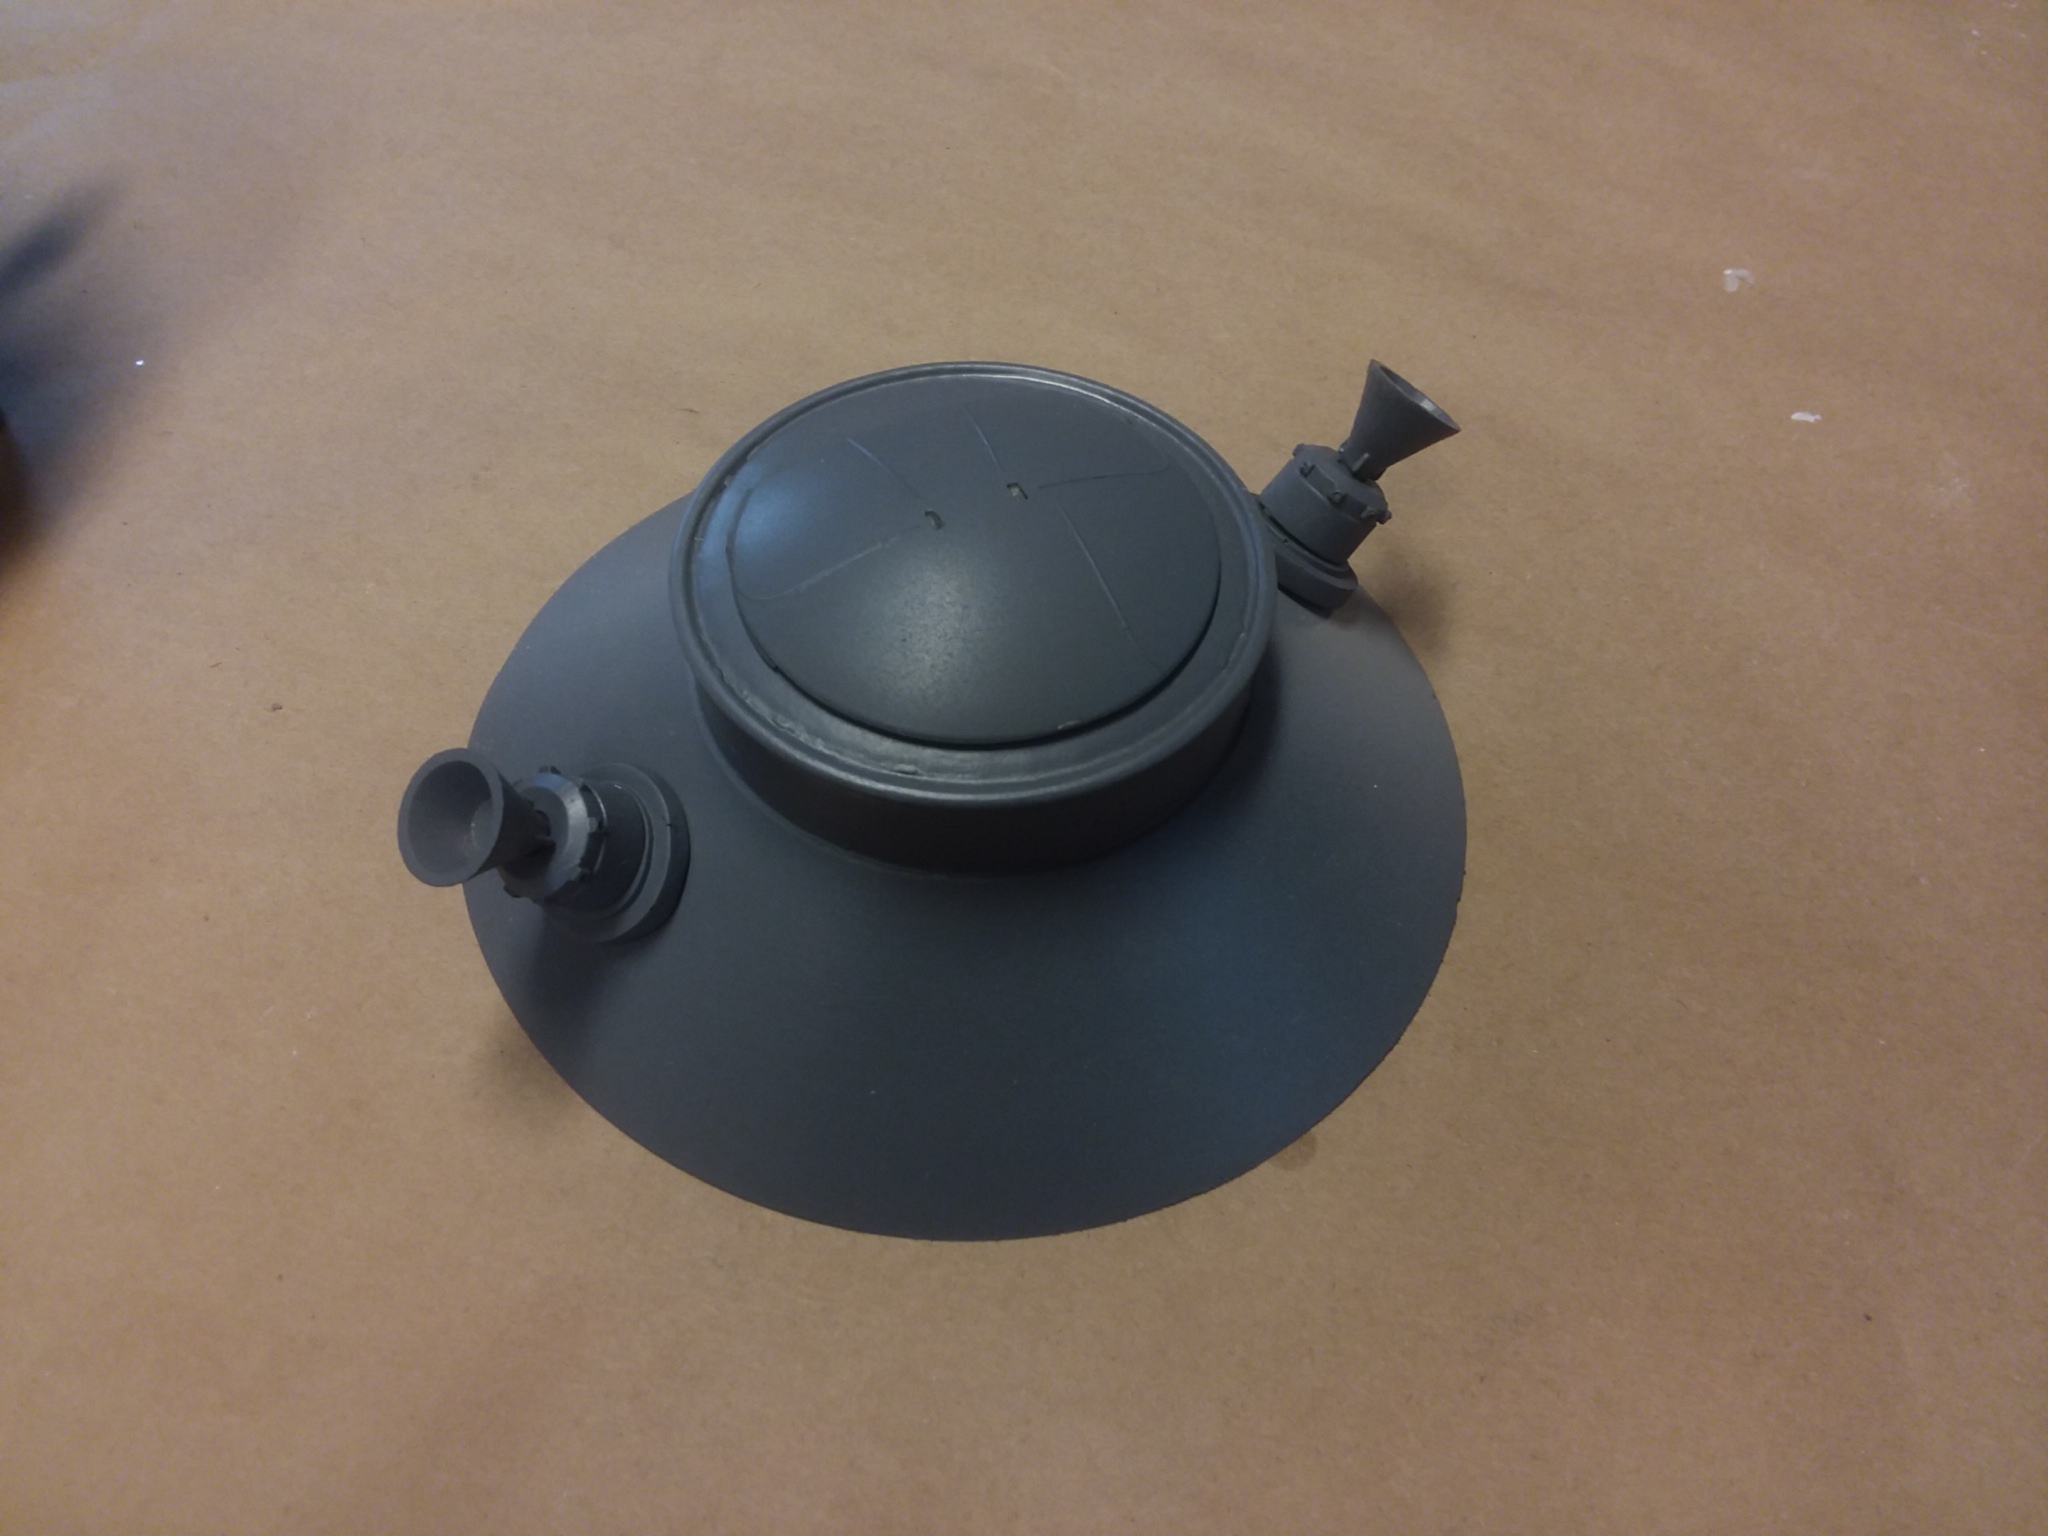
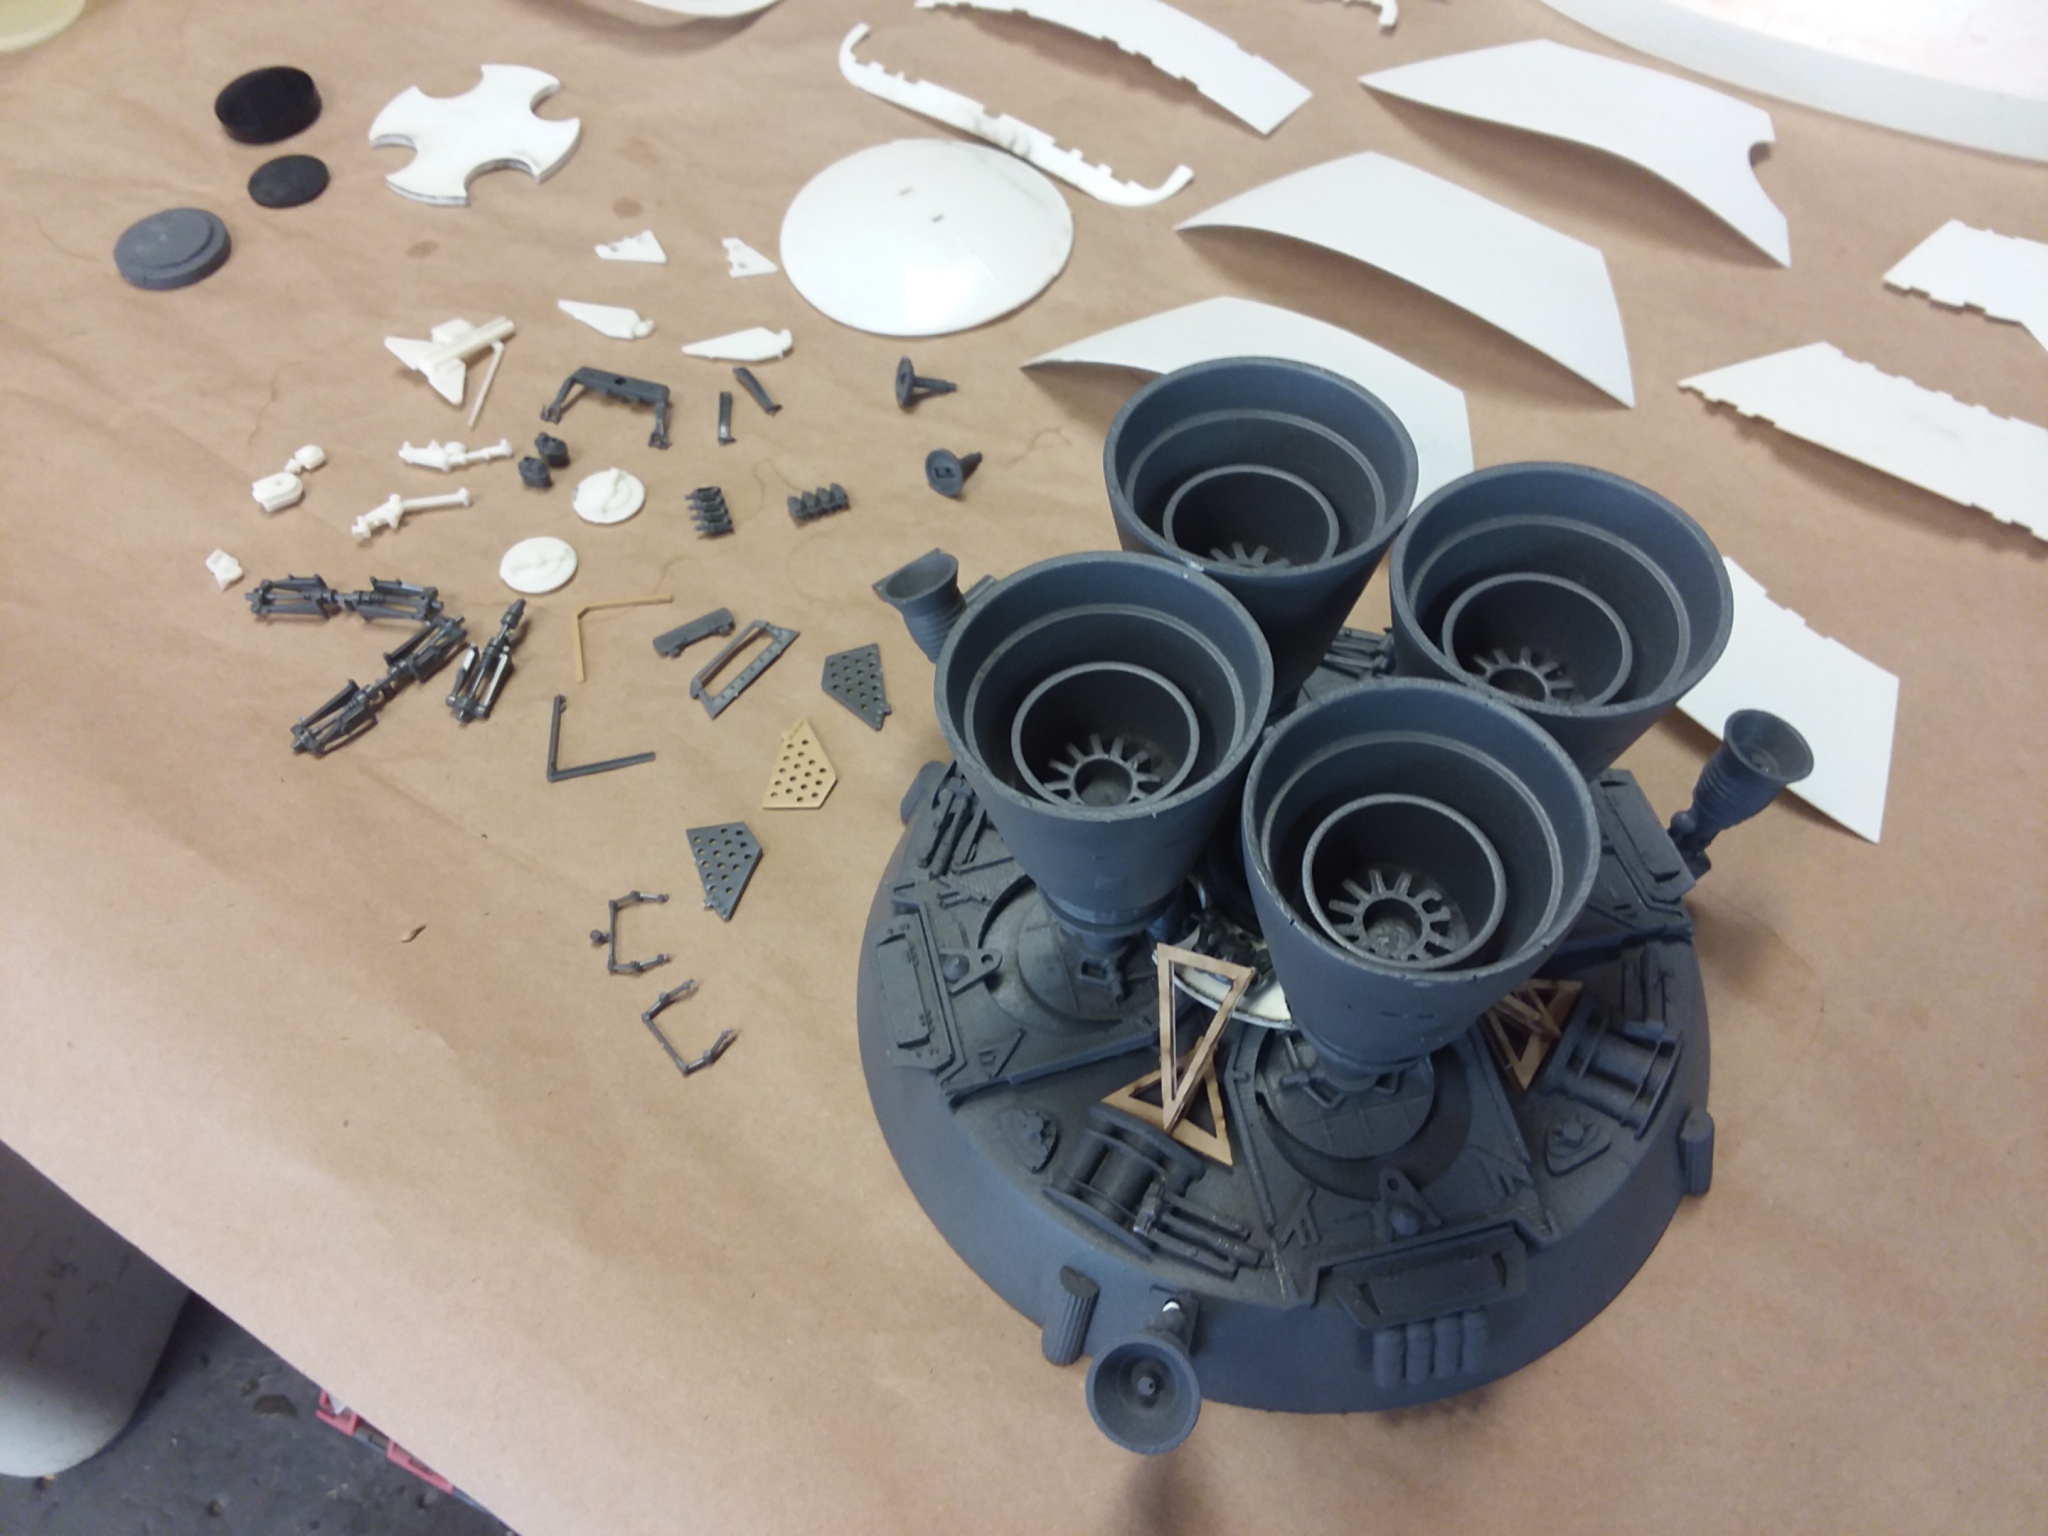
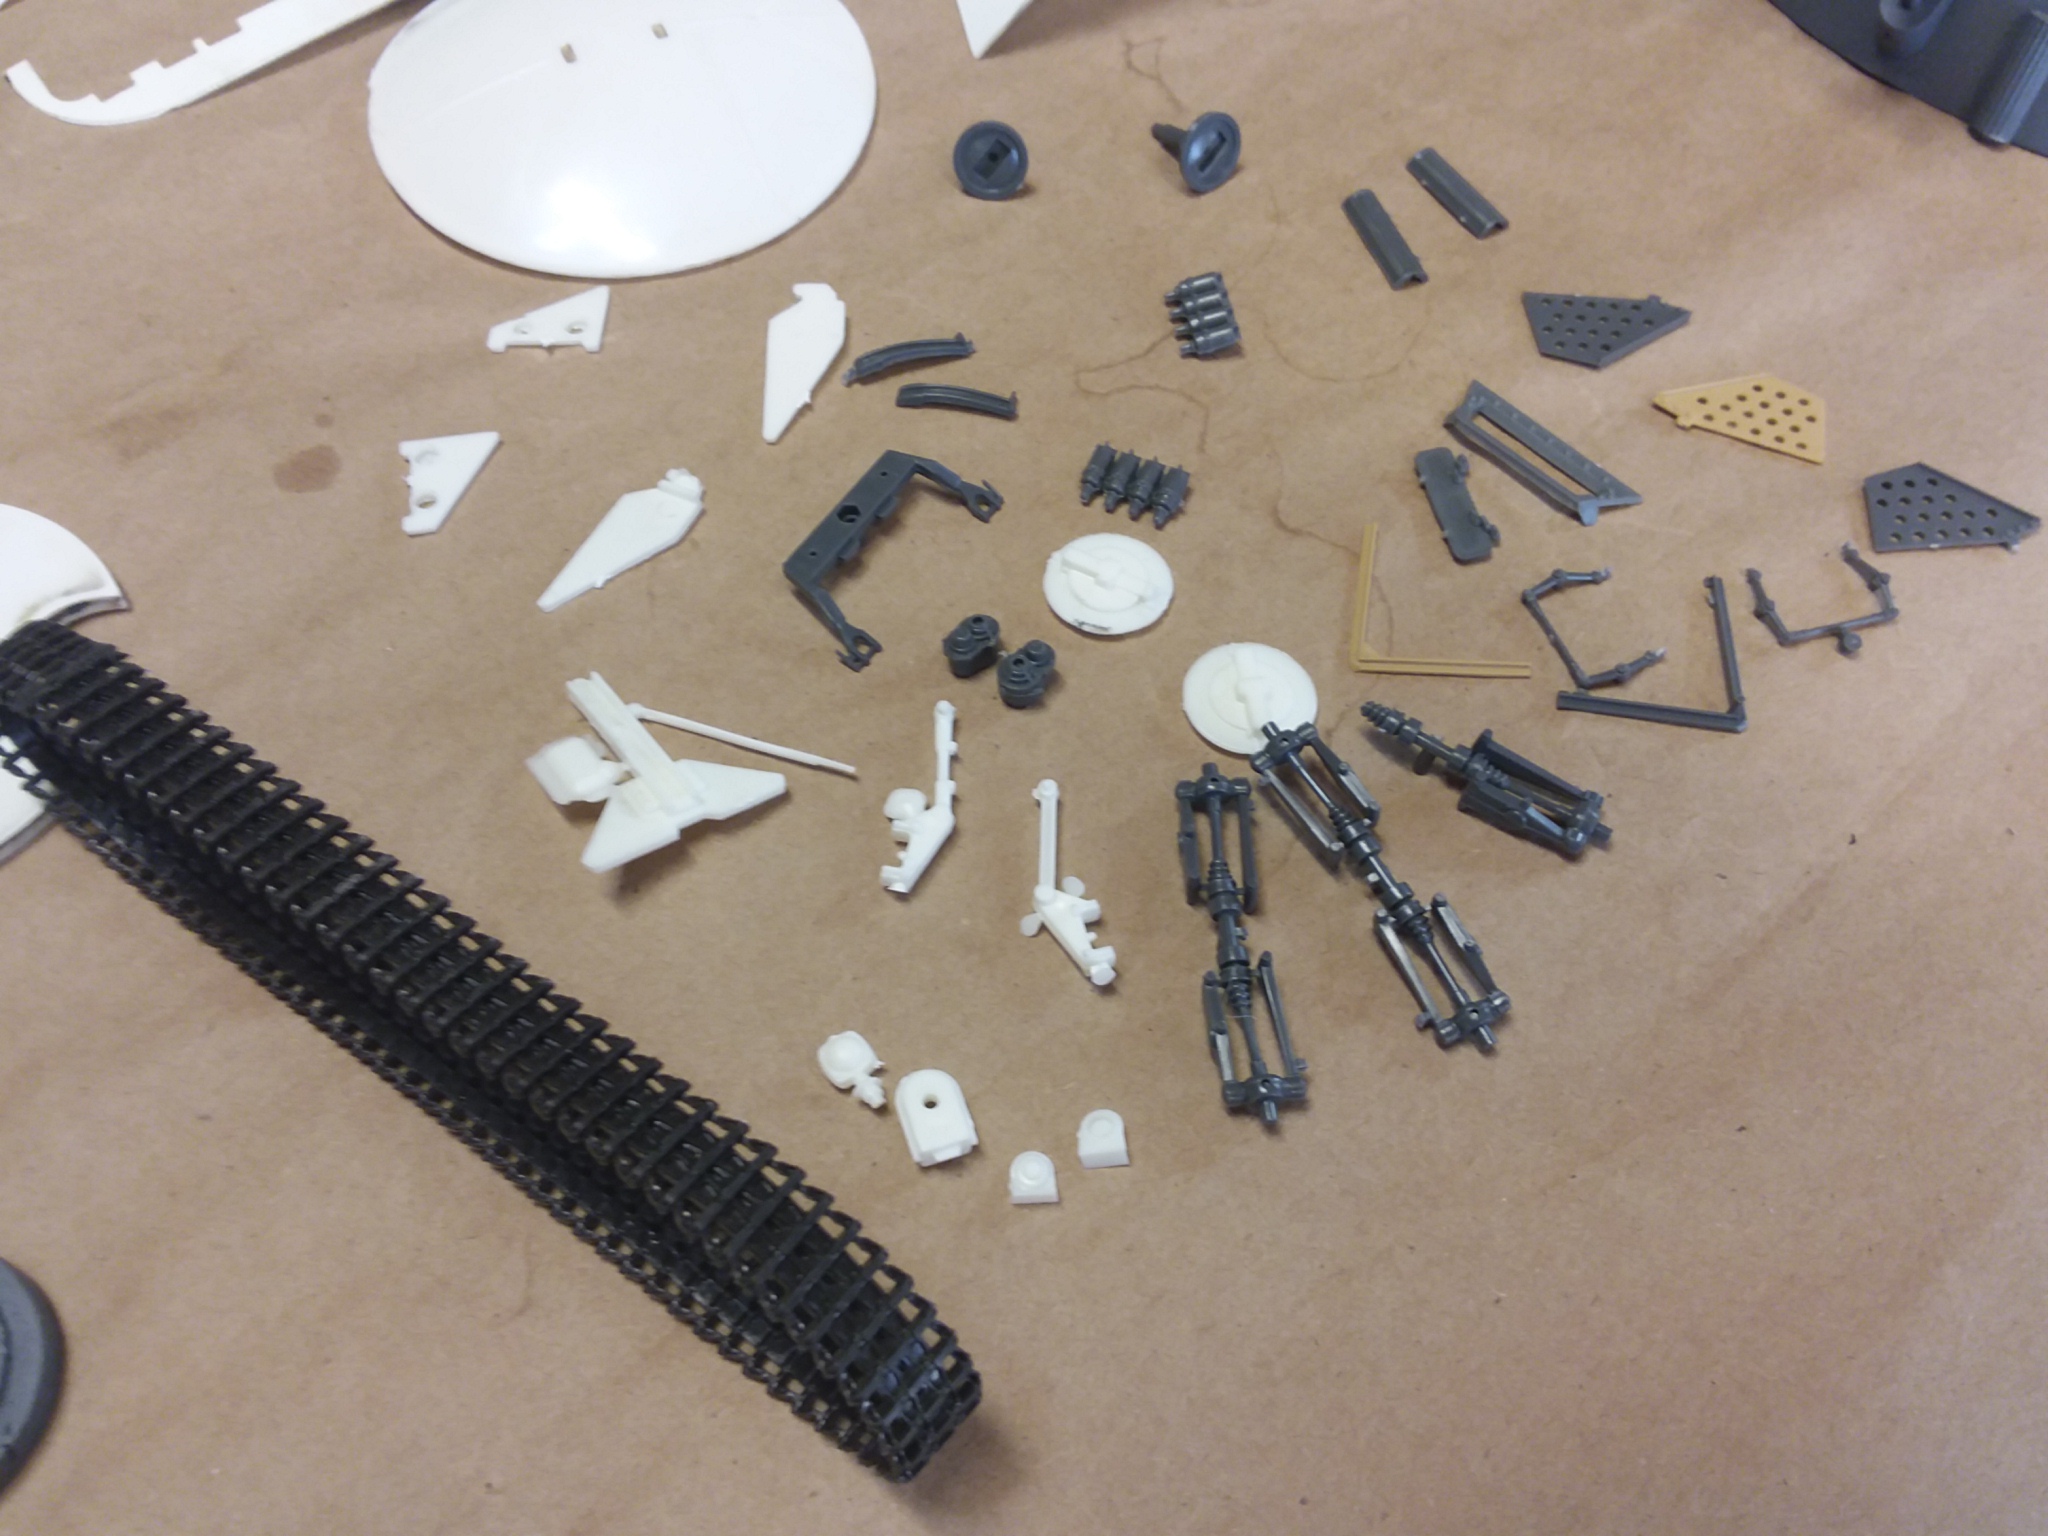
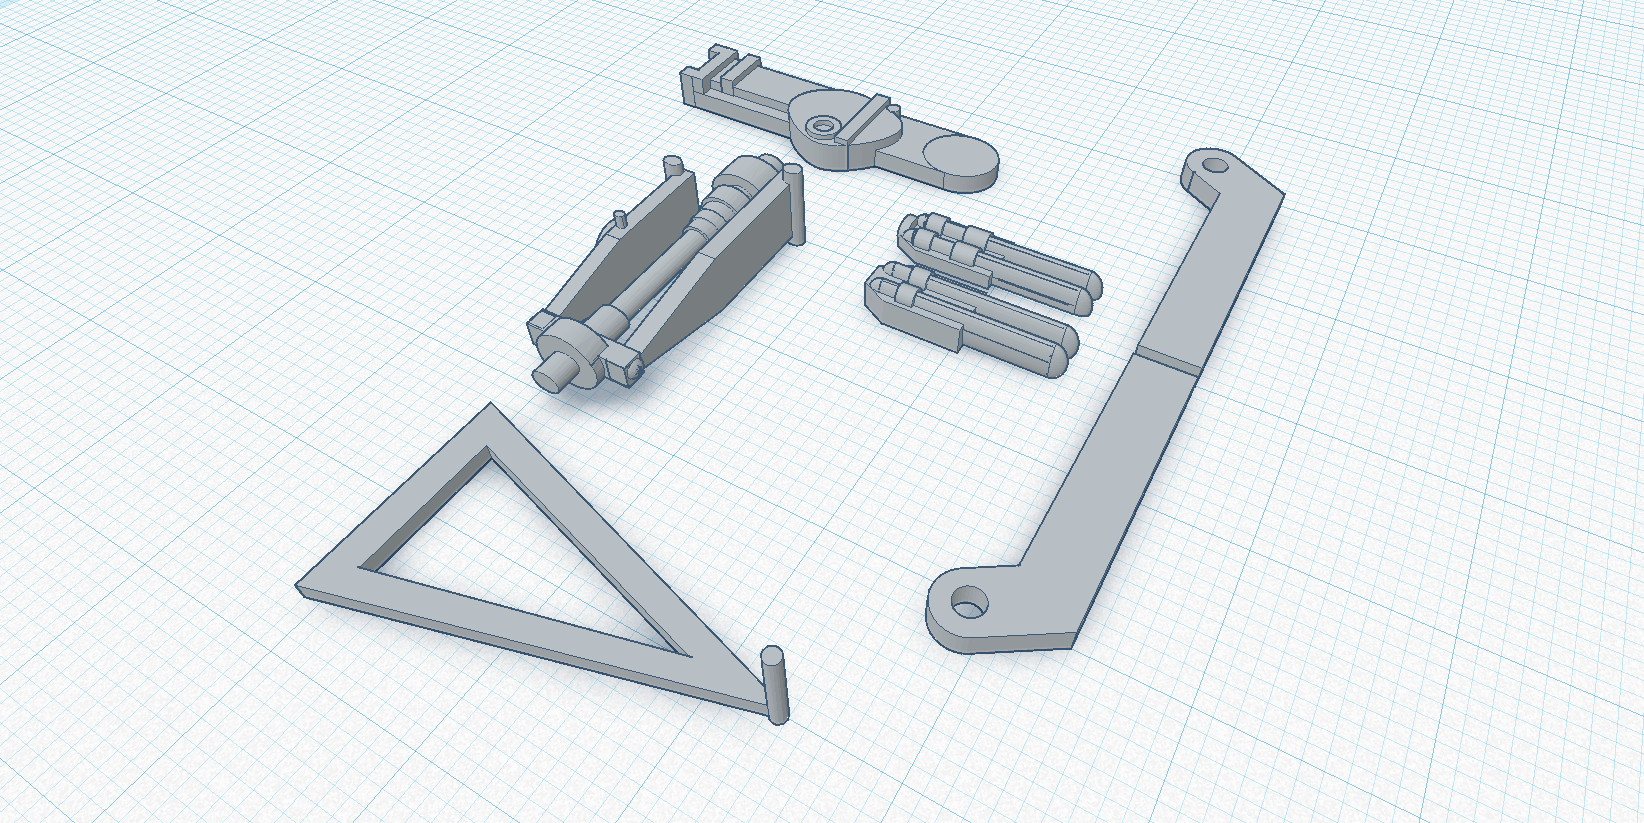
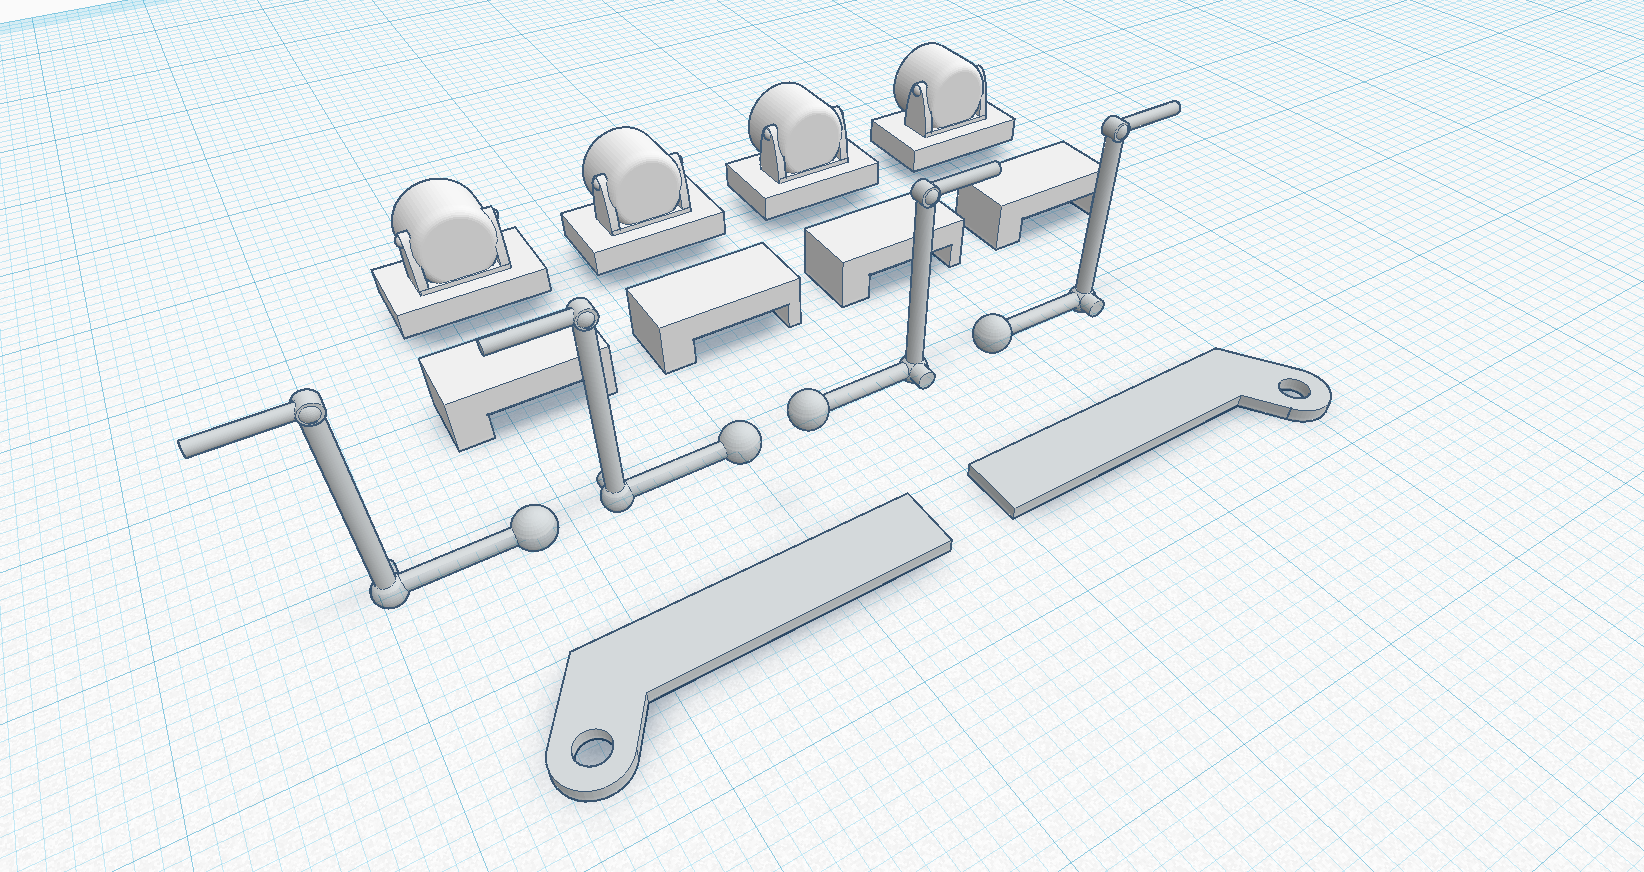
The kit includes a set of waterslide decals and a total of 7 3d printed parts including these struts that are located on the bottom mounted attitude thrusters. Also seen in this photo are the 8 cable connectors for the main engine.


HOW IT WAS MADE:
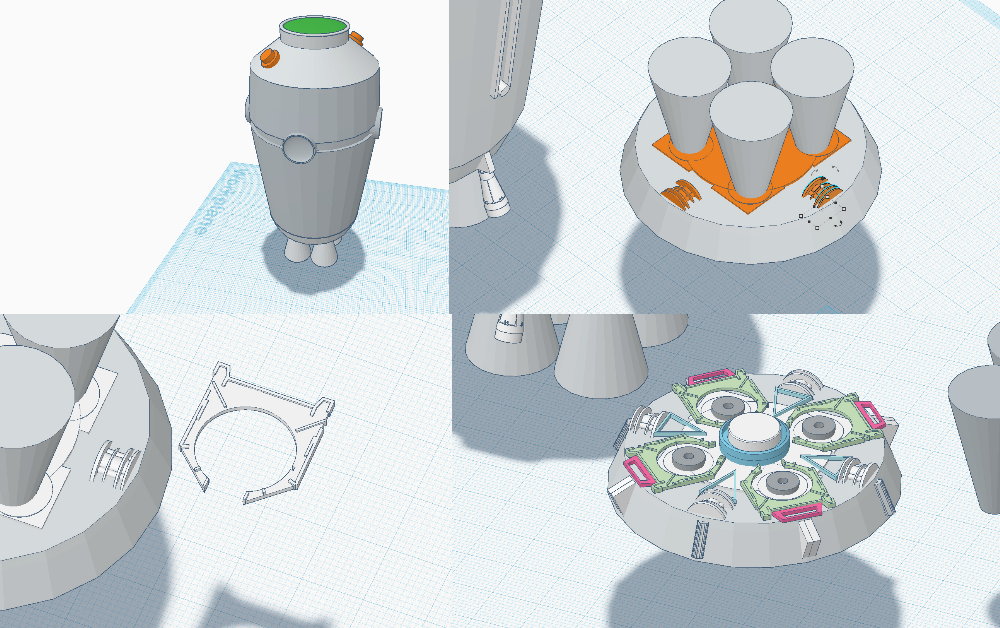
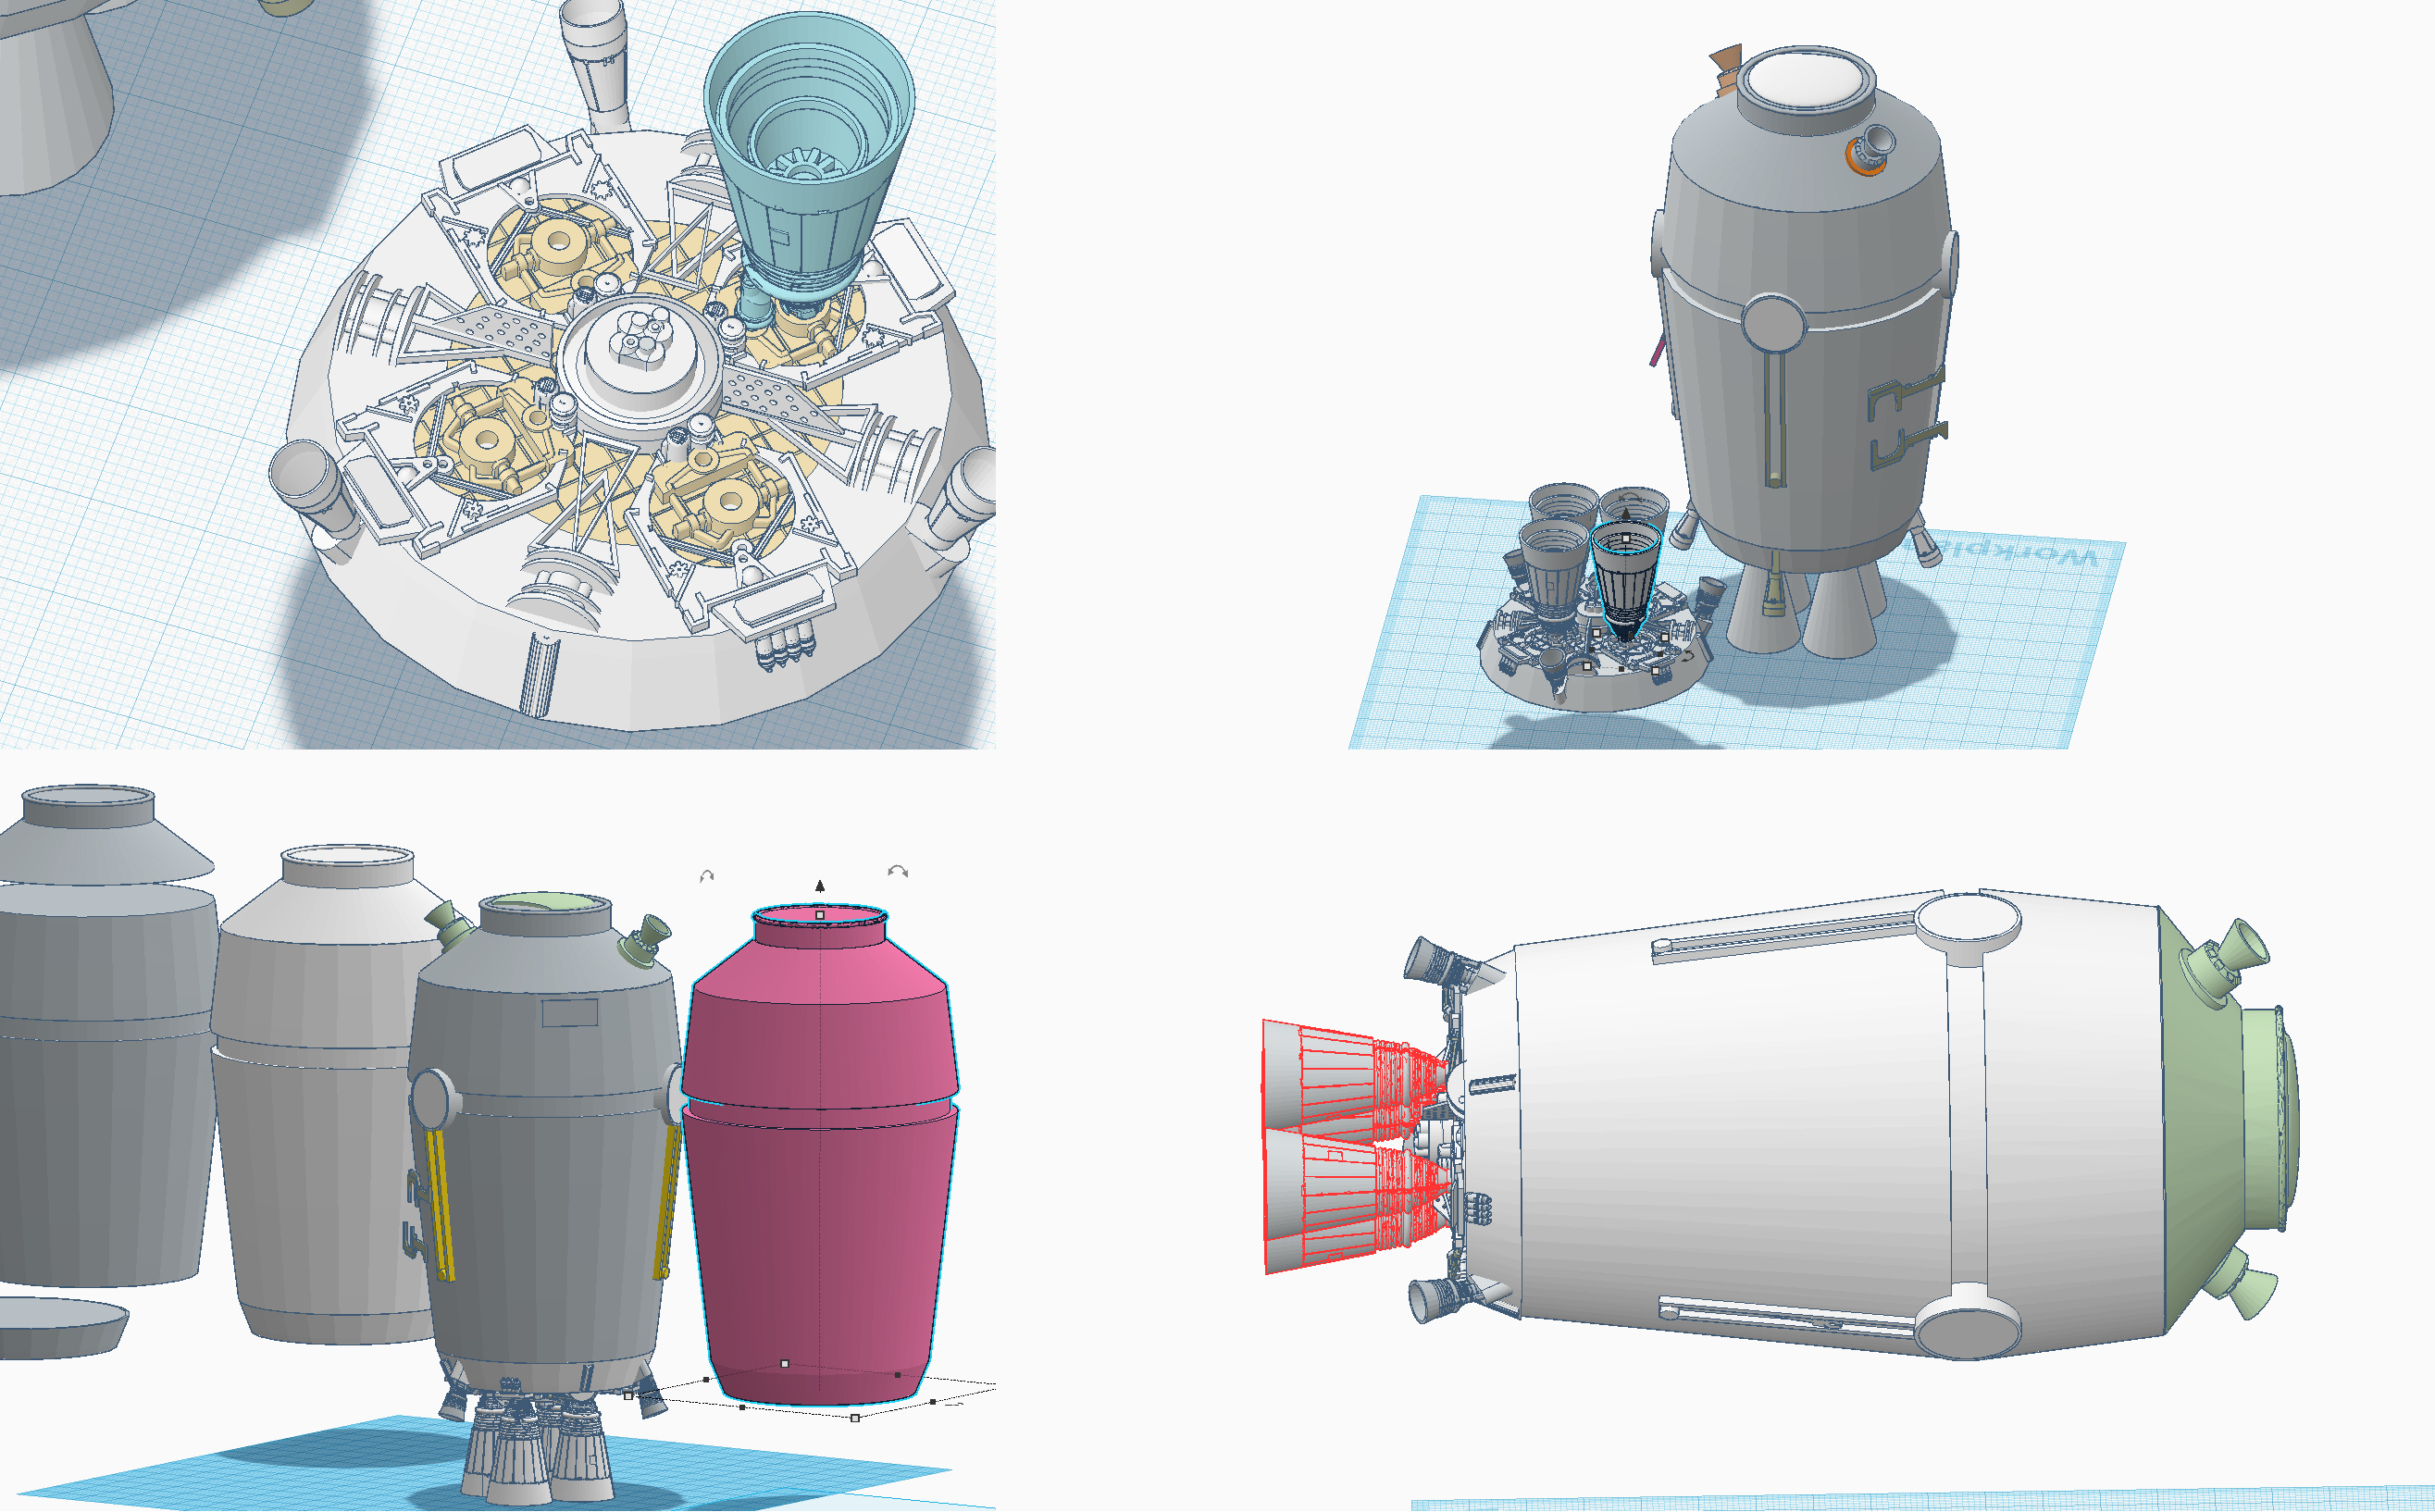
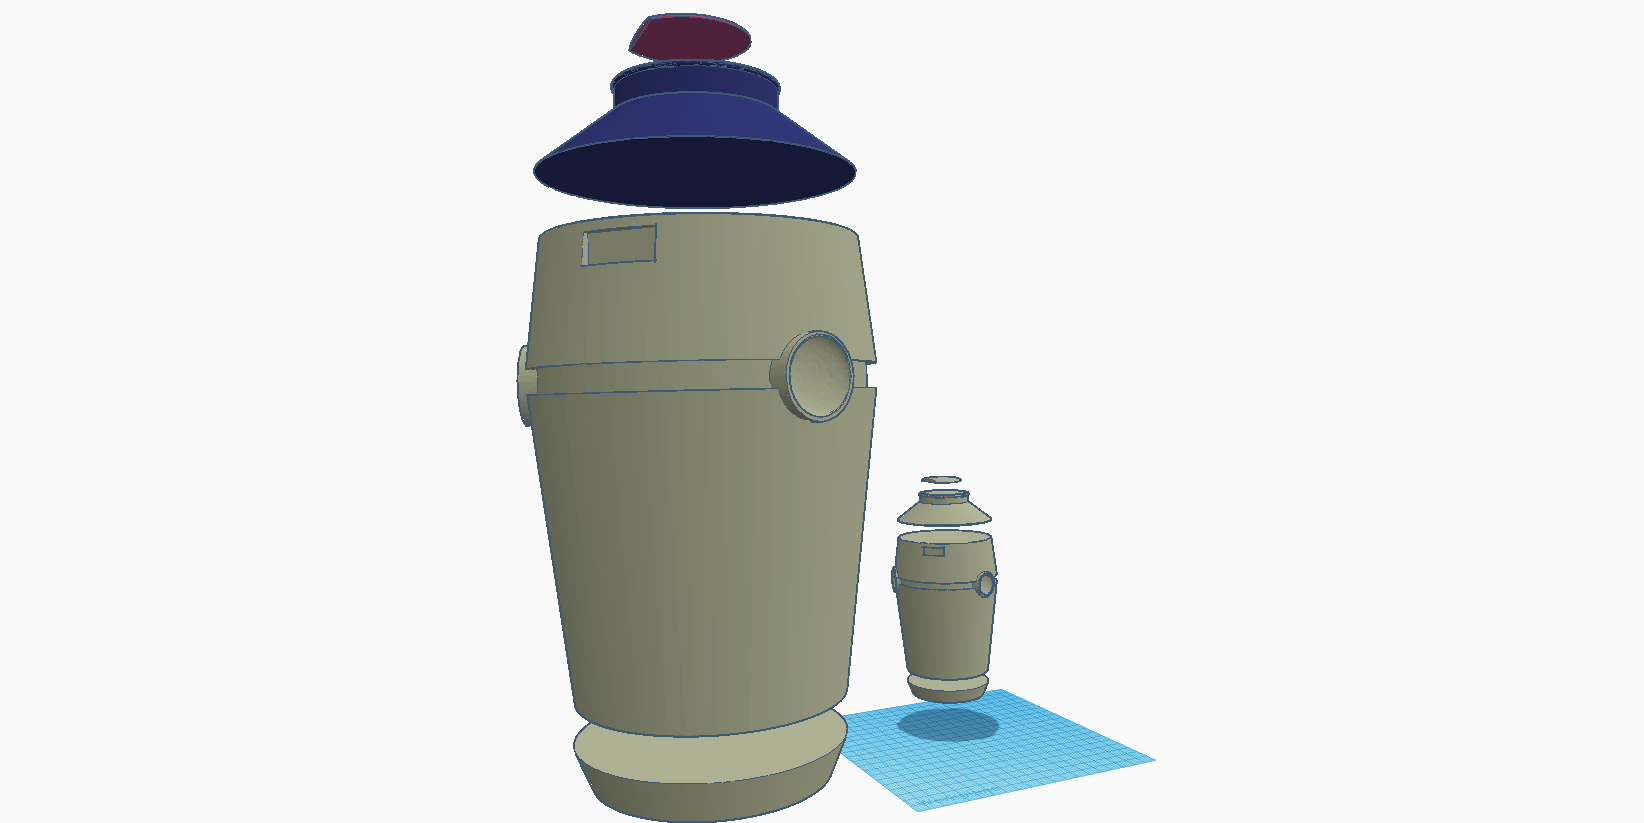
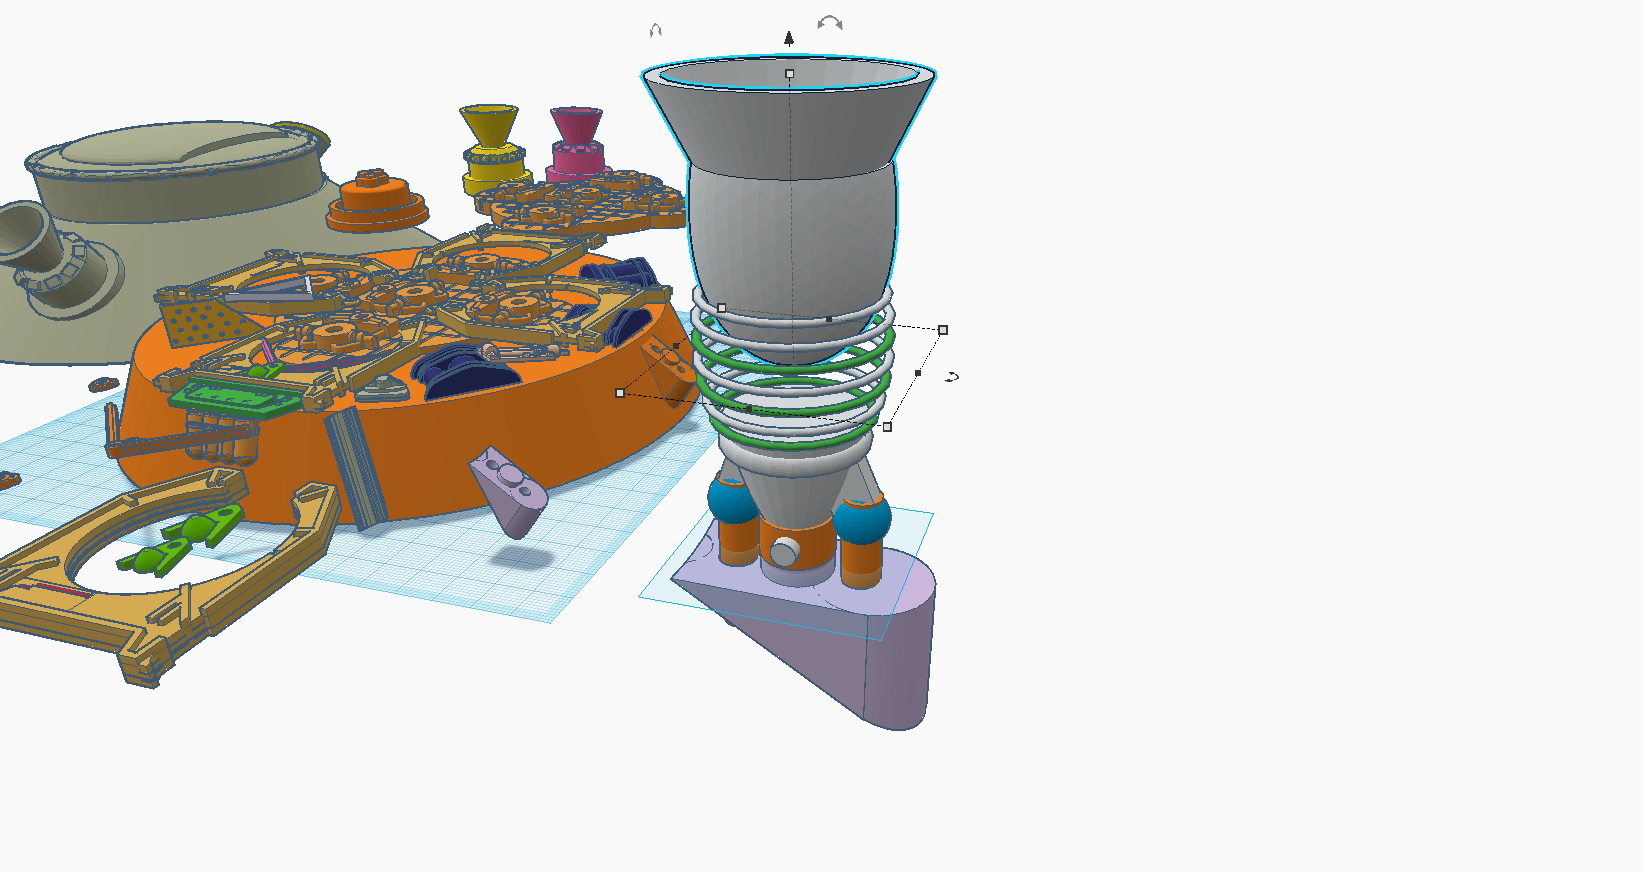
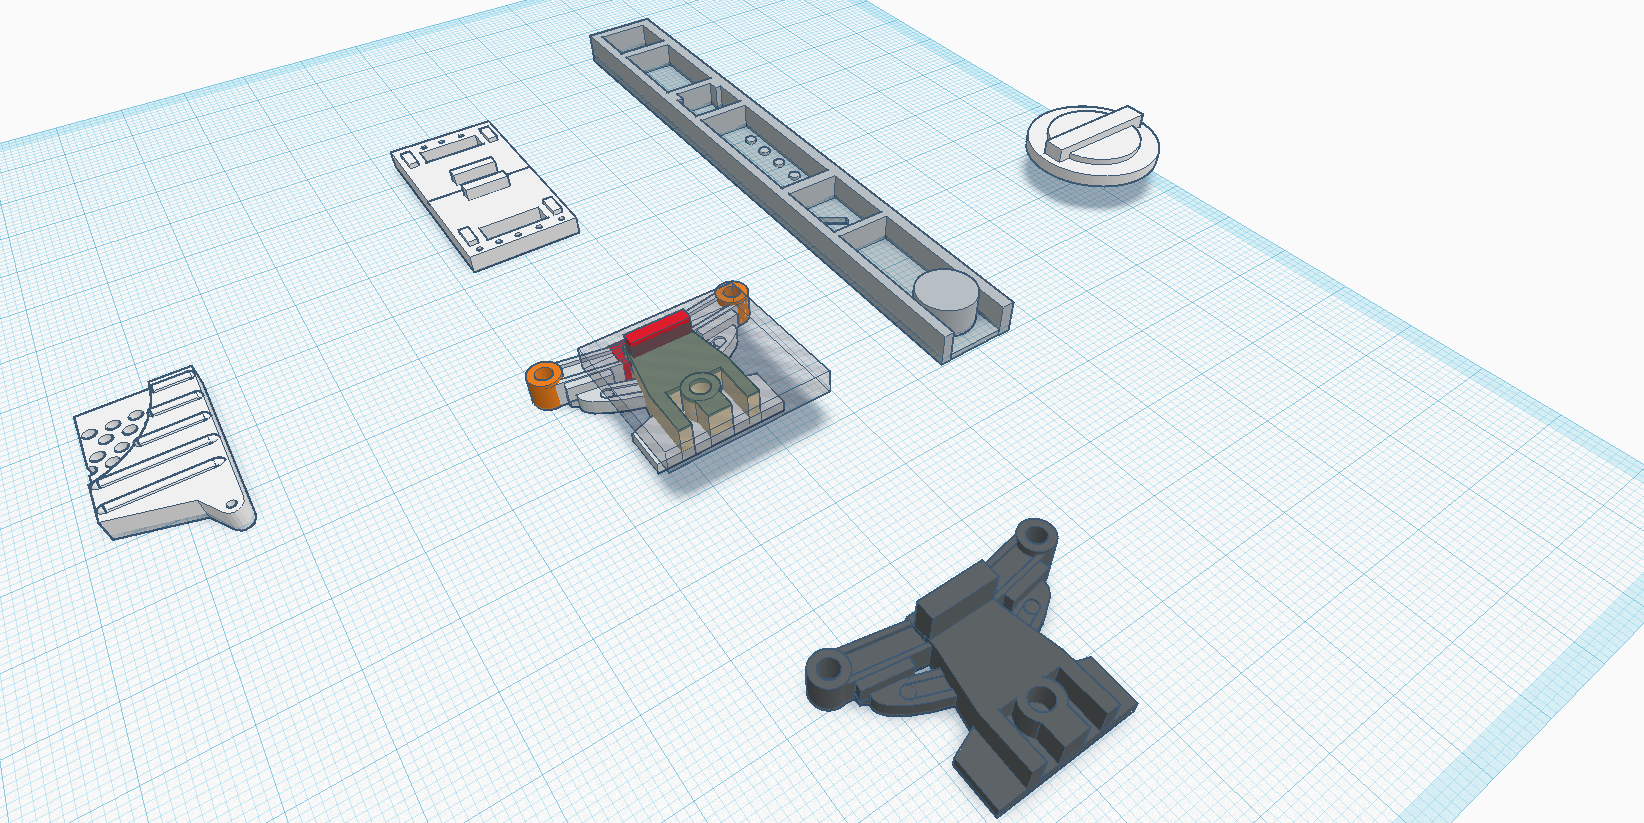
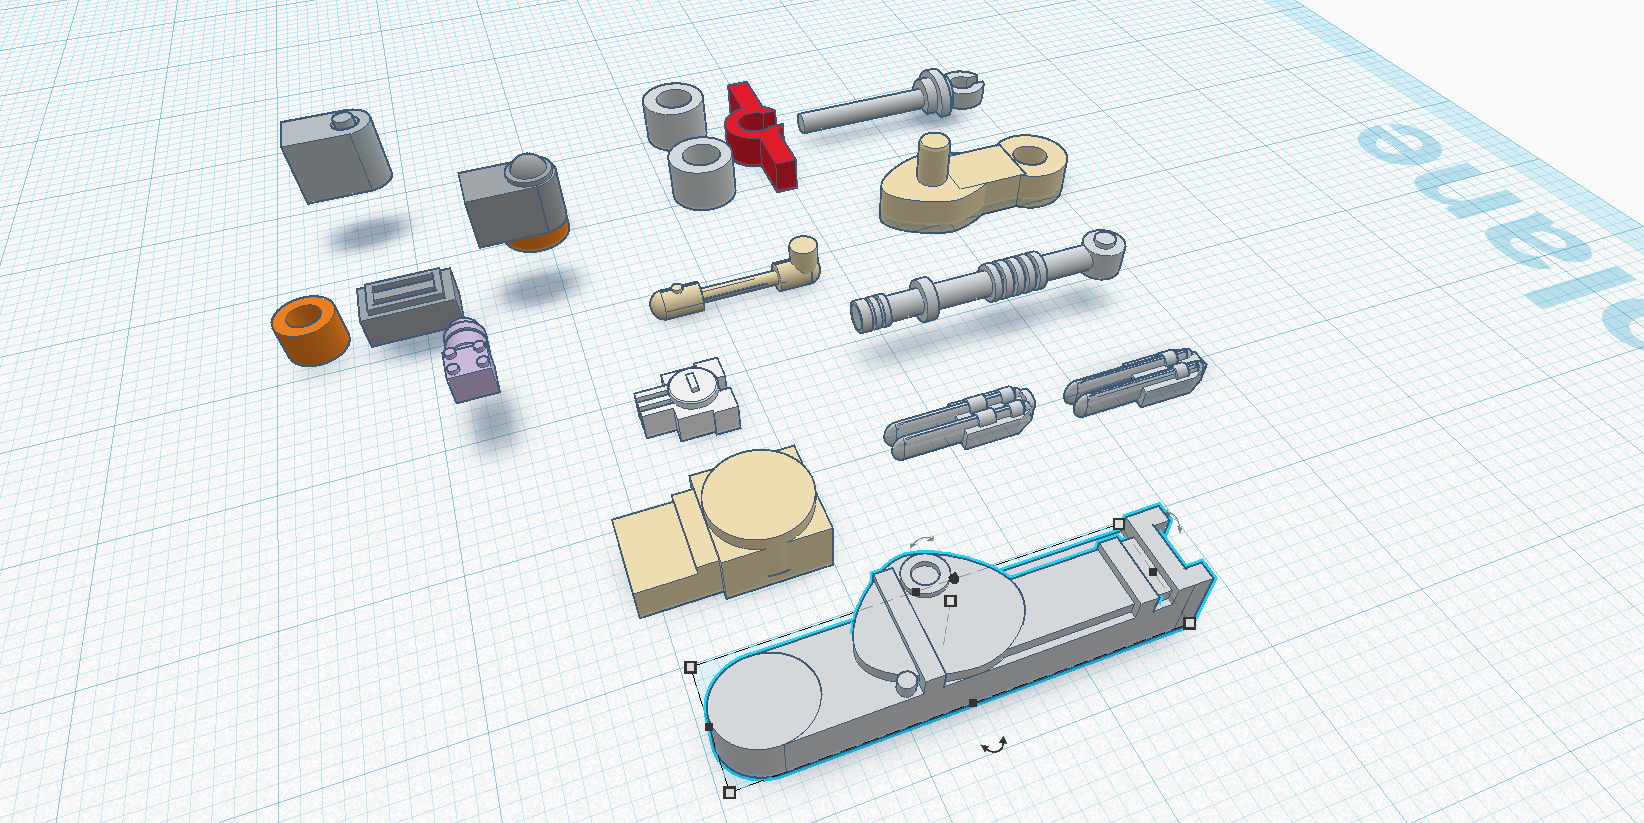
I have been 3D designing for 10+ years and one of my fave programs is TINKERCAD. It's a bit limited with resolution but you can do amazing things with it very quickly. This project was an exercise in subtractive modeling. The plan is to create the base shapes and details, print a fast study model on my SLA printer. From there I adjusted dimensions as needed, scaled up to studio scale and began the printing phase utlizing my CR-10S4 and SLA printer. During the process I slowly a started accumulating the tamiya and AMT kits used by the original model makers at ILM to replace my digital stand ins.
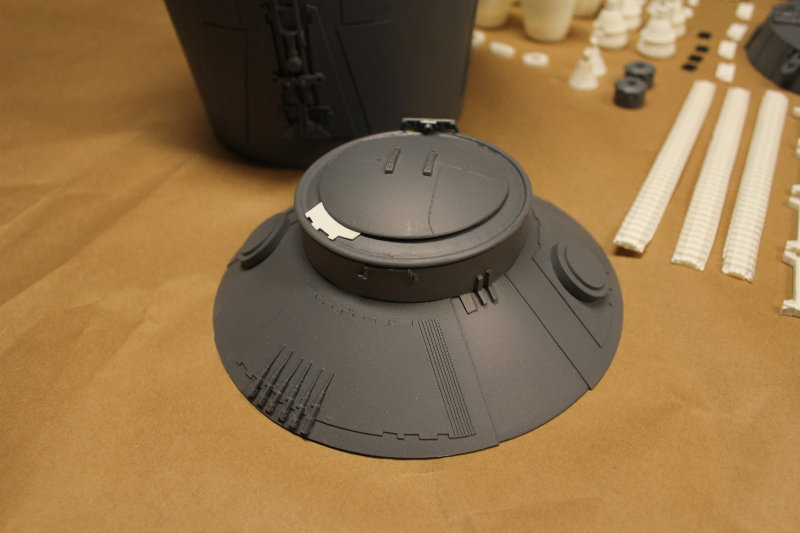
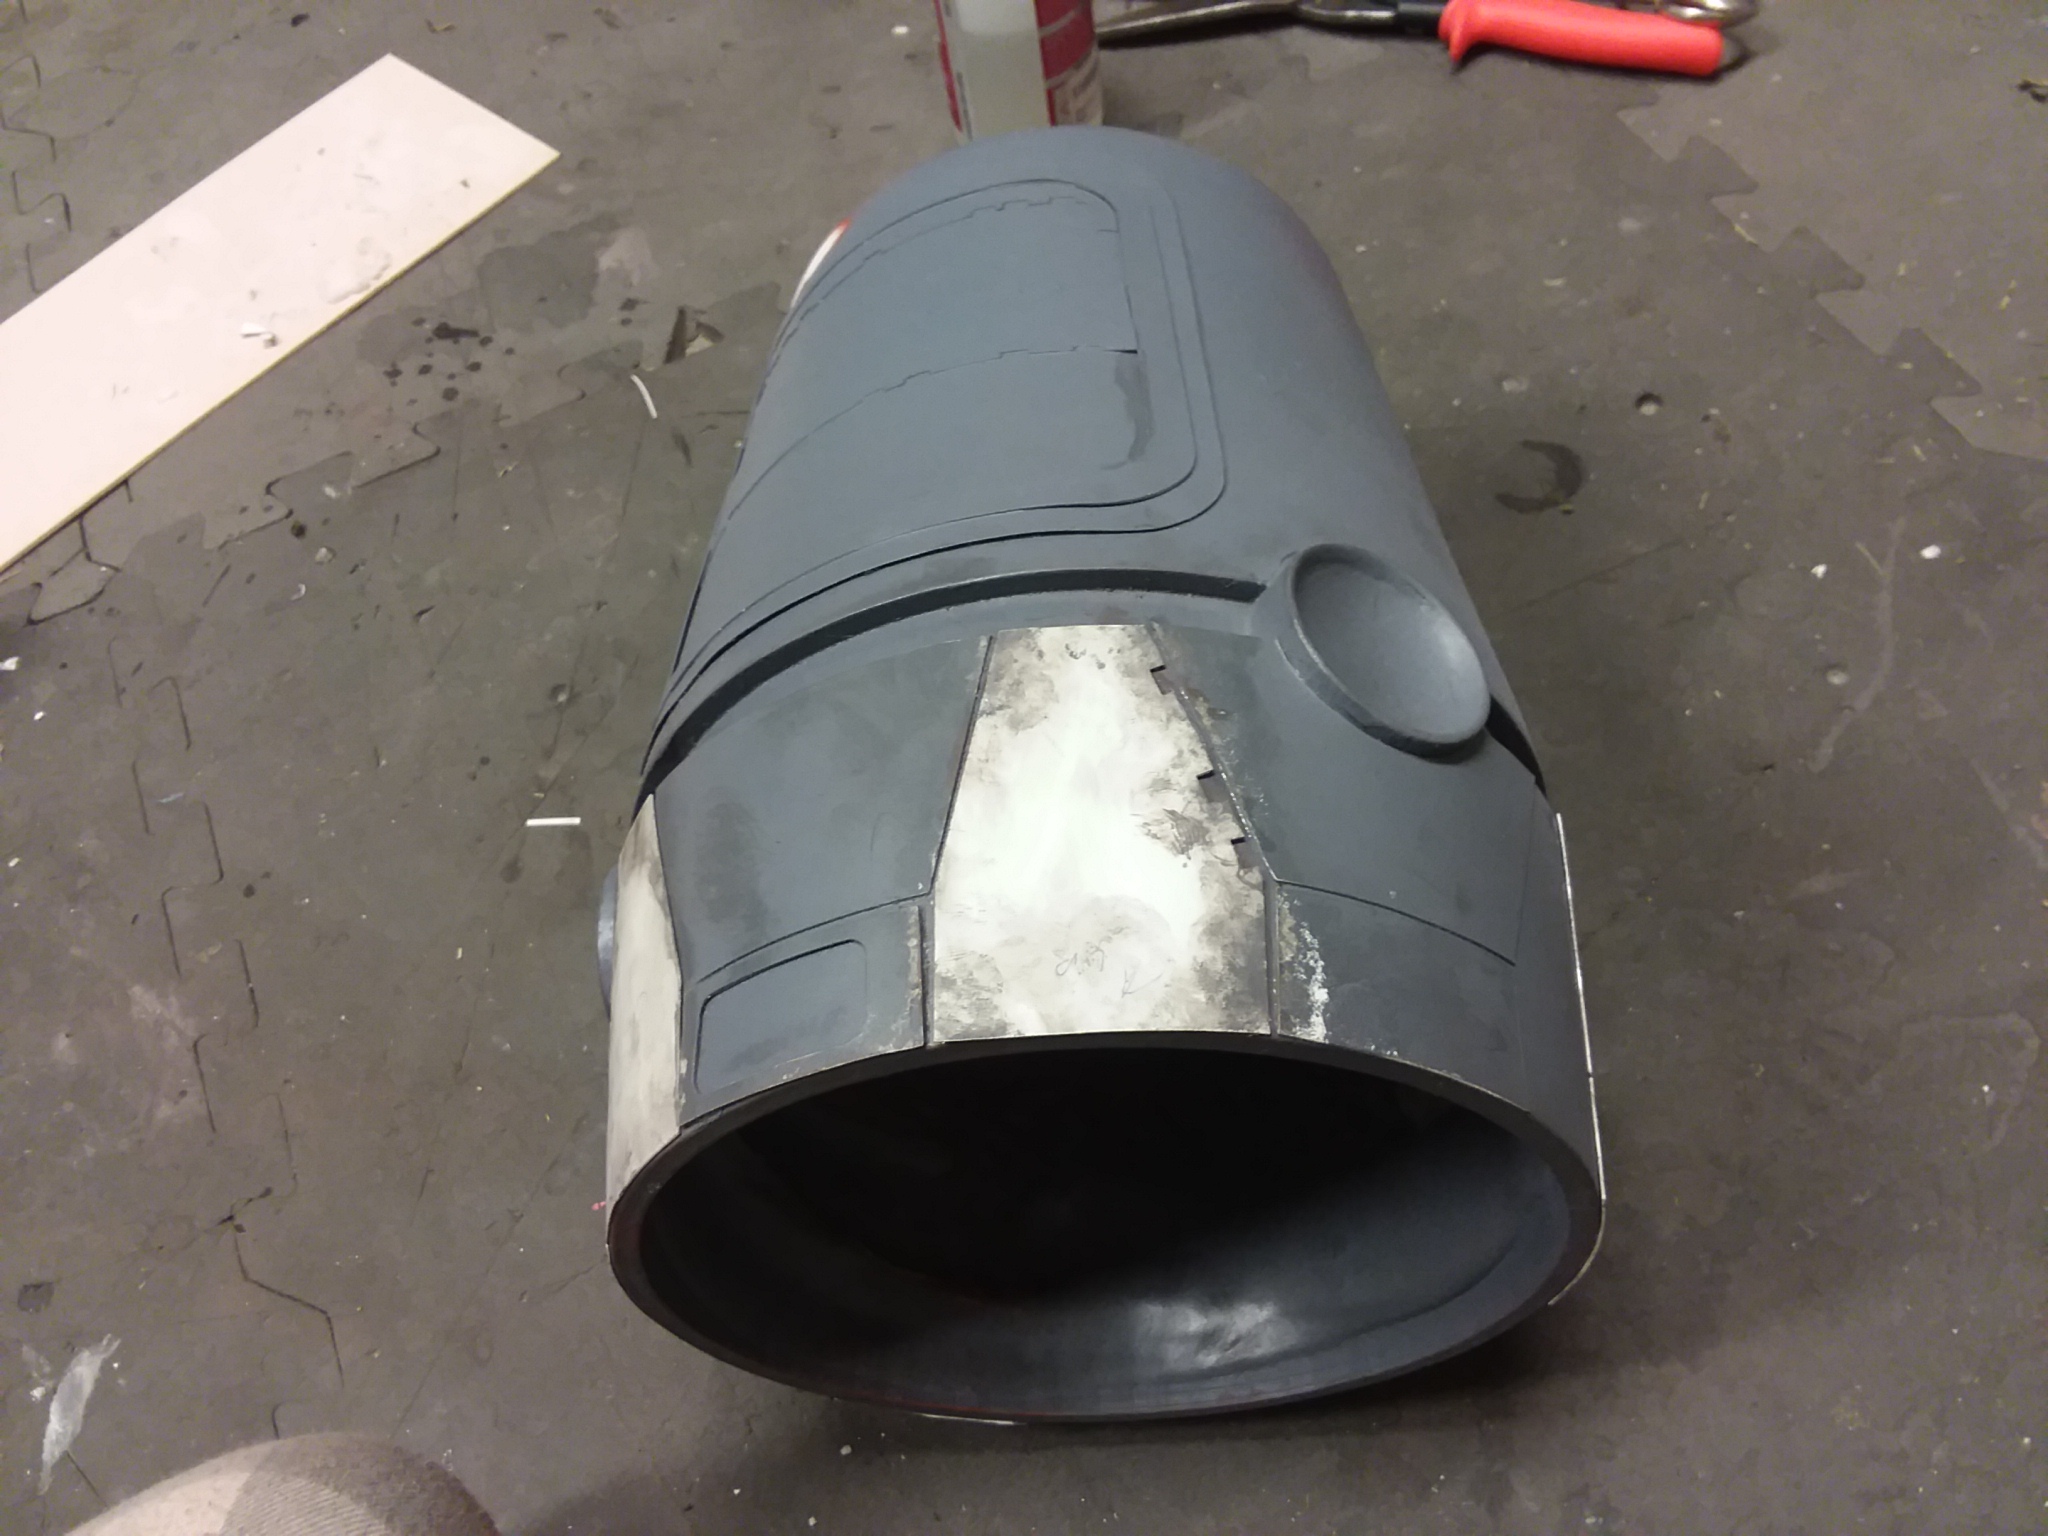
 The hull is essentially cones and cylinders that are stretched and cut into segments at reattached. I segmented the hull into three main parts: the lid, the body and the bottom pan.
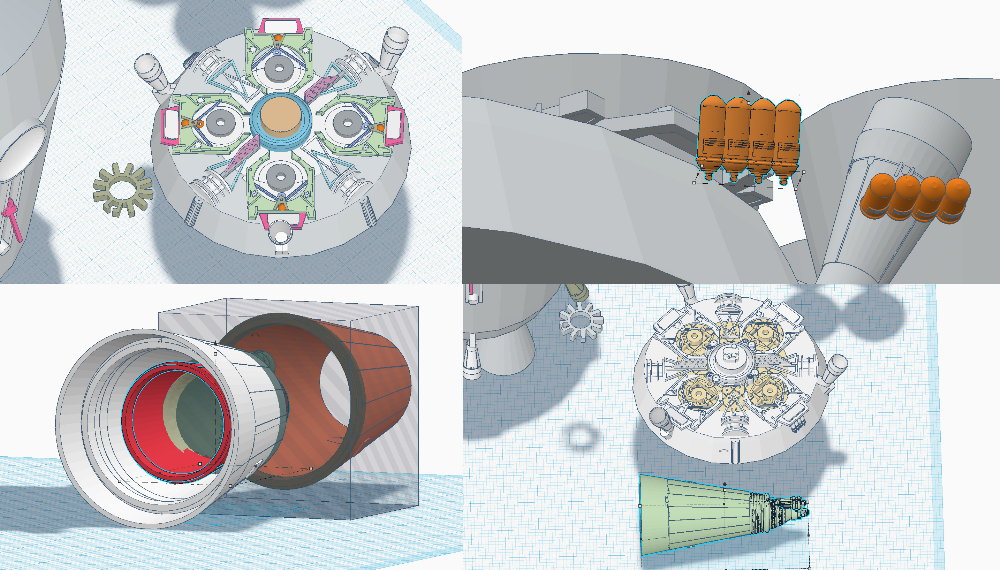
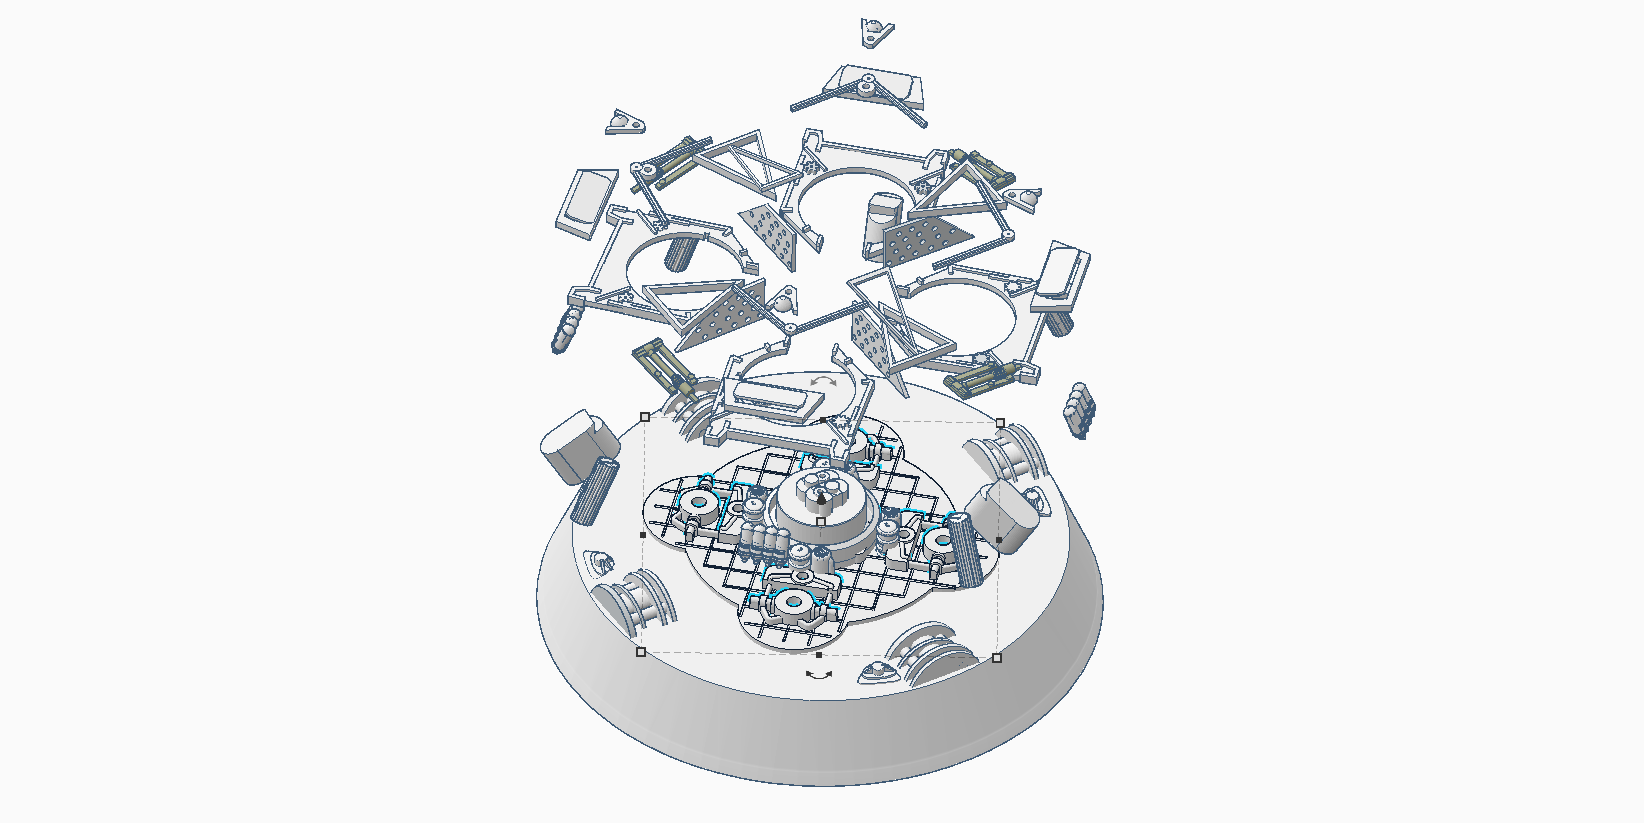
Digital models of the aurora SEA LAB and Airfix Saturn 5 were used to create many of the details. The rest I modeled from scratch.

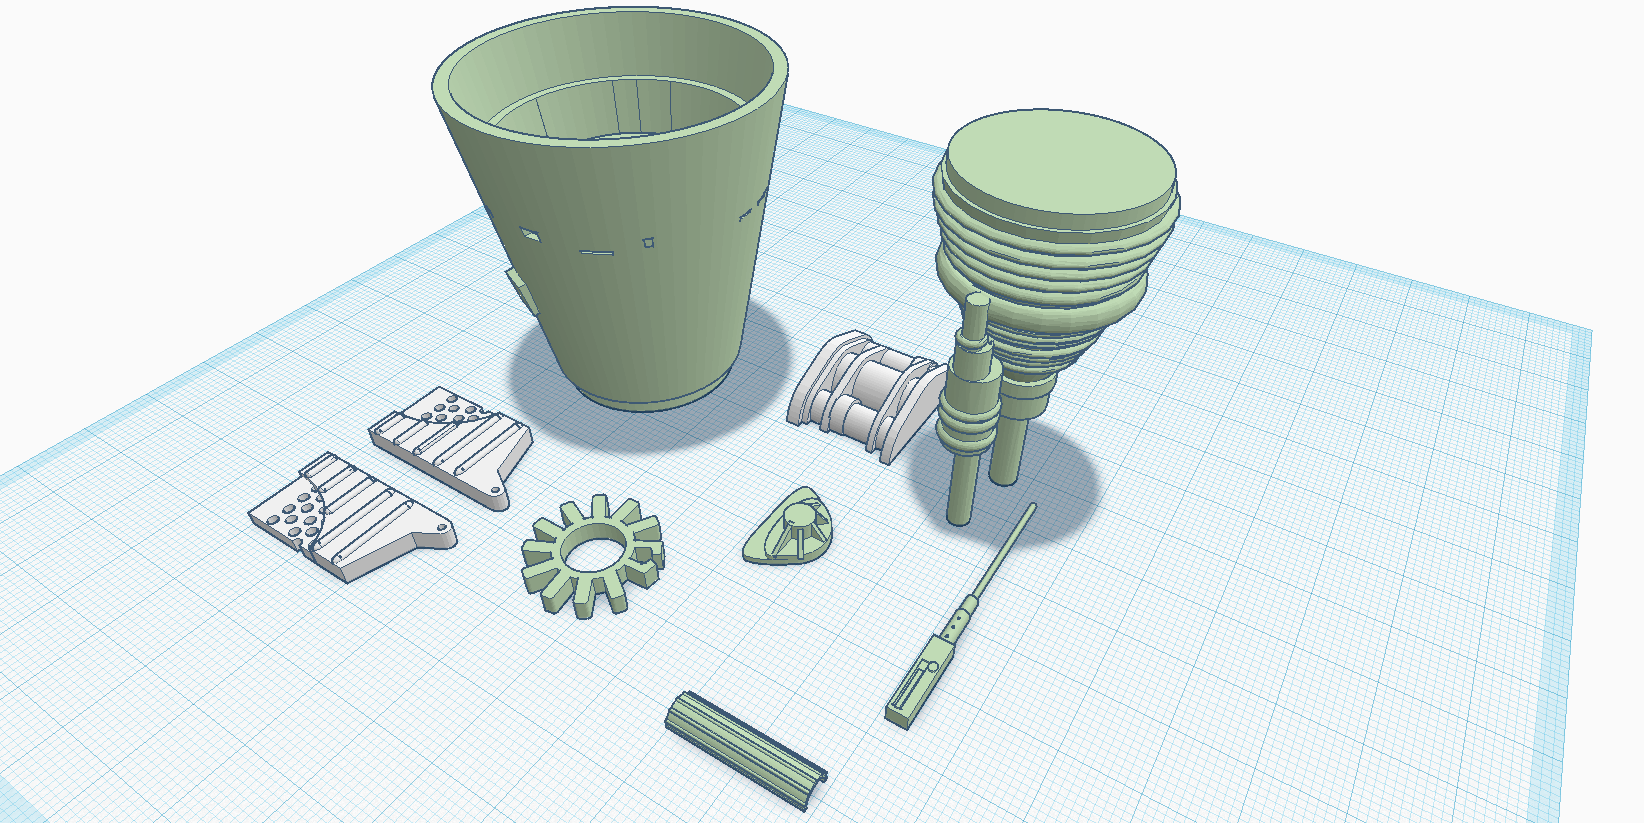
The fine detaill sections ready for 3D printing. Many will be replaced with donor kits through ebay.
At this point I printed a test run in miniature (about 1/4 studio scale) so I could understand the shapes in reality and make adjustments as necessary.

The test mini model.
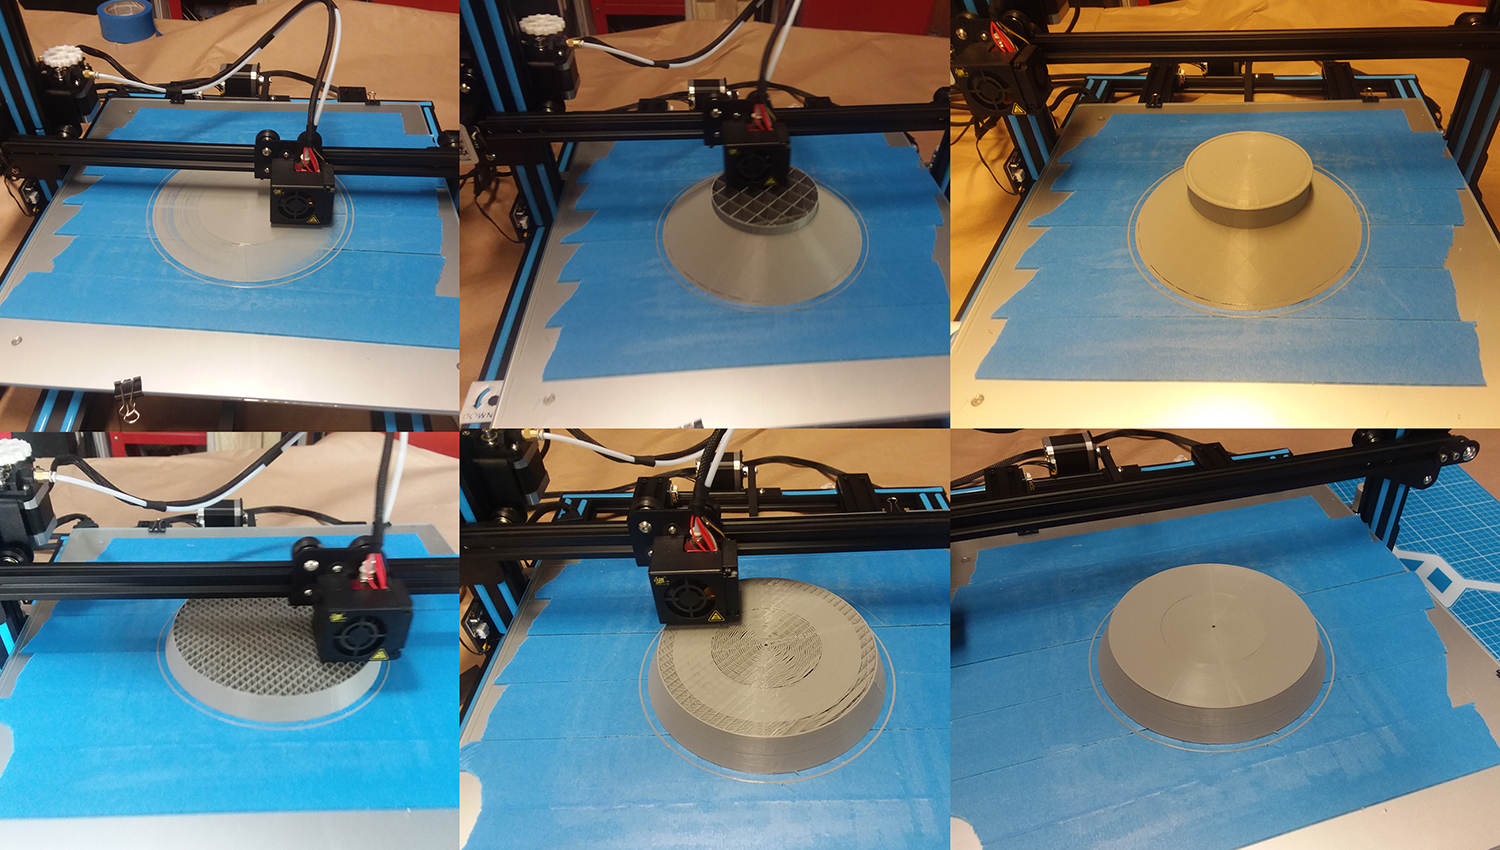
For the studio scale model, the main body will be printed on the CR-10 since it's so large, and all the details and pans will be printed on my SLA printer in addition to using authentic studio scale greebles from the accurate kit bash models.
It's time to start printing for real. I bought a large format FDM to get this job done.
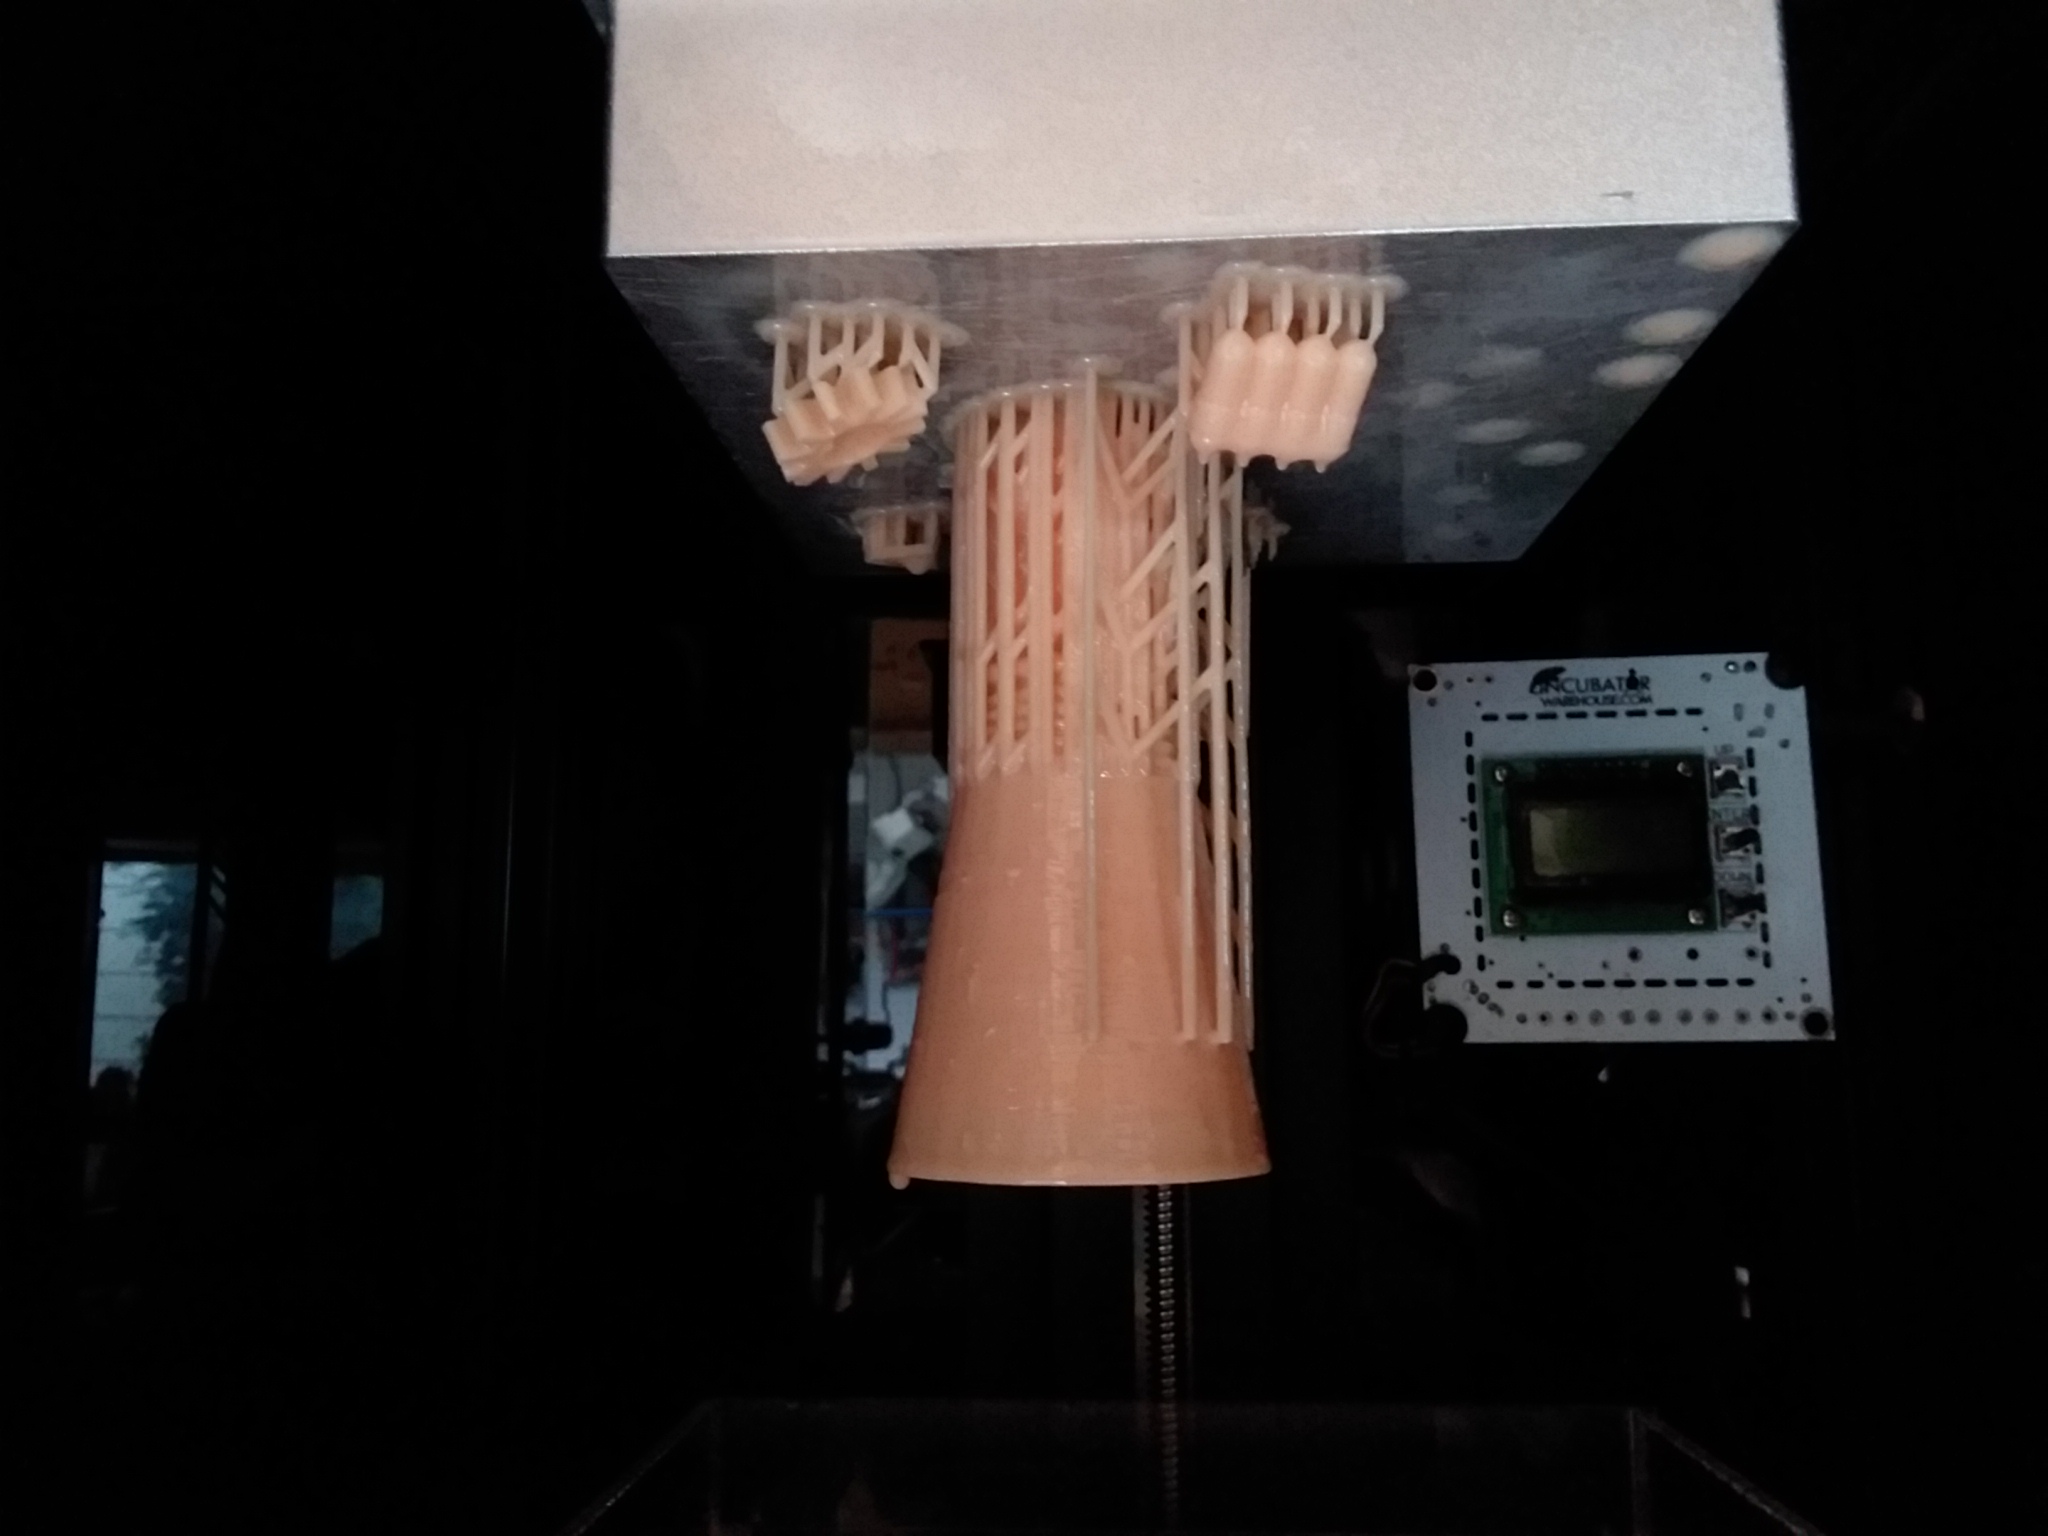
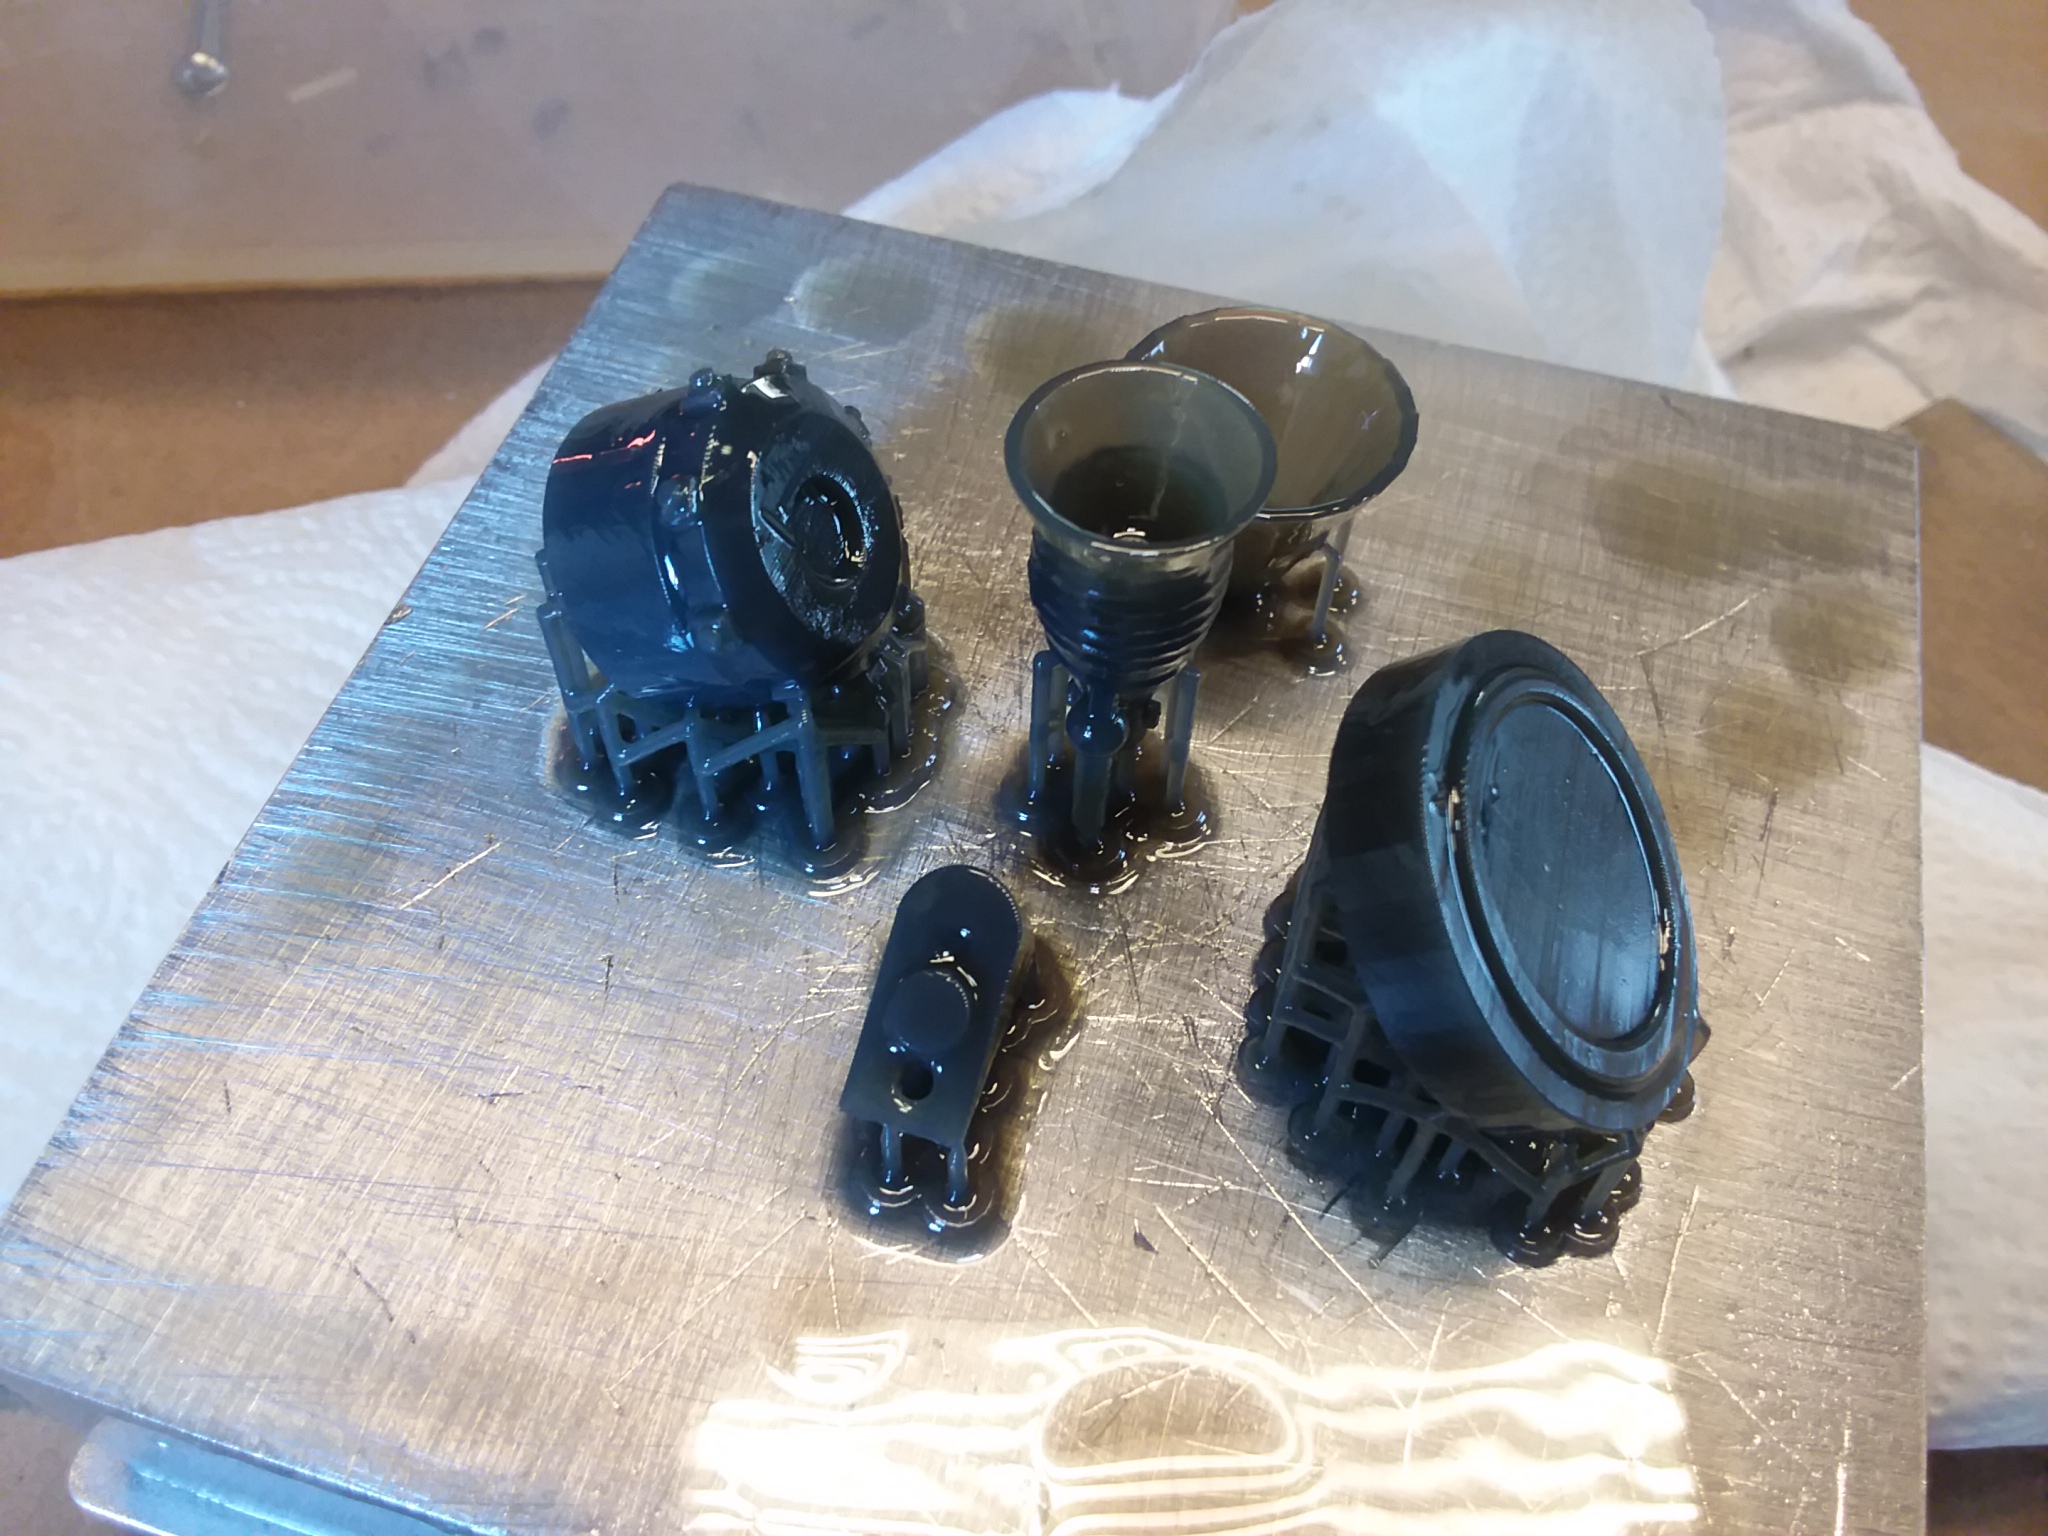
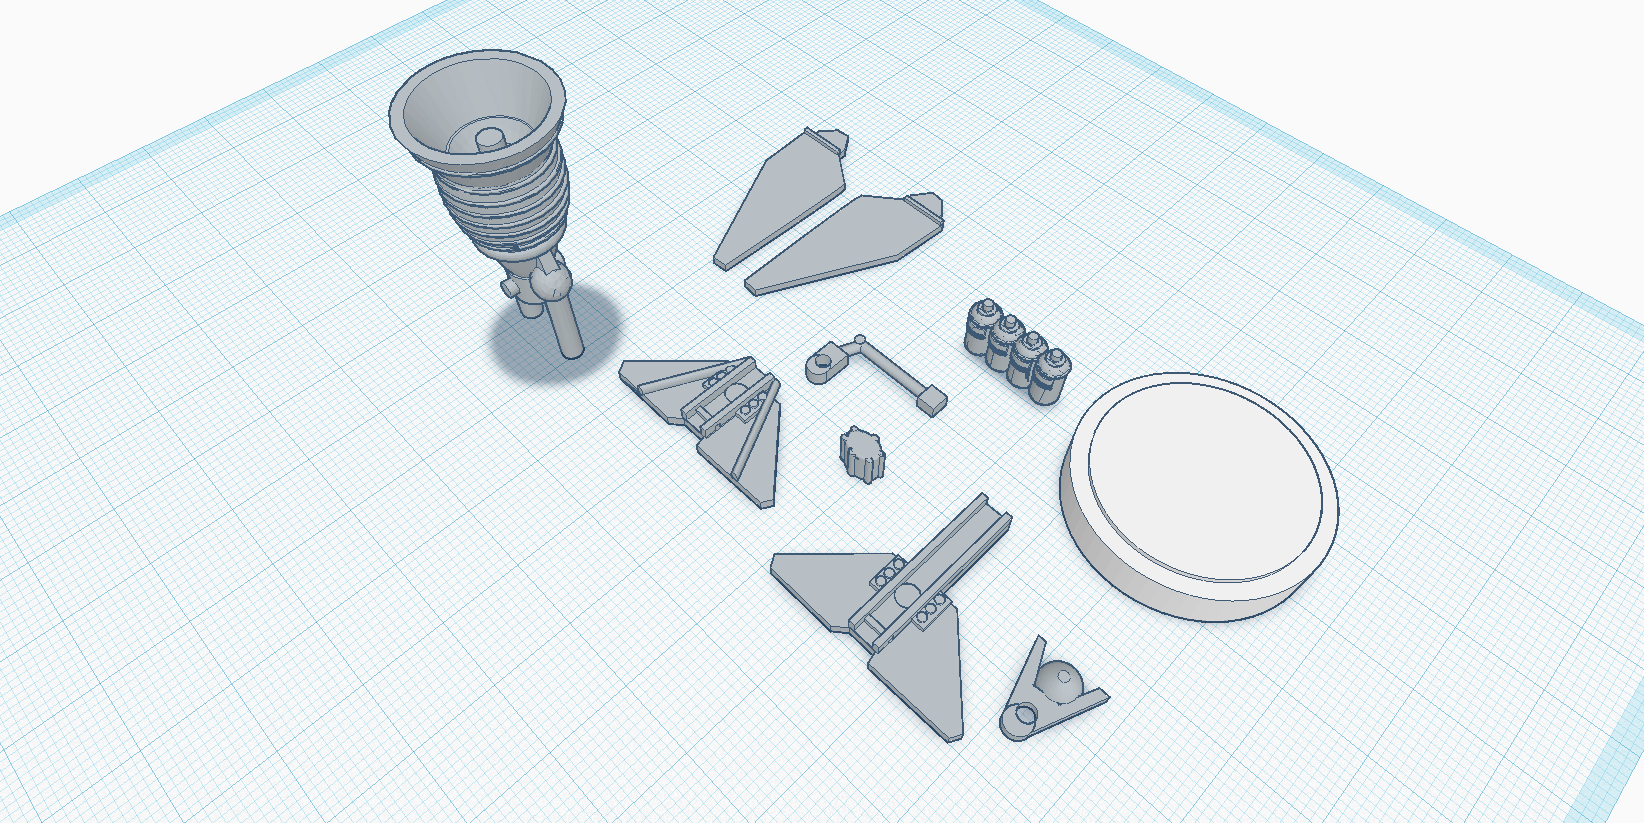
Now that the FDM has done it's job it's time to start printing the fine details on the resin printer. Most of these parts will be replaced with actual studio scale kit components for accuracy but some kits shipping from Japan take a month or two to arrive and I need placeholders so I can continue the project:

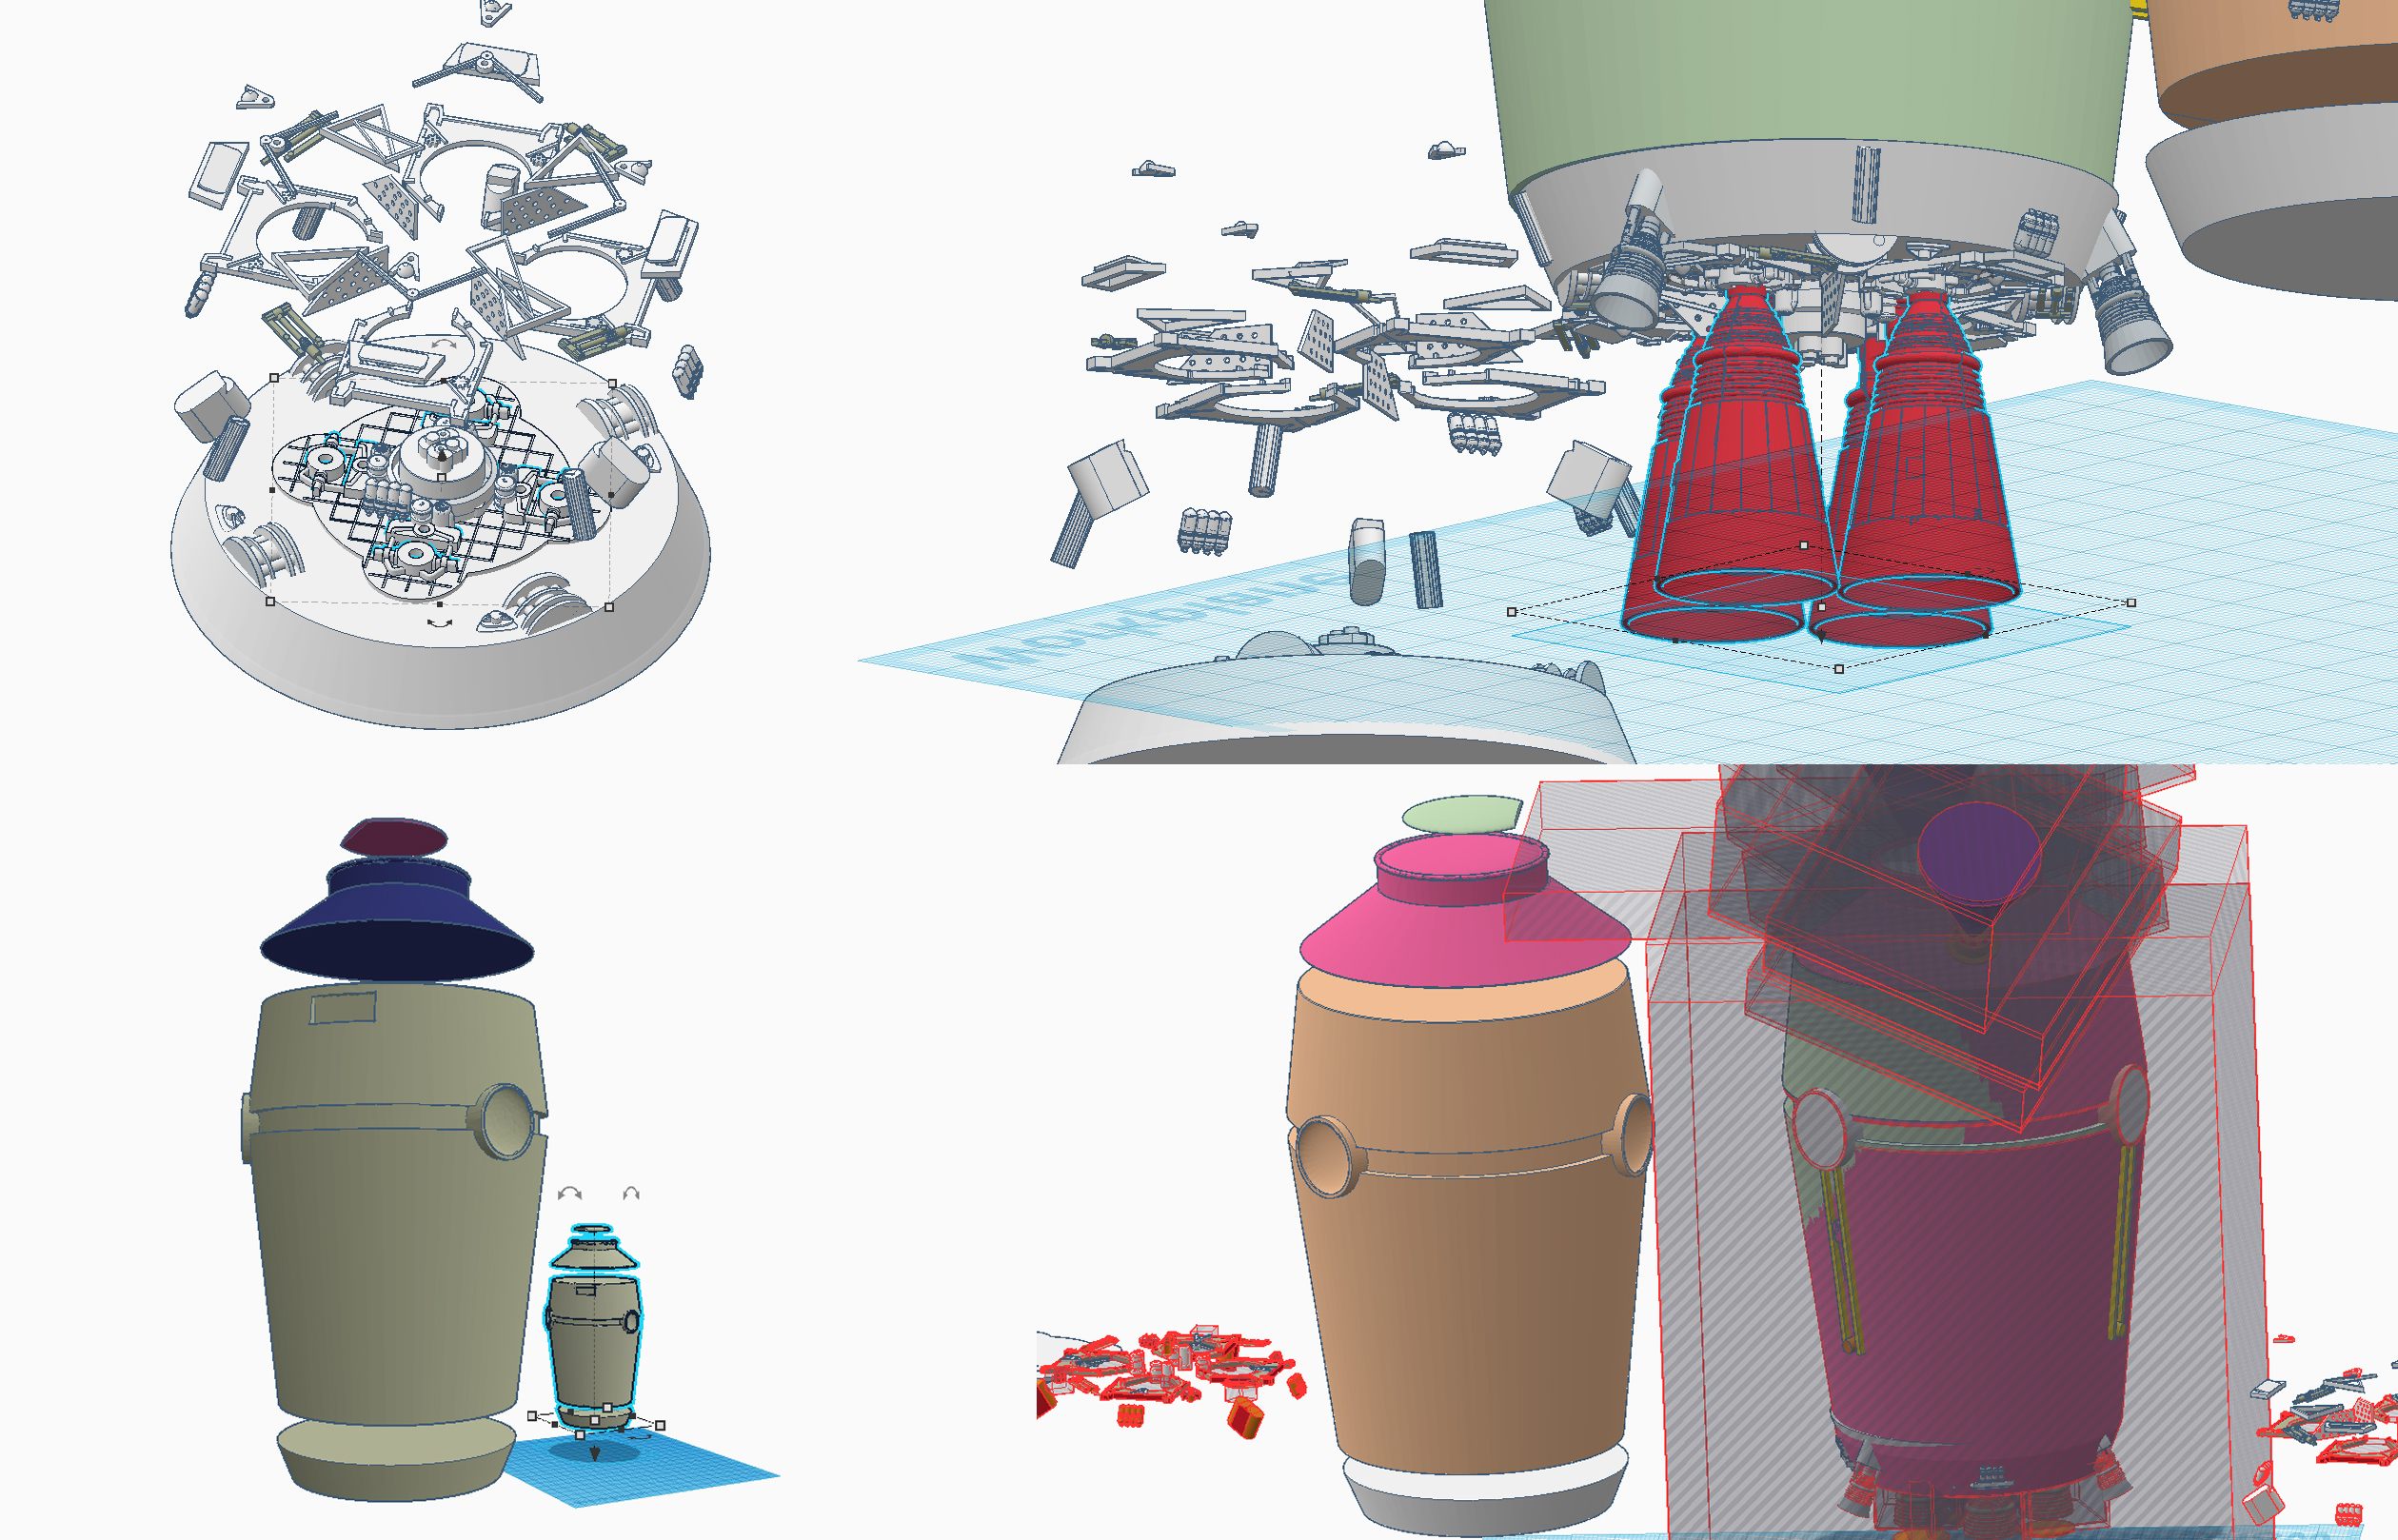
Adjustments and fine tuning were made to the 3D meshes before printing.

I made some adjustments to the 3D models to continue:
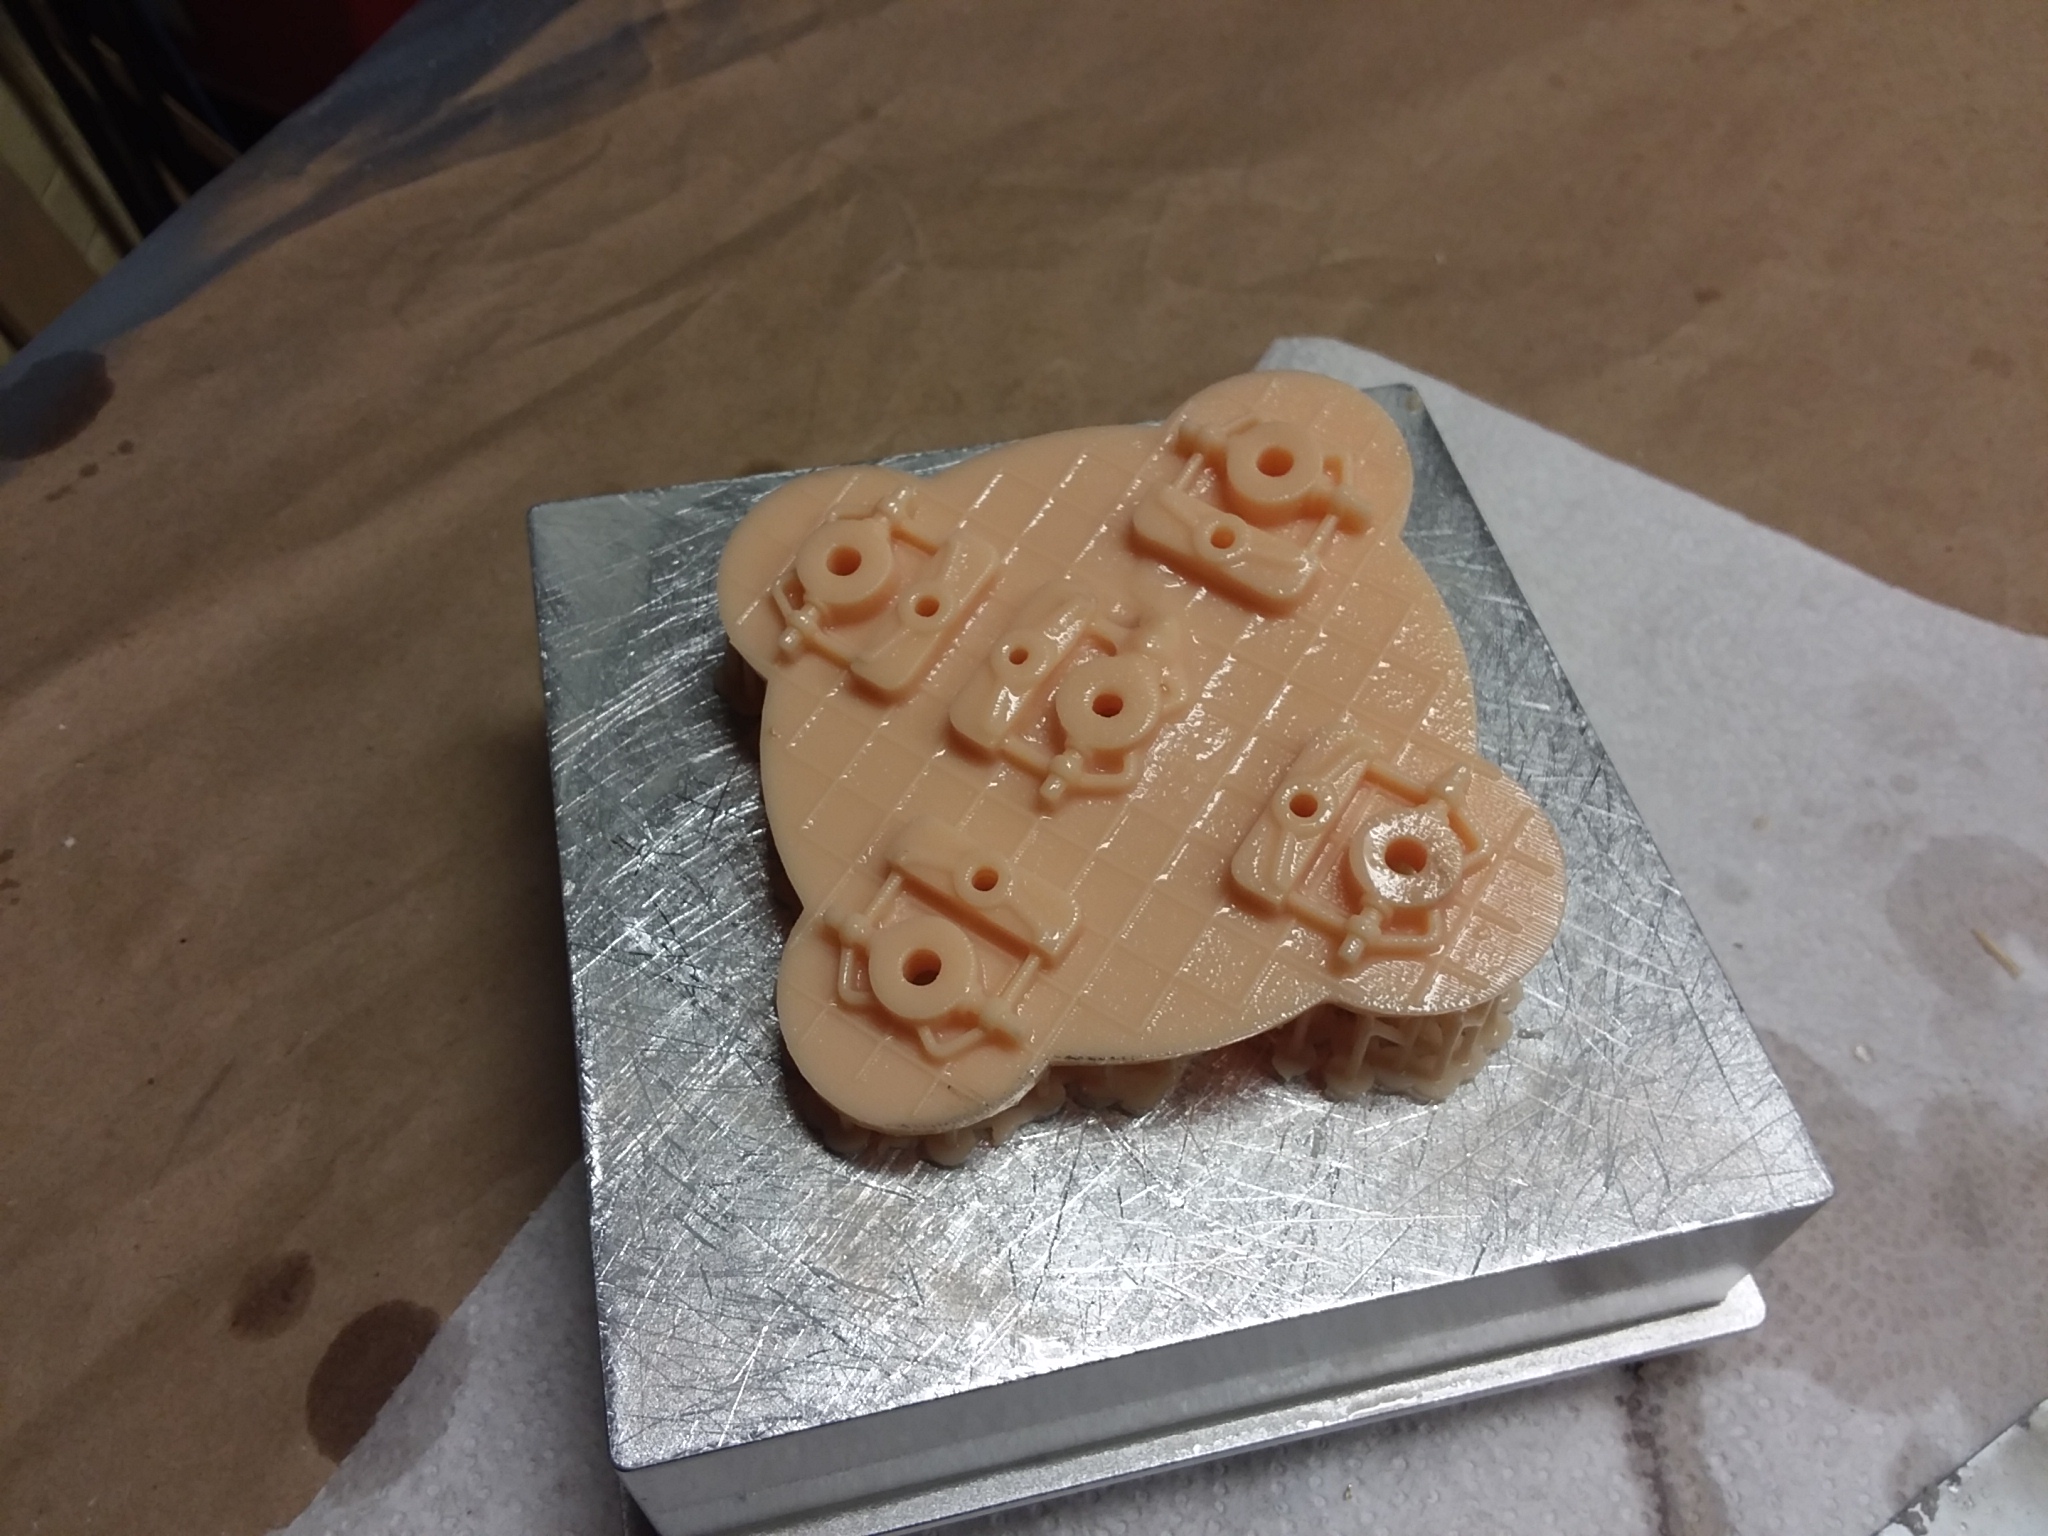
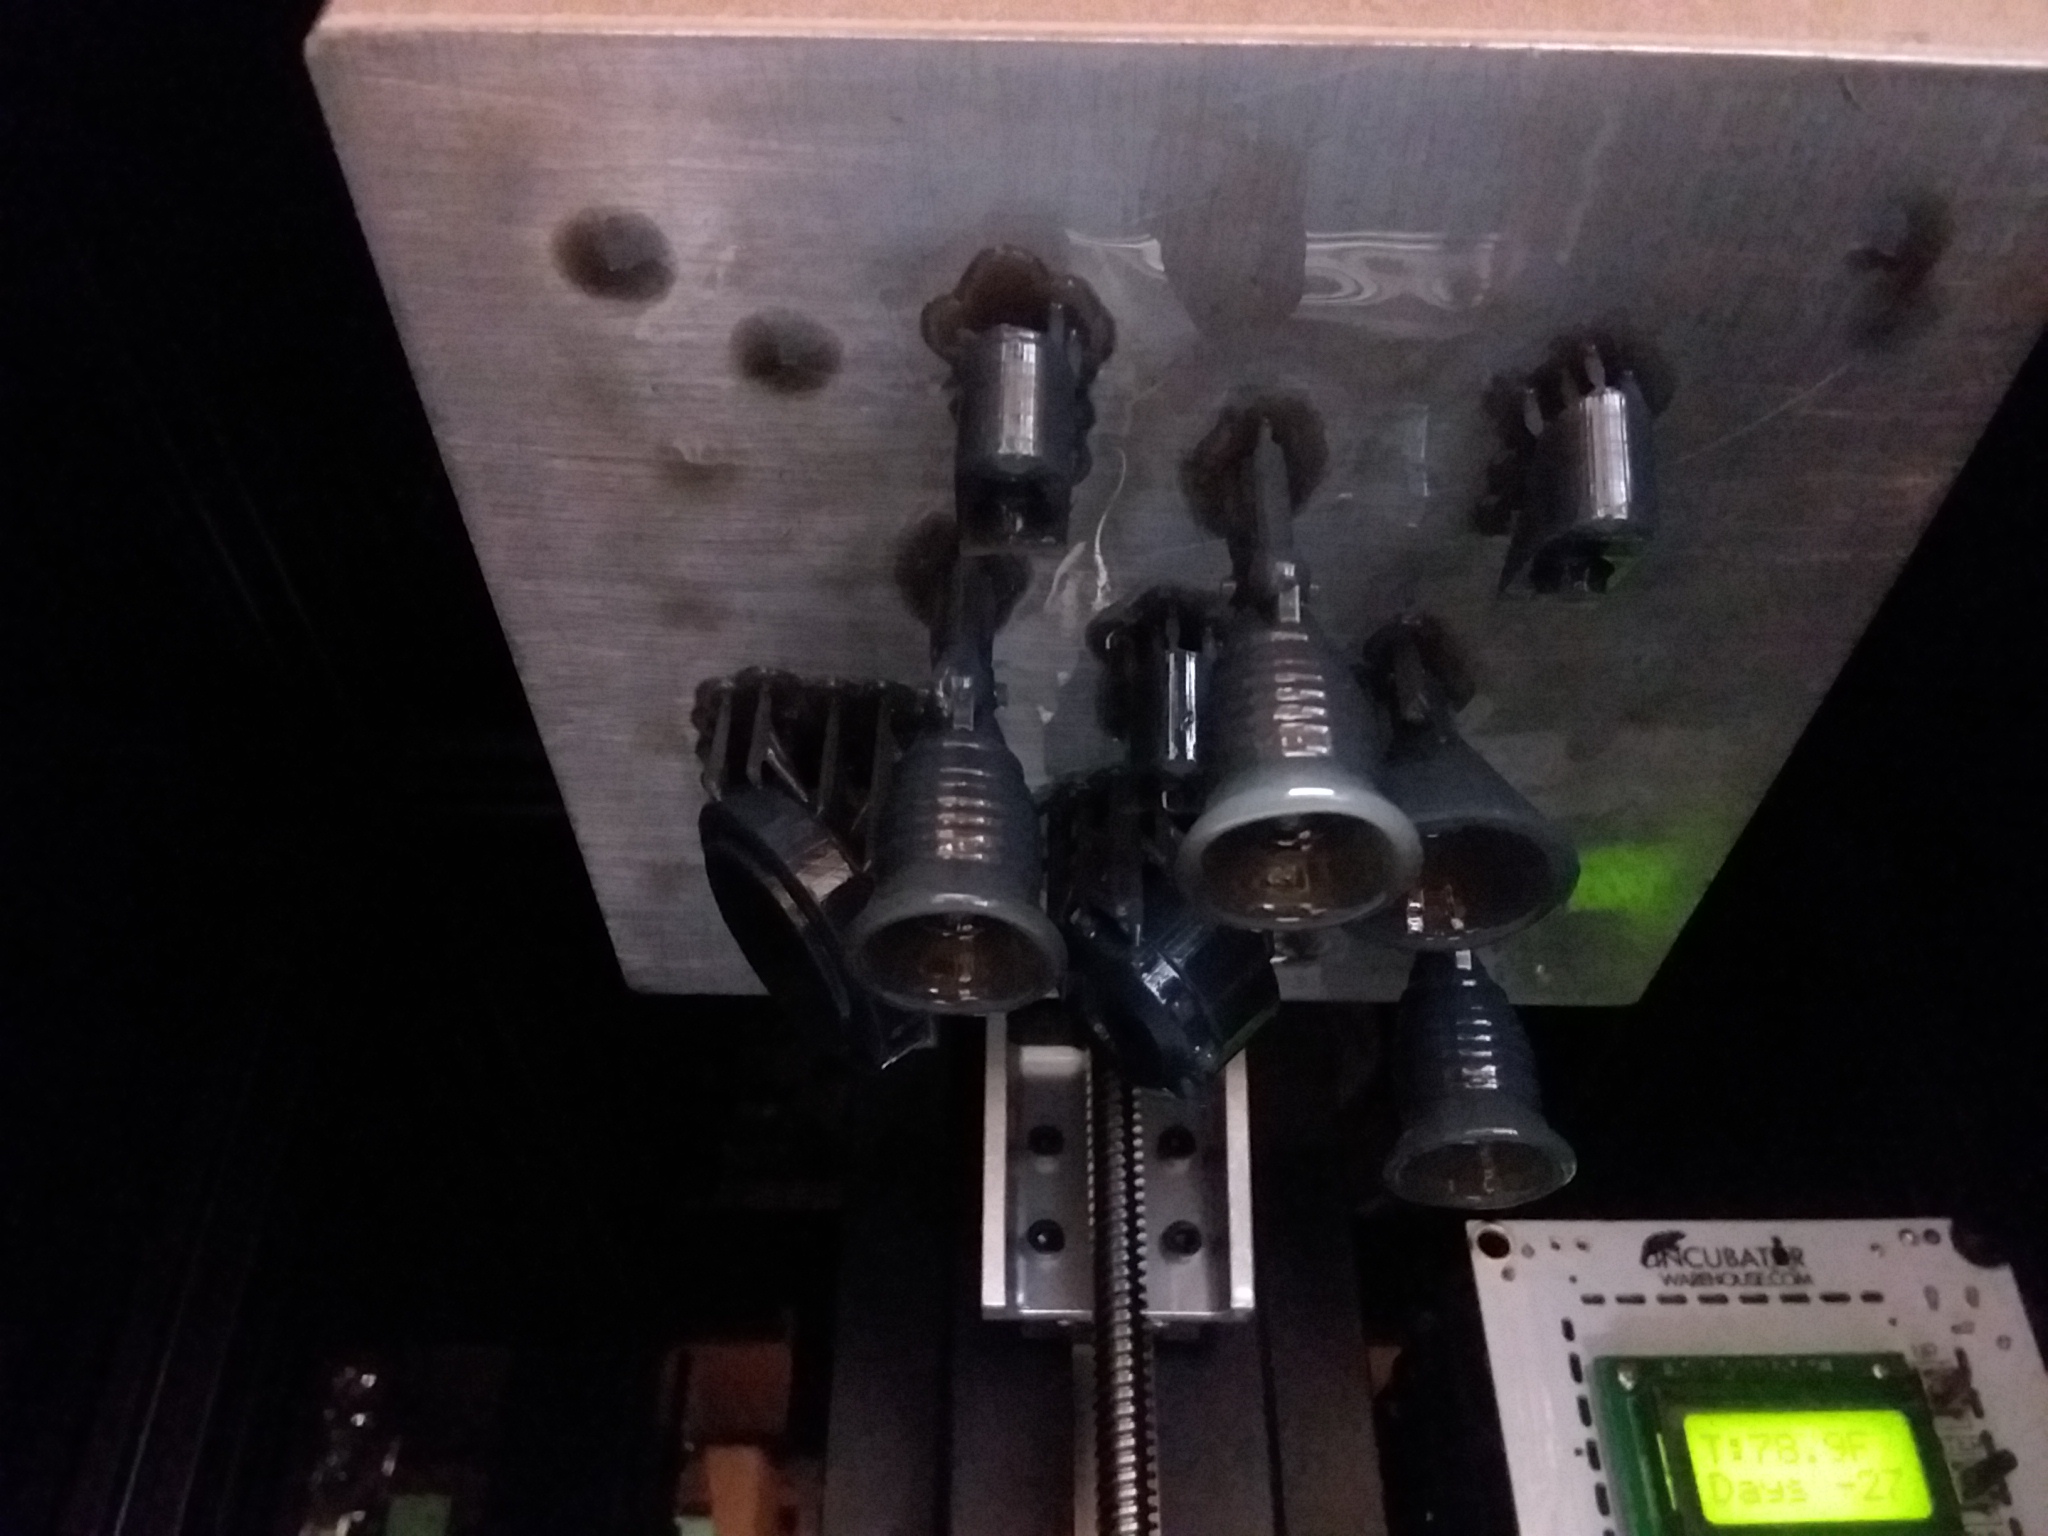
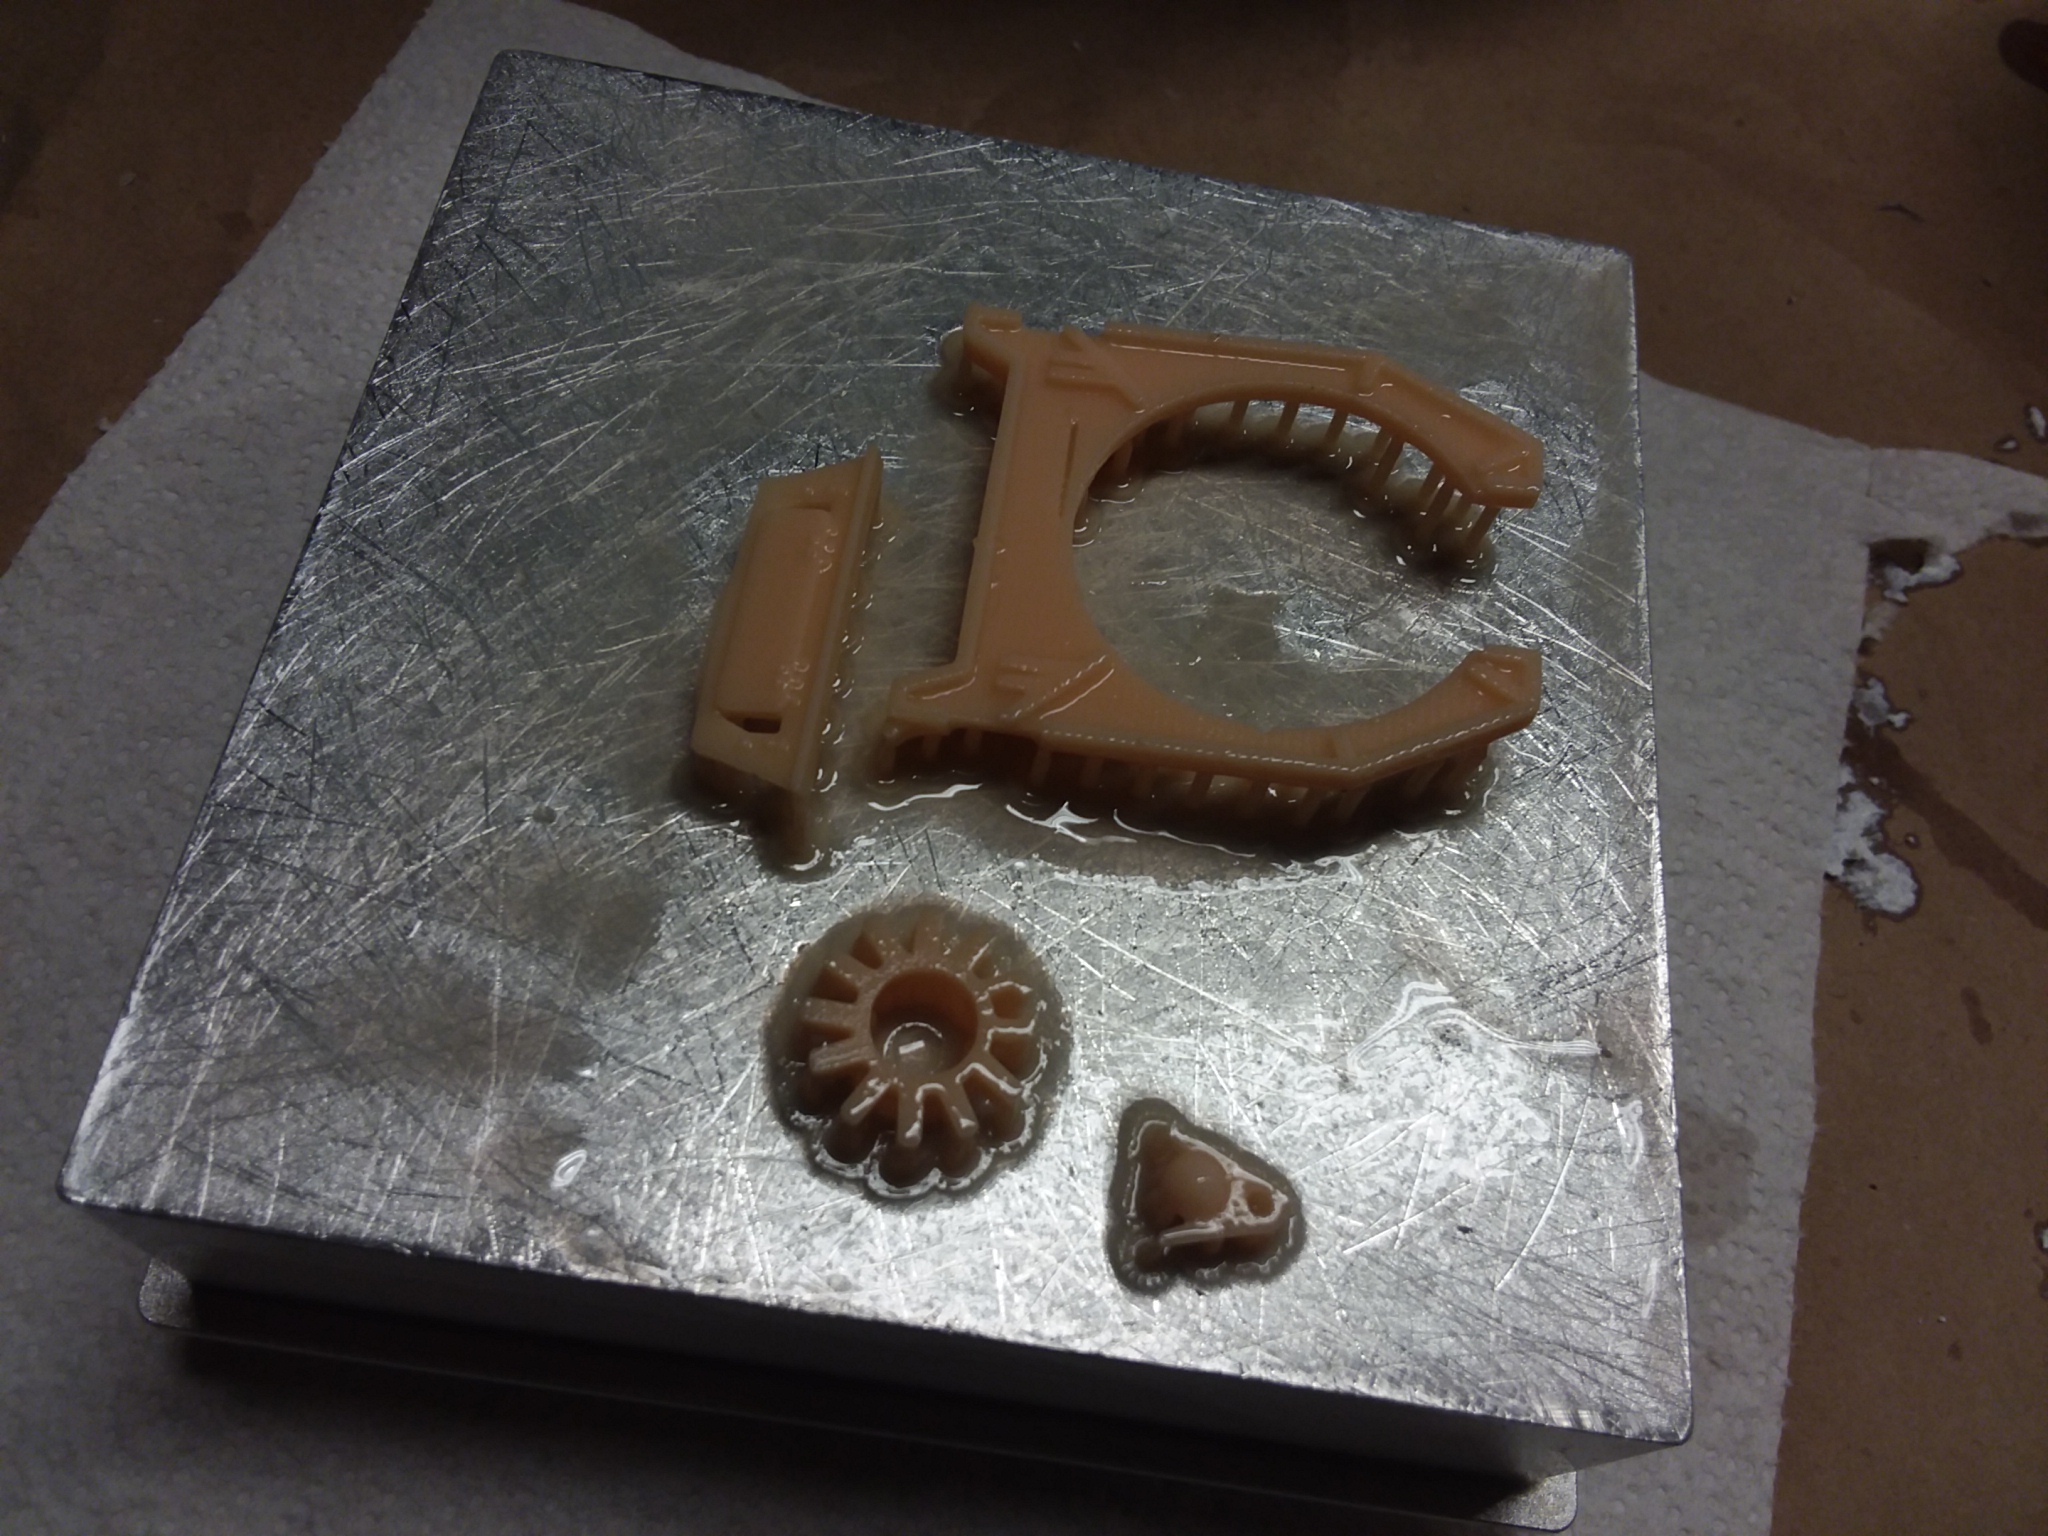
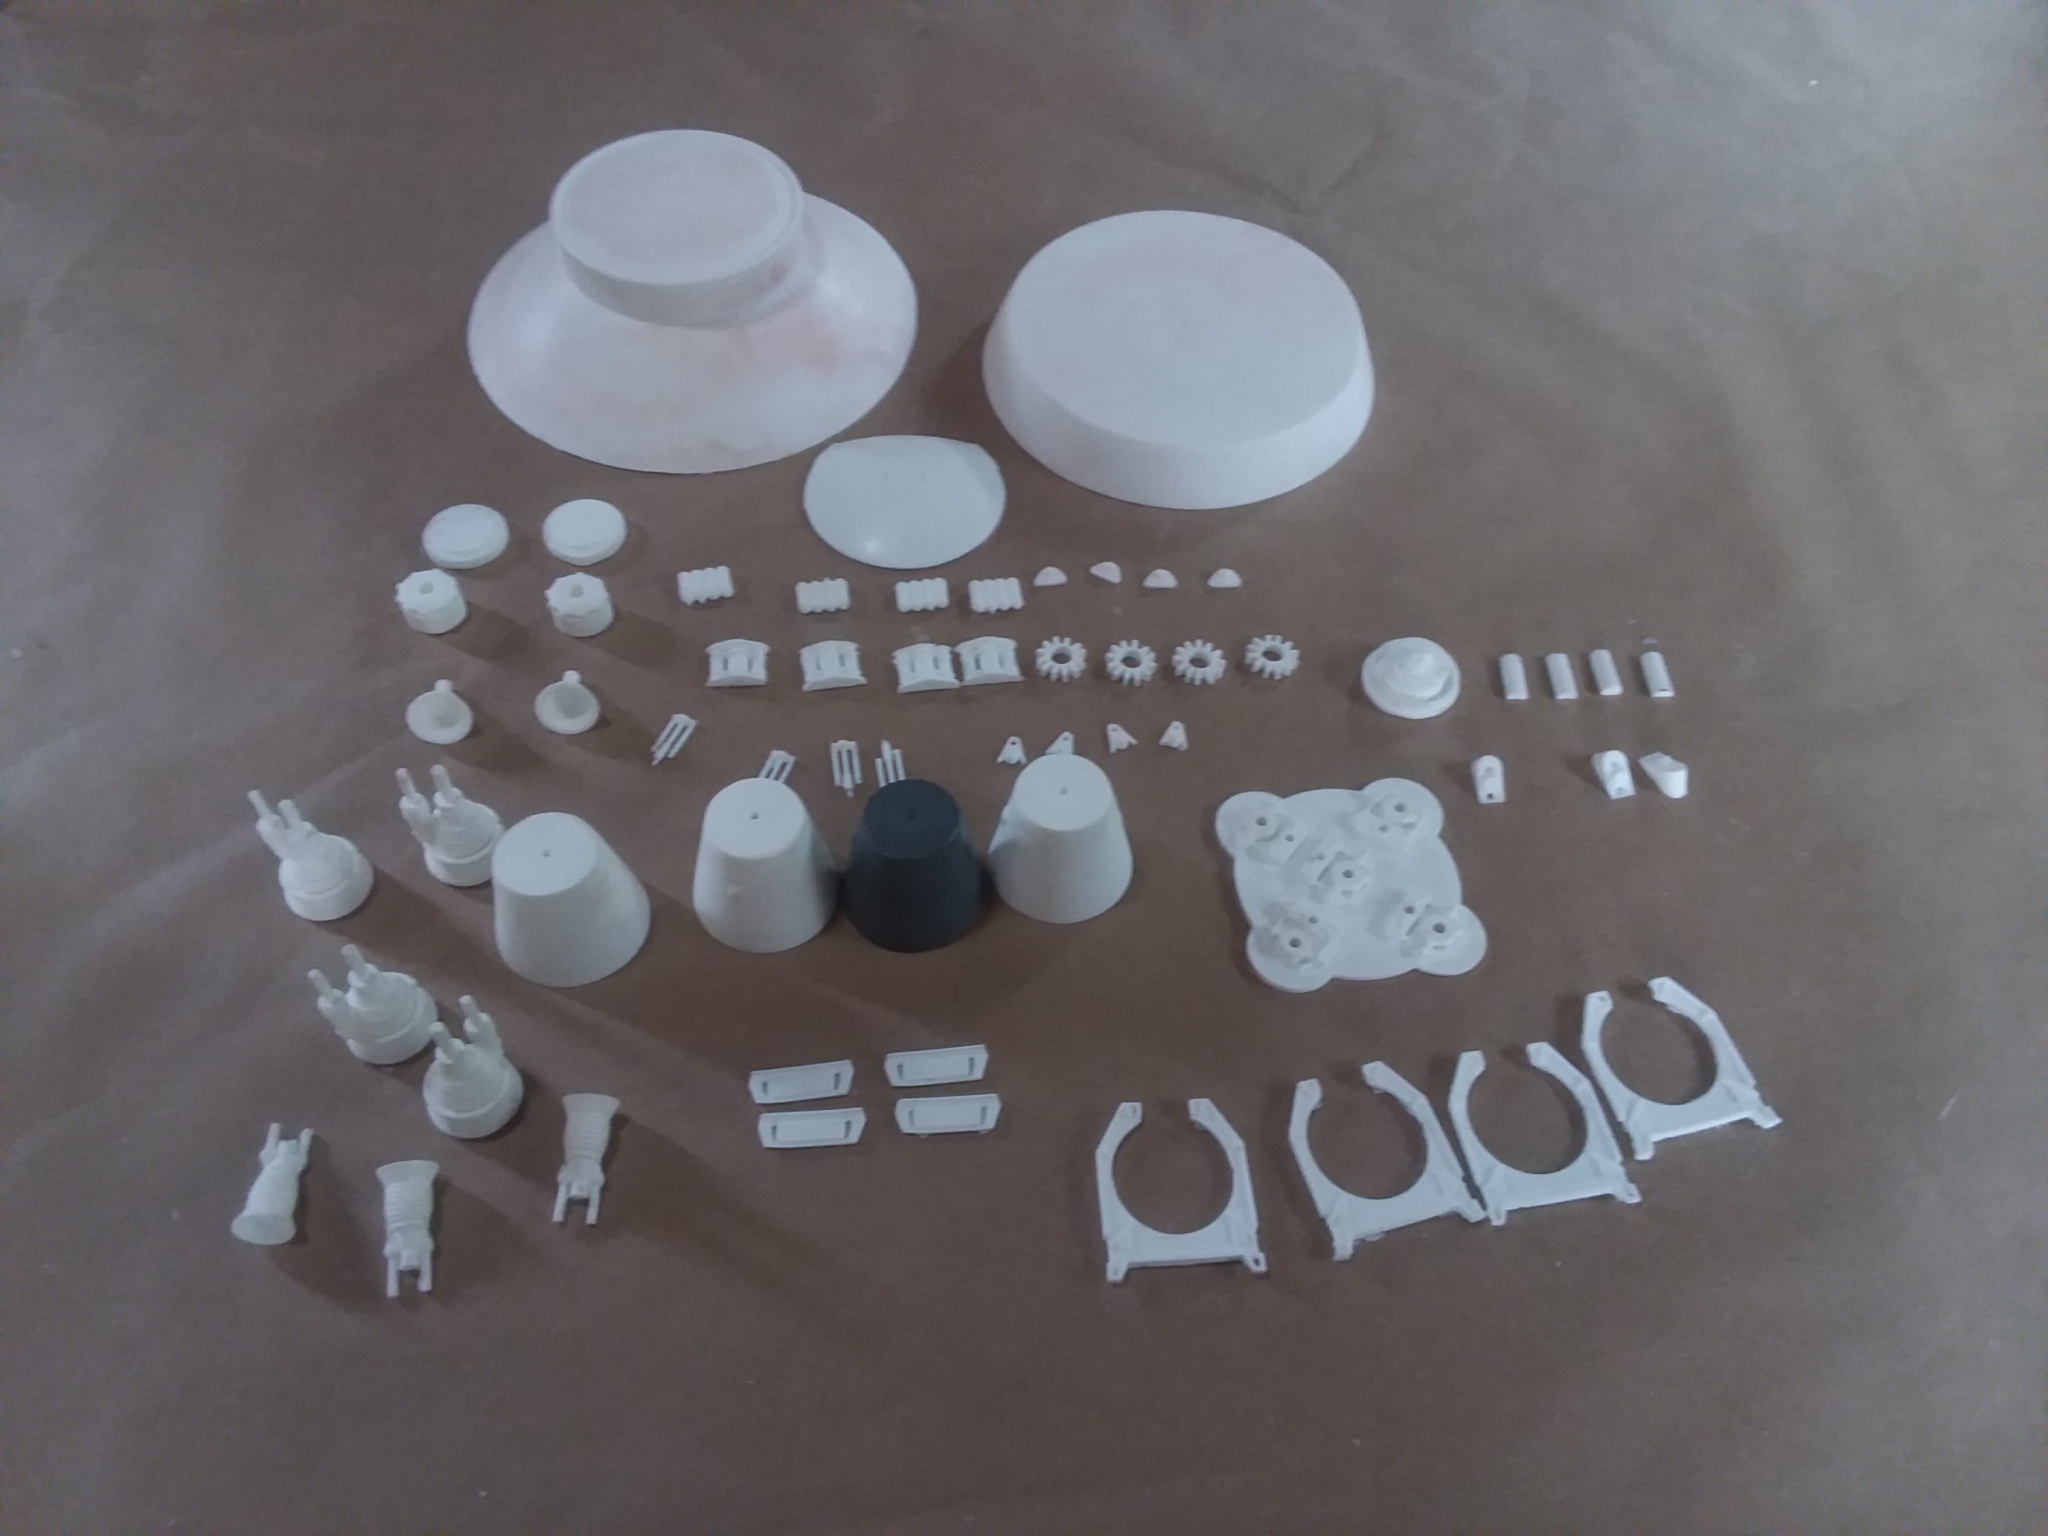
Parts fresh off my SLA printer:
Here's the very first test assembly of some of the early parts:
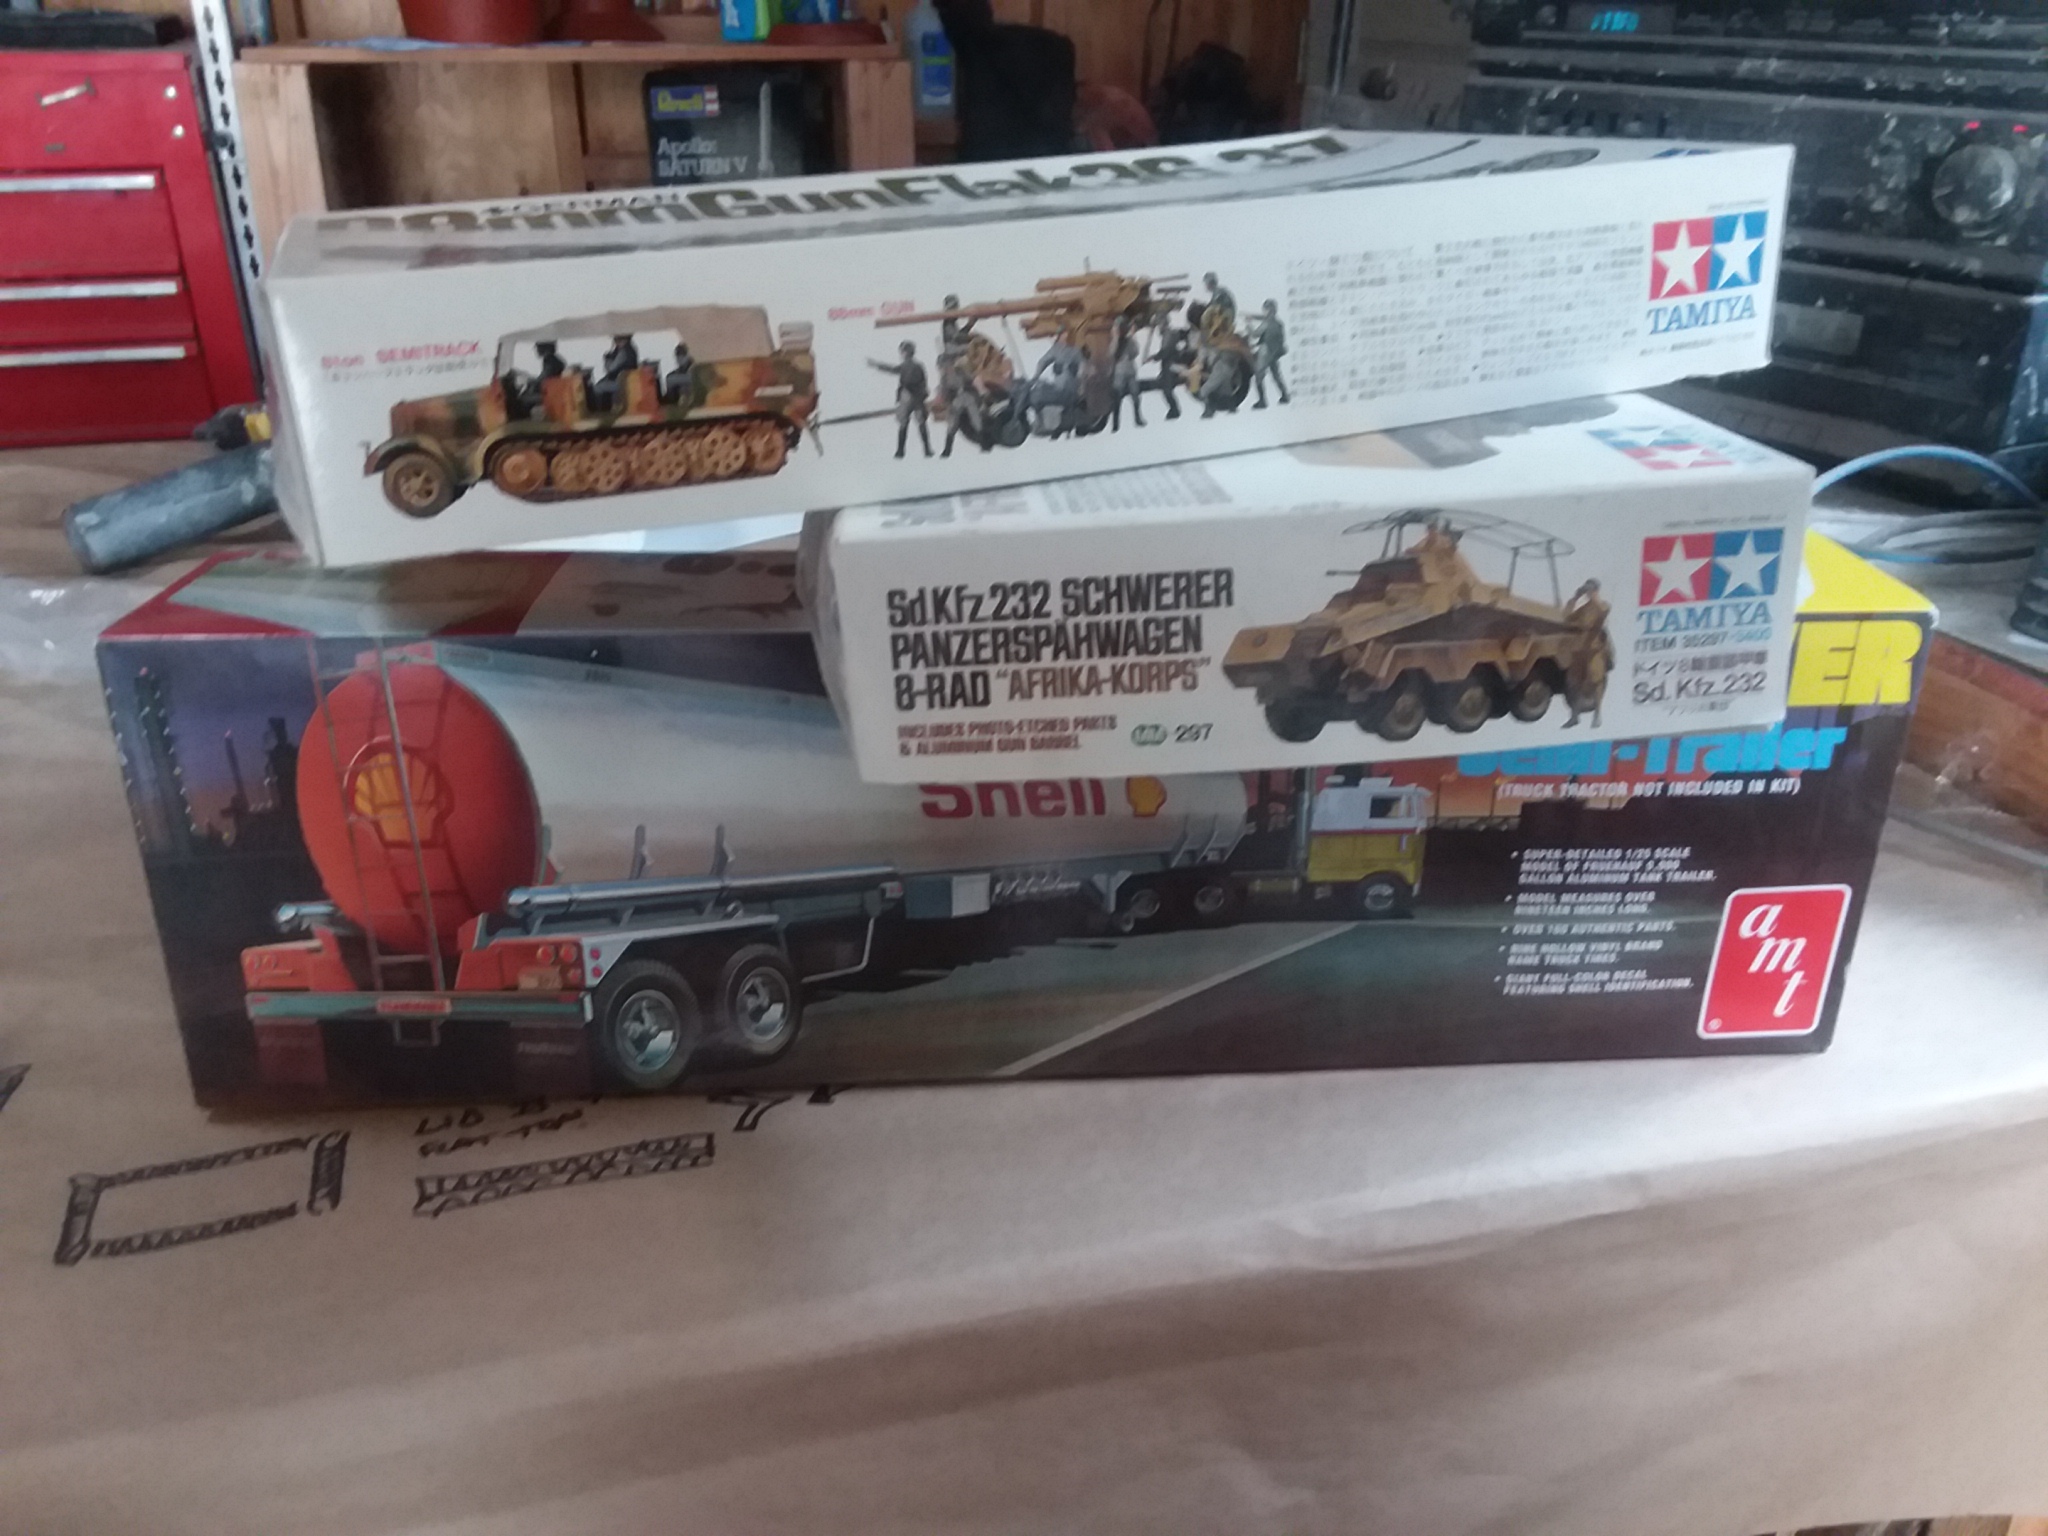
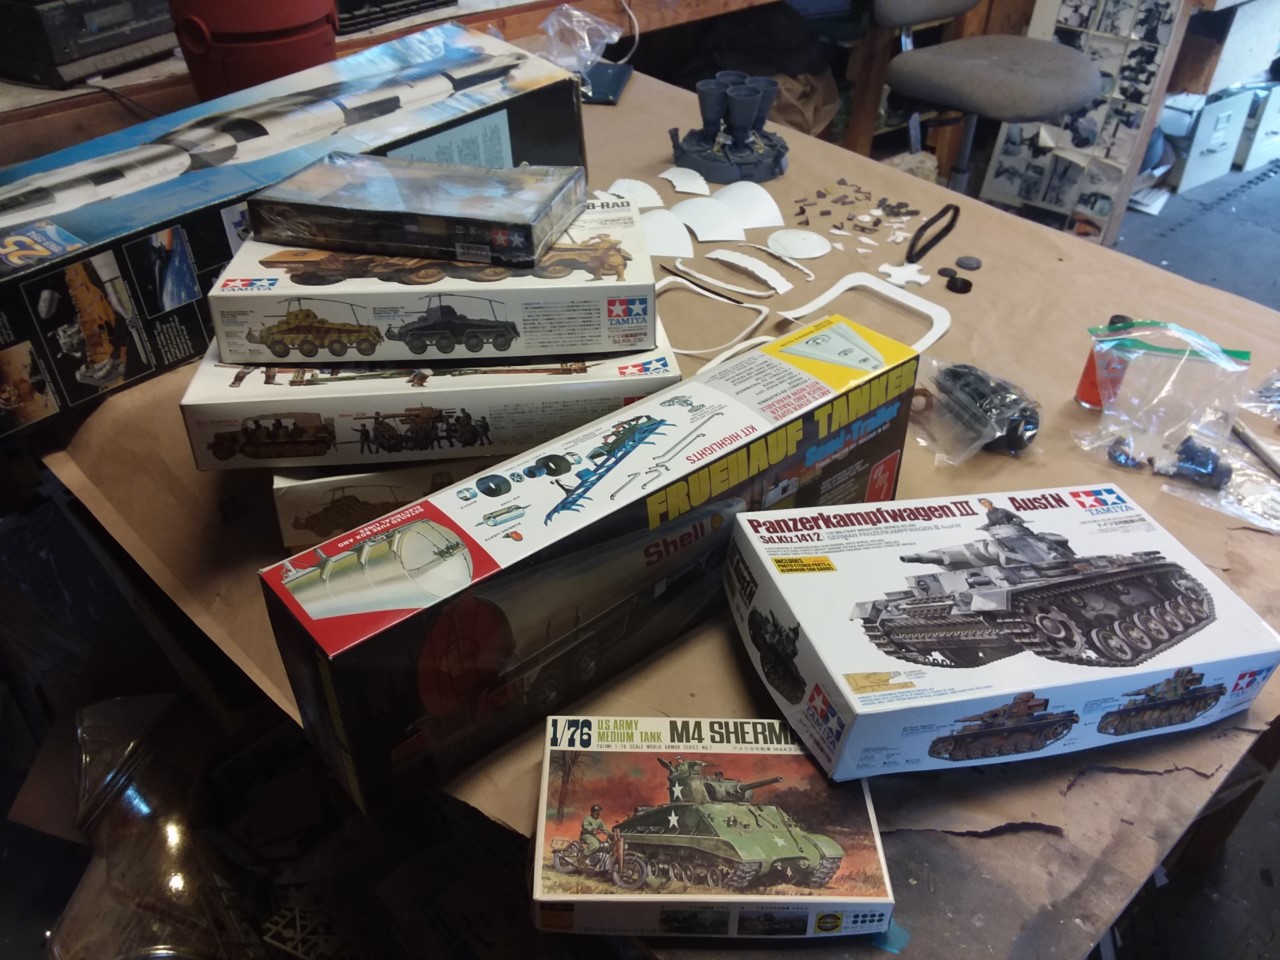
The Tamiya and AMT kits are beginning to arrive for ILM-style kit bashing. This is the 1/35 8-rad, 1/35th 88mm flak gun, AMT fruhauf tanker, 1/144 Saturn 5.
Producing molds of the blanks so I can begin patterning the hull panels. 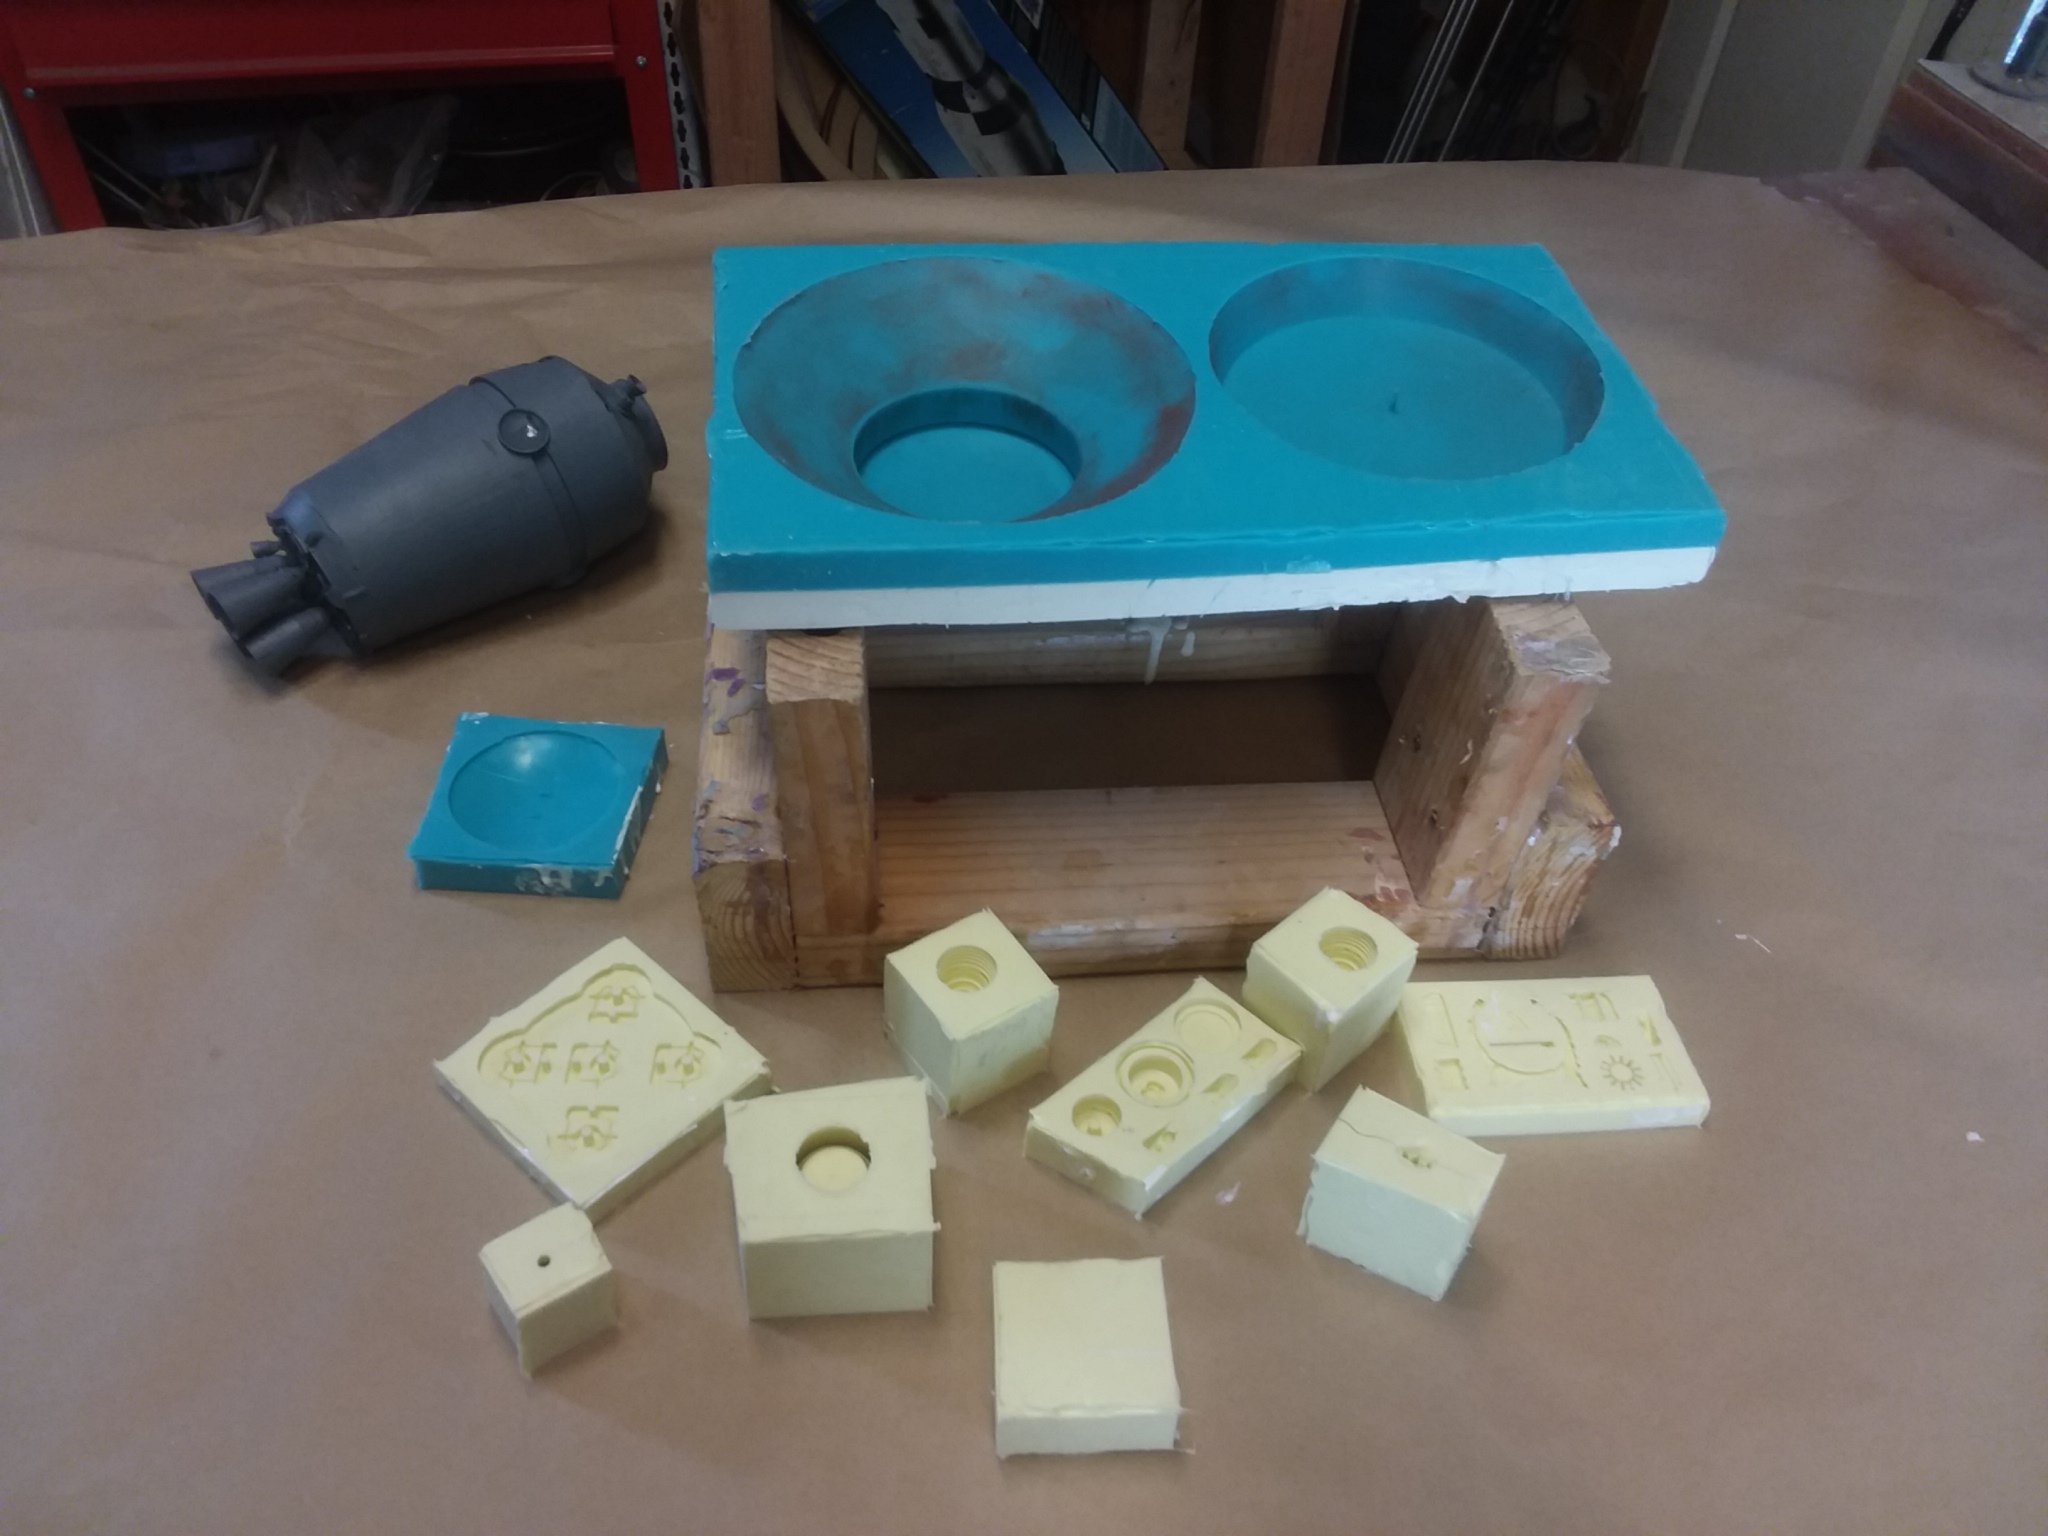
Drafting the initial contour patterns for the Lid, Hull, and pan.

Here, you can see the beginning of the CAD design for the hull panels. These will be finalized and laser cut from .40 styrene and carefully applied to the hulls.
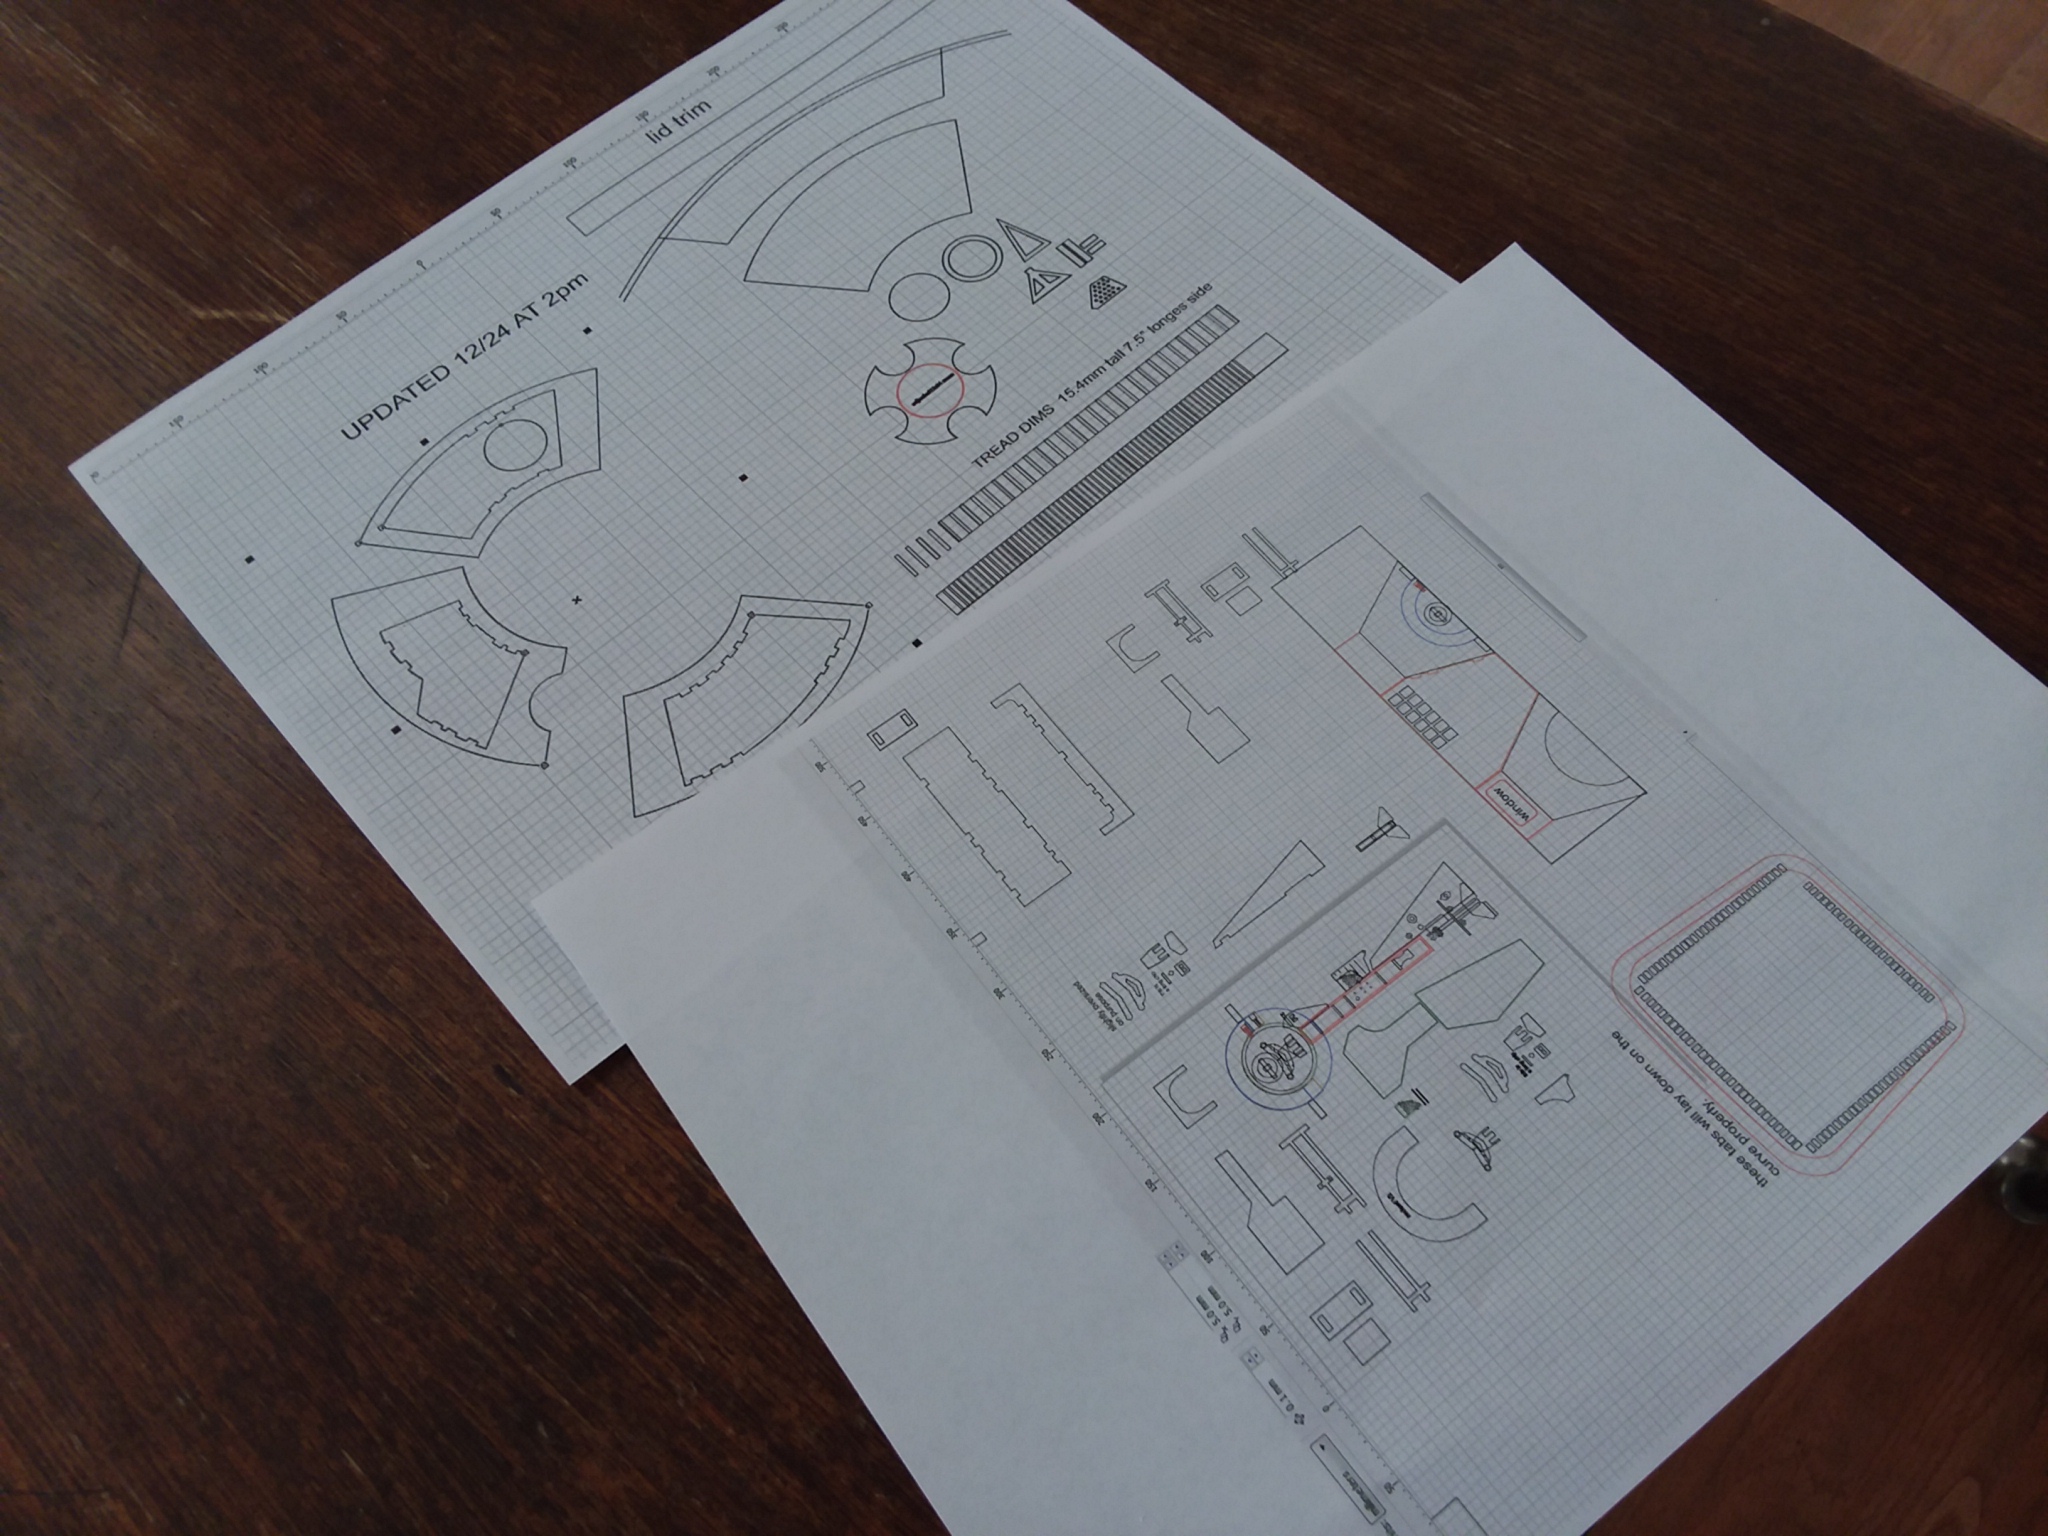
I fired up the laser cutter to begin producing the body panels:
Now we are getting places...
The collection of Donor kits keeps growing =)
Some of the donor kits are extremely rare. Just one of them is nearly $500 on ebay for a few parts needed that will fit on your pinky. Luckily I have good friends in the industry who are donating pieces, but until they arrive I'm designing stand-ins. This part for example is from an obscenly expensive tamiya kit. So until the accurate donor shows up, I model it CAD and SLA print it to use with it's mate (from an AMT Fruhauf tanker kit)
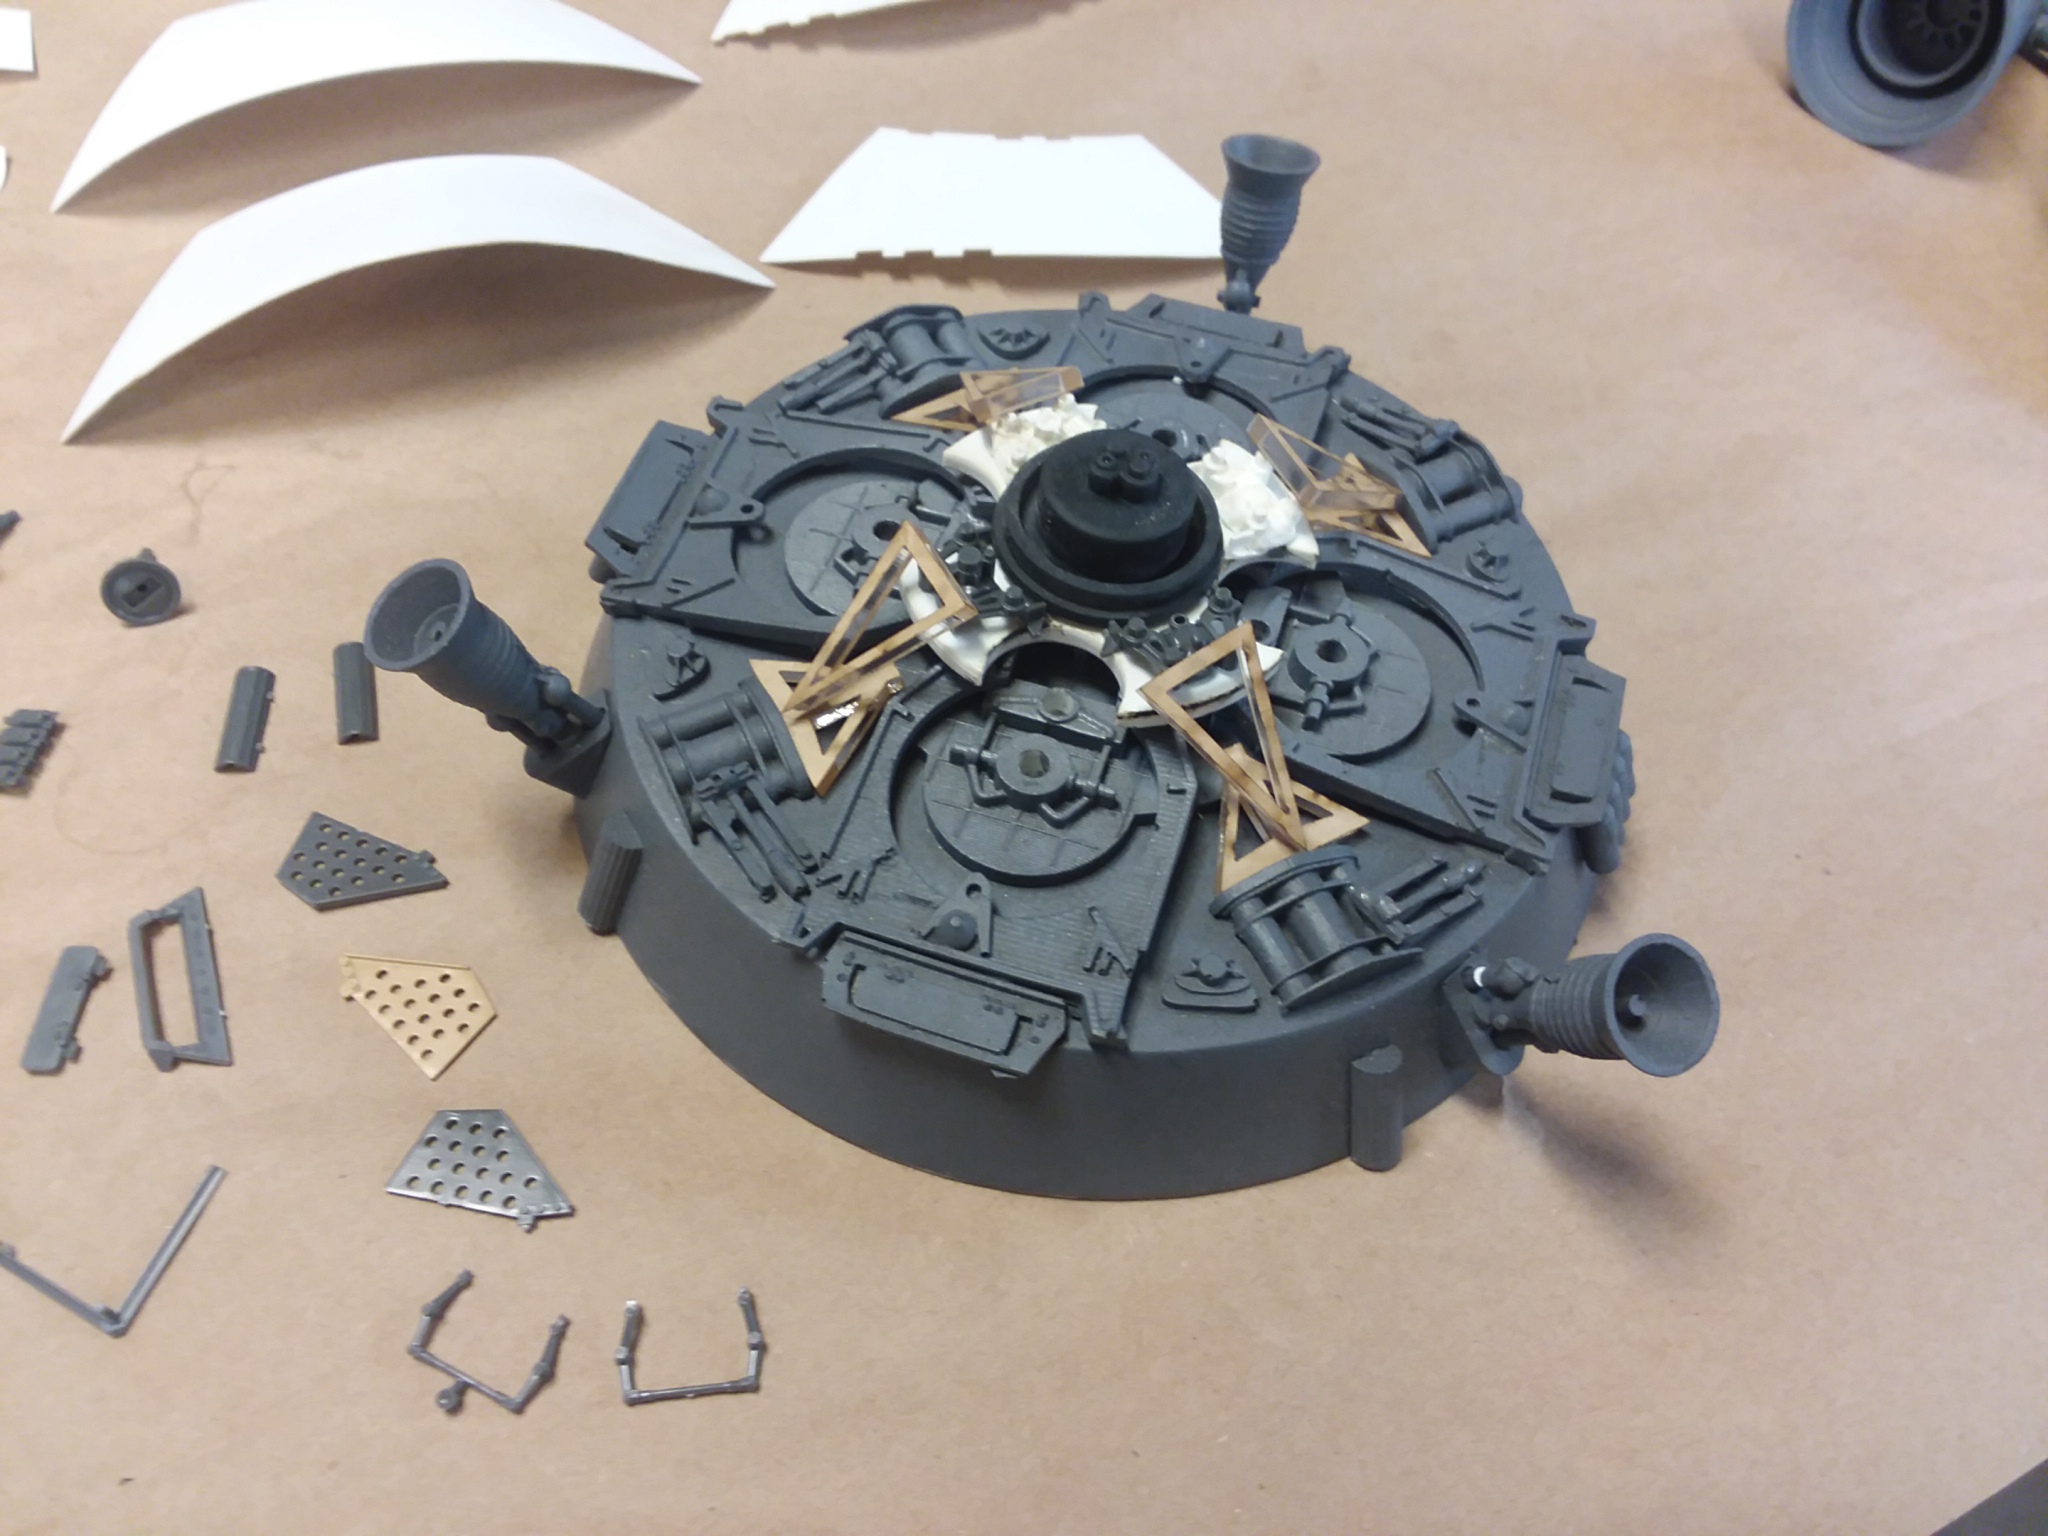
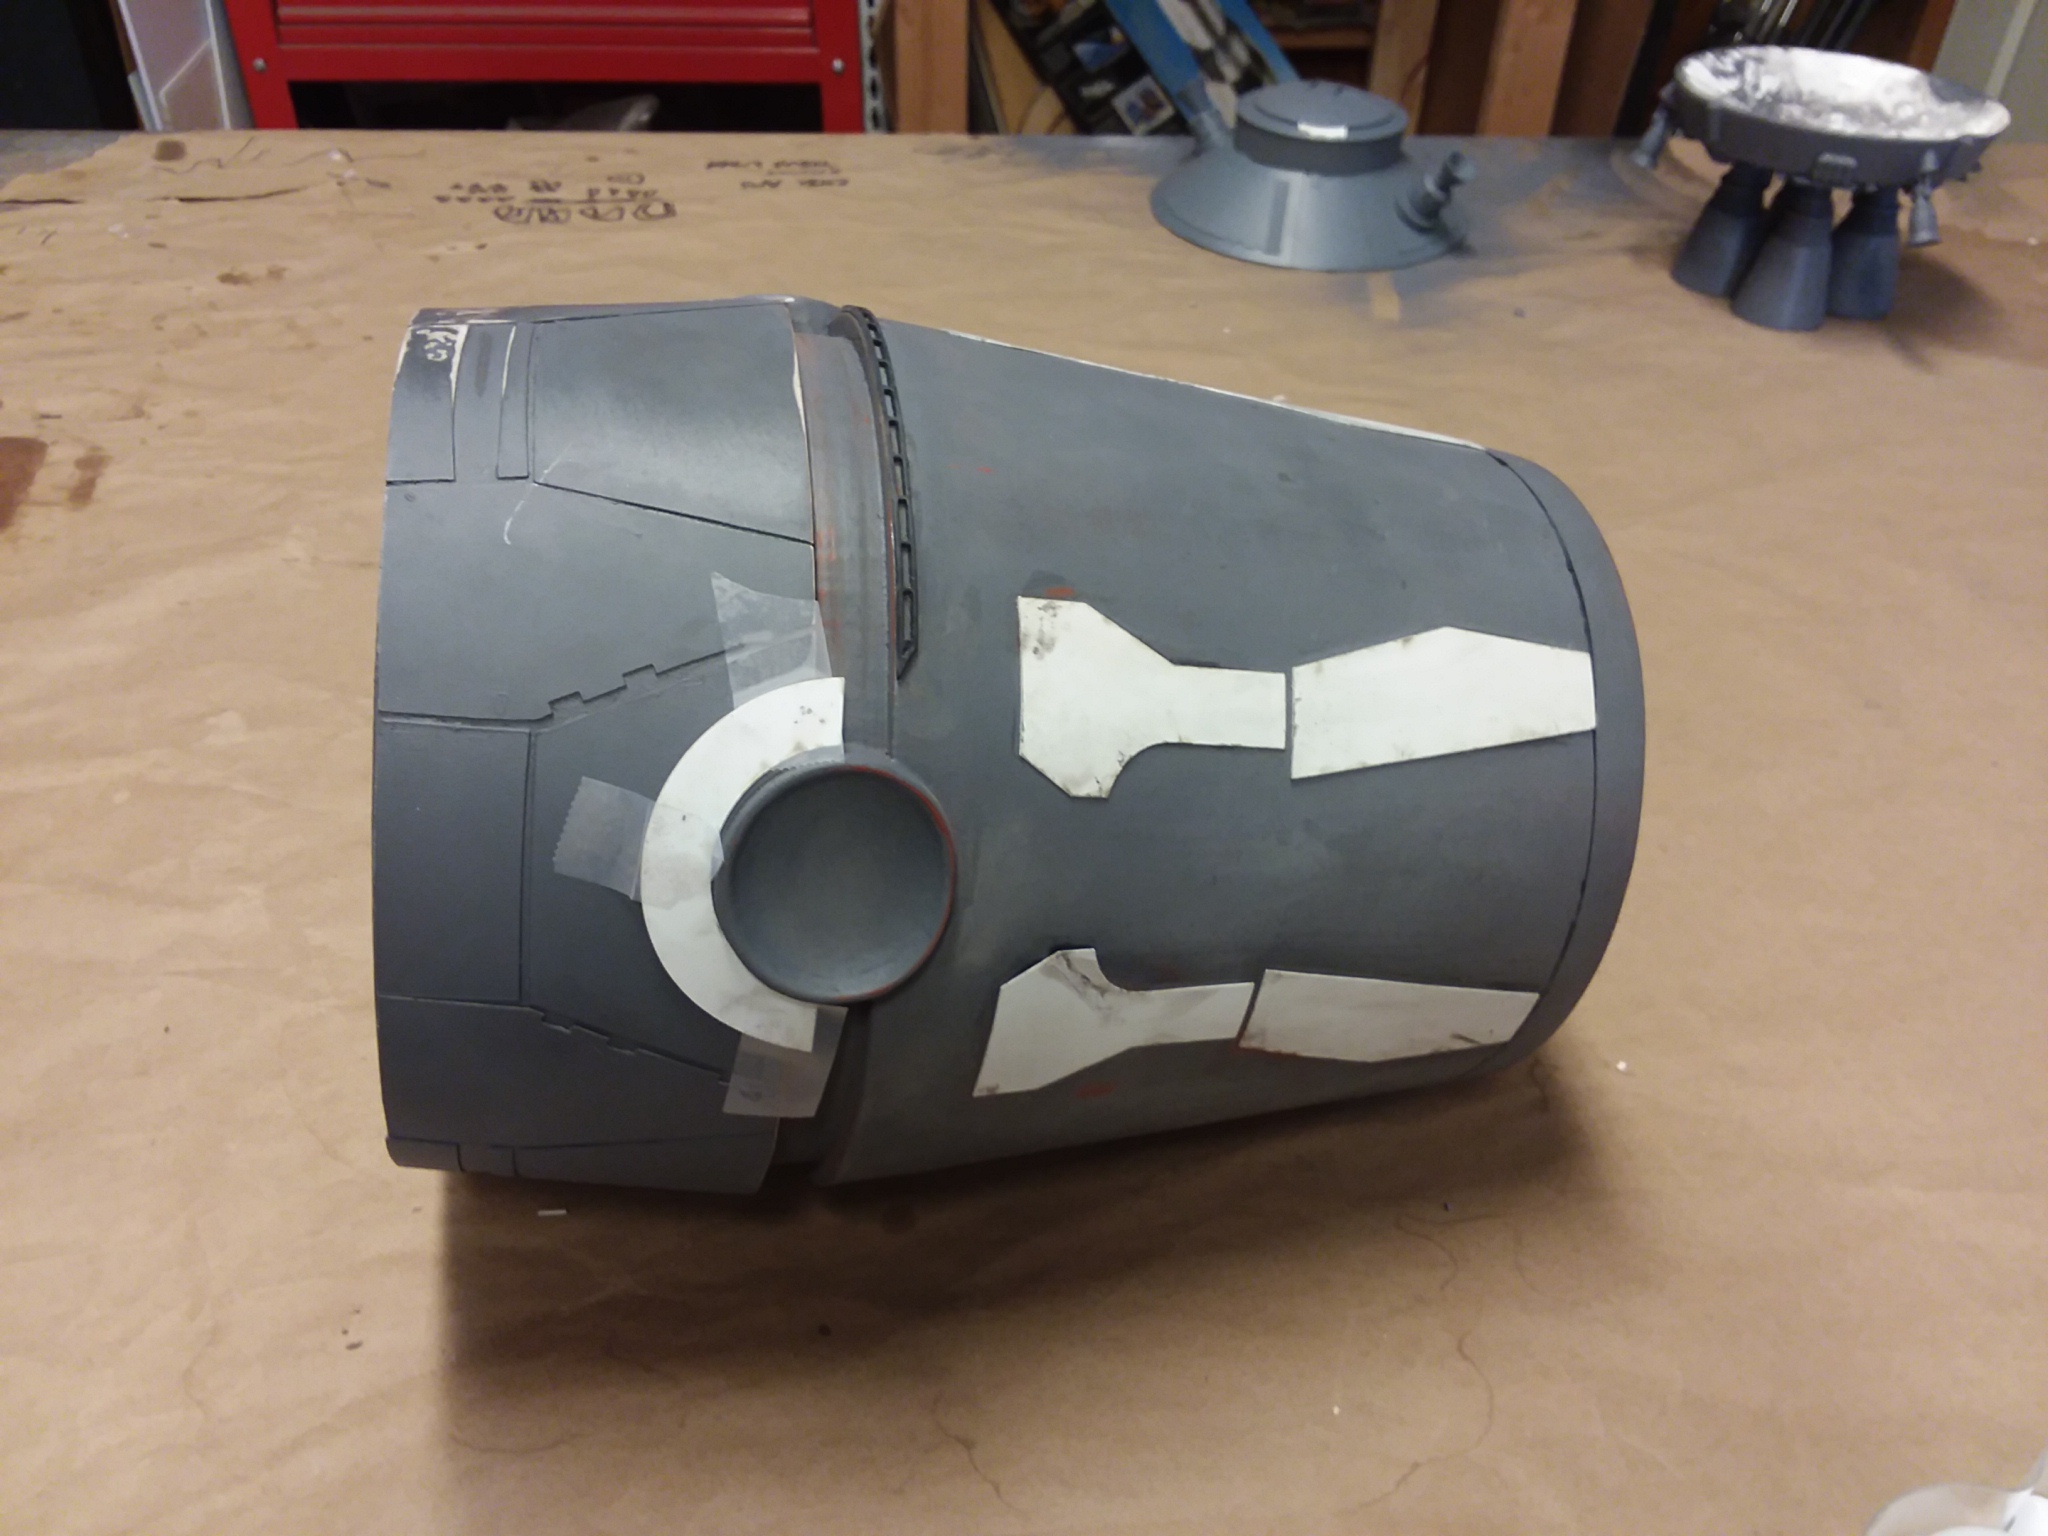
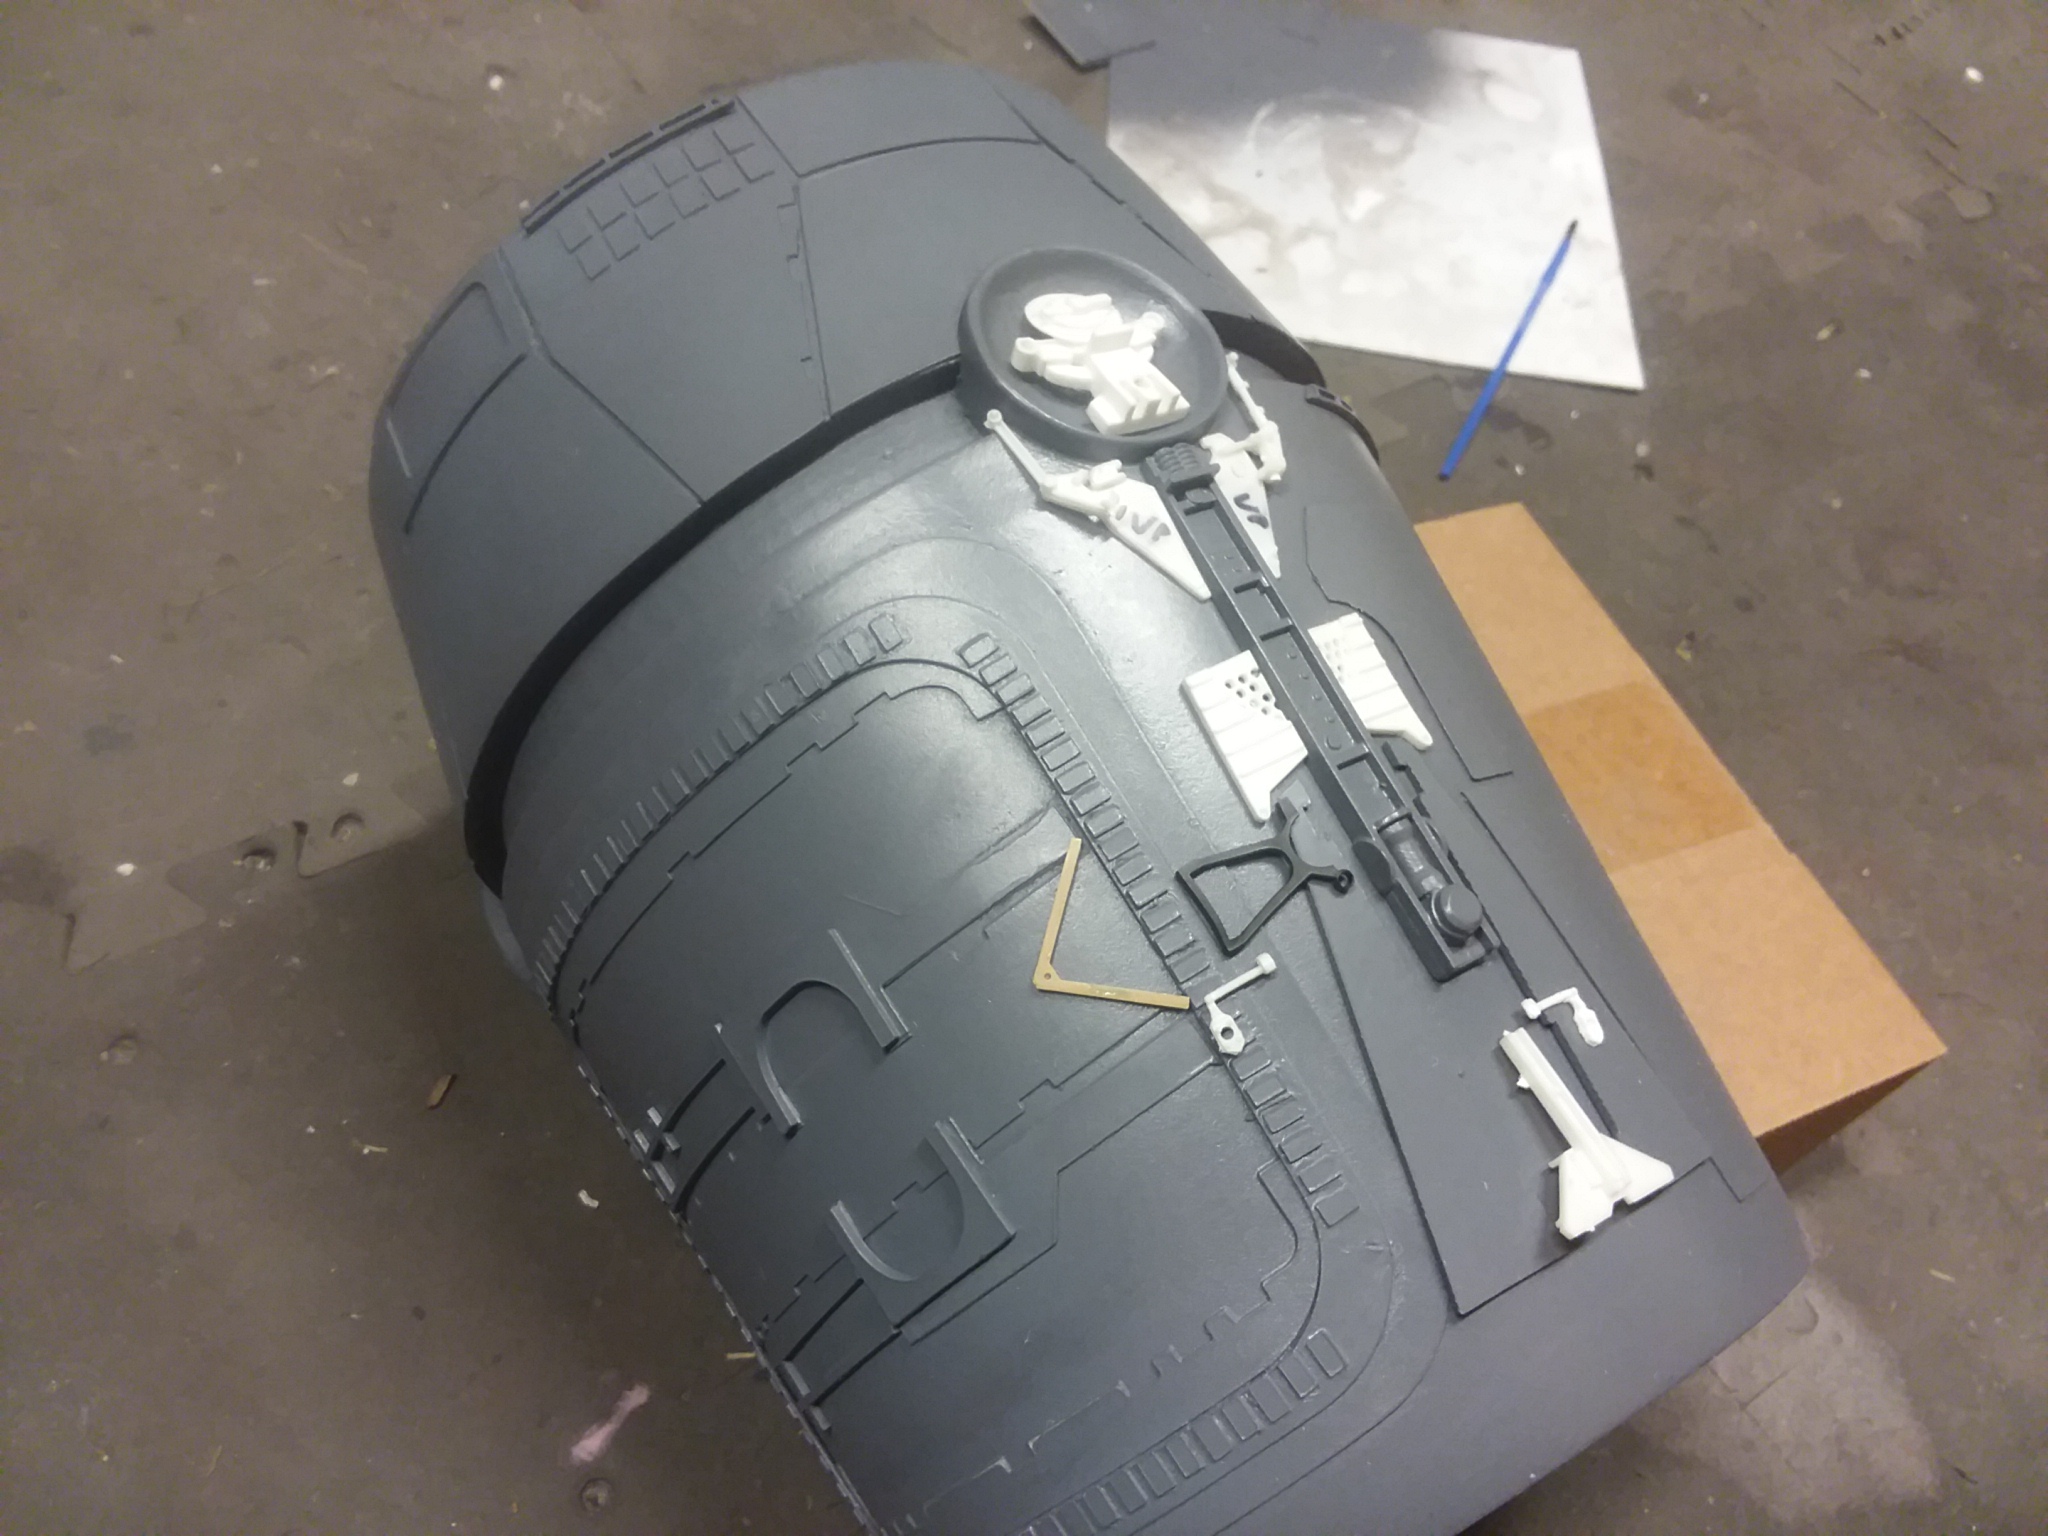
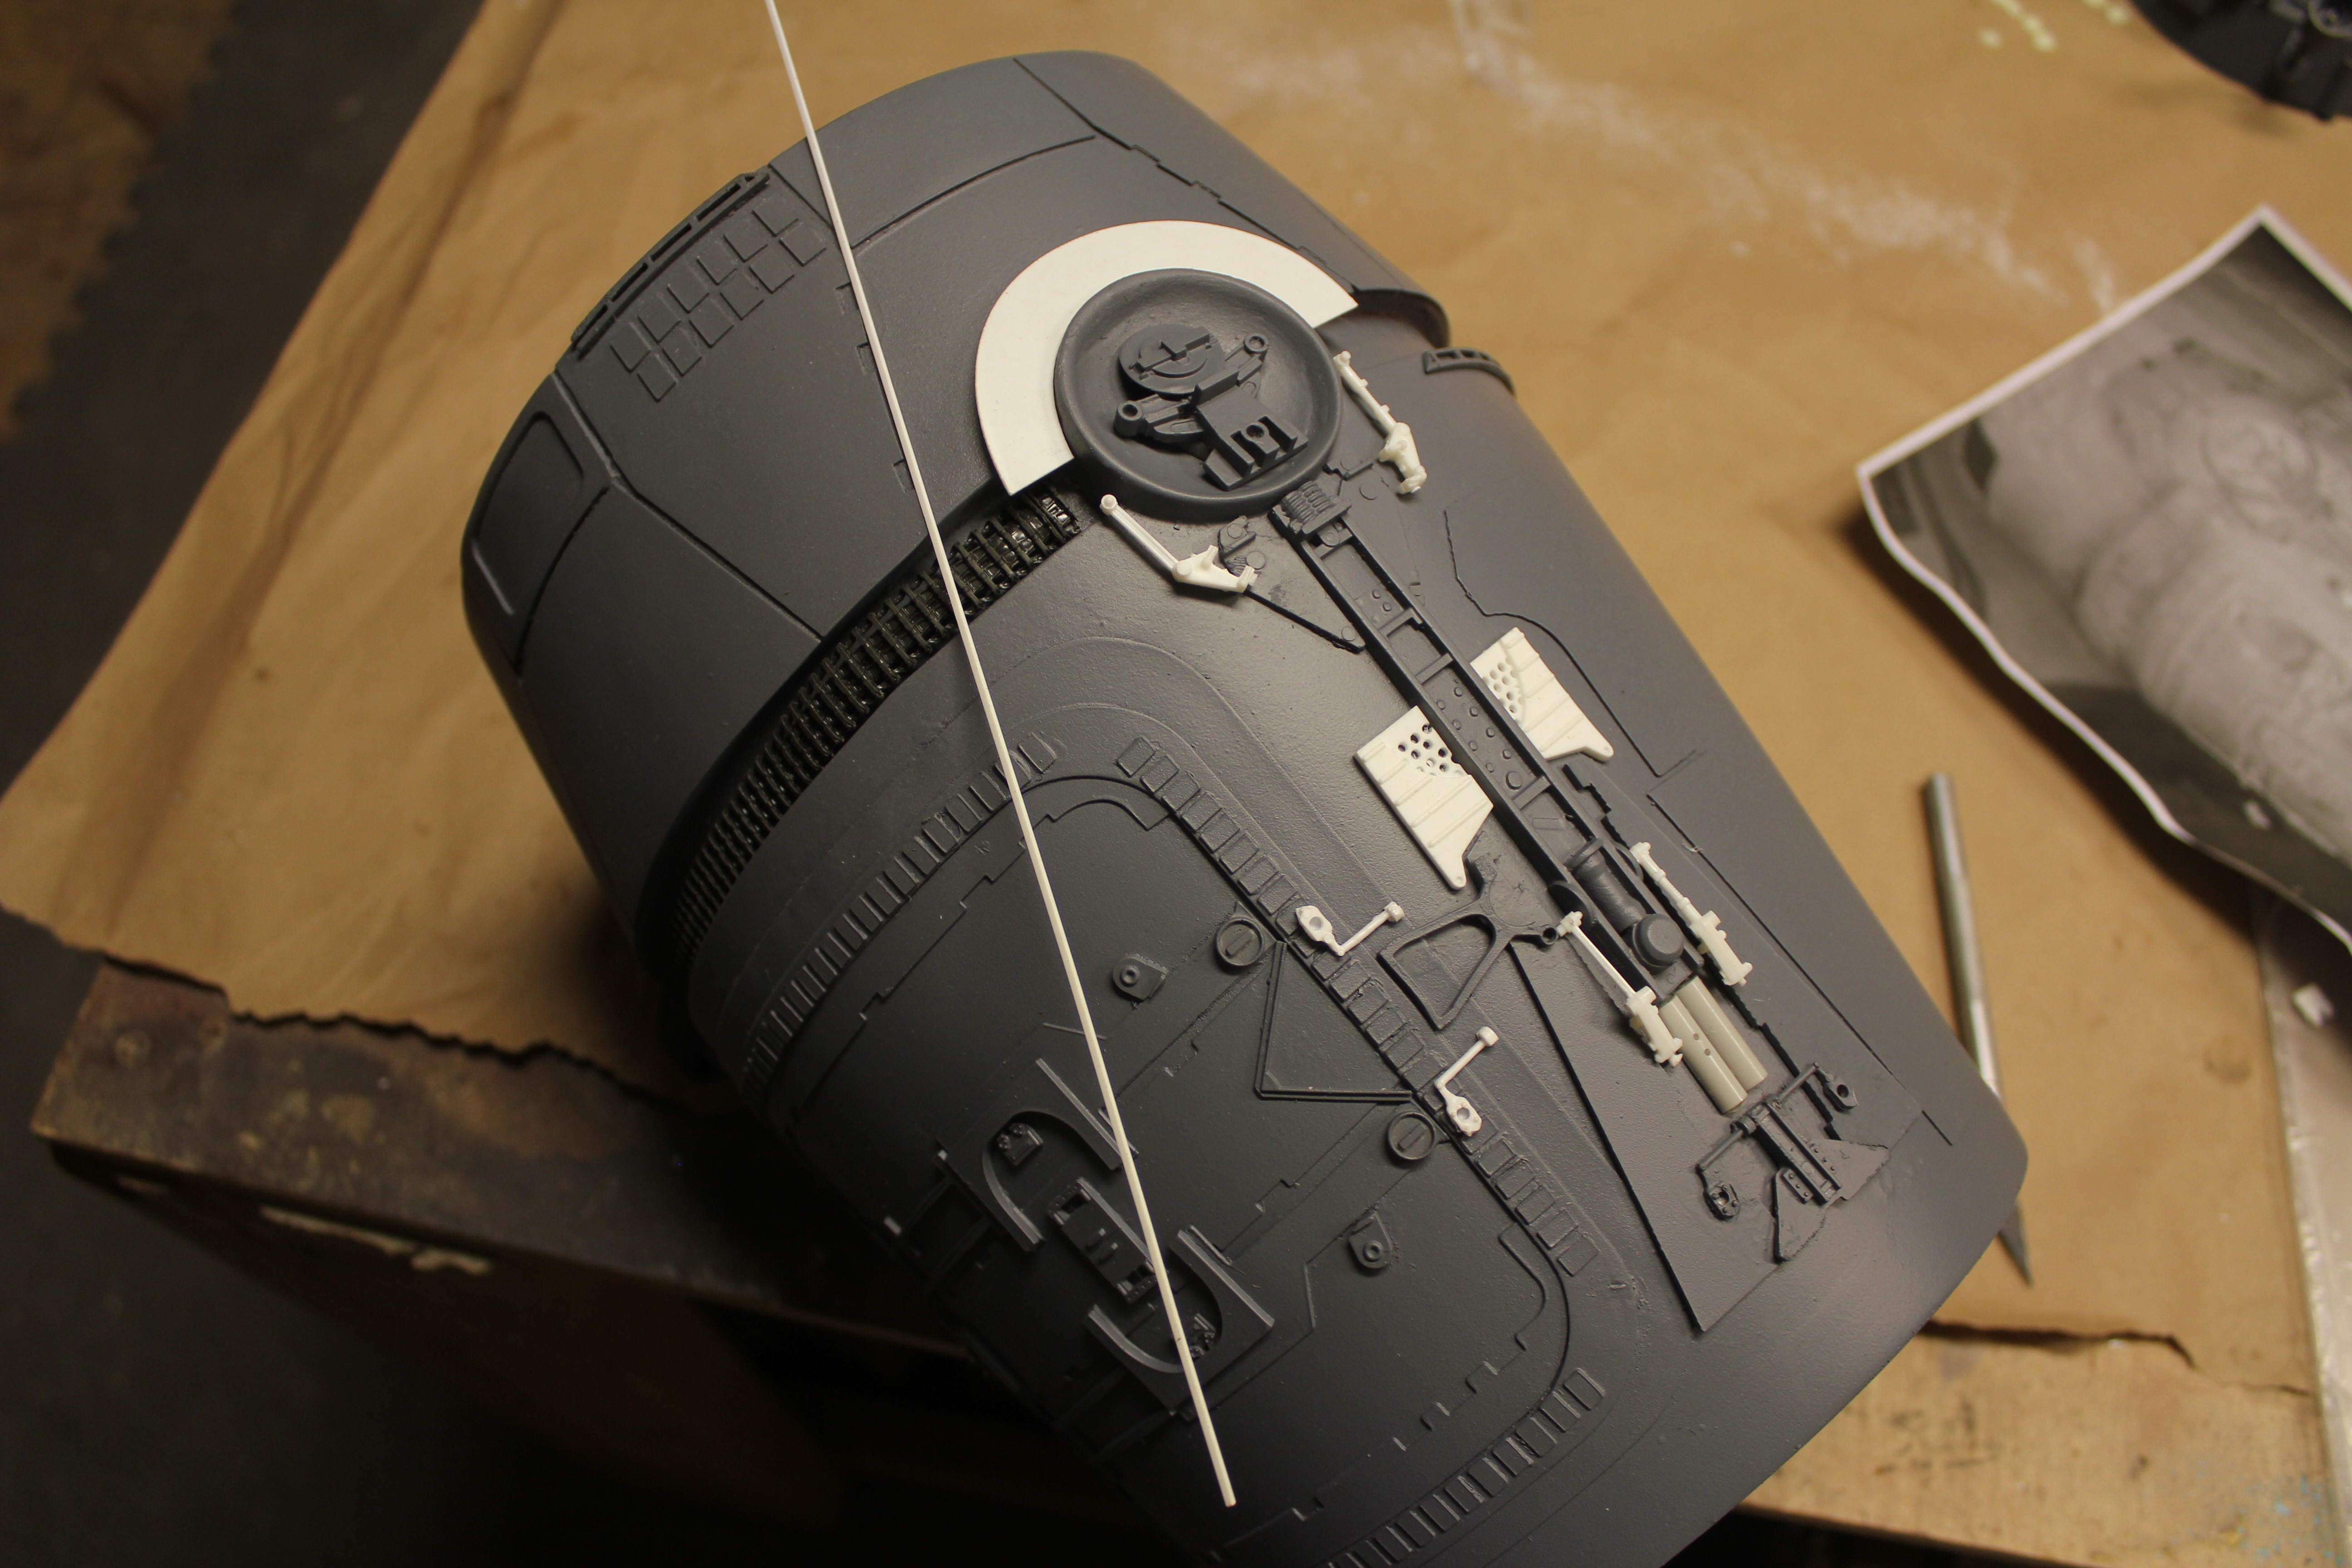
PANELING BEGINS!
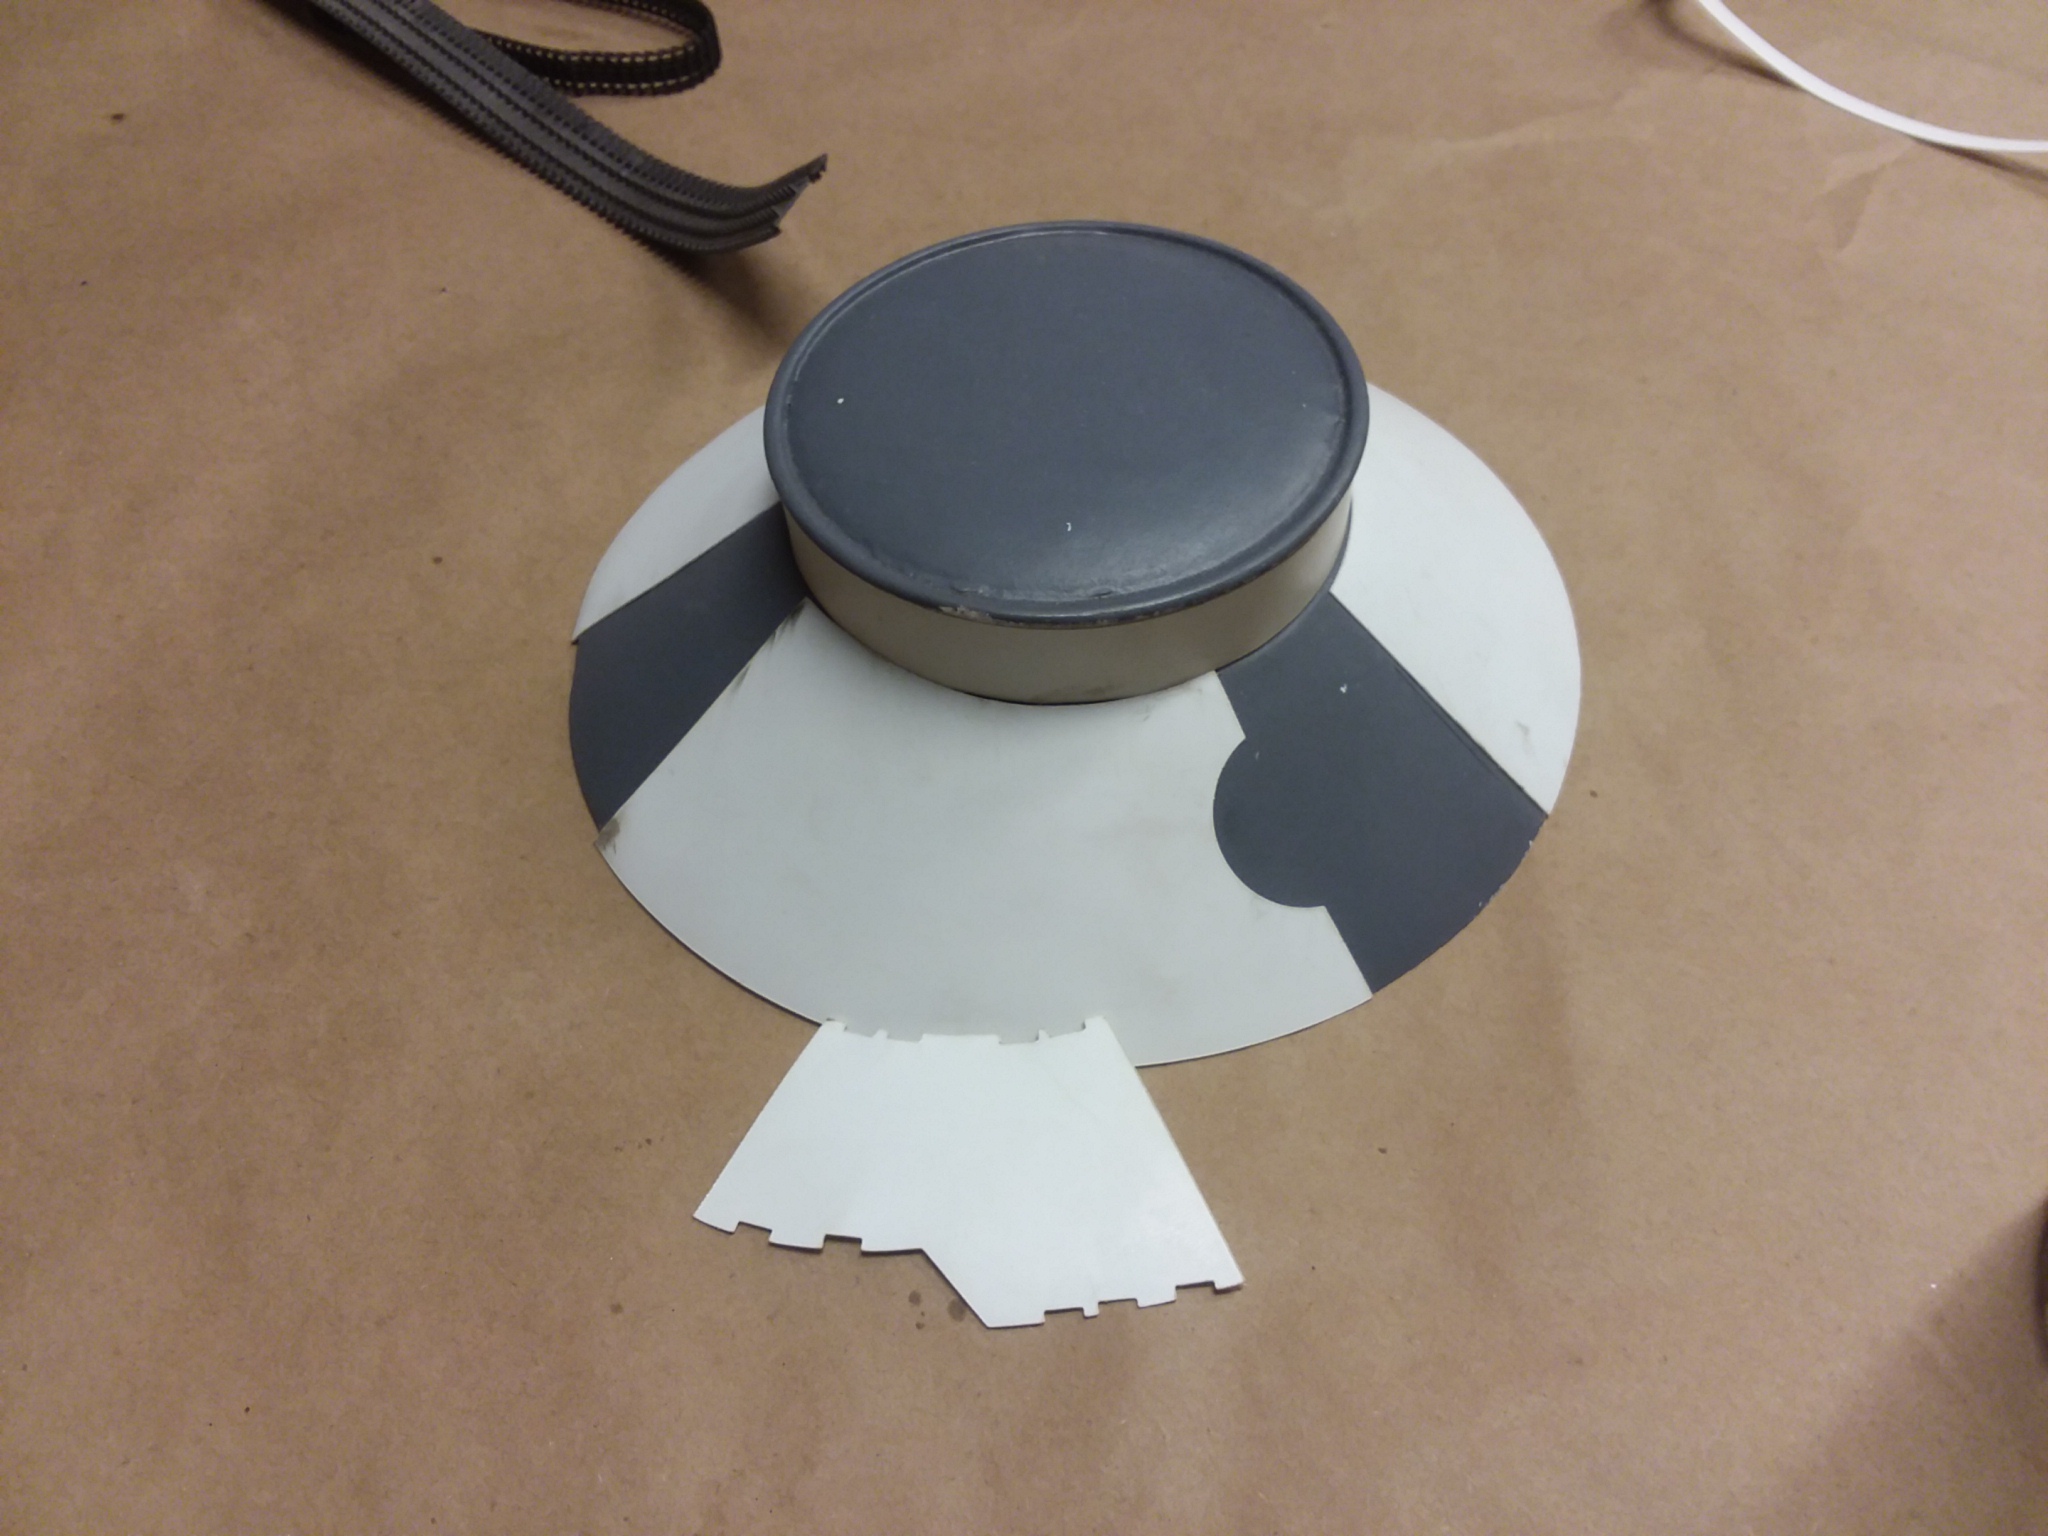
This looks like a mess but it's part of mapping out locations.
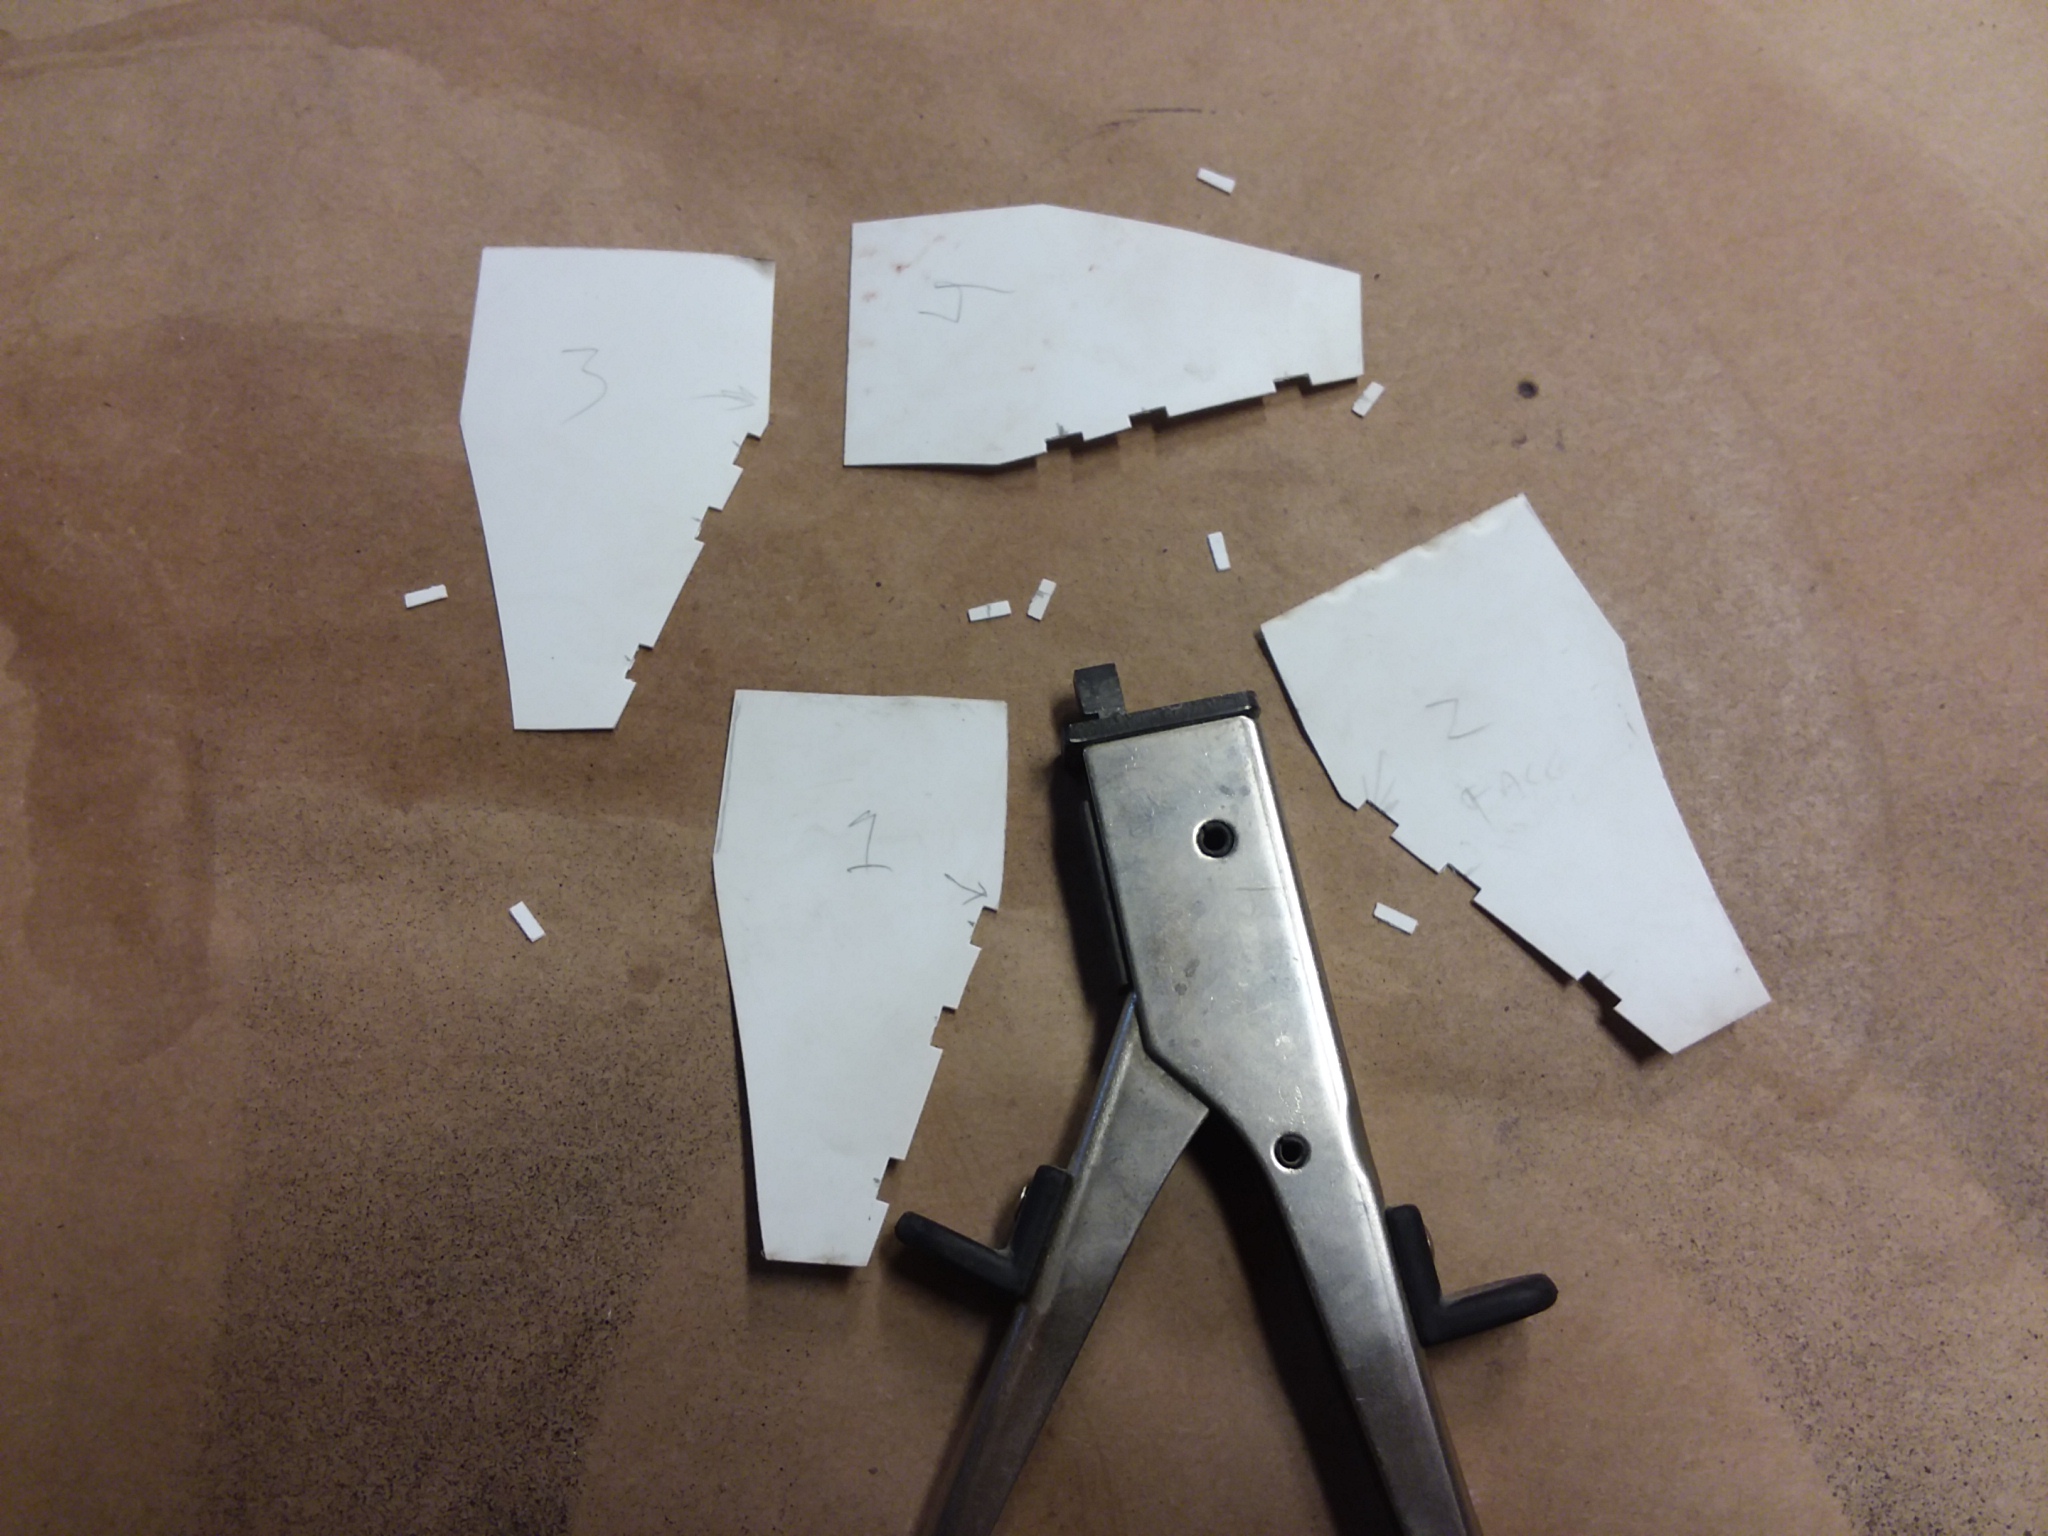
Here's where traditional modeling comes in handy. Some panels were laser cut completely, some were hand cut and notched the old school way. I feel much of the soul of model making is lost when everything is 3D printed. Here's where the hand made spirit comes in. Nippers were used to create the notches in these panels.
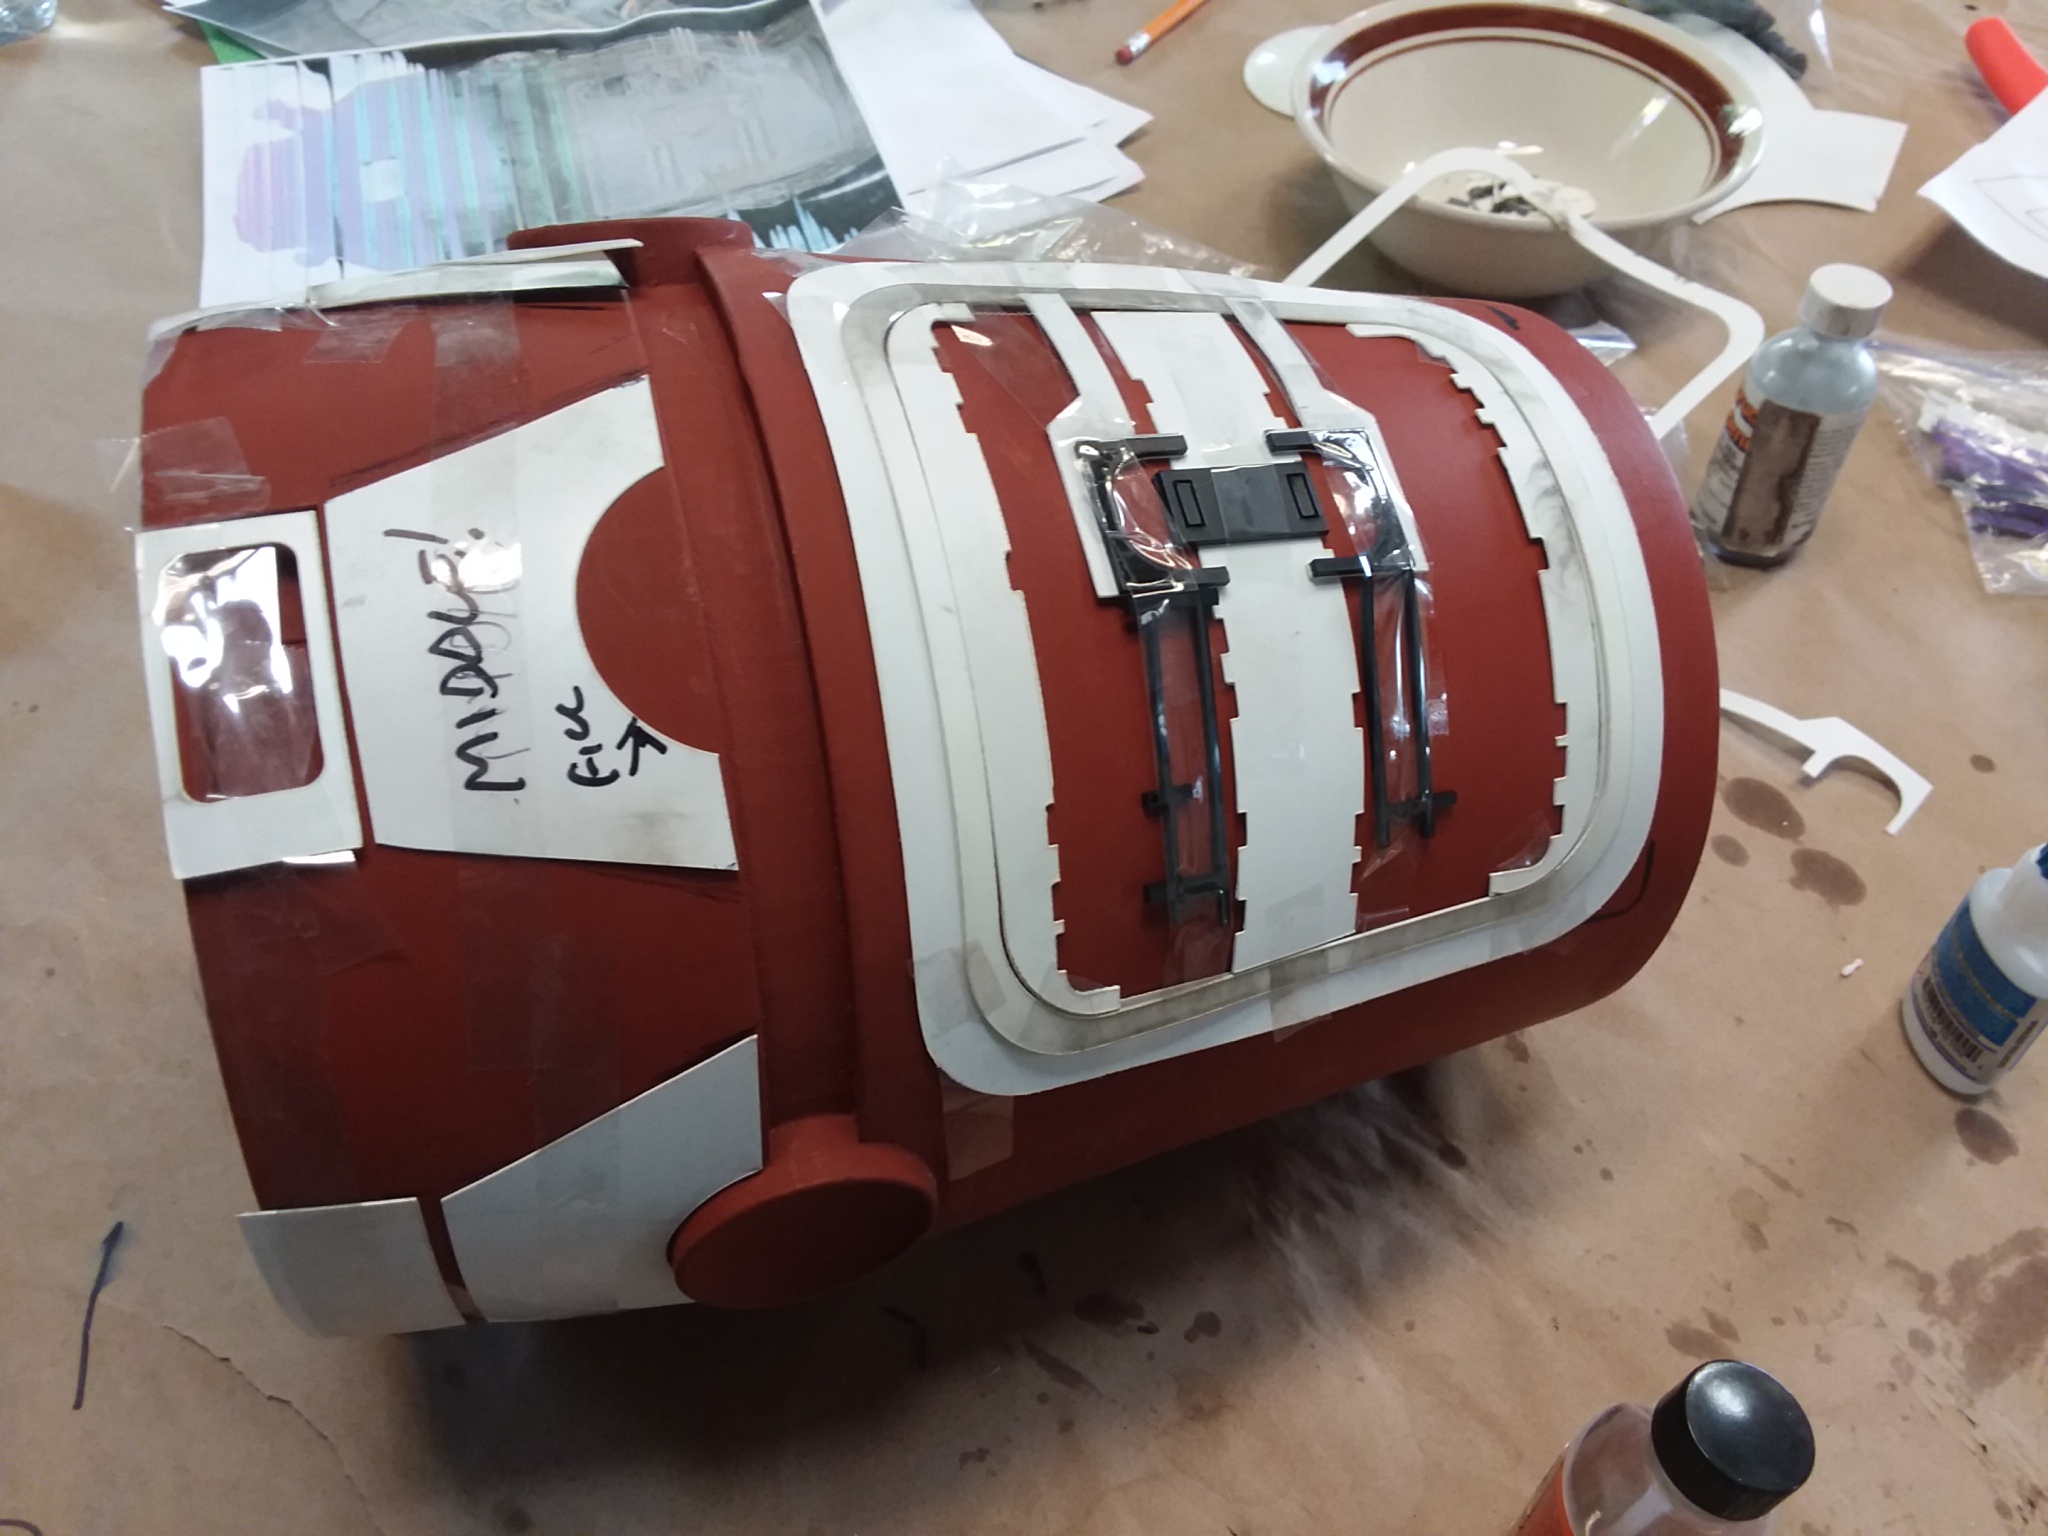
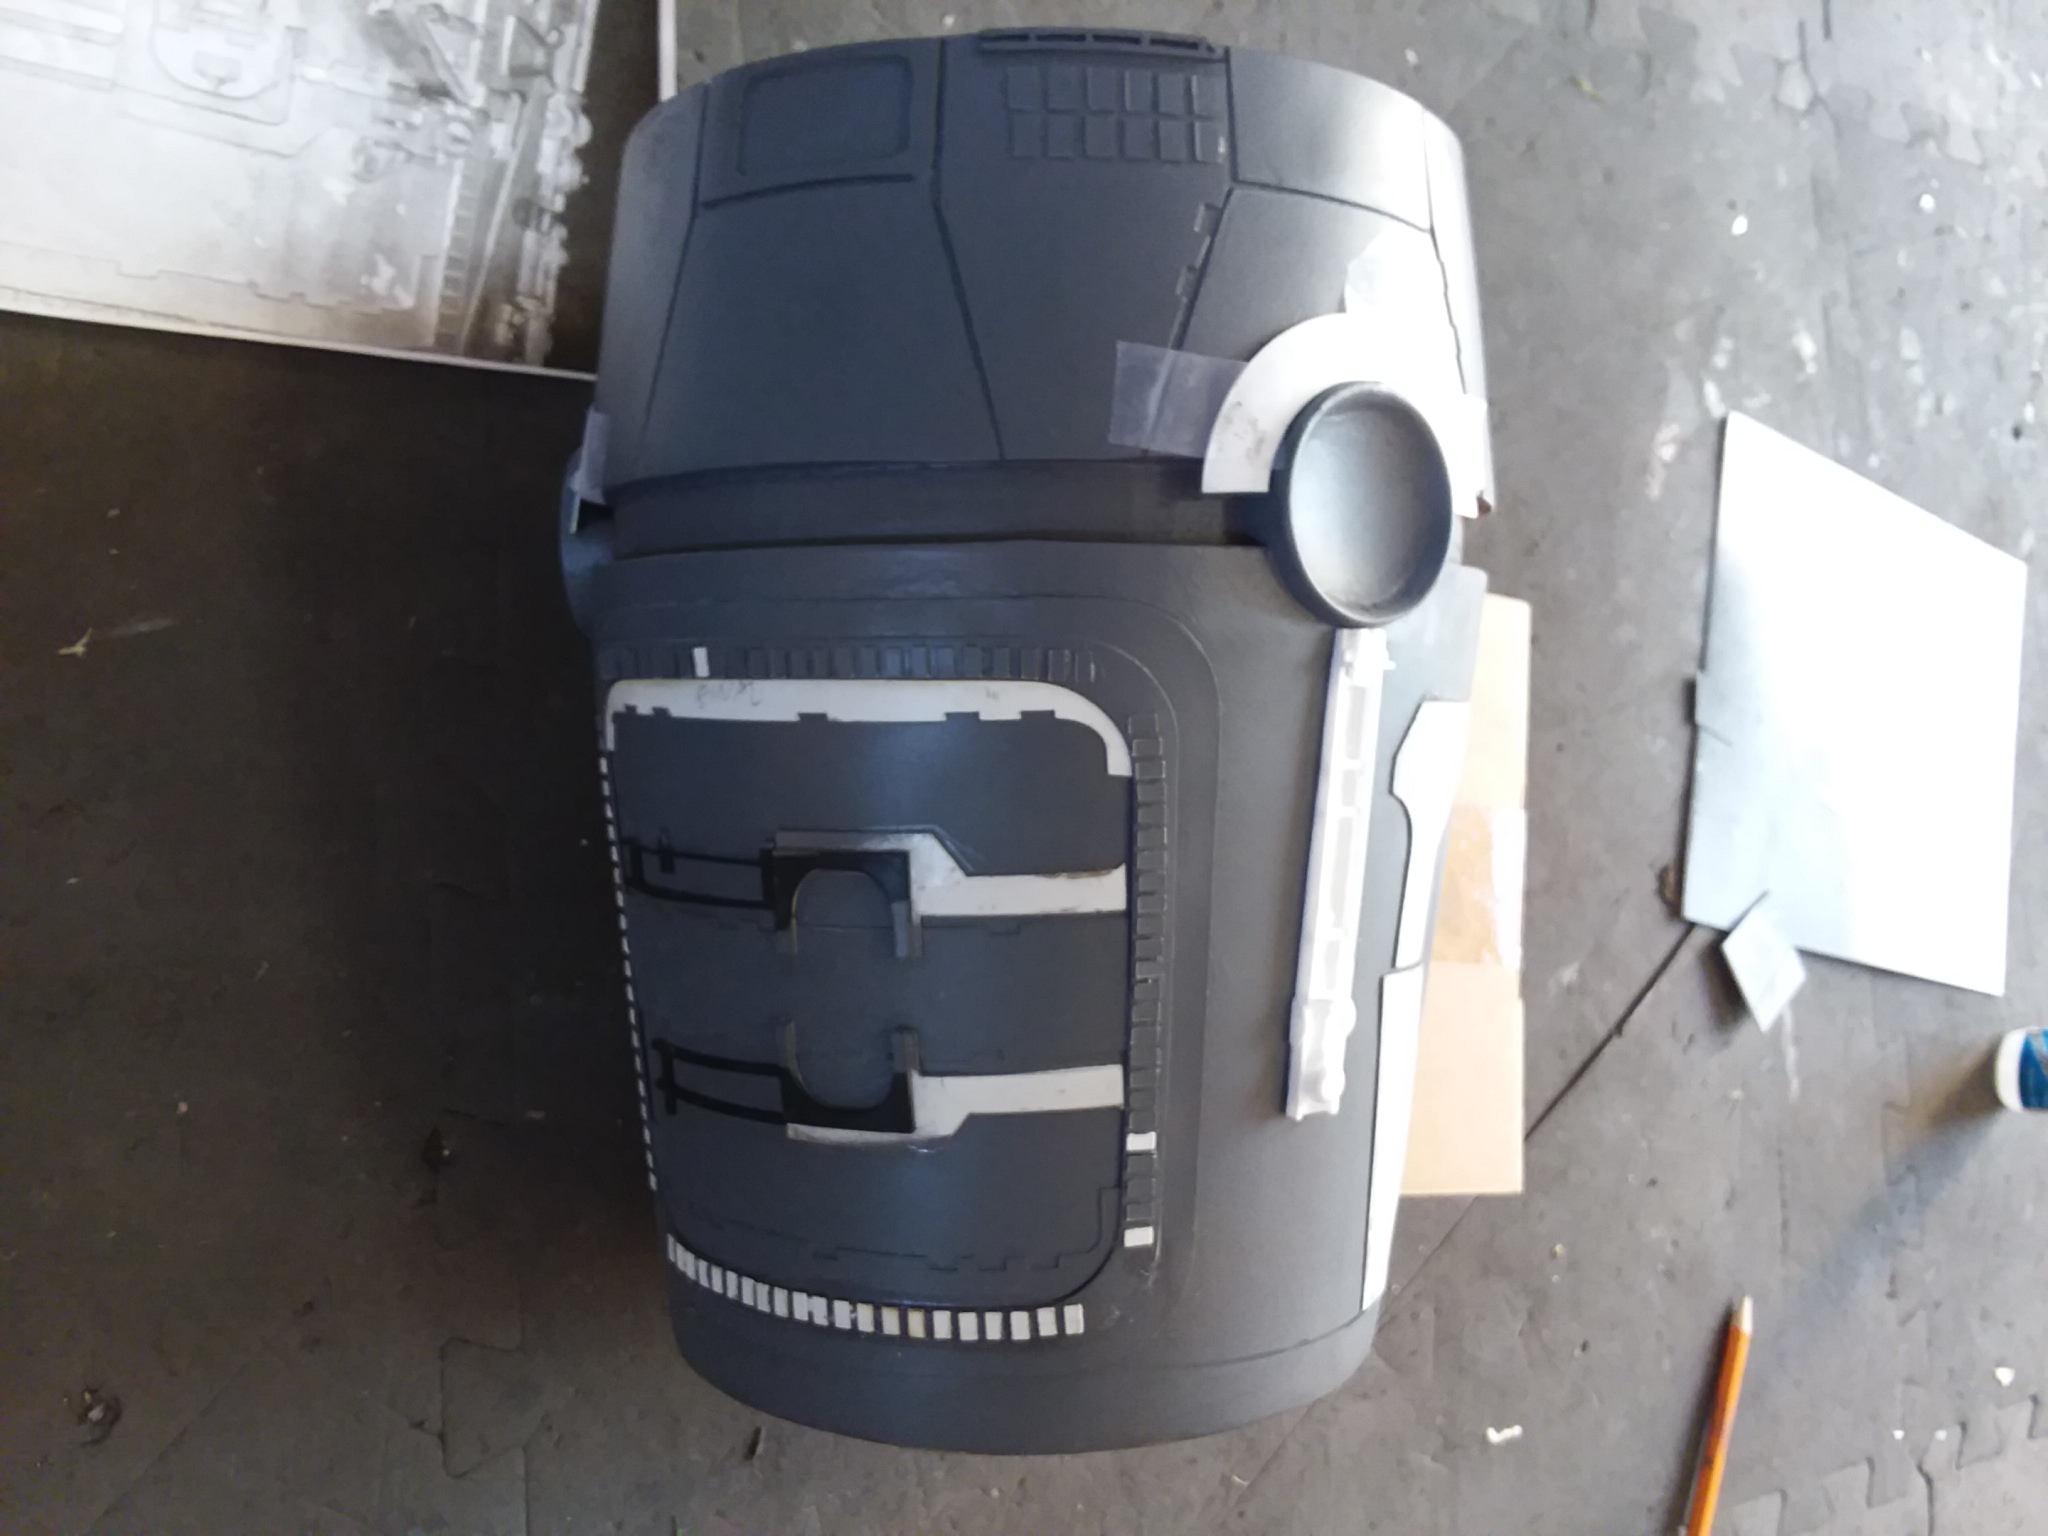
Plating continues on the hull.

CAD designing and 3D printing continues for some of the miniscule details.
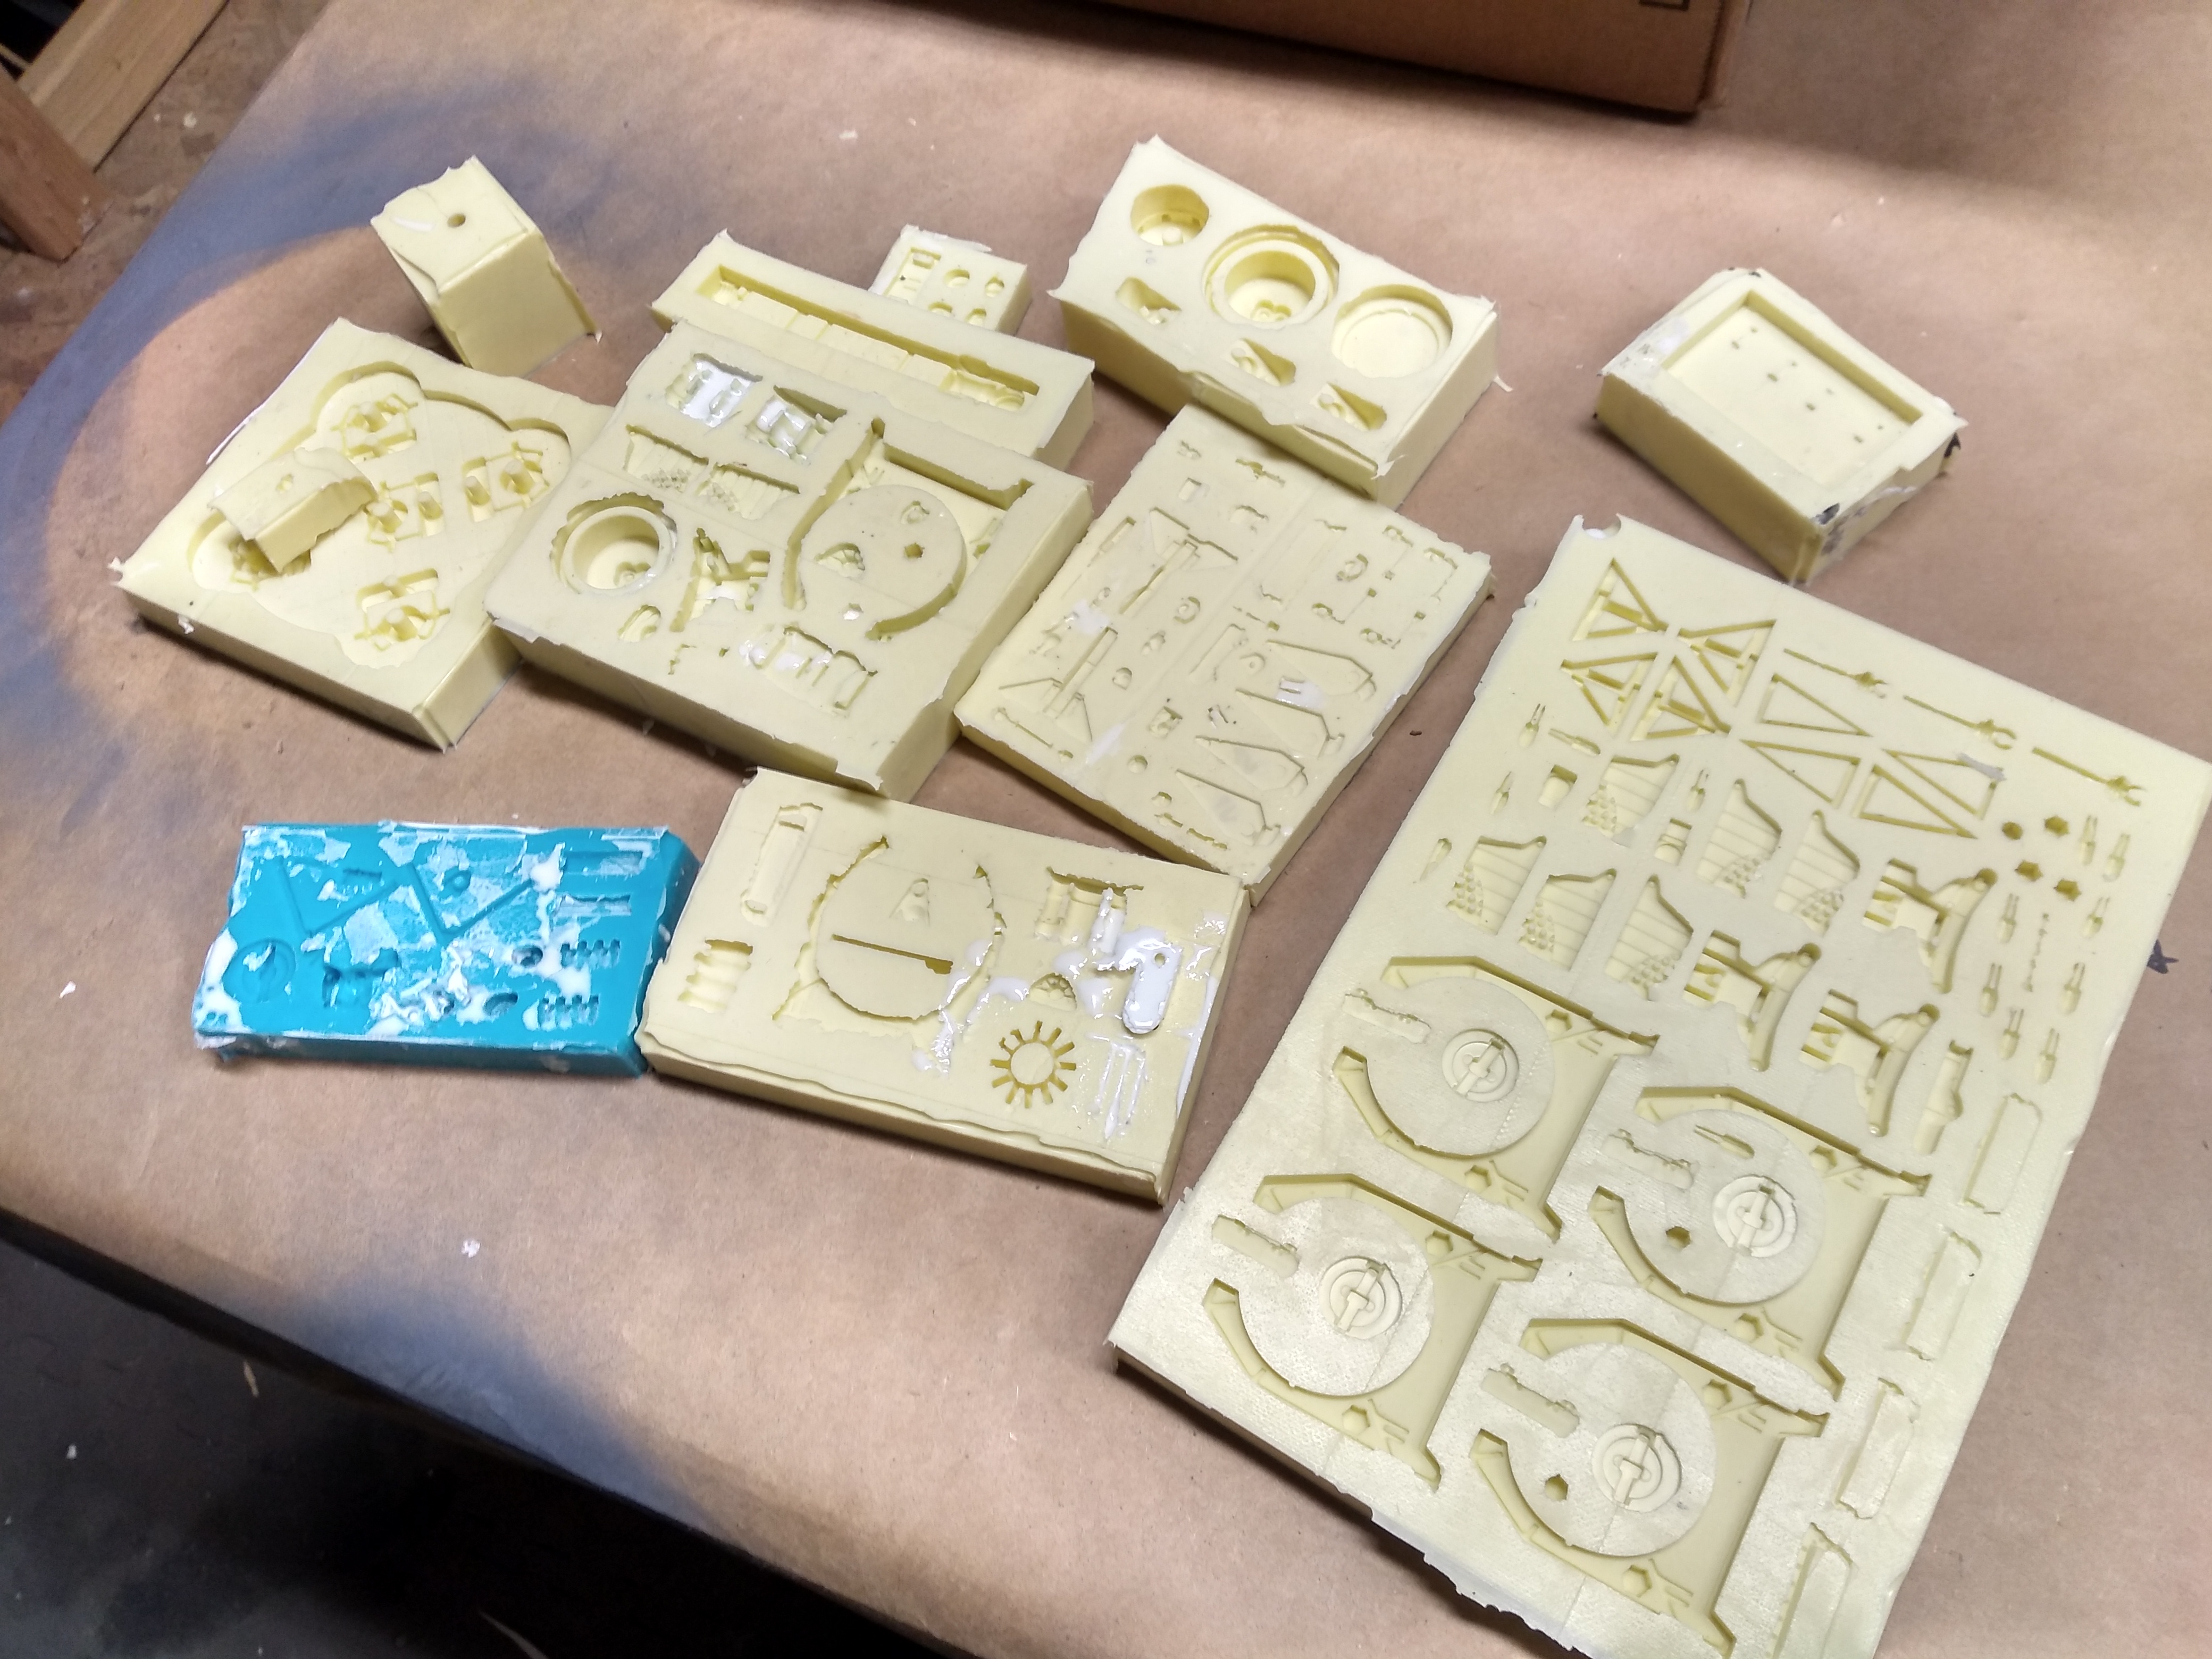
These are the greeble molds for just this singular project. My library of parts is huge these days!

Final paneling begins on the bottom pan:

We're almost finished with detailing and most of the molds for the various parts are completed!


When I thought I was done, I wasn't done. Here's a little additional detailing on the rear of the main hull.
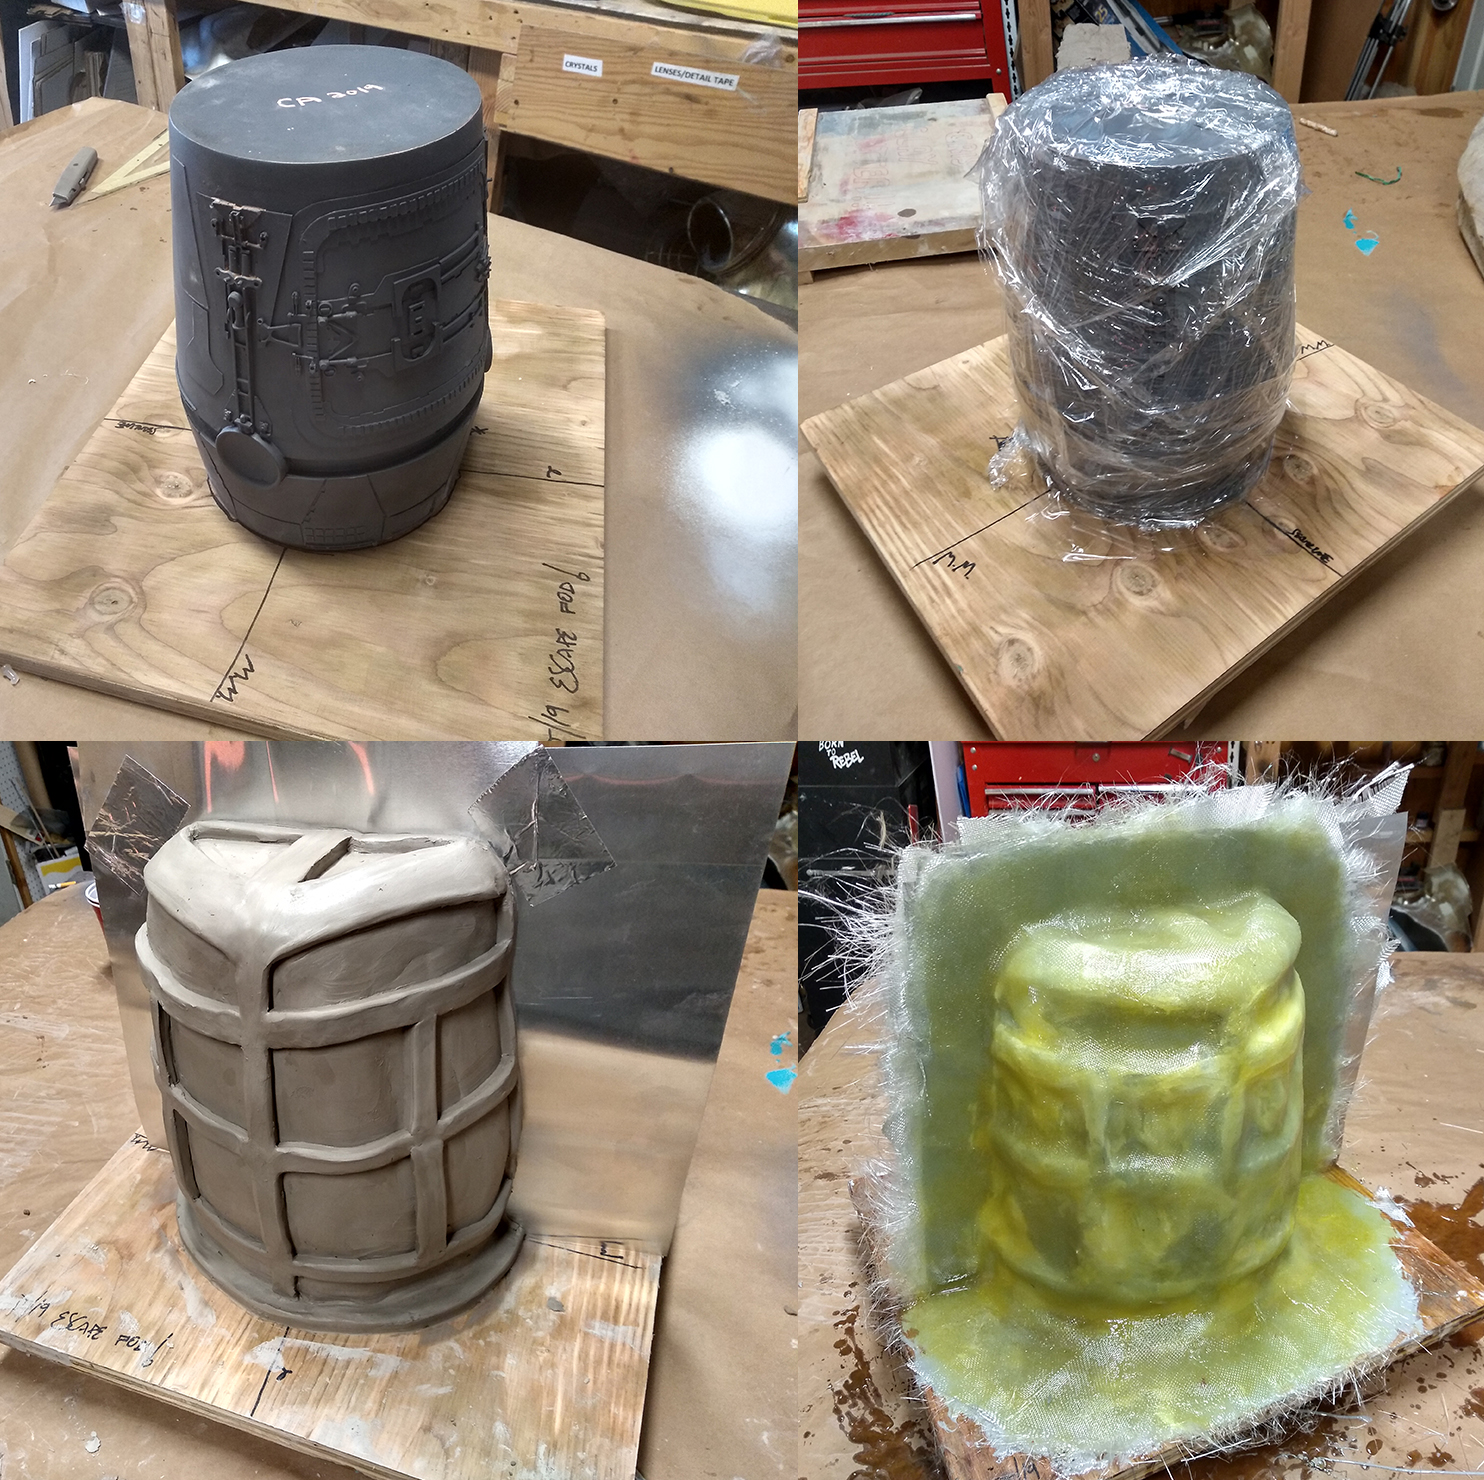
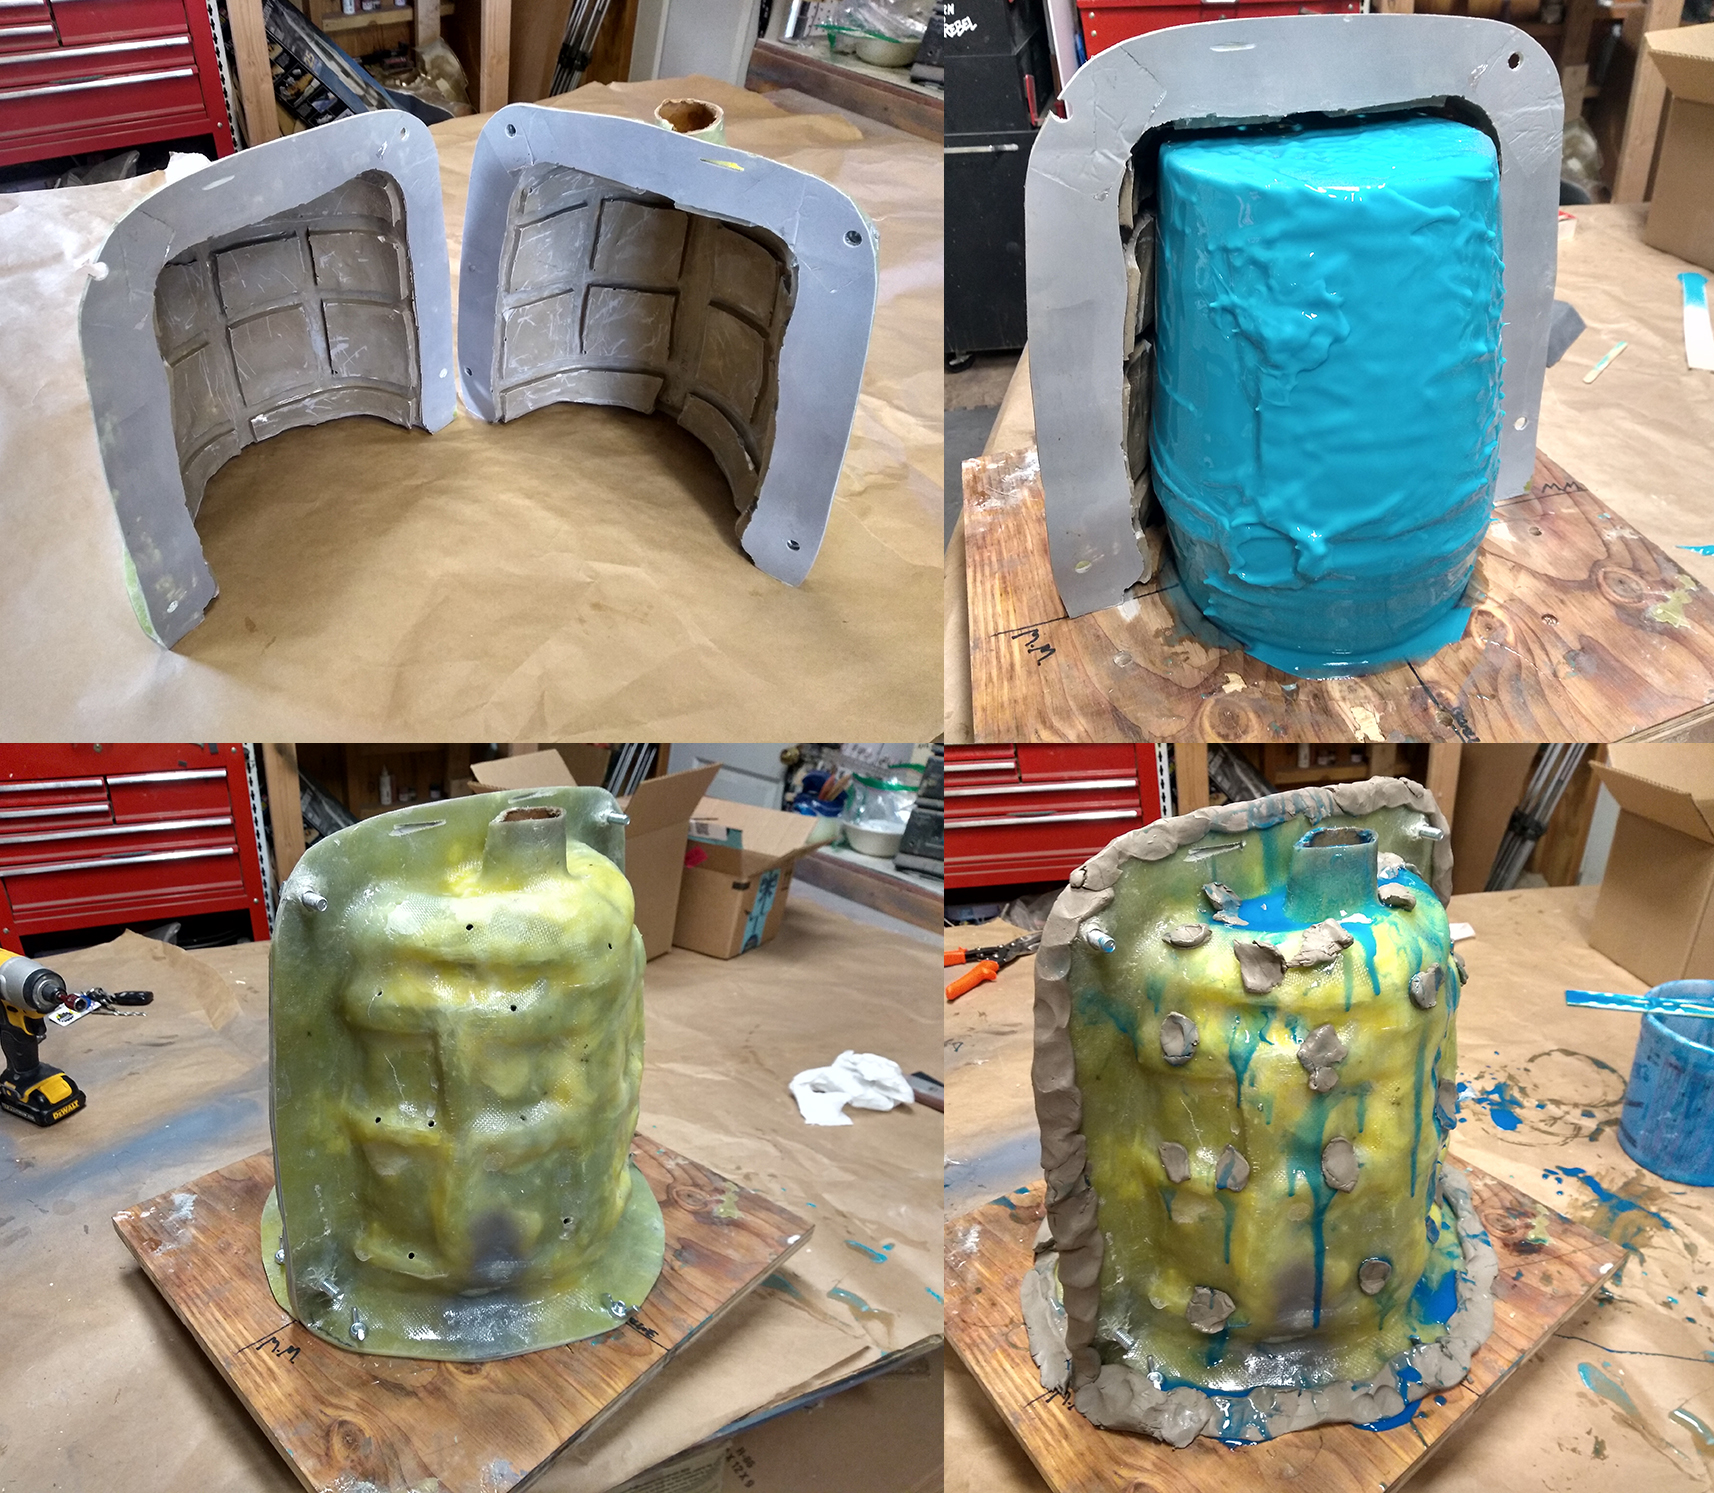
MOLDING THE HULL
Since there are many undercut details on the main hulls, I decided to MATRIX MOLD all the parts. Wit a matrix mold, remastering the patterns (re-molding them with fresh rubber skins) can be achieved in a single afternoon instead of laboring for several days each time. This keeps the castings crisp and fresh.
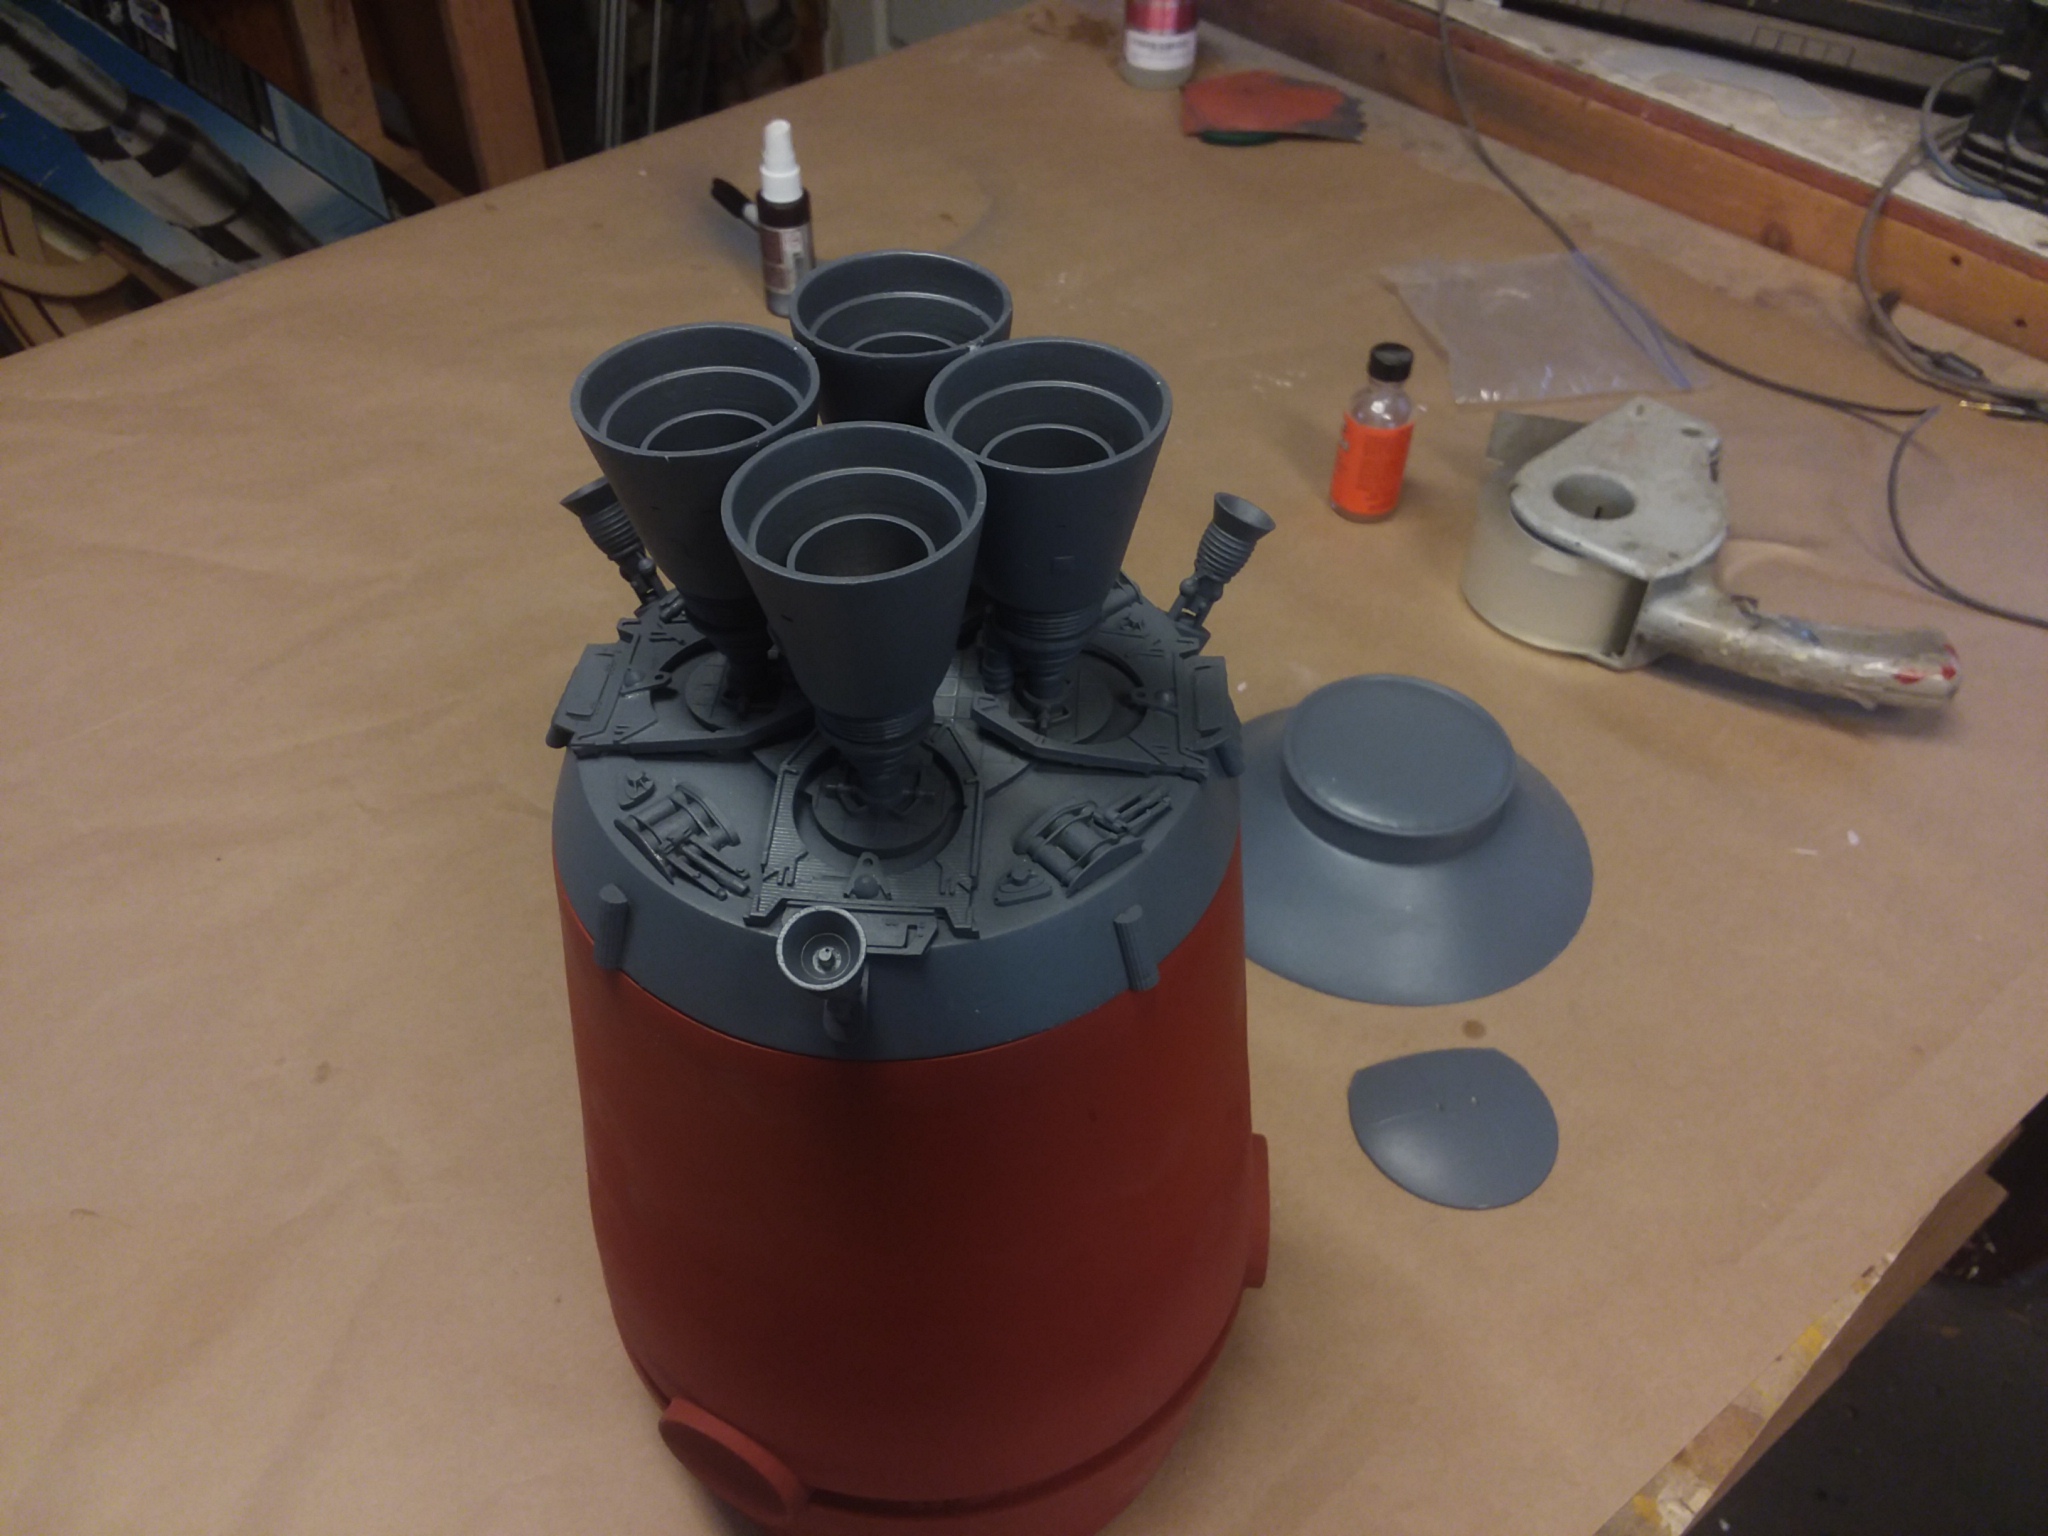
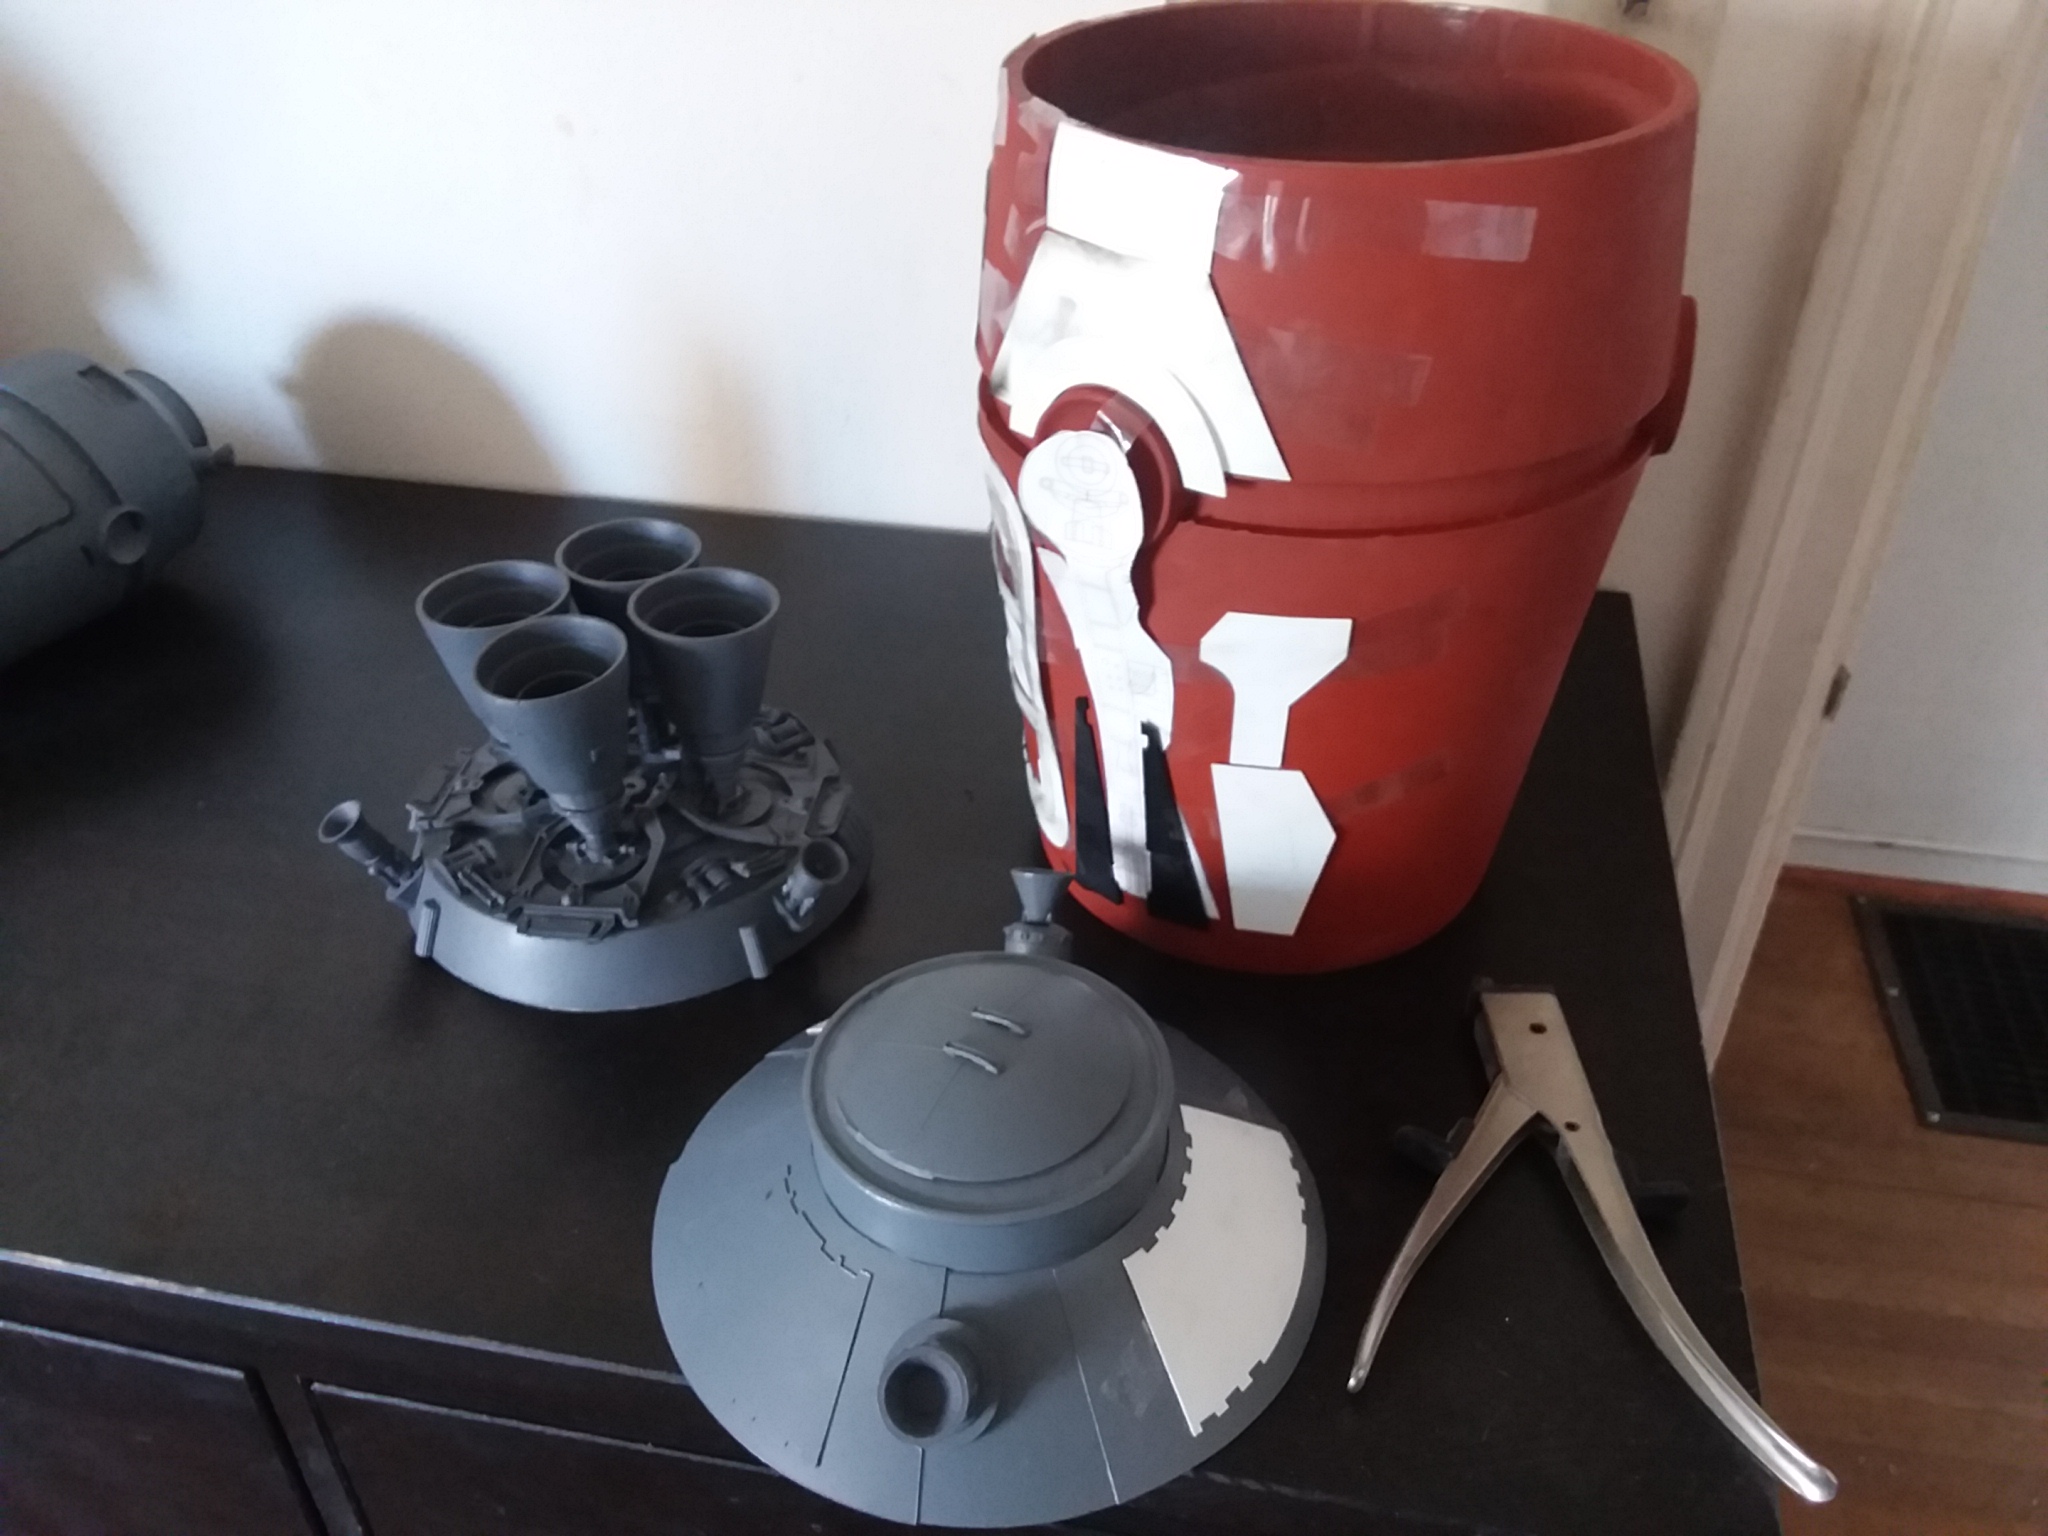
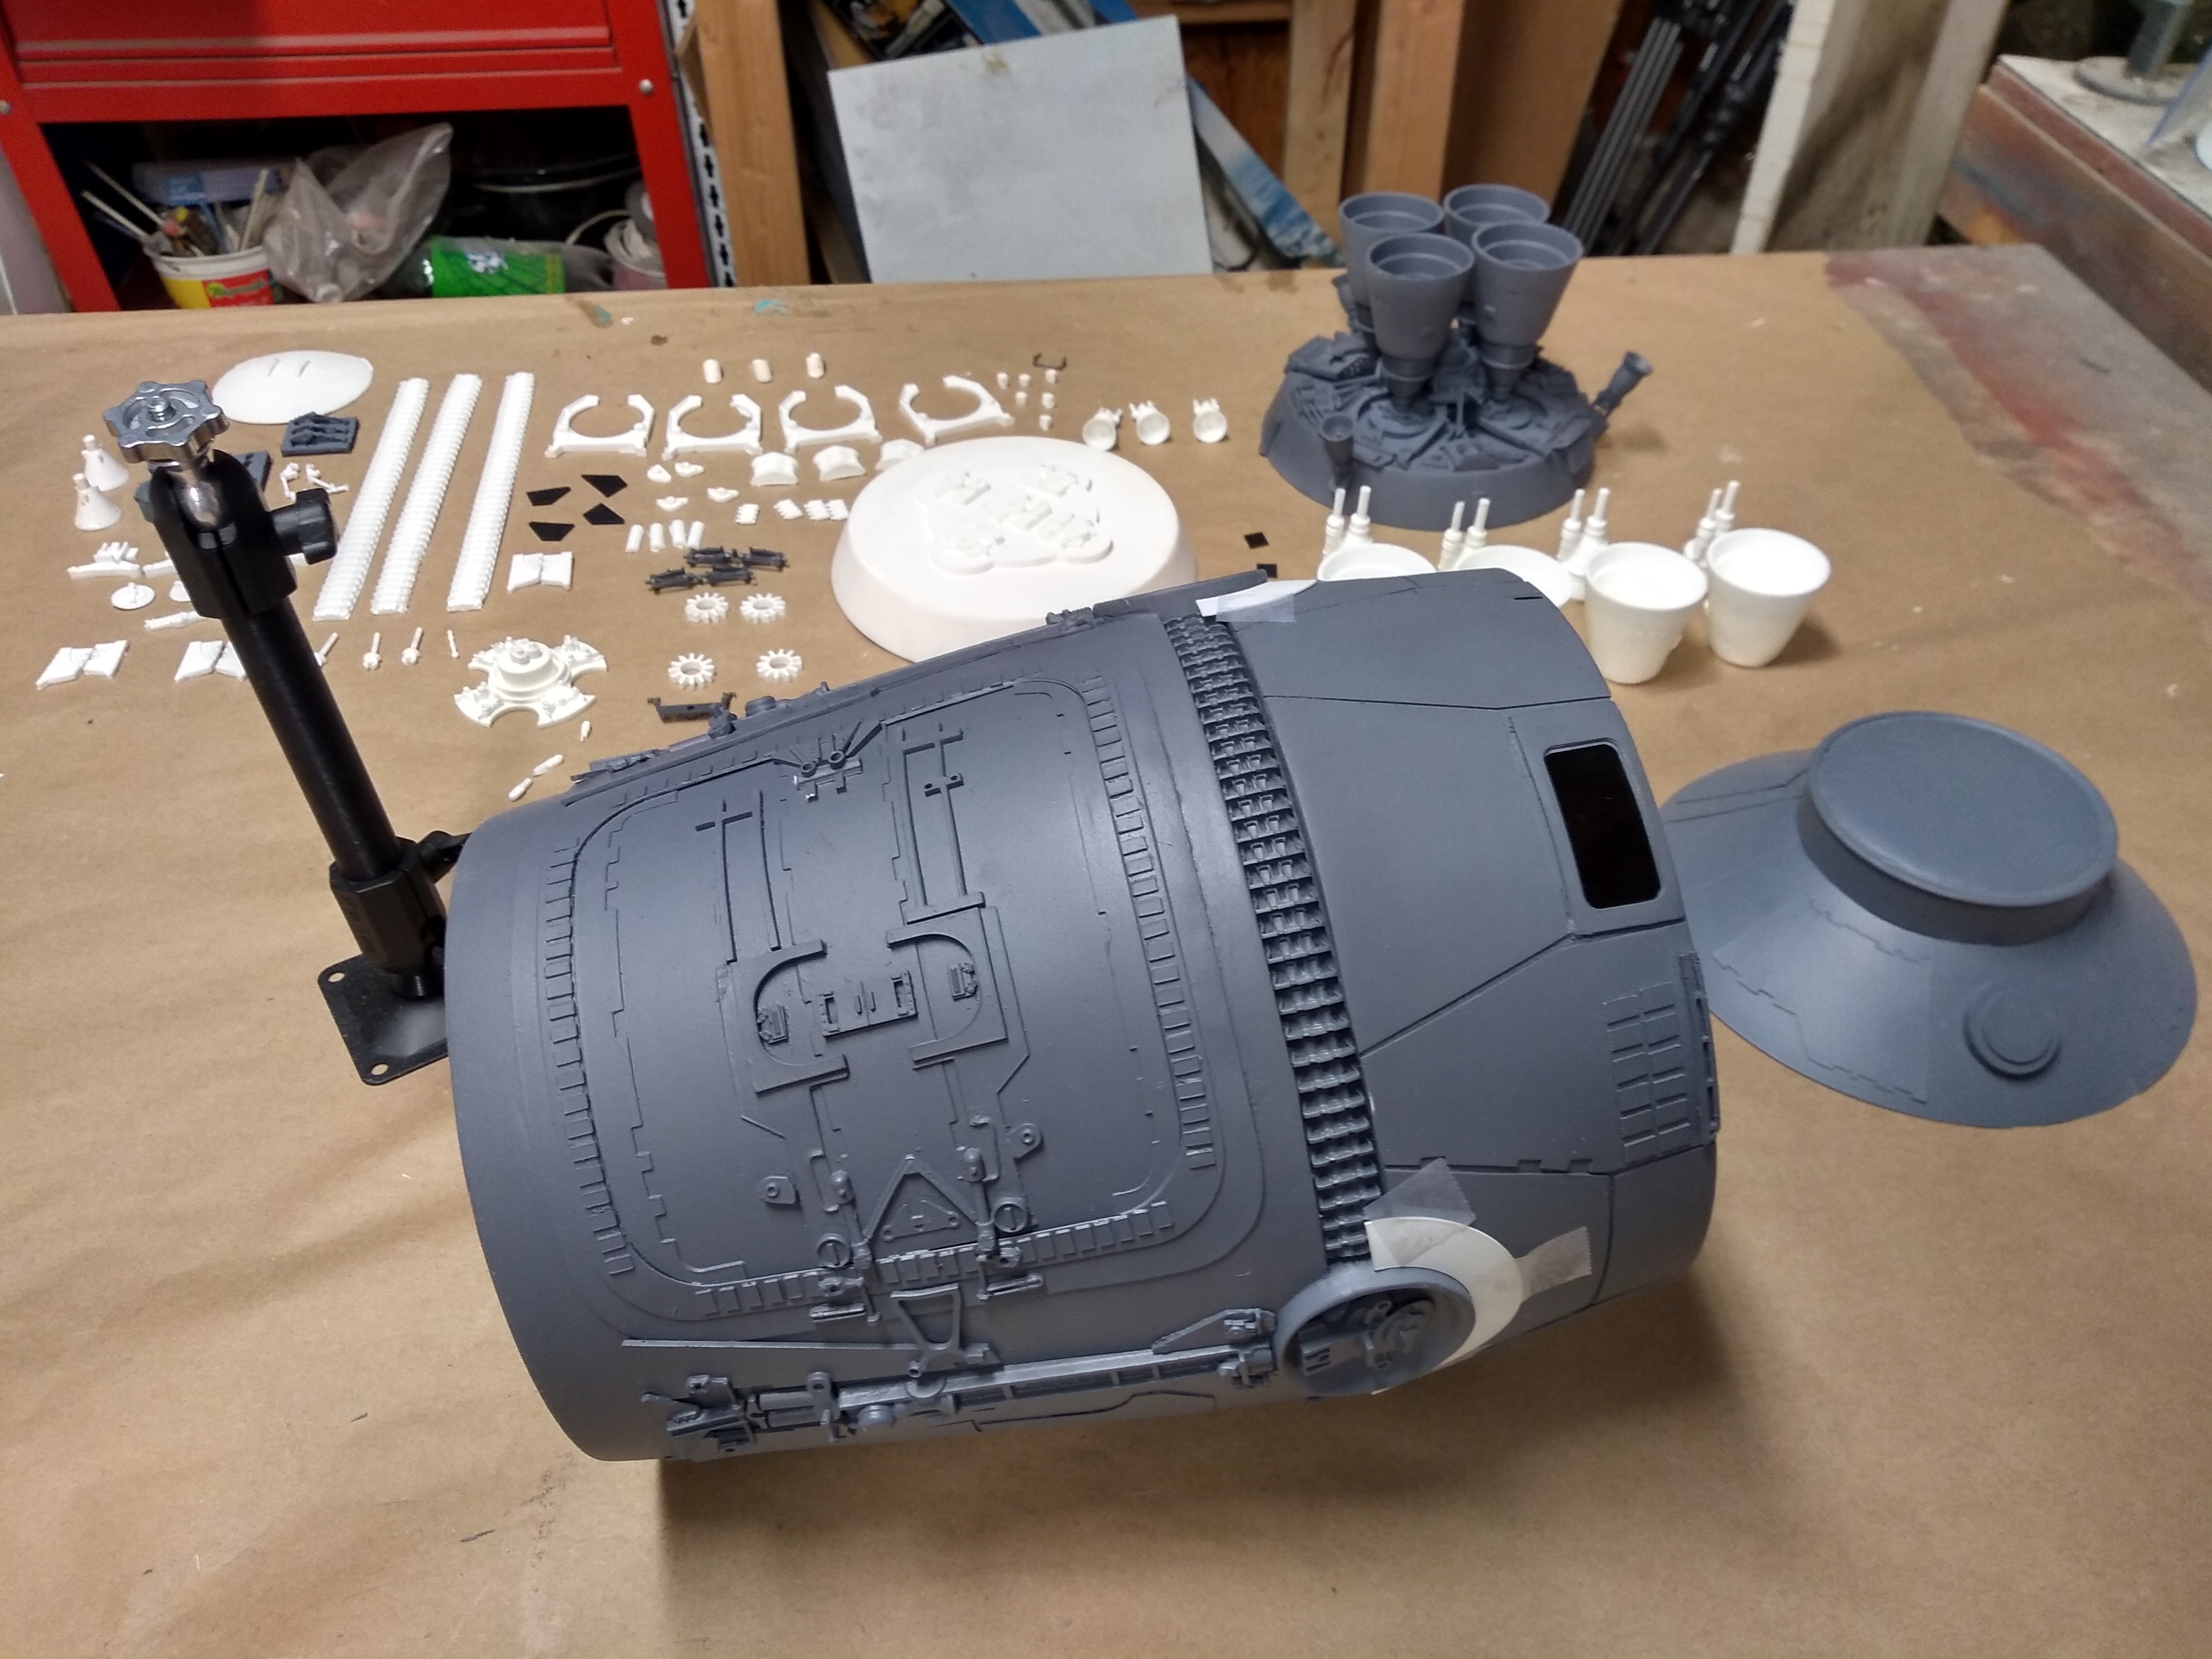
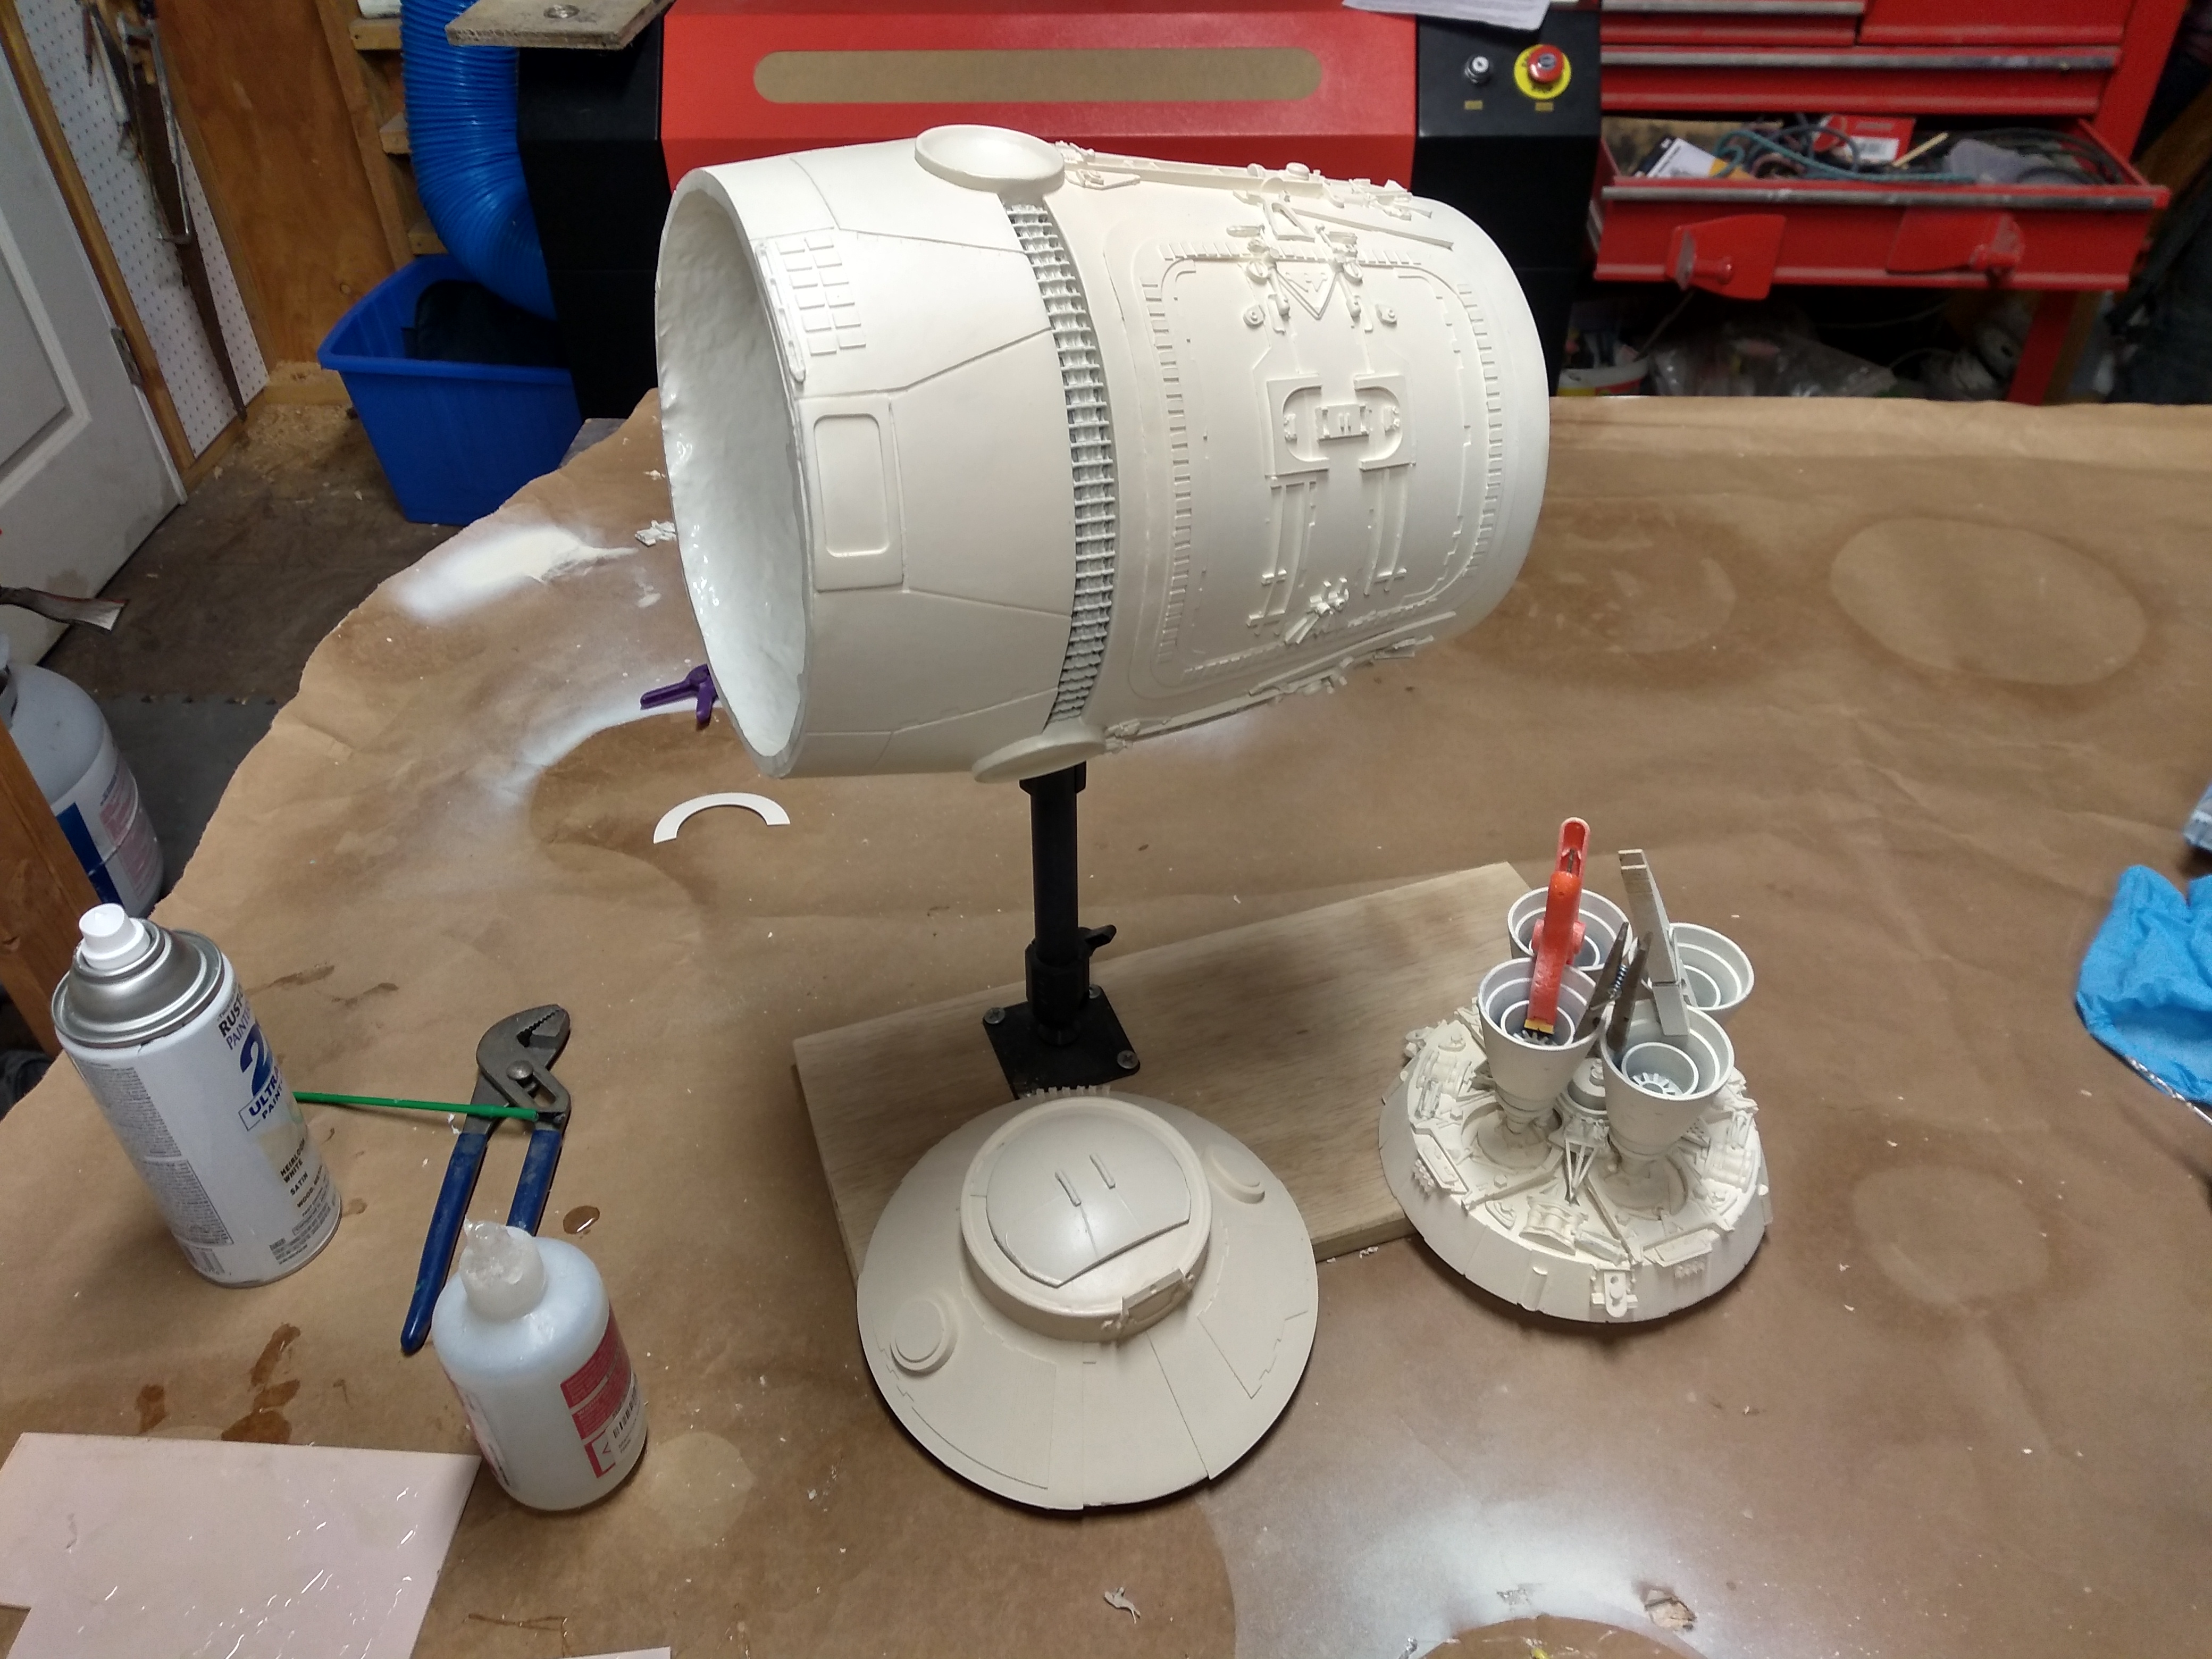
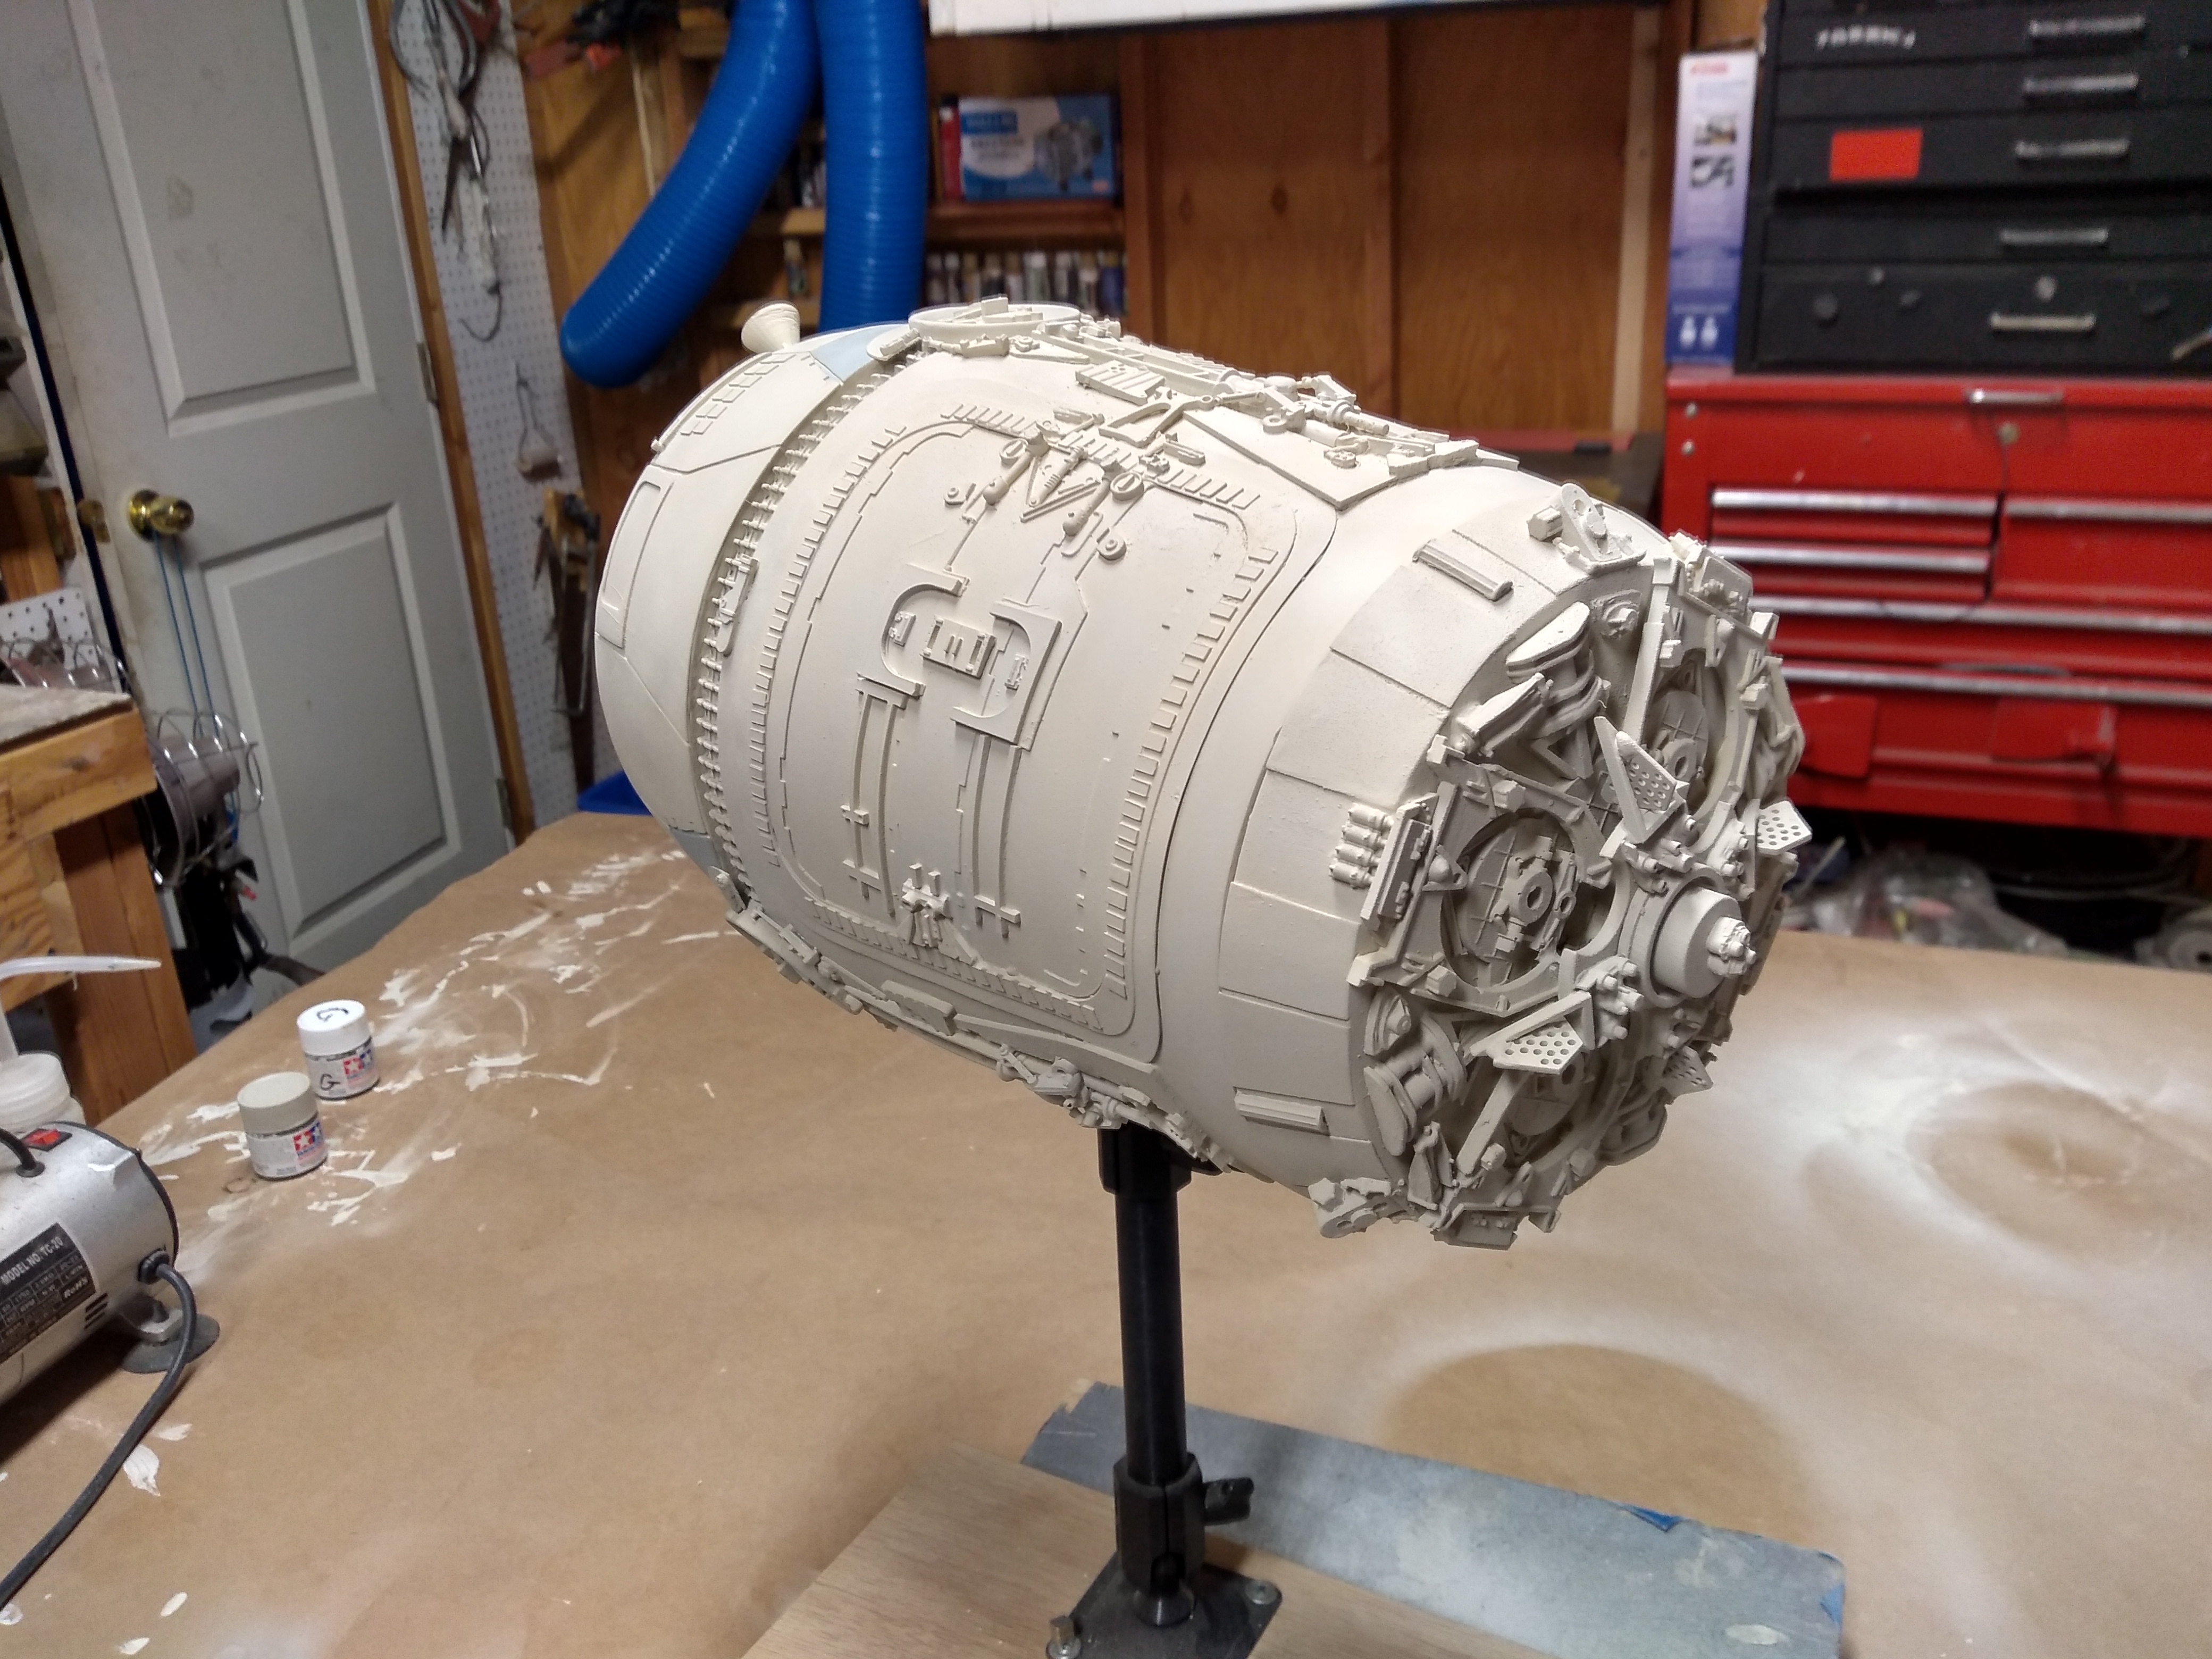
ASSEMBLING AND PAINTING THE KIT
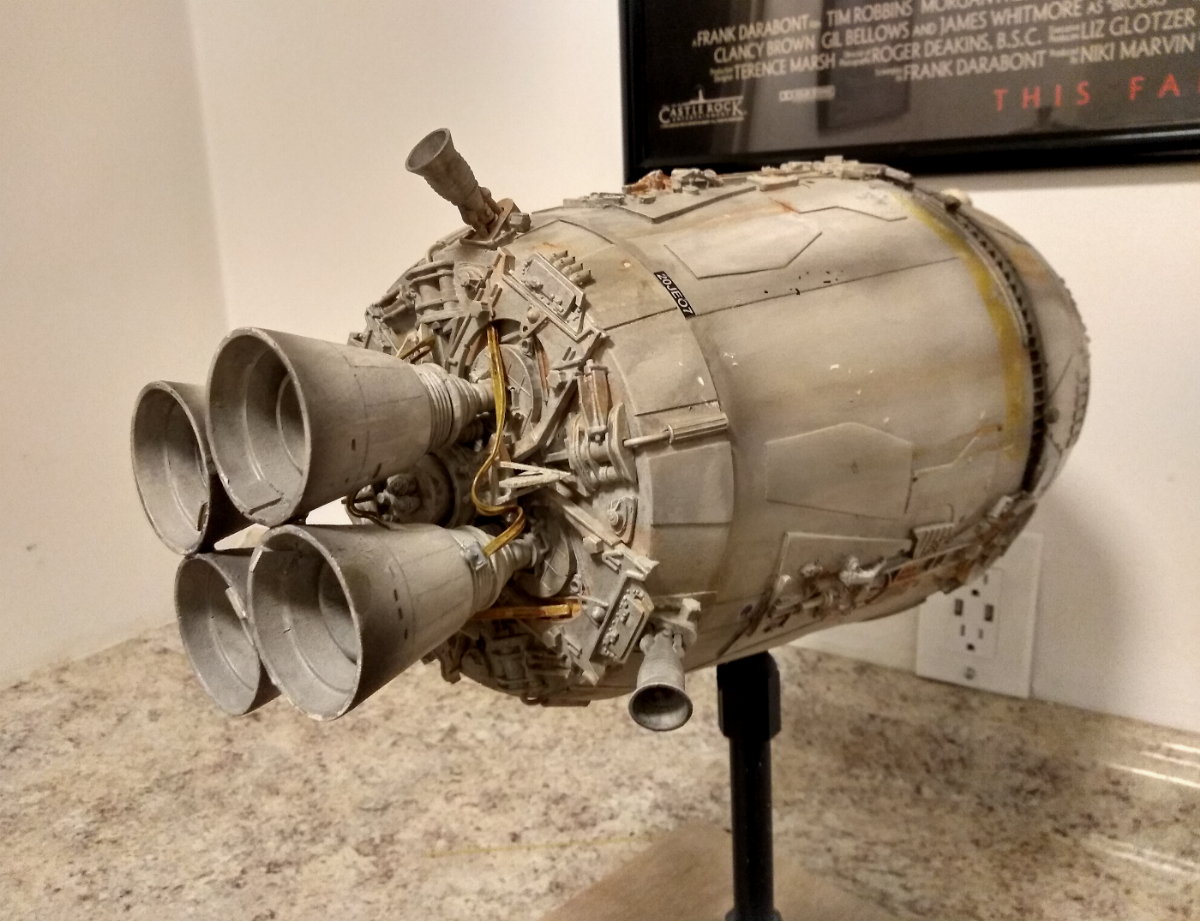
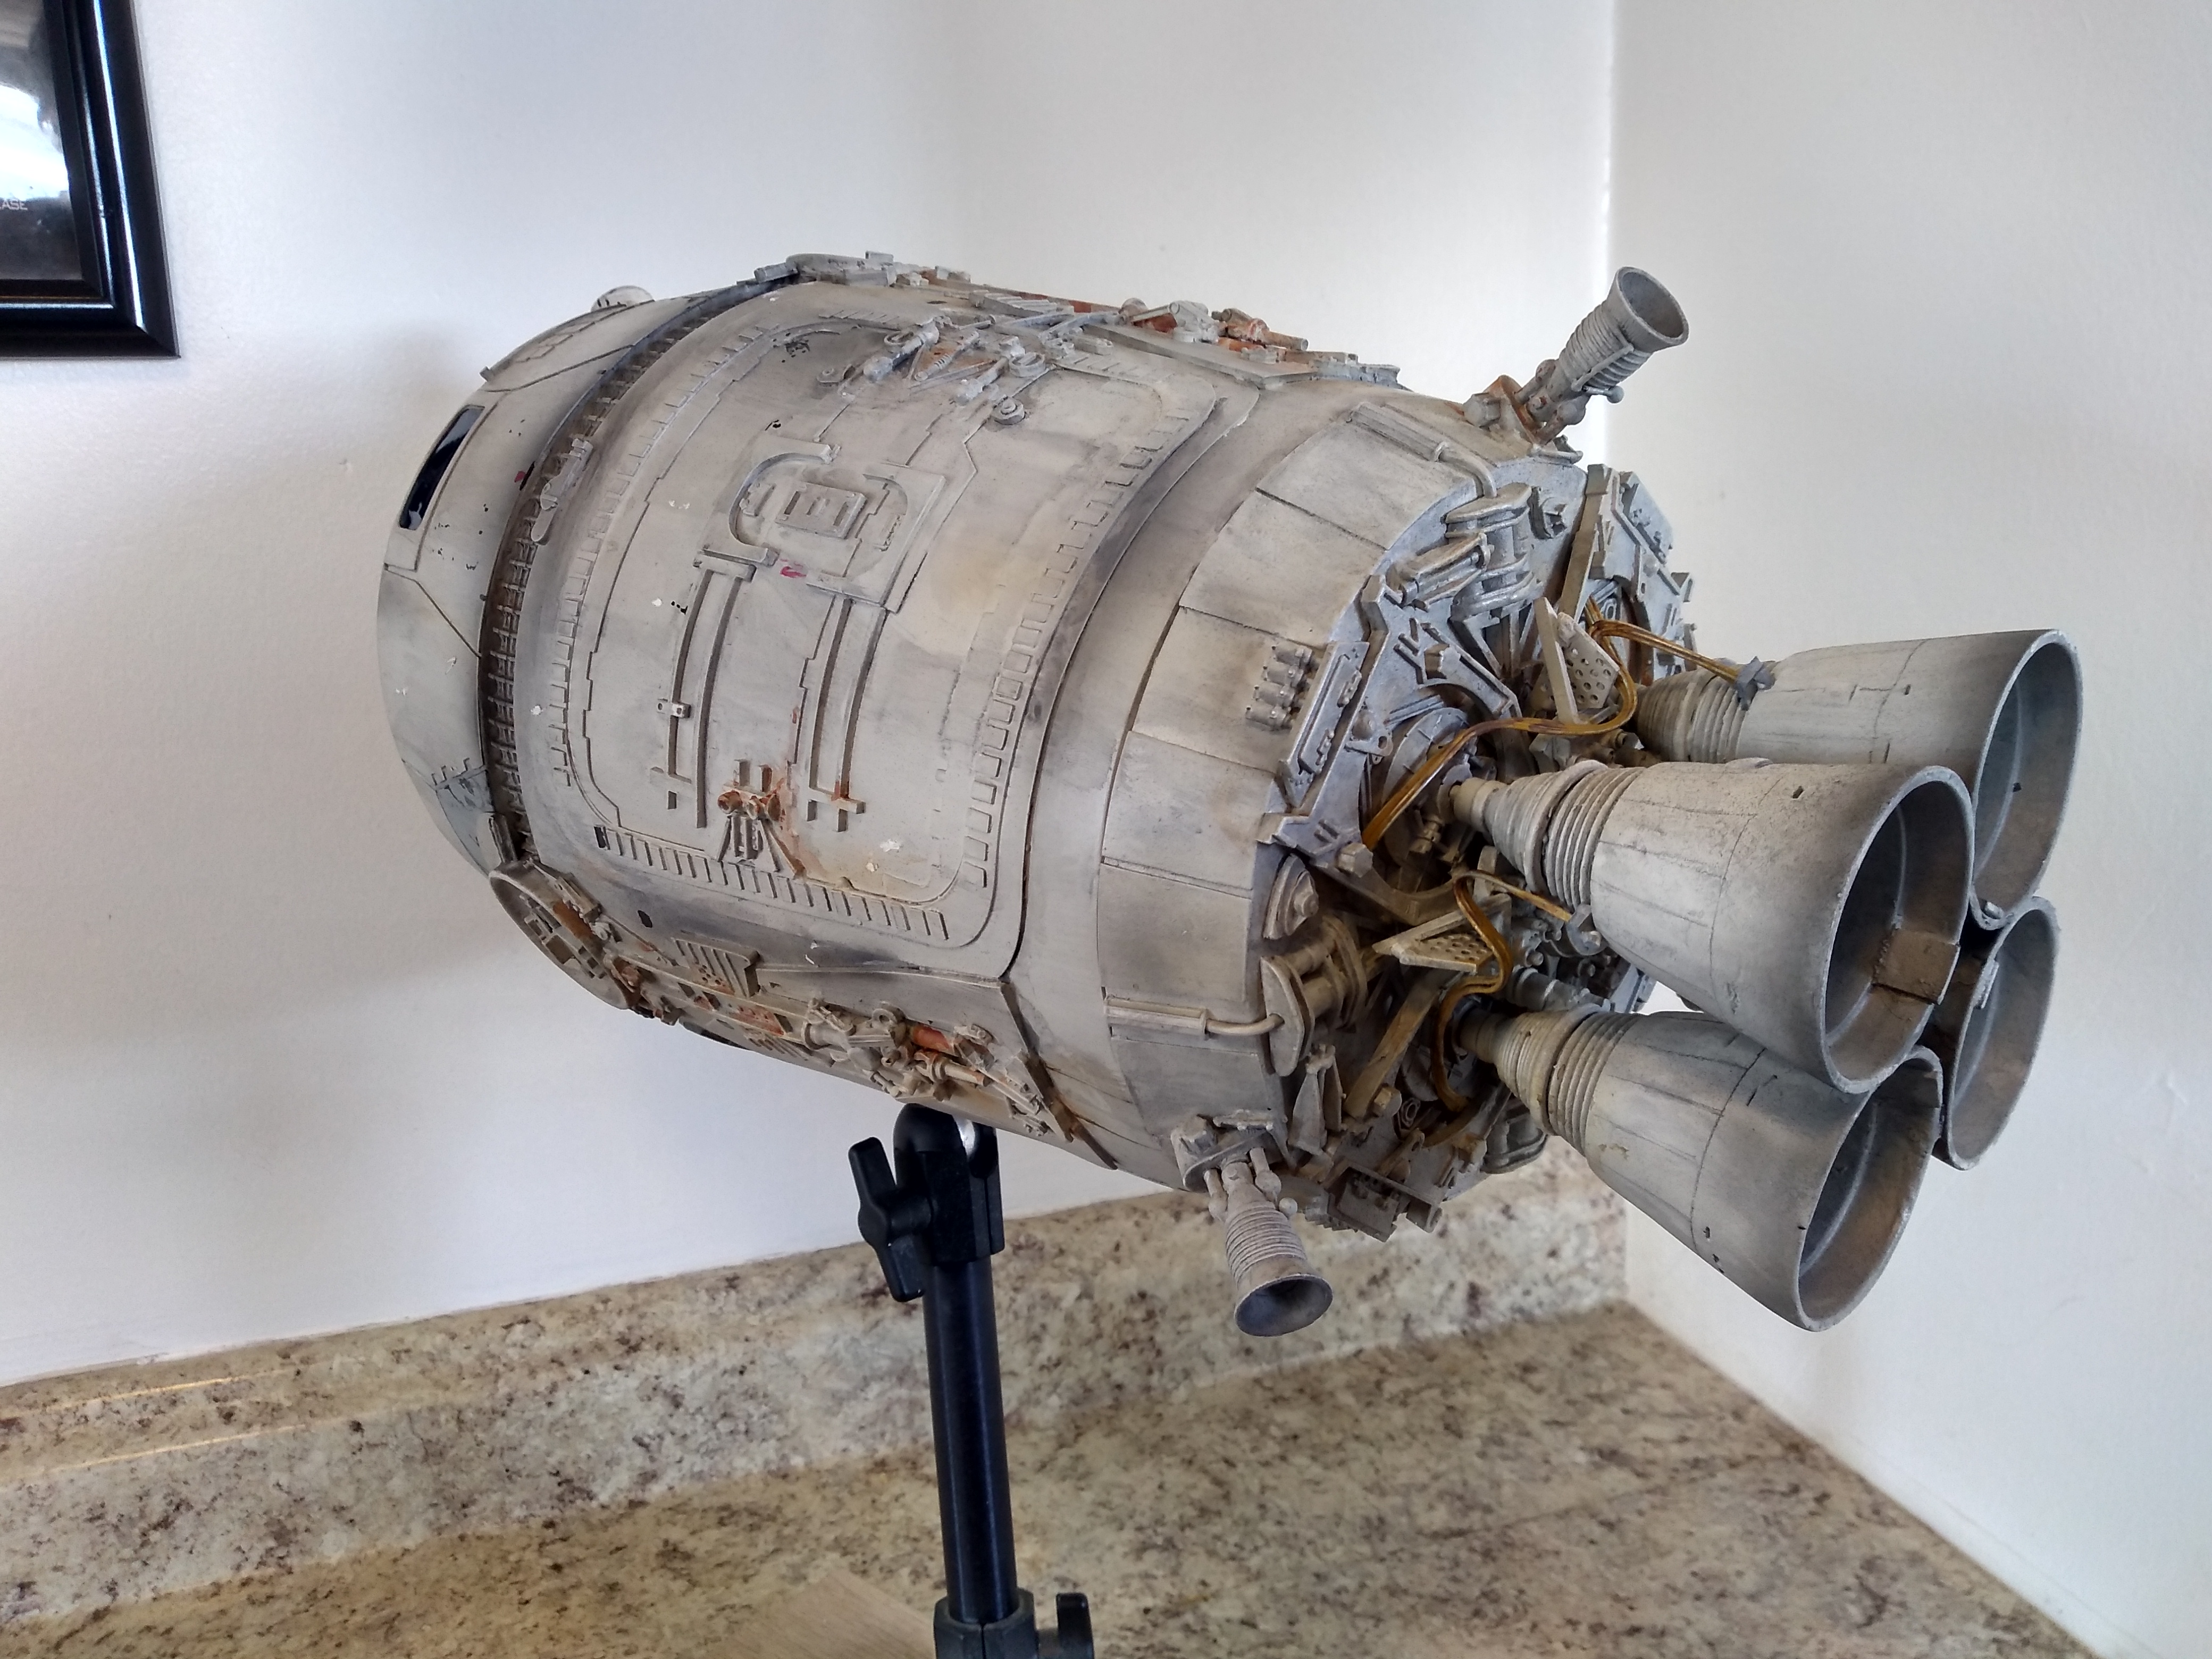
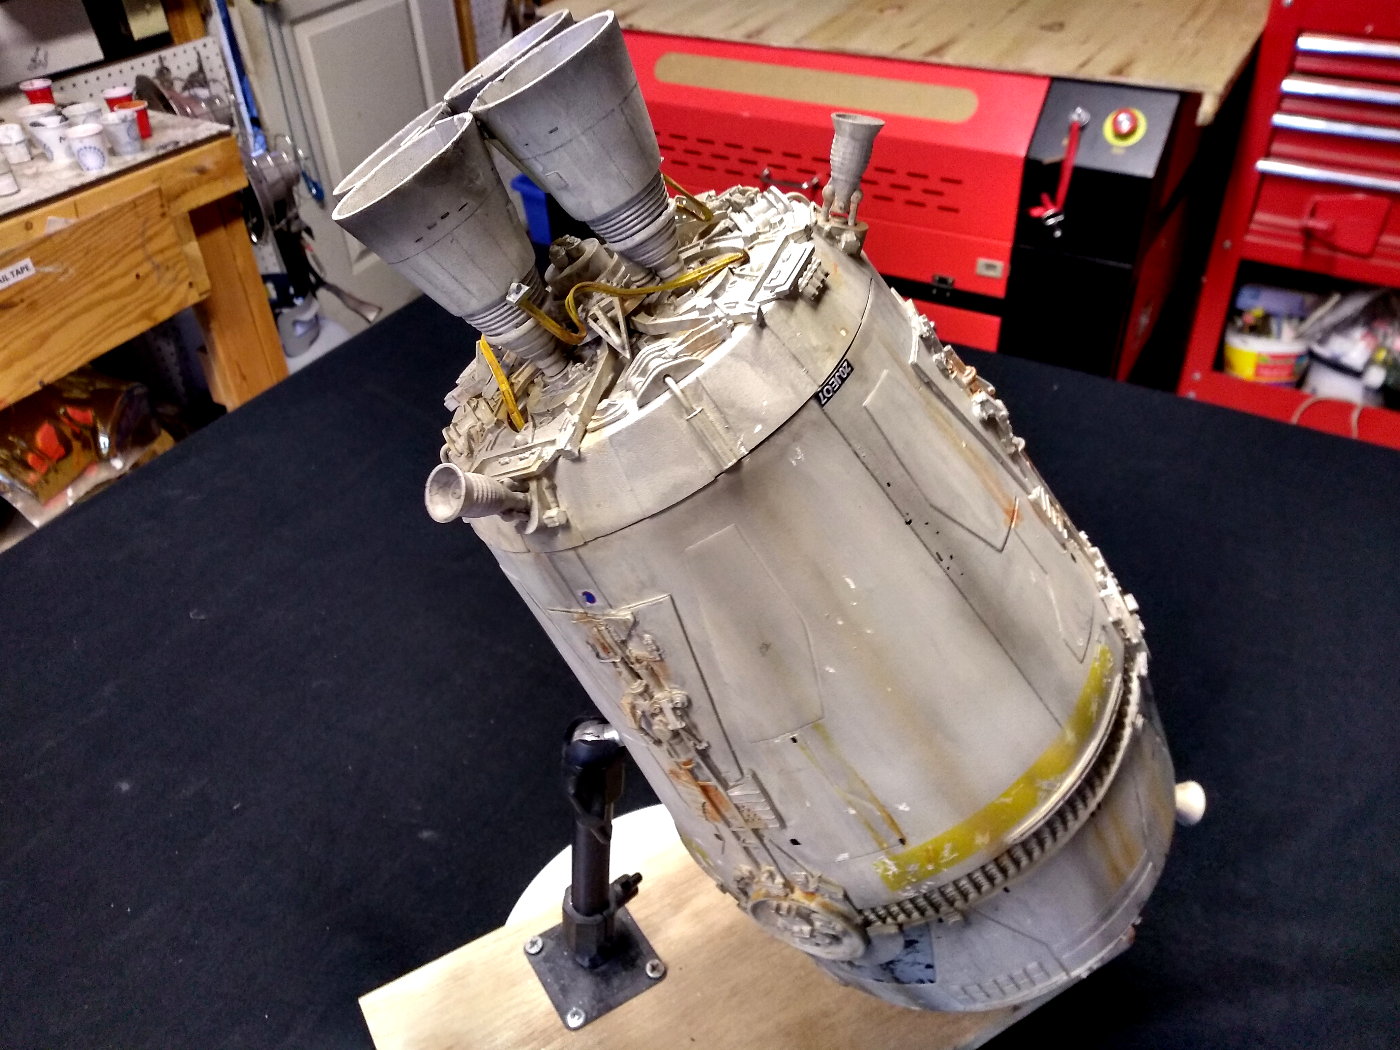
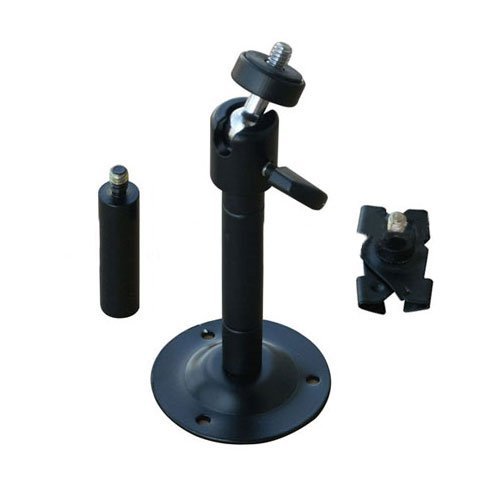
Here's the mount that best suits this model. This panavise kit is around $29 and available on amazon. In the tutorial video linked on this page, I provide instruction on how to create various mount points for this model. These various attachment points work with the panavise mount to display the model in a massive variety of positions.


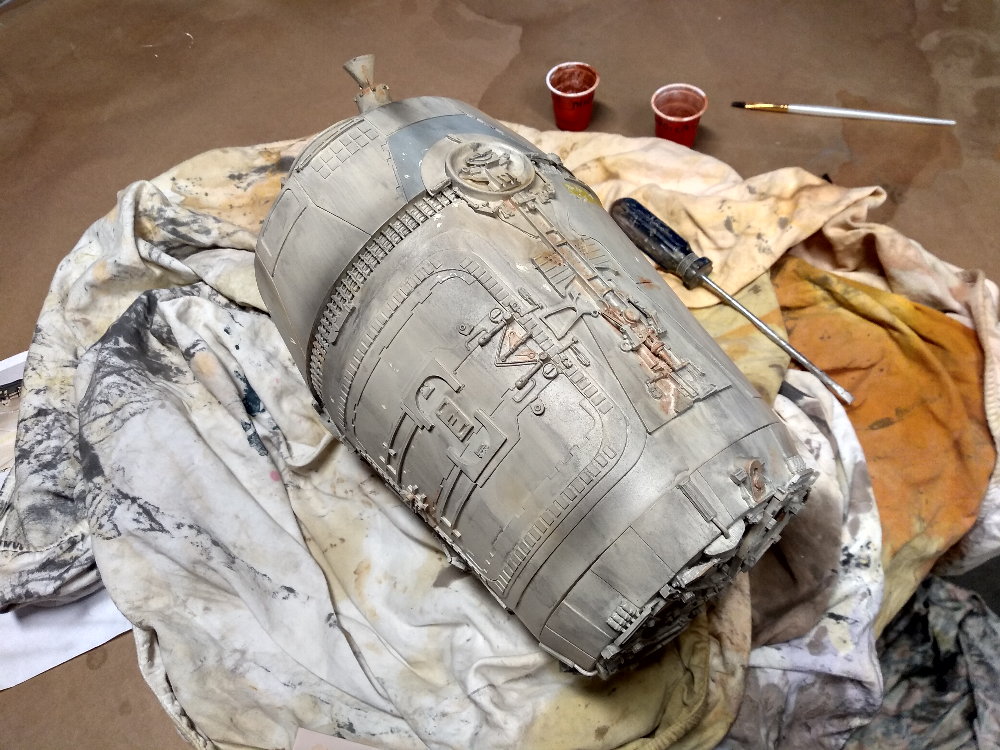
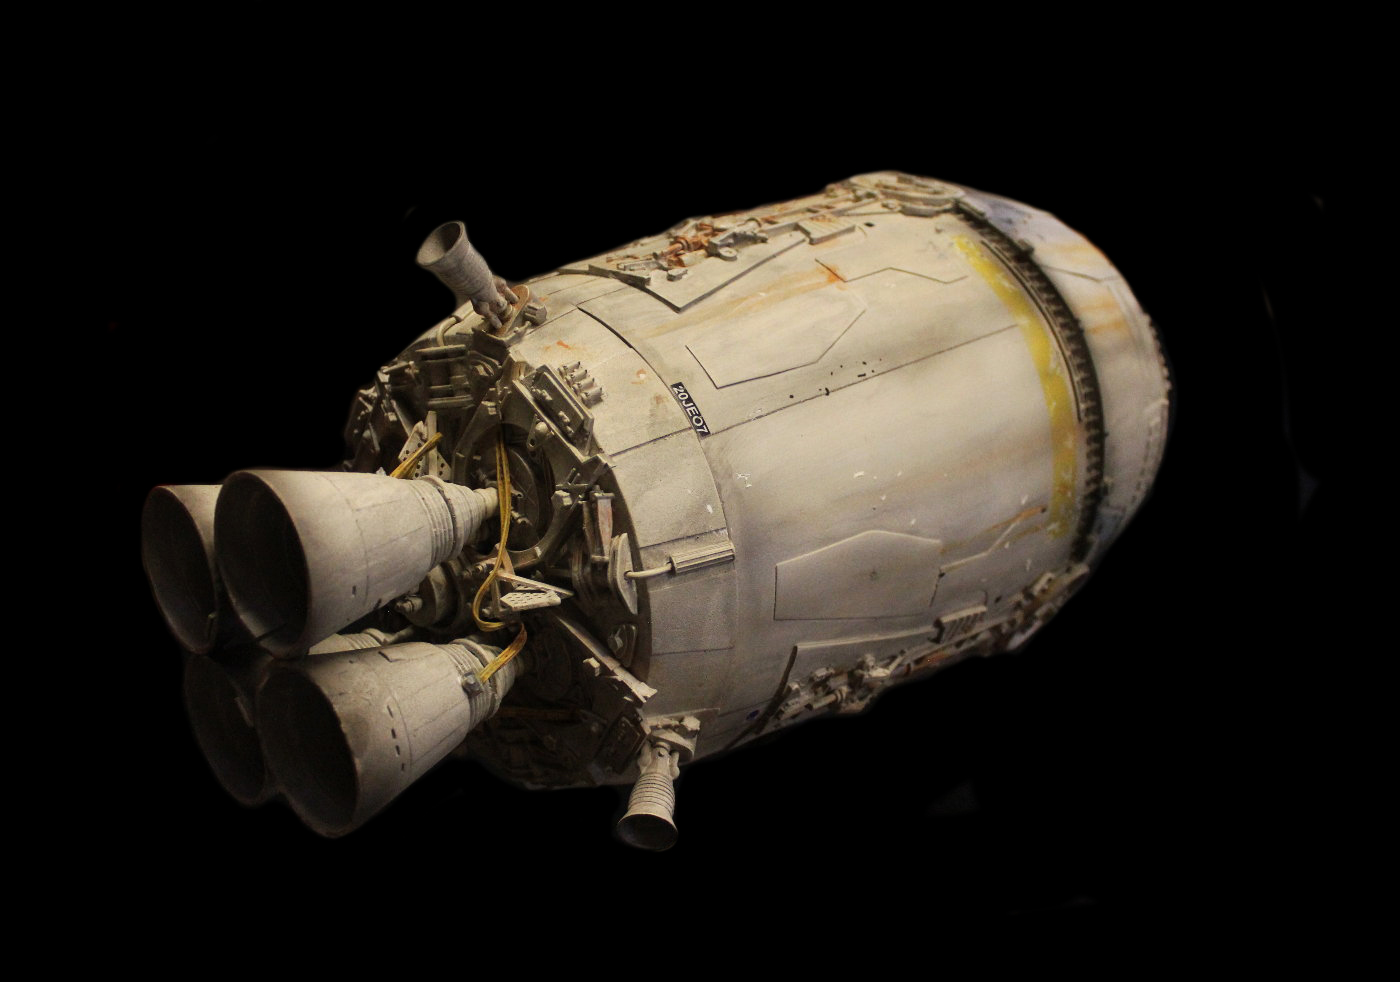
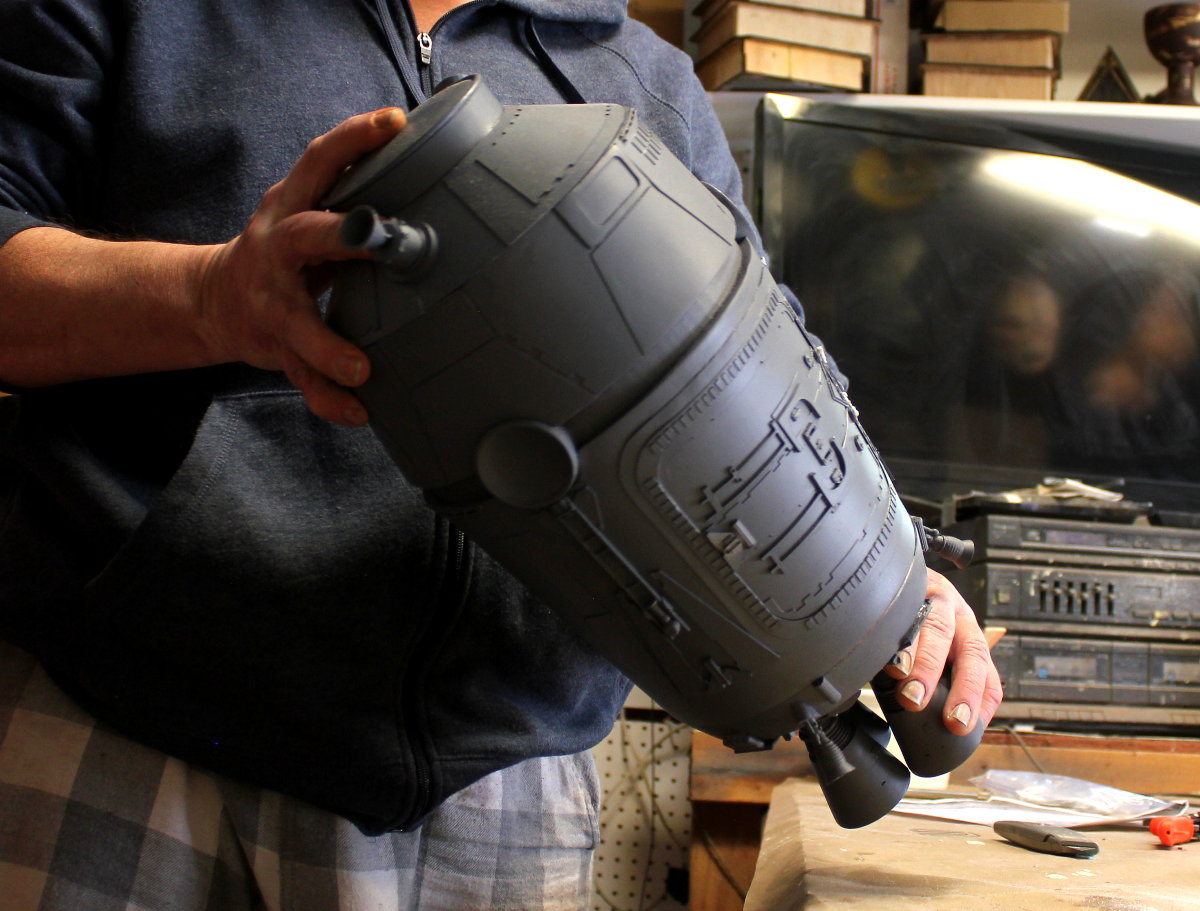
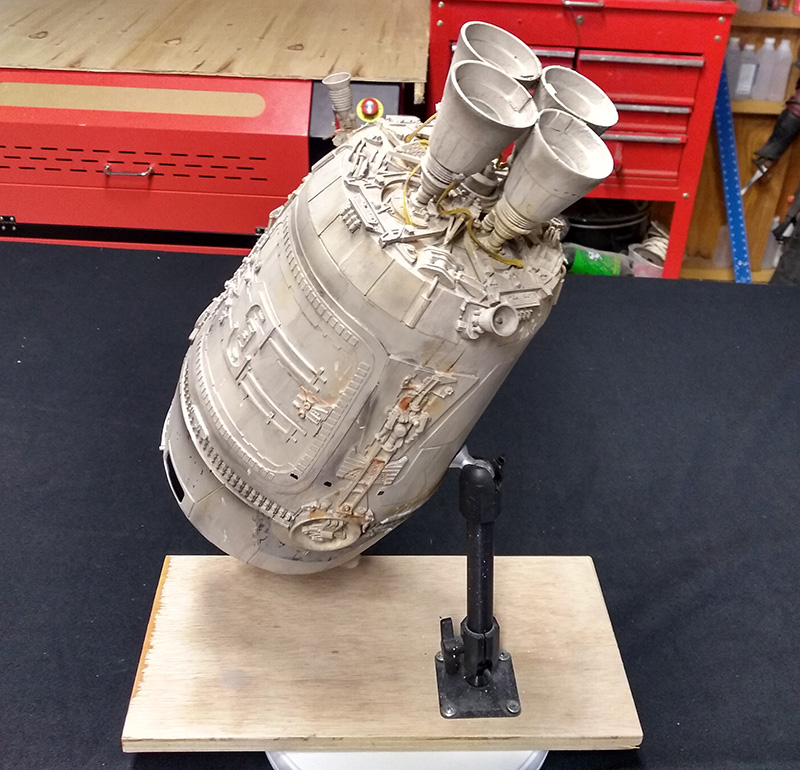
The finished model!
_______________________________________________________________
PARTS SET AND DIGITAL FILES
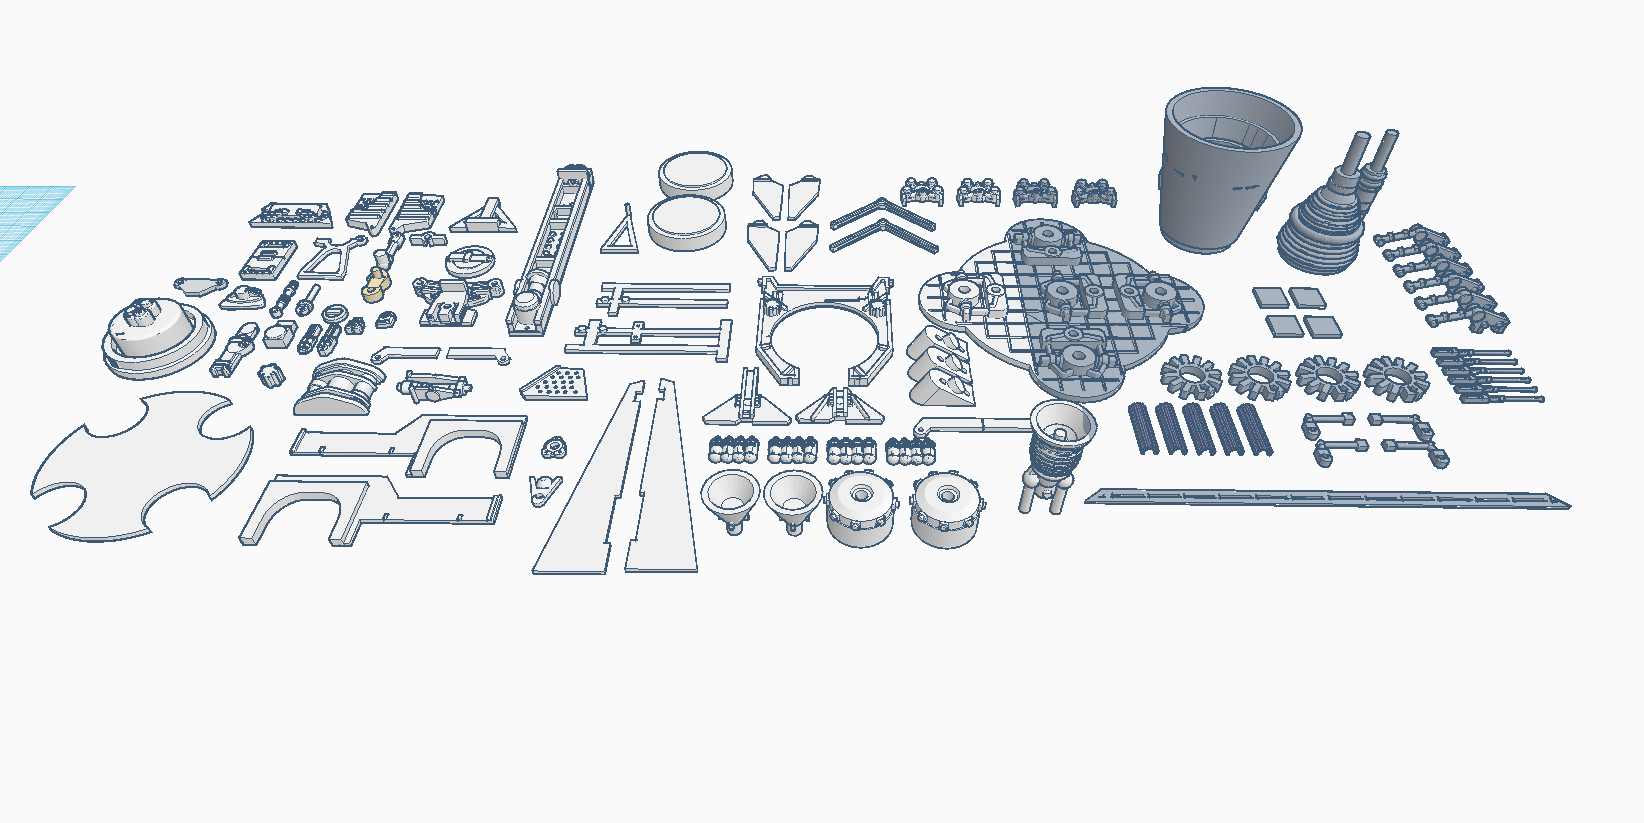
For anyone interested in the digital files, I created a pack that's over 75 parts including the 3 hulls. Have a look:
FREE EMAIL DELIVERY FOR THE DIGITAL PARTS SET
There are over 75 STL models(YES I SAID OVER 75 INDIVIDUAL MODELED PARTS!!) models plus the engines and hulls. The parts are scaled to my model which is ever so slightly larger than studio scale so you may want to check the scale before printing for your project.

**DISCLAIMER - most of these digital parts were created in TINKERCAD. The round surfaces are a little faceted and will need some sanding to get them baby-butt smooth. The 3 hull sections are included in the file set FREE of charge and so is the DECAL SHEET. The hulls are smooth (you will need to hand cut or laser cut the plating.
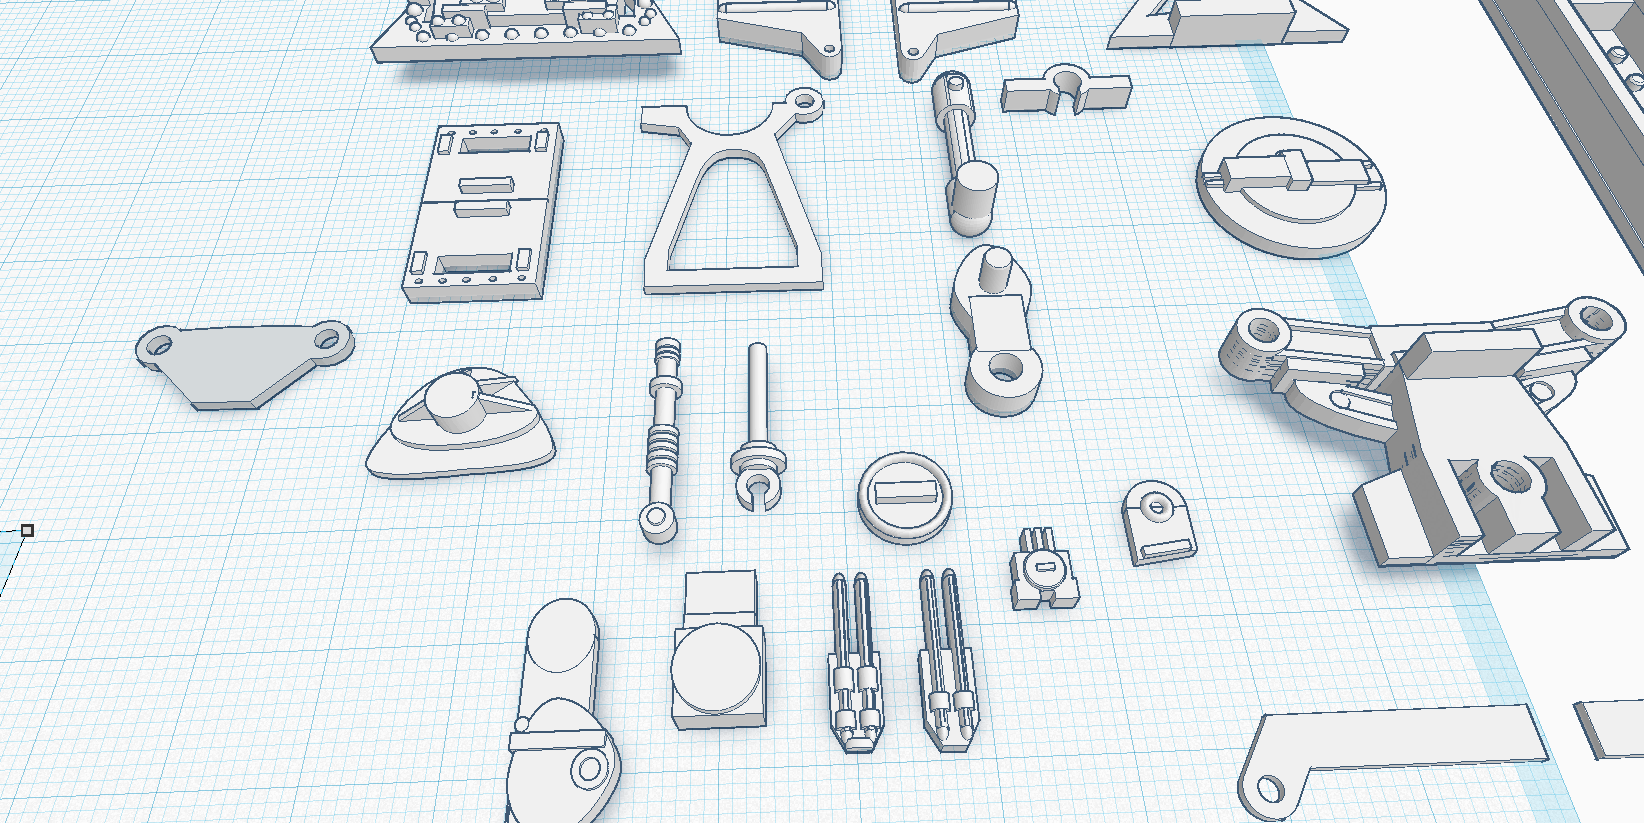
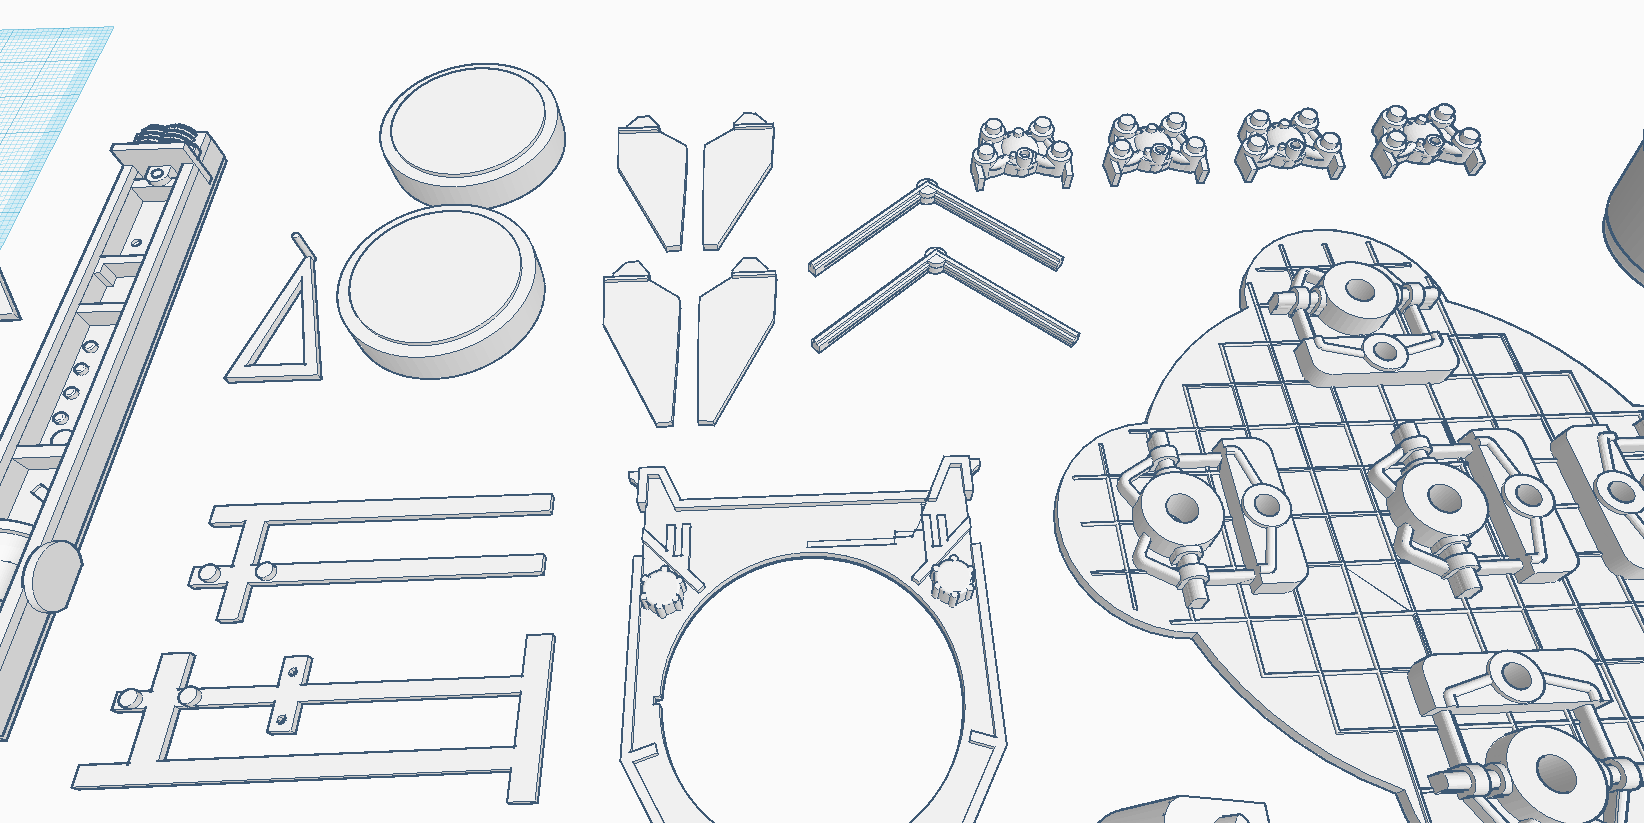

These parts fit onto your pinky nail:
RESIN PART SETS ARE ALSO AVAILABLE *email
Check back for updates!!!
 Share Article