
STARGATE DHD DIAL LIFESIZED REPLICA
THE STARGATE DIAL
LIFESIZED Reproduction!!
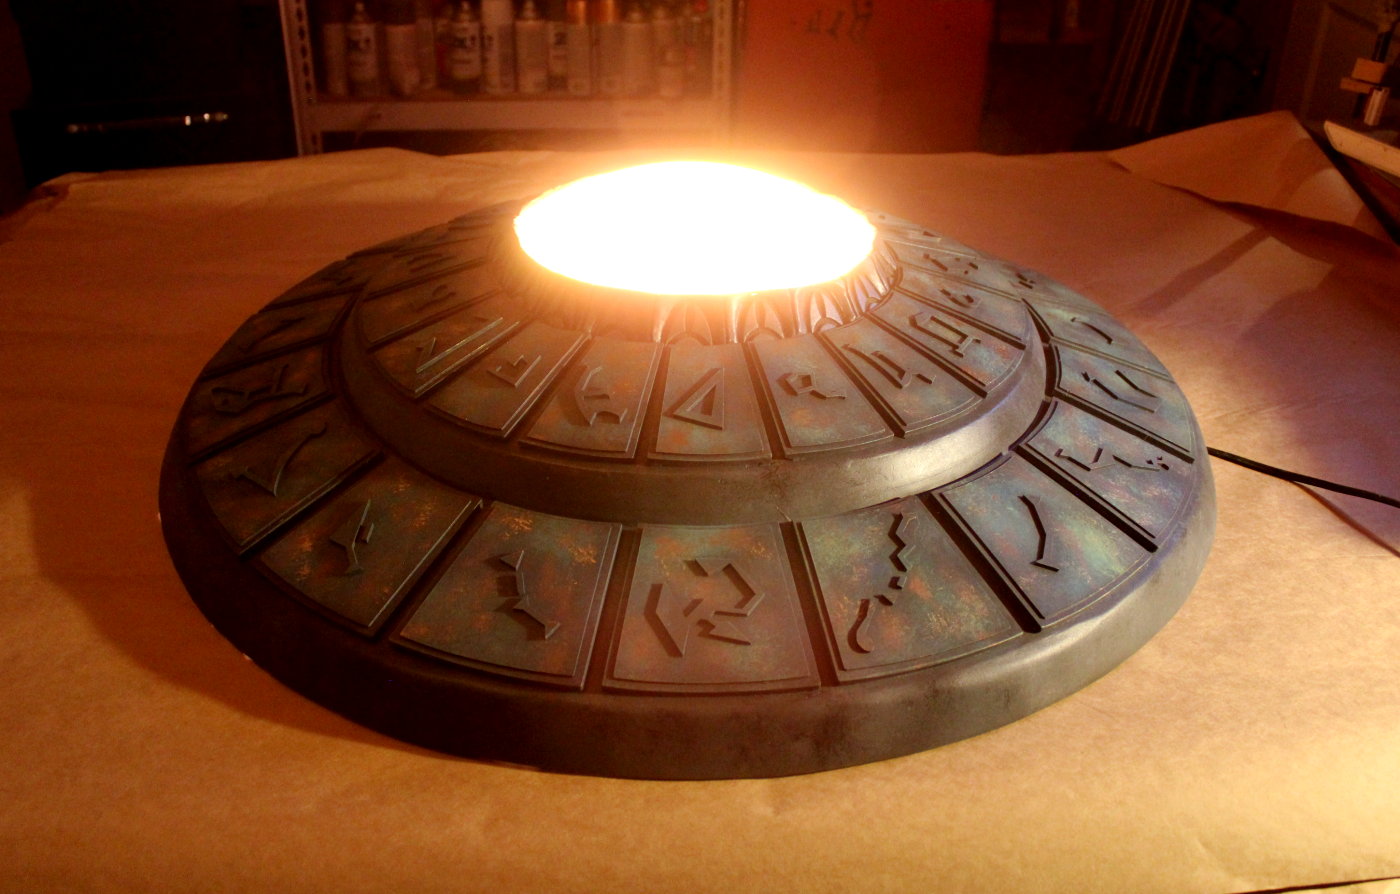
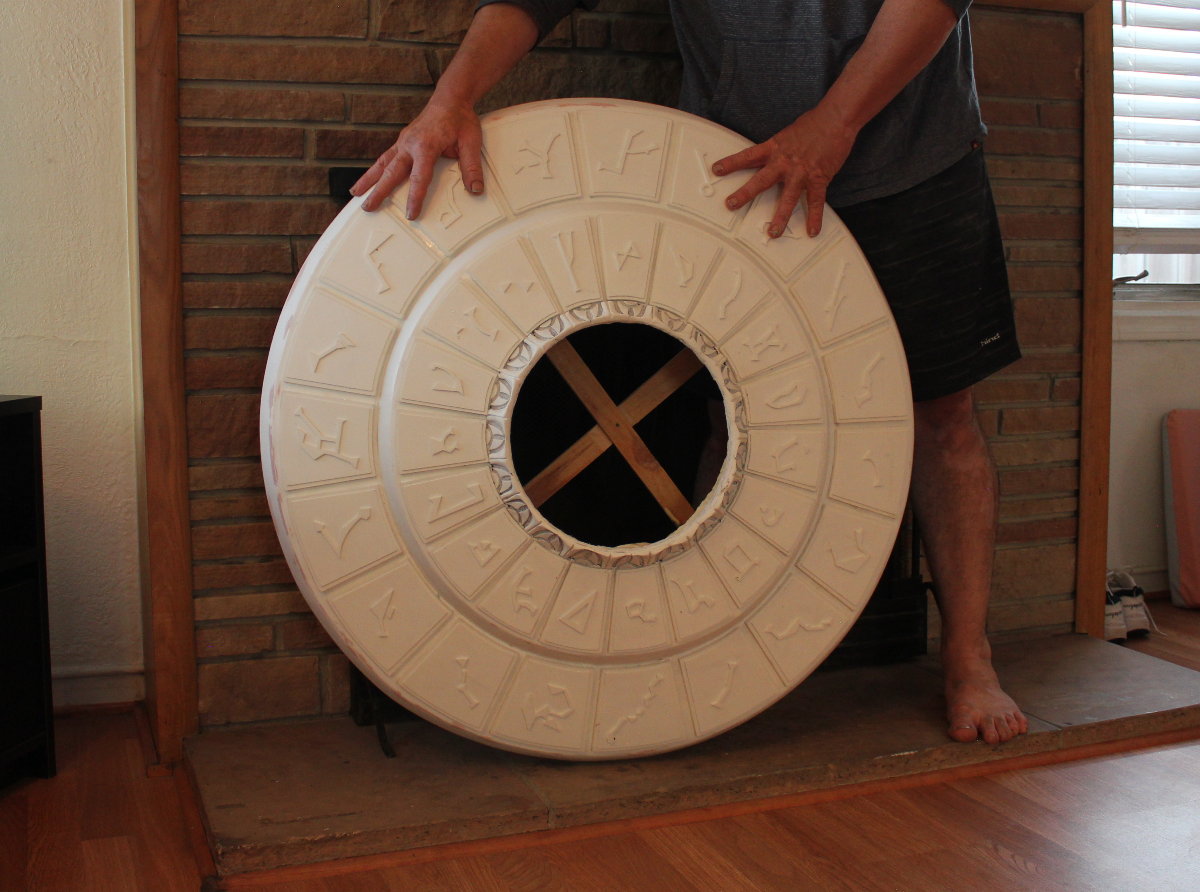
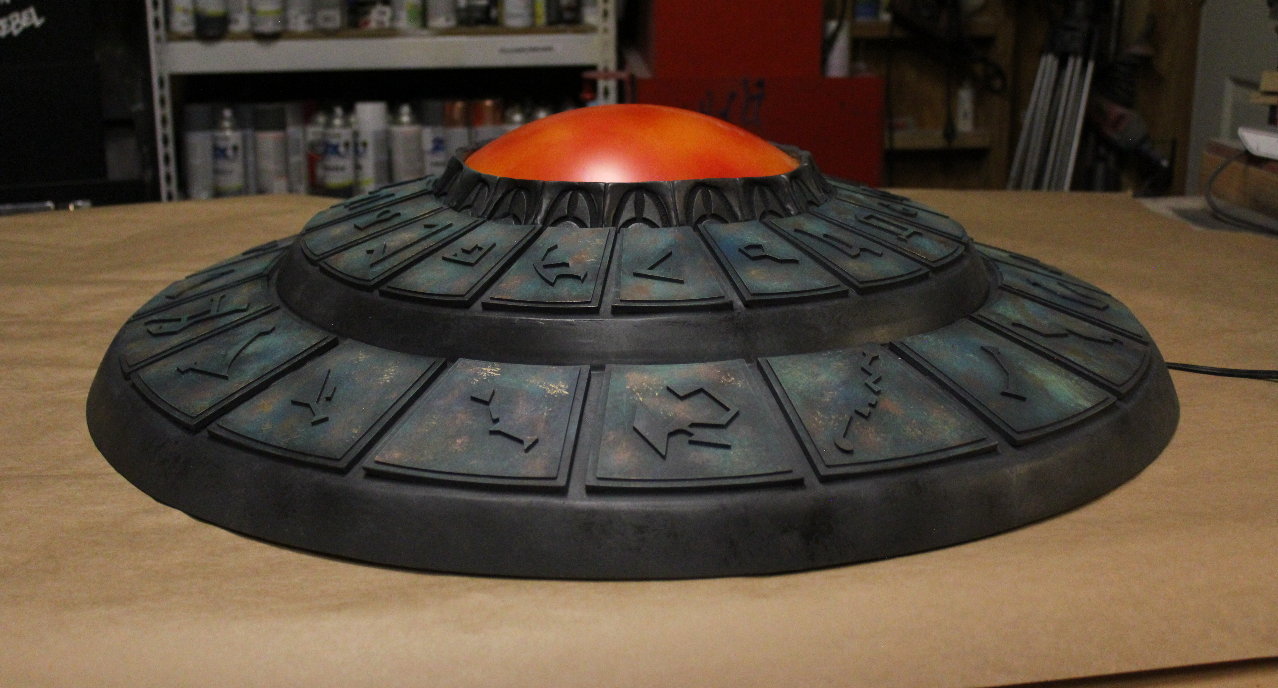
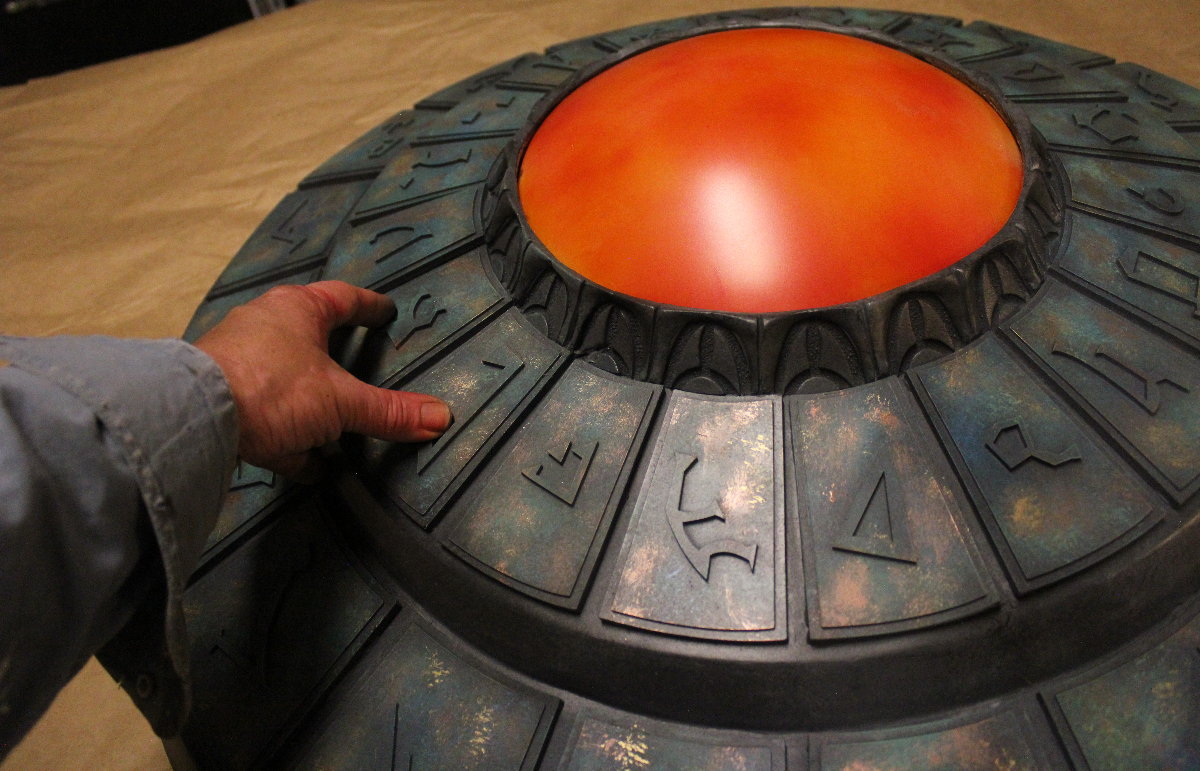
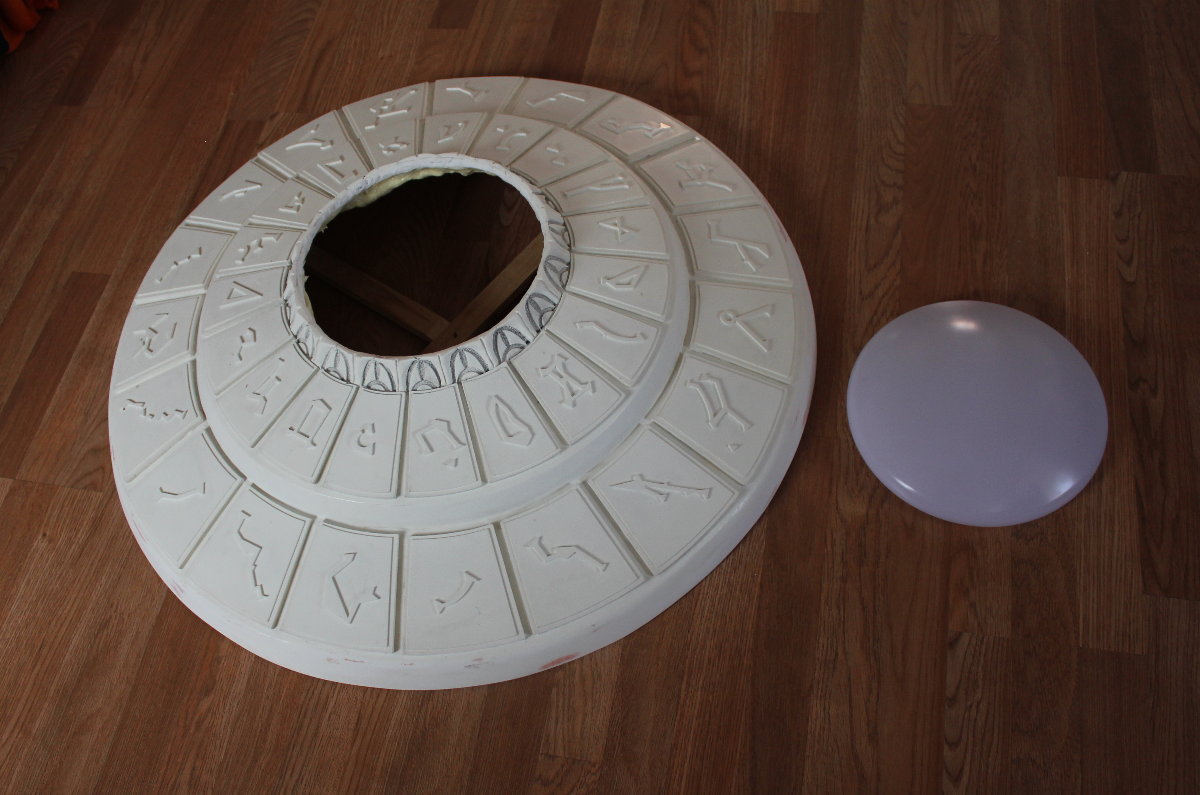
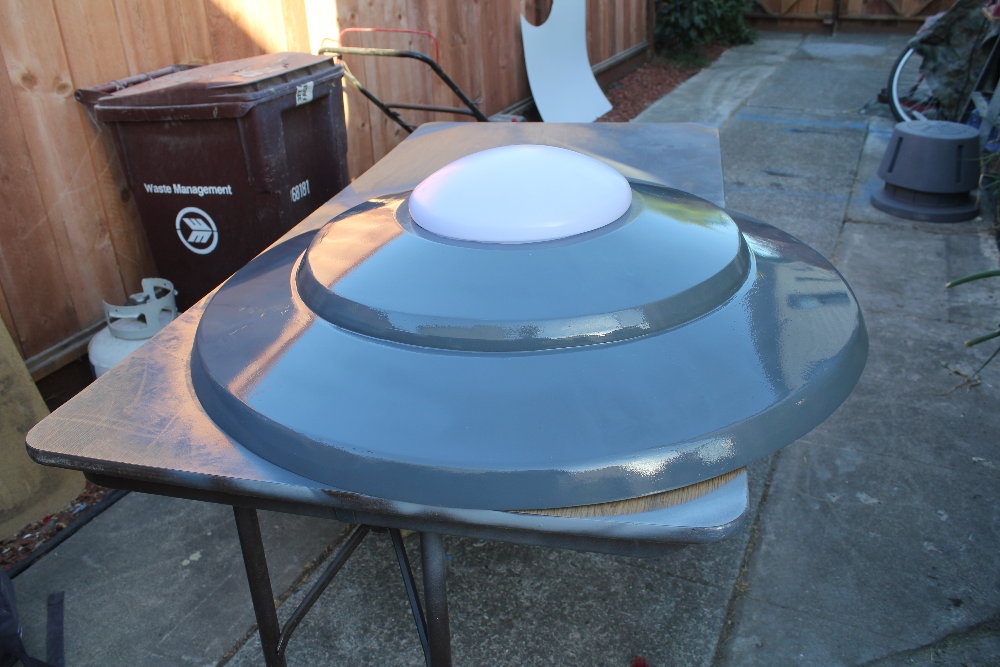
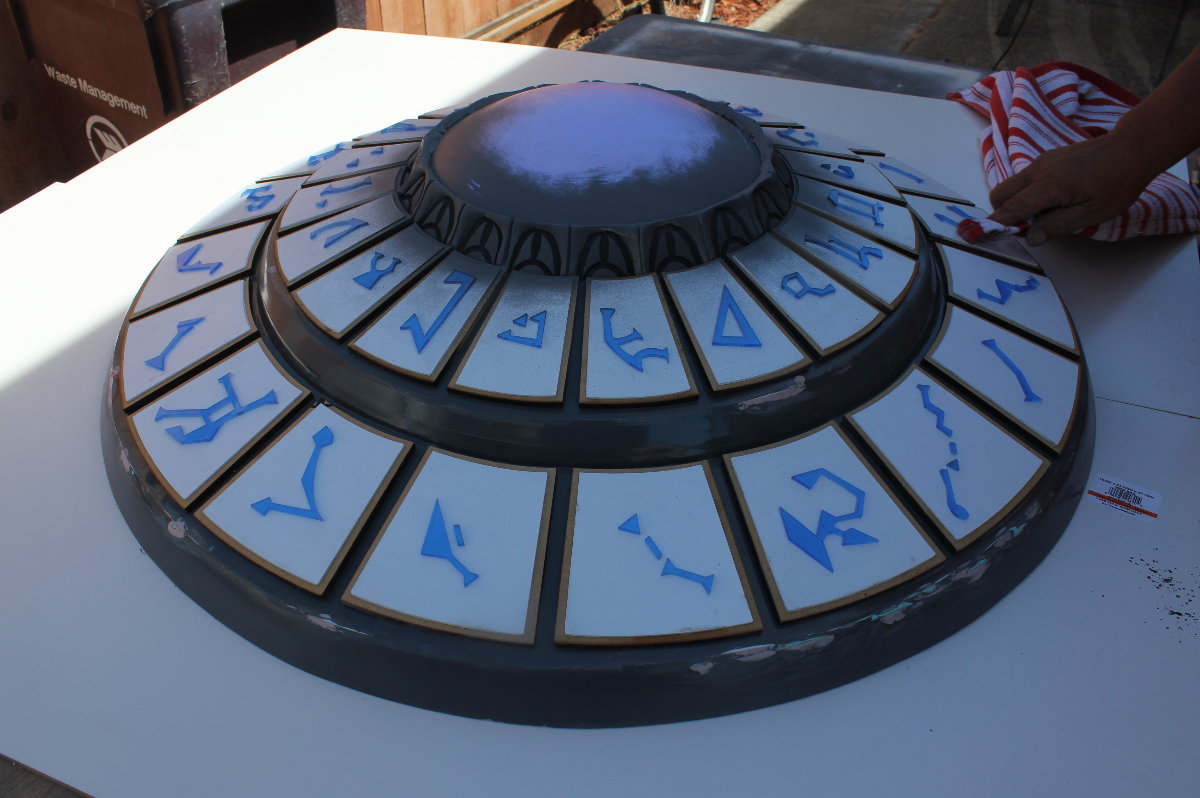
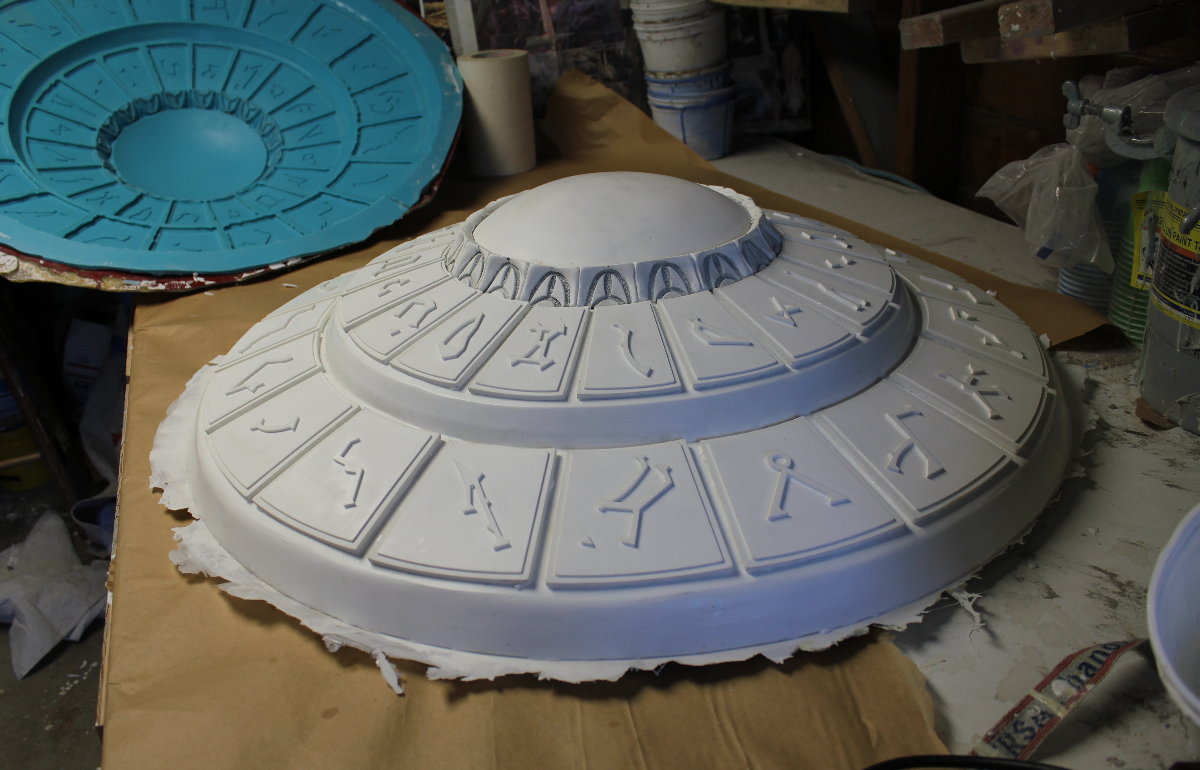
This is a fullsize prop replica of the DIAL HOME DEVICE (DHD) from STARGATE. It measures a tad bit larger than 34" in diameter. It is faithfully reproduced in every layer of detail. Each panel has been faithfully detailed with the proper constellation glyphs and the dome is replaceable with a light-up dome commonly available at home depot. If you plan on installing this as a ceiling or wall light on a dimmer switch. Be sure to view my addendum video that shows you a bracket method for making this possible.
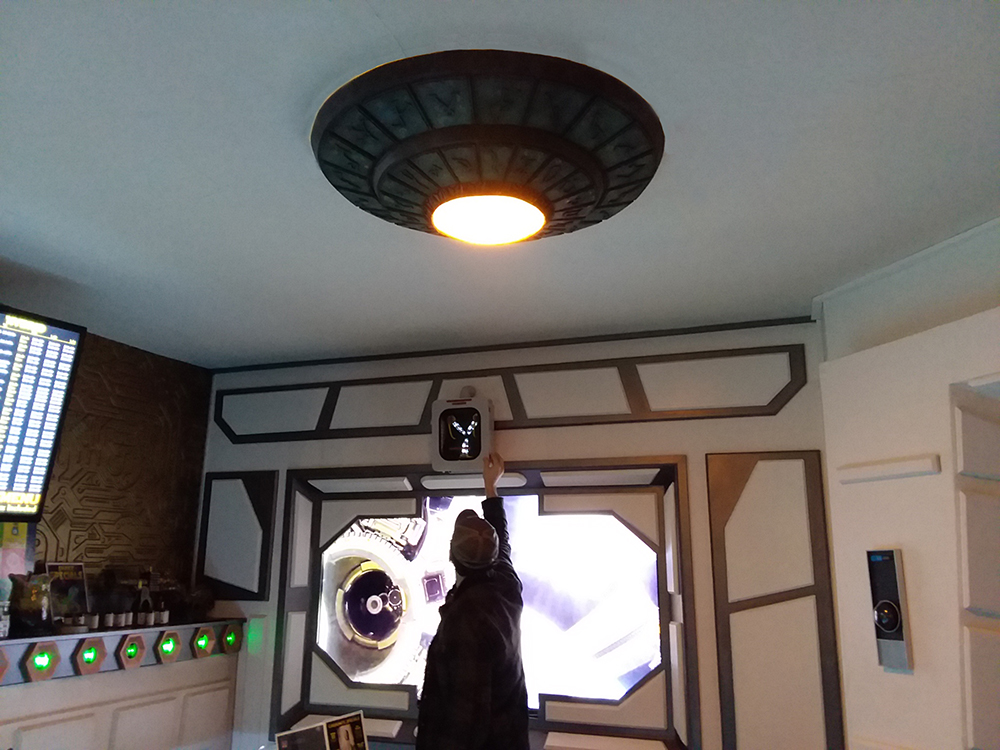
The DHD shown in these photos currently resides at SPACEBUDS in Eugene, Oregon. Once you enter through the stargate, look directly UP and there it is!
The DHD is available as a raw kit casting for $524 which is an absolute STEAL considering it's size and complexity. Creating the mold alone costs twice that amount. Shipping to western states (AZ, CA, UT, WA AND OR) is $75. If you plan on ordering and this is shipping to an easter state, please email first.
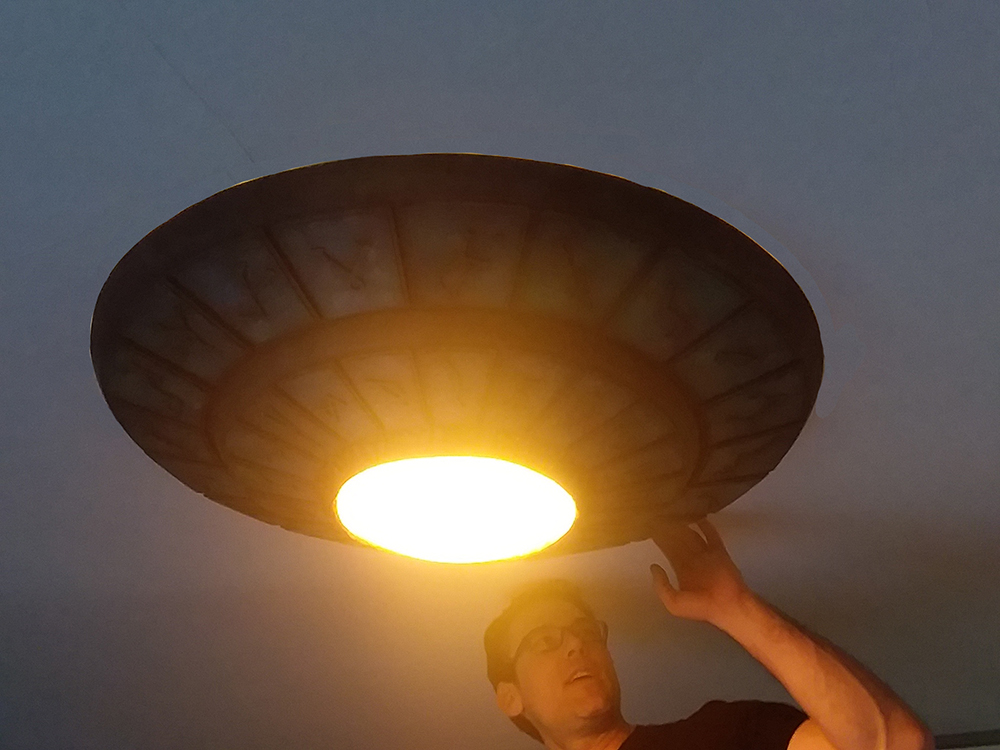 MOUNTING THE STARGATE AS A CEILING LIGHT
The DHD can be utilized as a simple wall feature for the discriminating collector, OR you can adapt it for use as a wall or ceiling light!
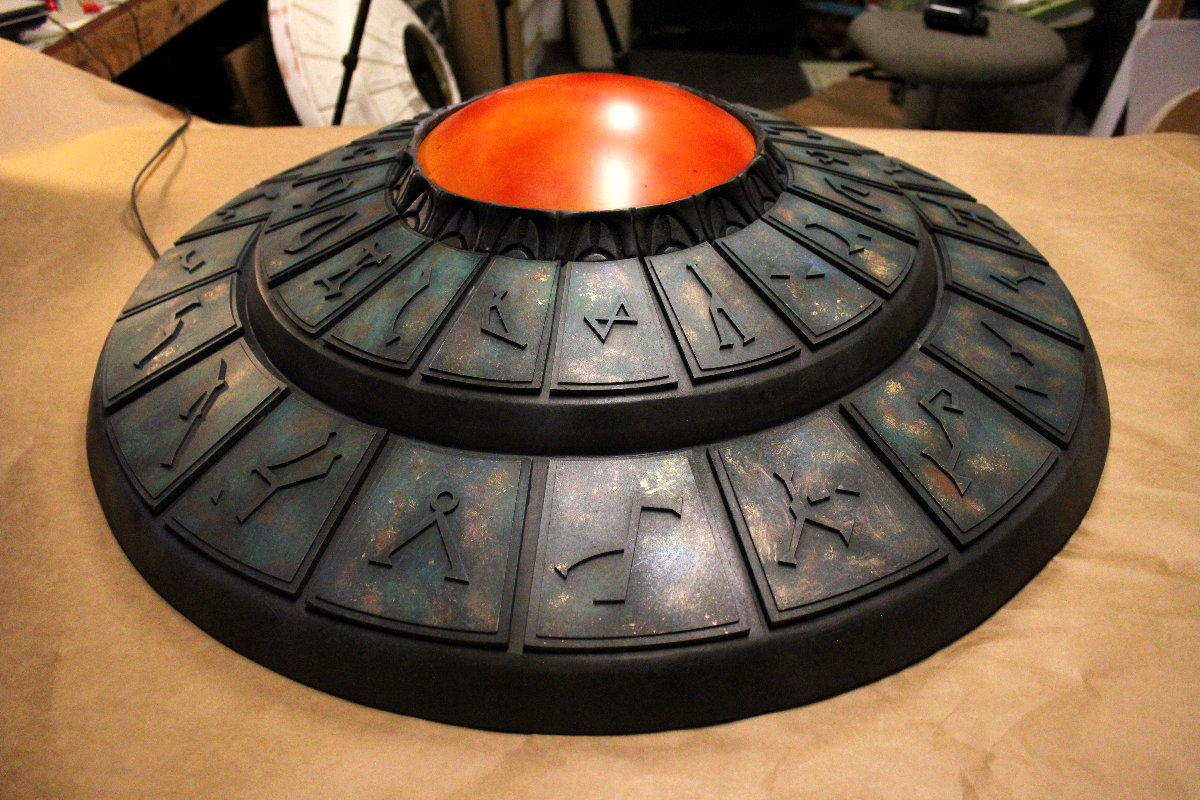
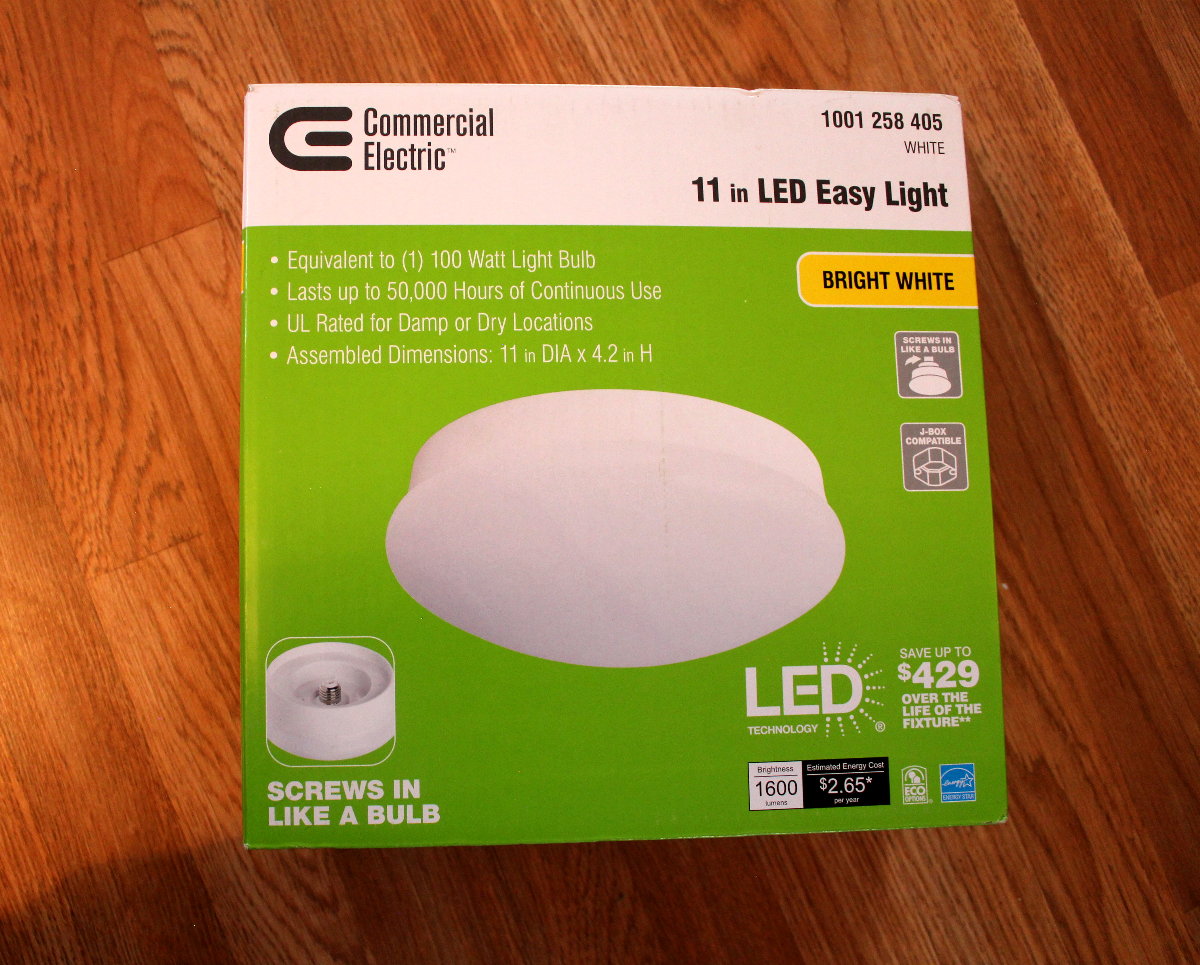
Here is a raw kit casting:
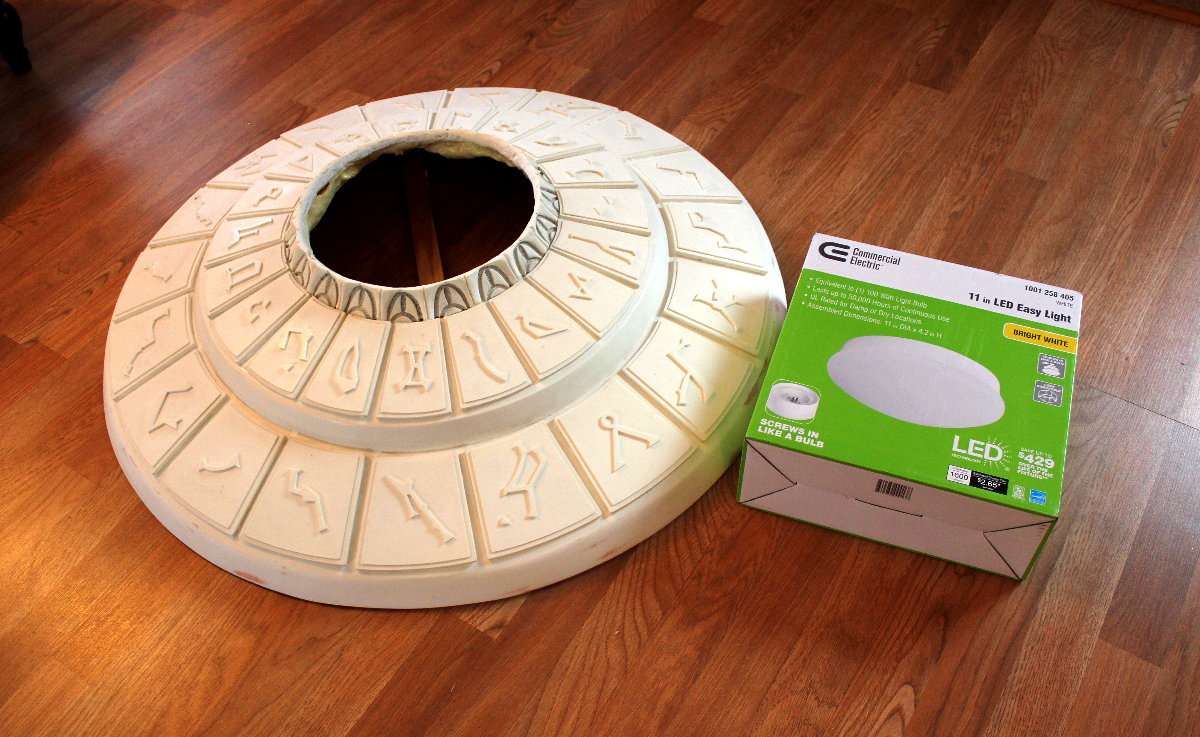
This 11" LED dome light kit (available at HOME DEPOT) was used during my sculpting process. It therefore fits PERFECTLY into the dome opening at the top, allowing you to easily create a lighting feature. EMAIL FOR DETAILS. **IMPORTANT!!! If you plan on installing this dial on a DIMMER SWITCH be sure to buy the dimmable version of this light. They sell it alongside the regular wall plug-in style unit.
EMAIL IMPERVIUM@HOTMAIL.COM FOR PRICING
HOW IT WAS MADE:
It starts as it usually does with most builds - drifting in a daze through the isles at home depot hunting for new tools and lumber.
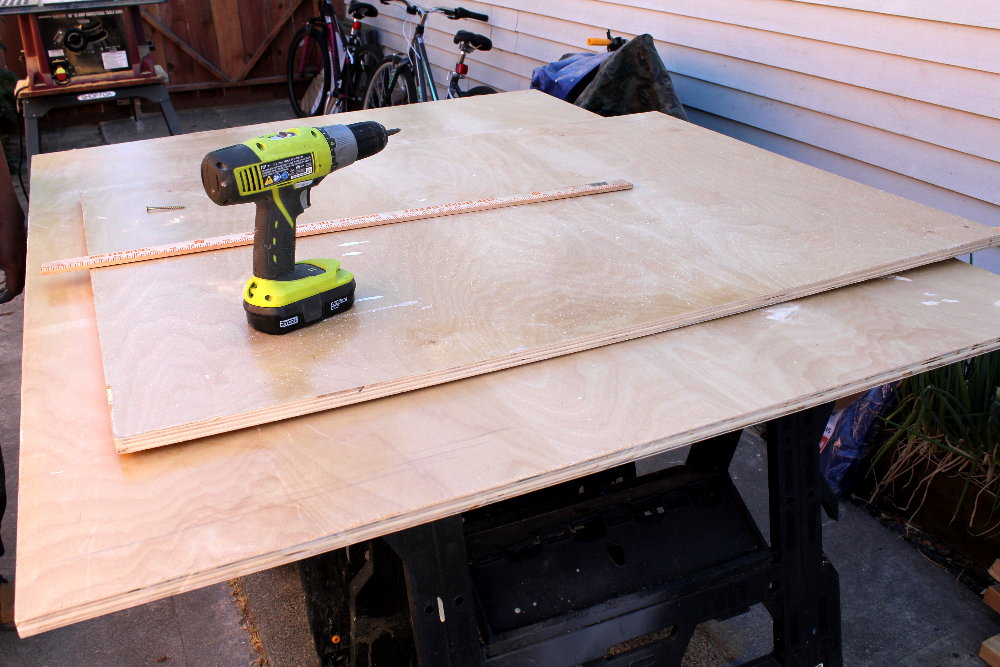
Circles are drawn with a measuring stick, pencil and a screw. ..

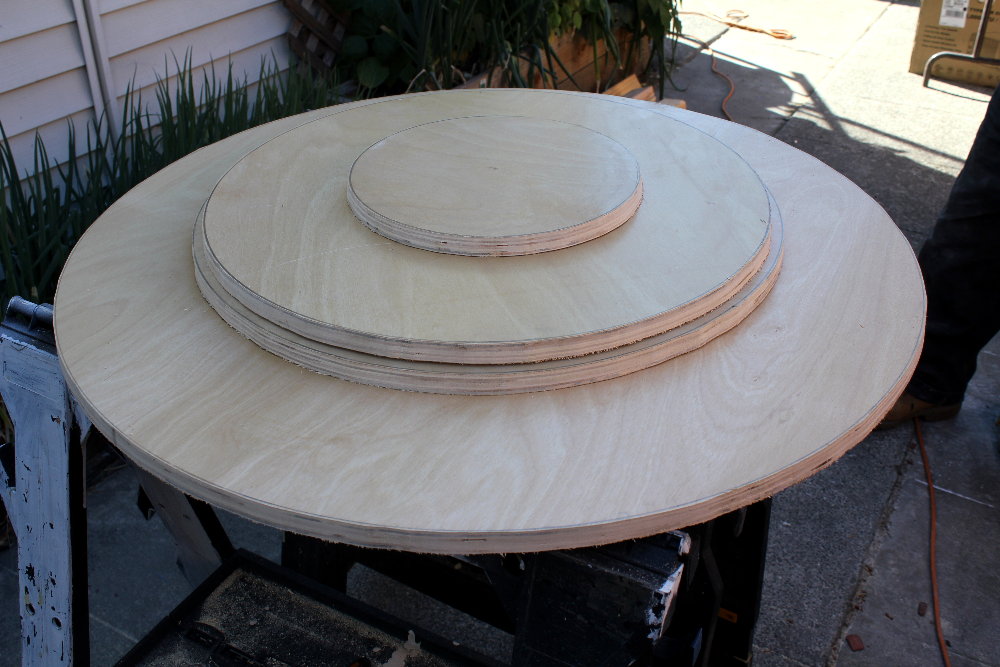
I started playing around with the levels of elevation using scrap wood.
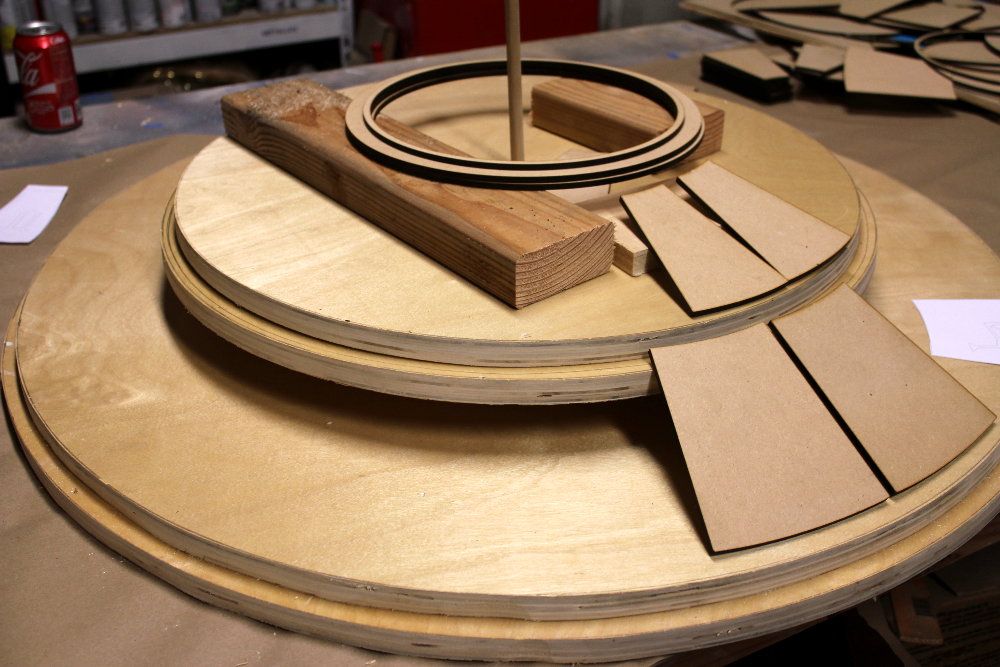
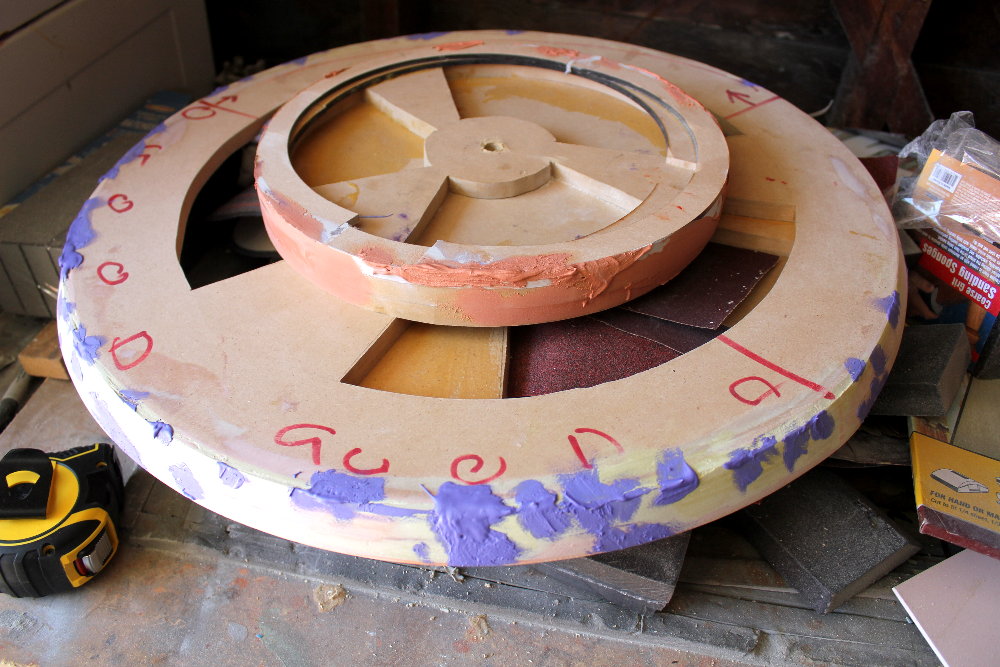
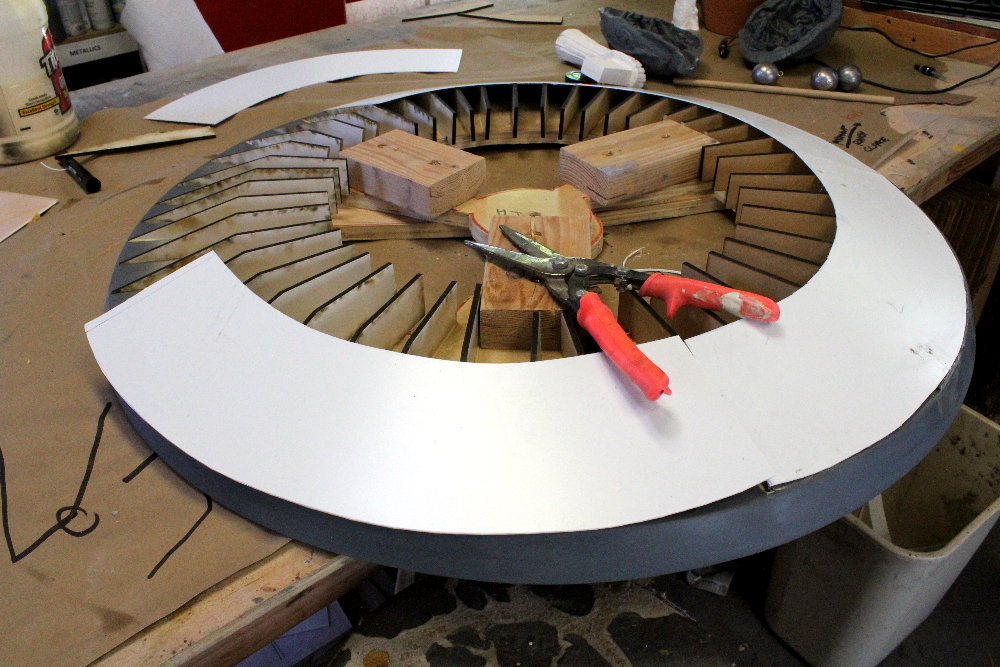
Once my elevations and diameters were correct (I ended up having to reduce the size of the top rings!), I begin cutting spokes into the wheels. This reduced the weight tremendously.
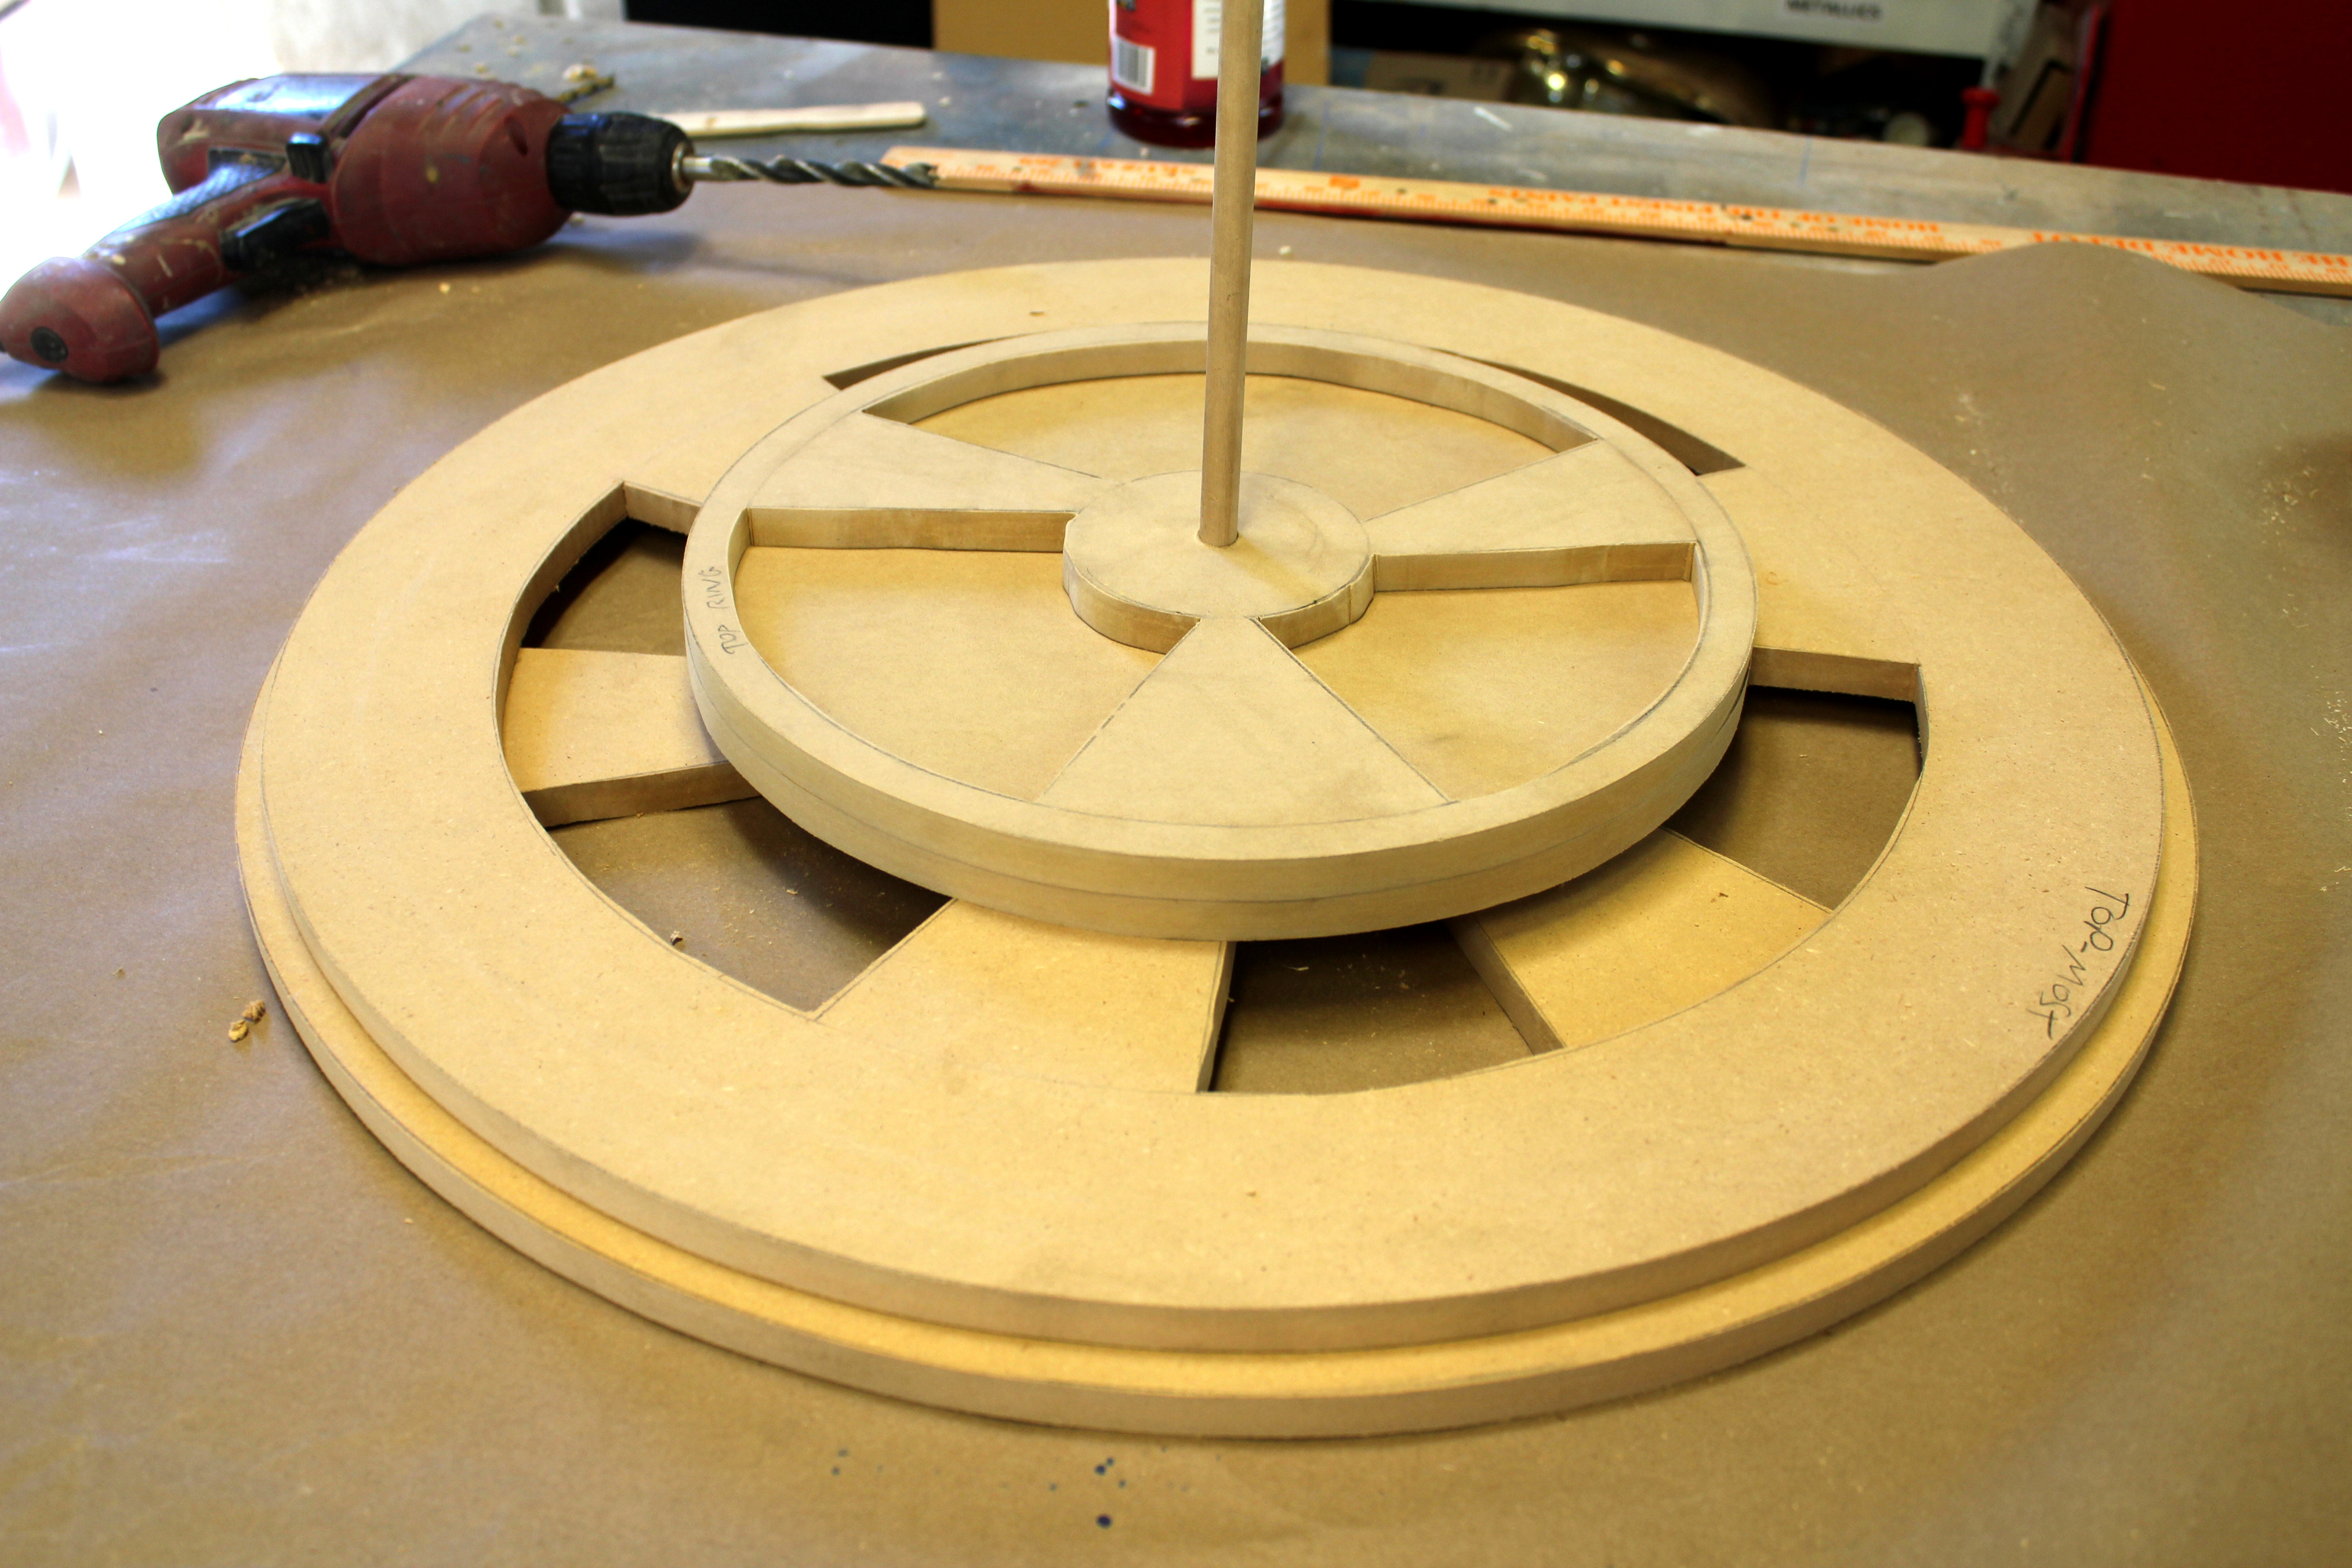
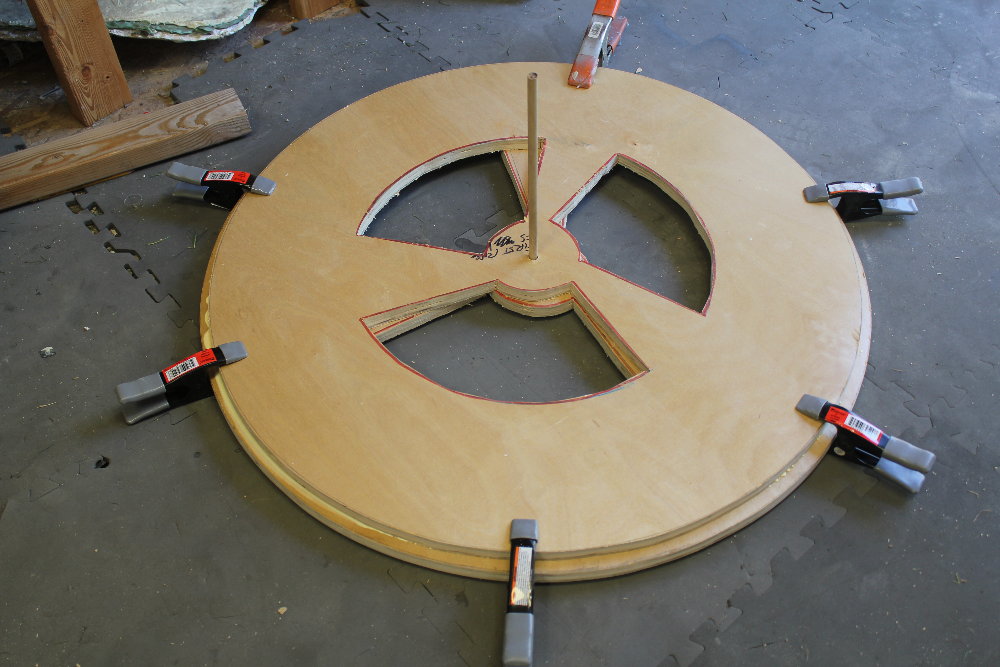
Clamping structures together:
 My second trip to the laser cutter produced my second version of the buttons.
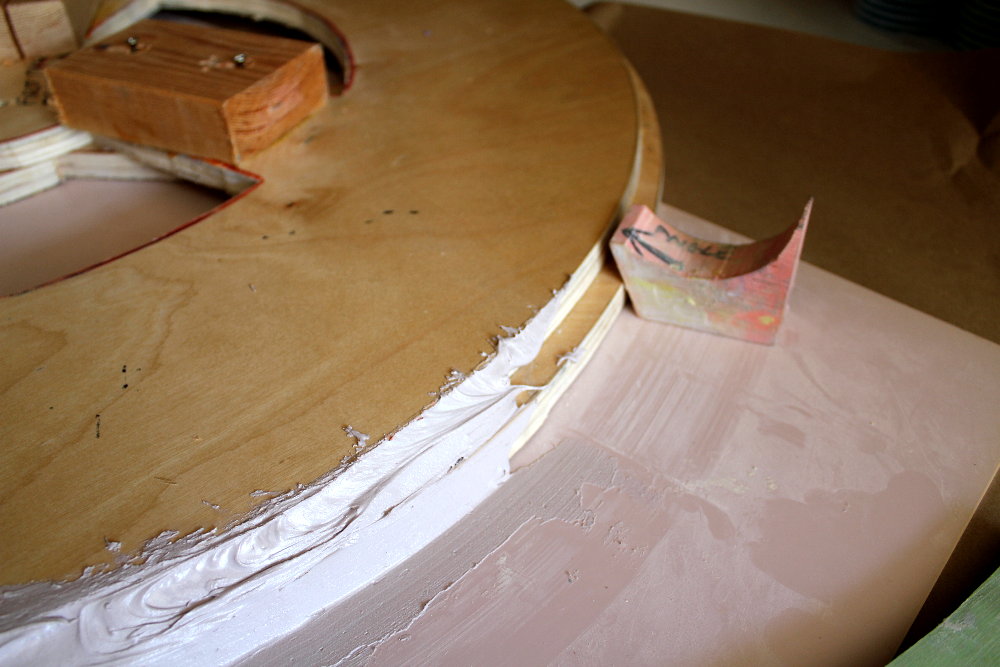
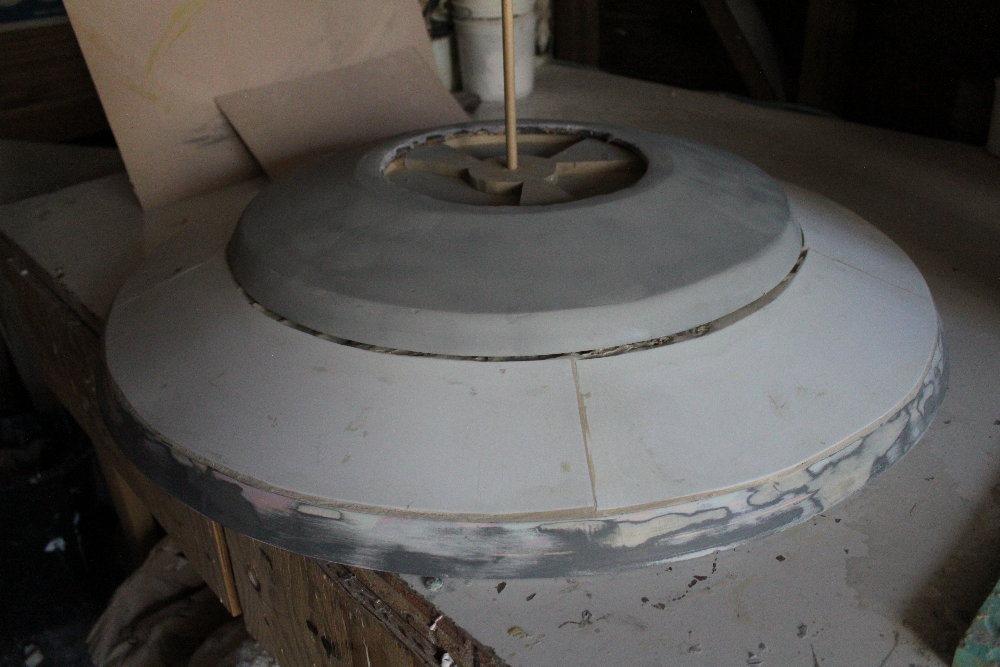
Now it was time to start shaping the edges using a custom angle jig and bondo and day and days and days of sanding and smoothing.
Once the angels were all shaped in, I decided to use a lofting technique to fill in the tables.
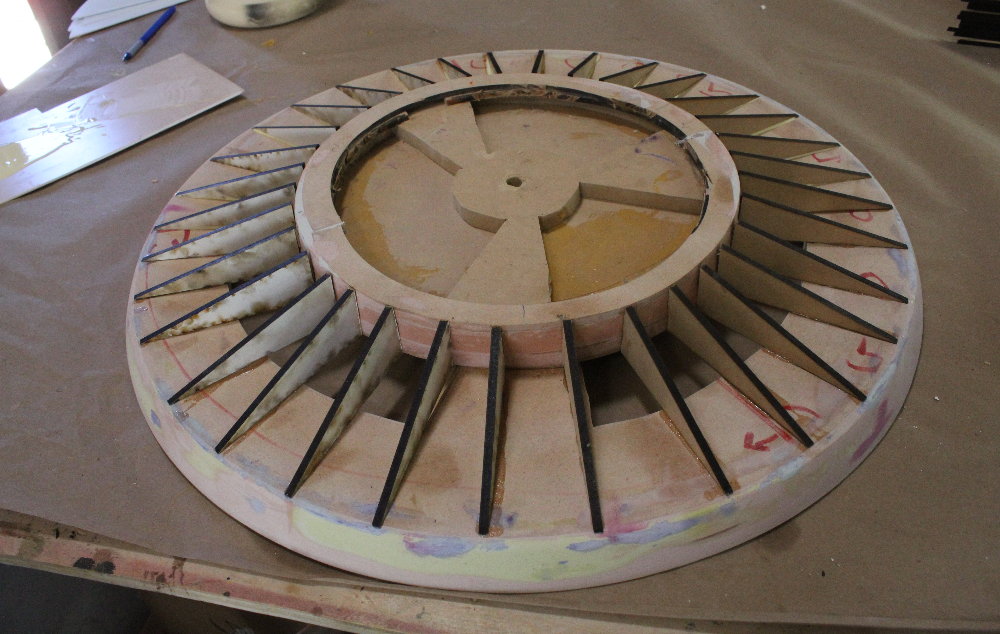
Lofting the skeletal structures:
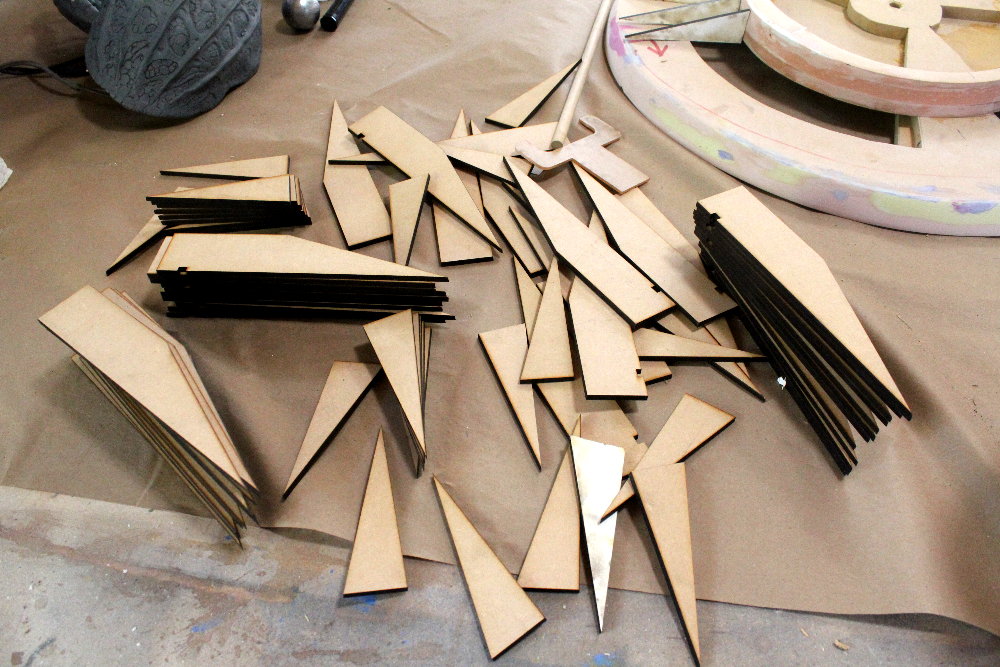
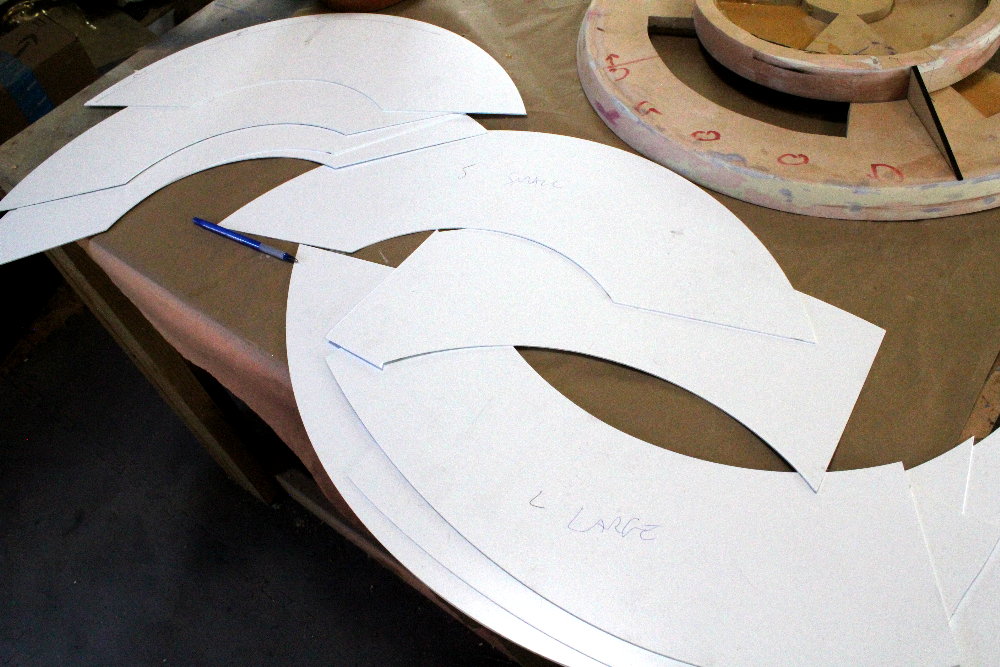
I produced the skin patterns by taping construction paper to the ribs and cutting the shapes. I then scanned the patterns and transferred the artwork digitally to vectors. The last step was laser-cutting the skins in 060 styrene.
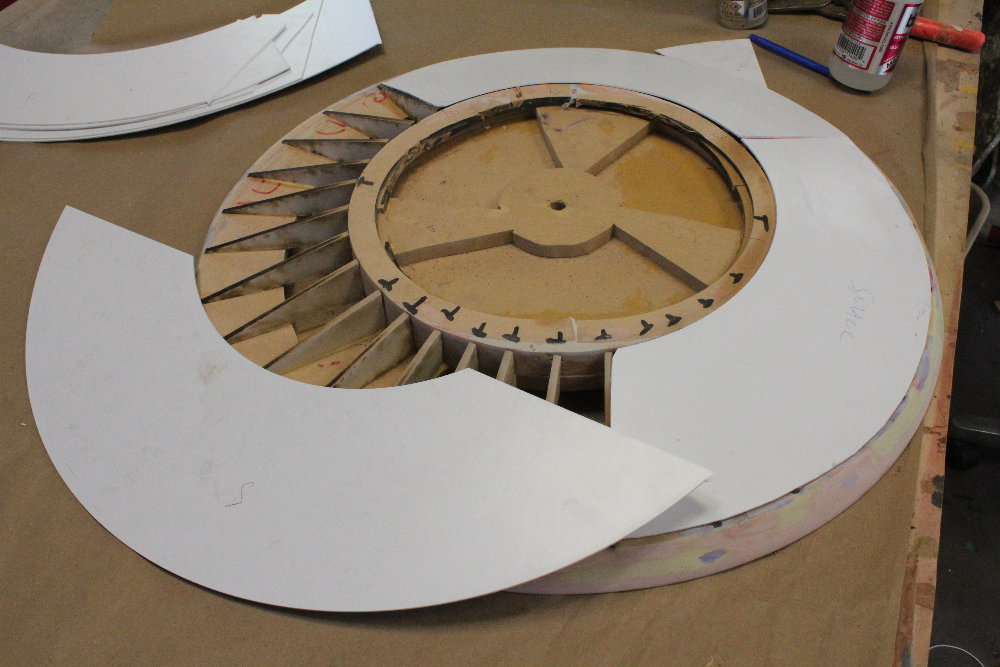
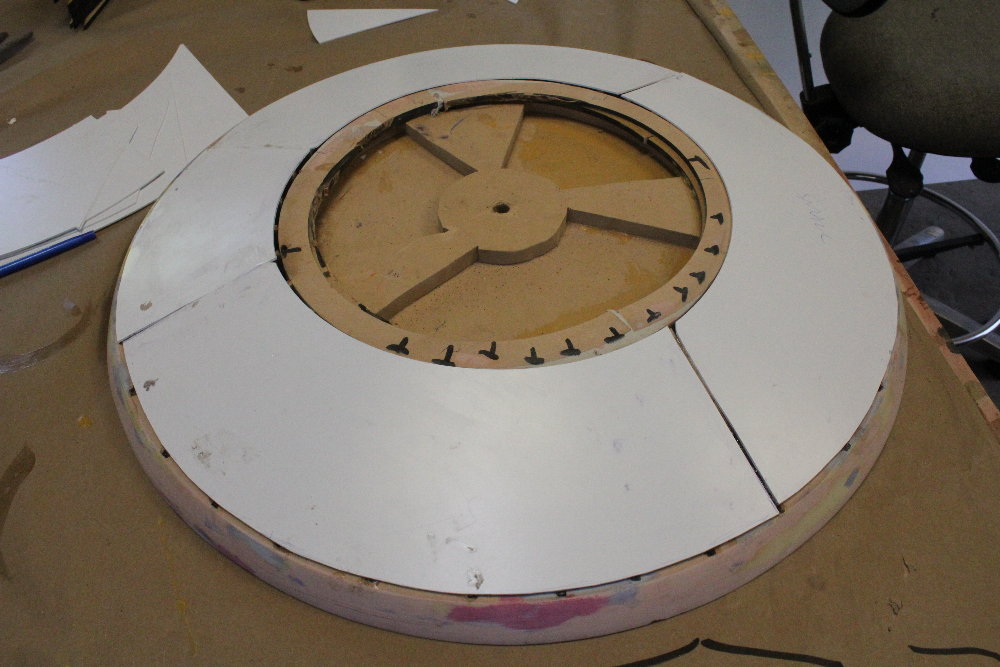
Styrene skinning continues on the main structure:
My first look at the substructure.
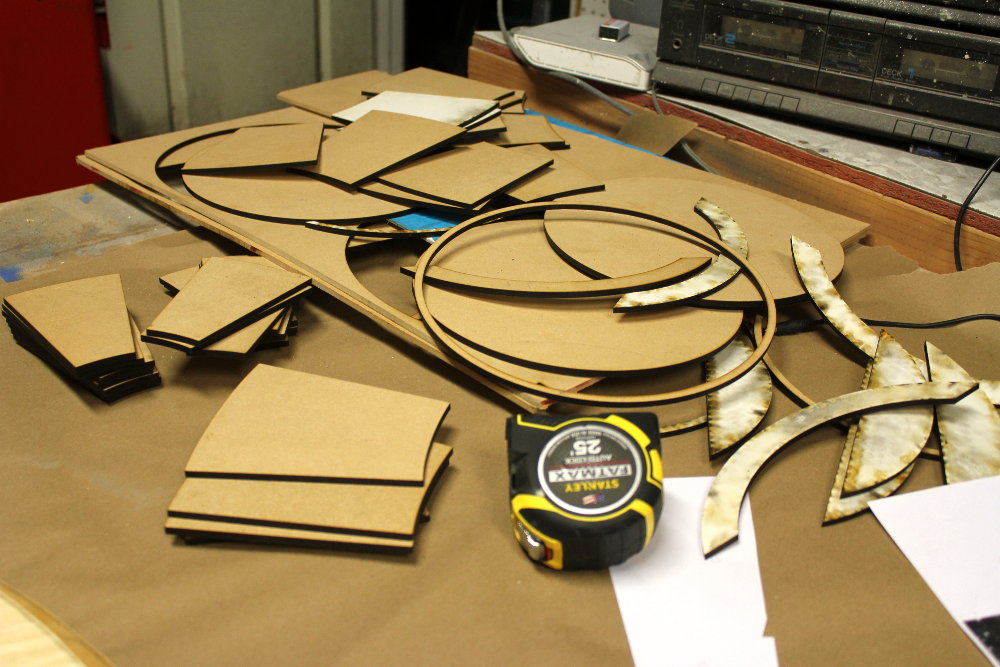
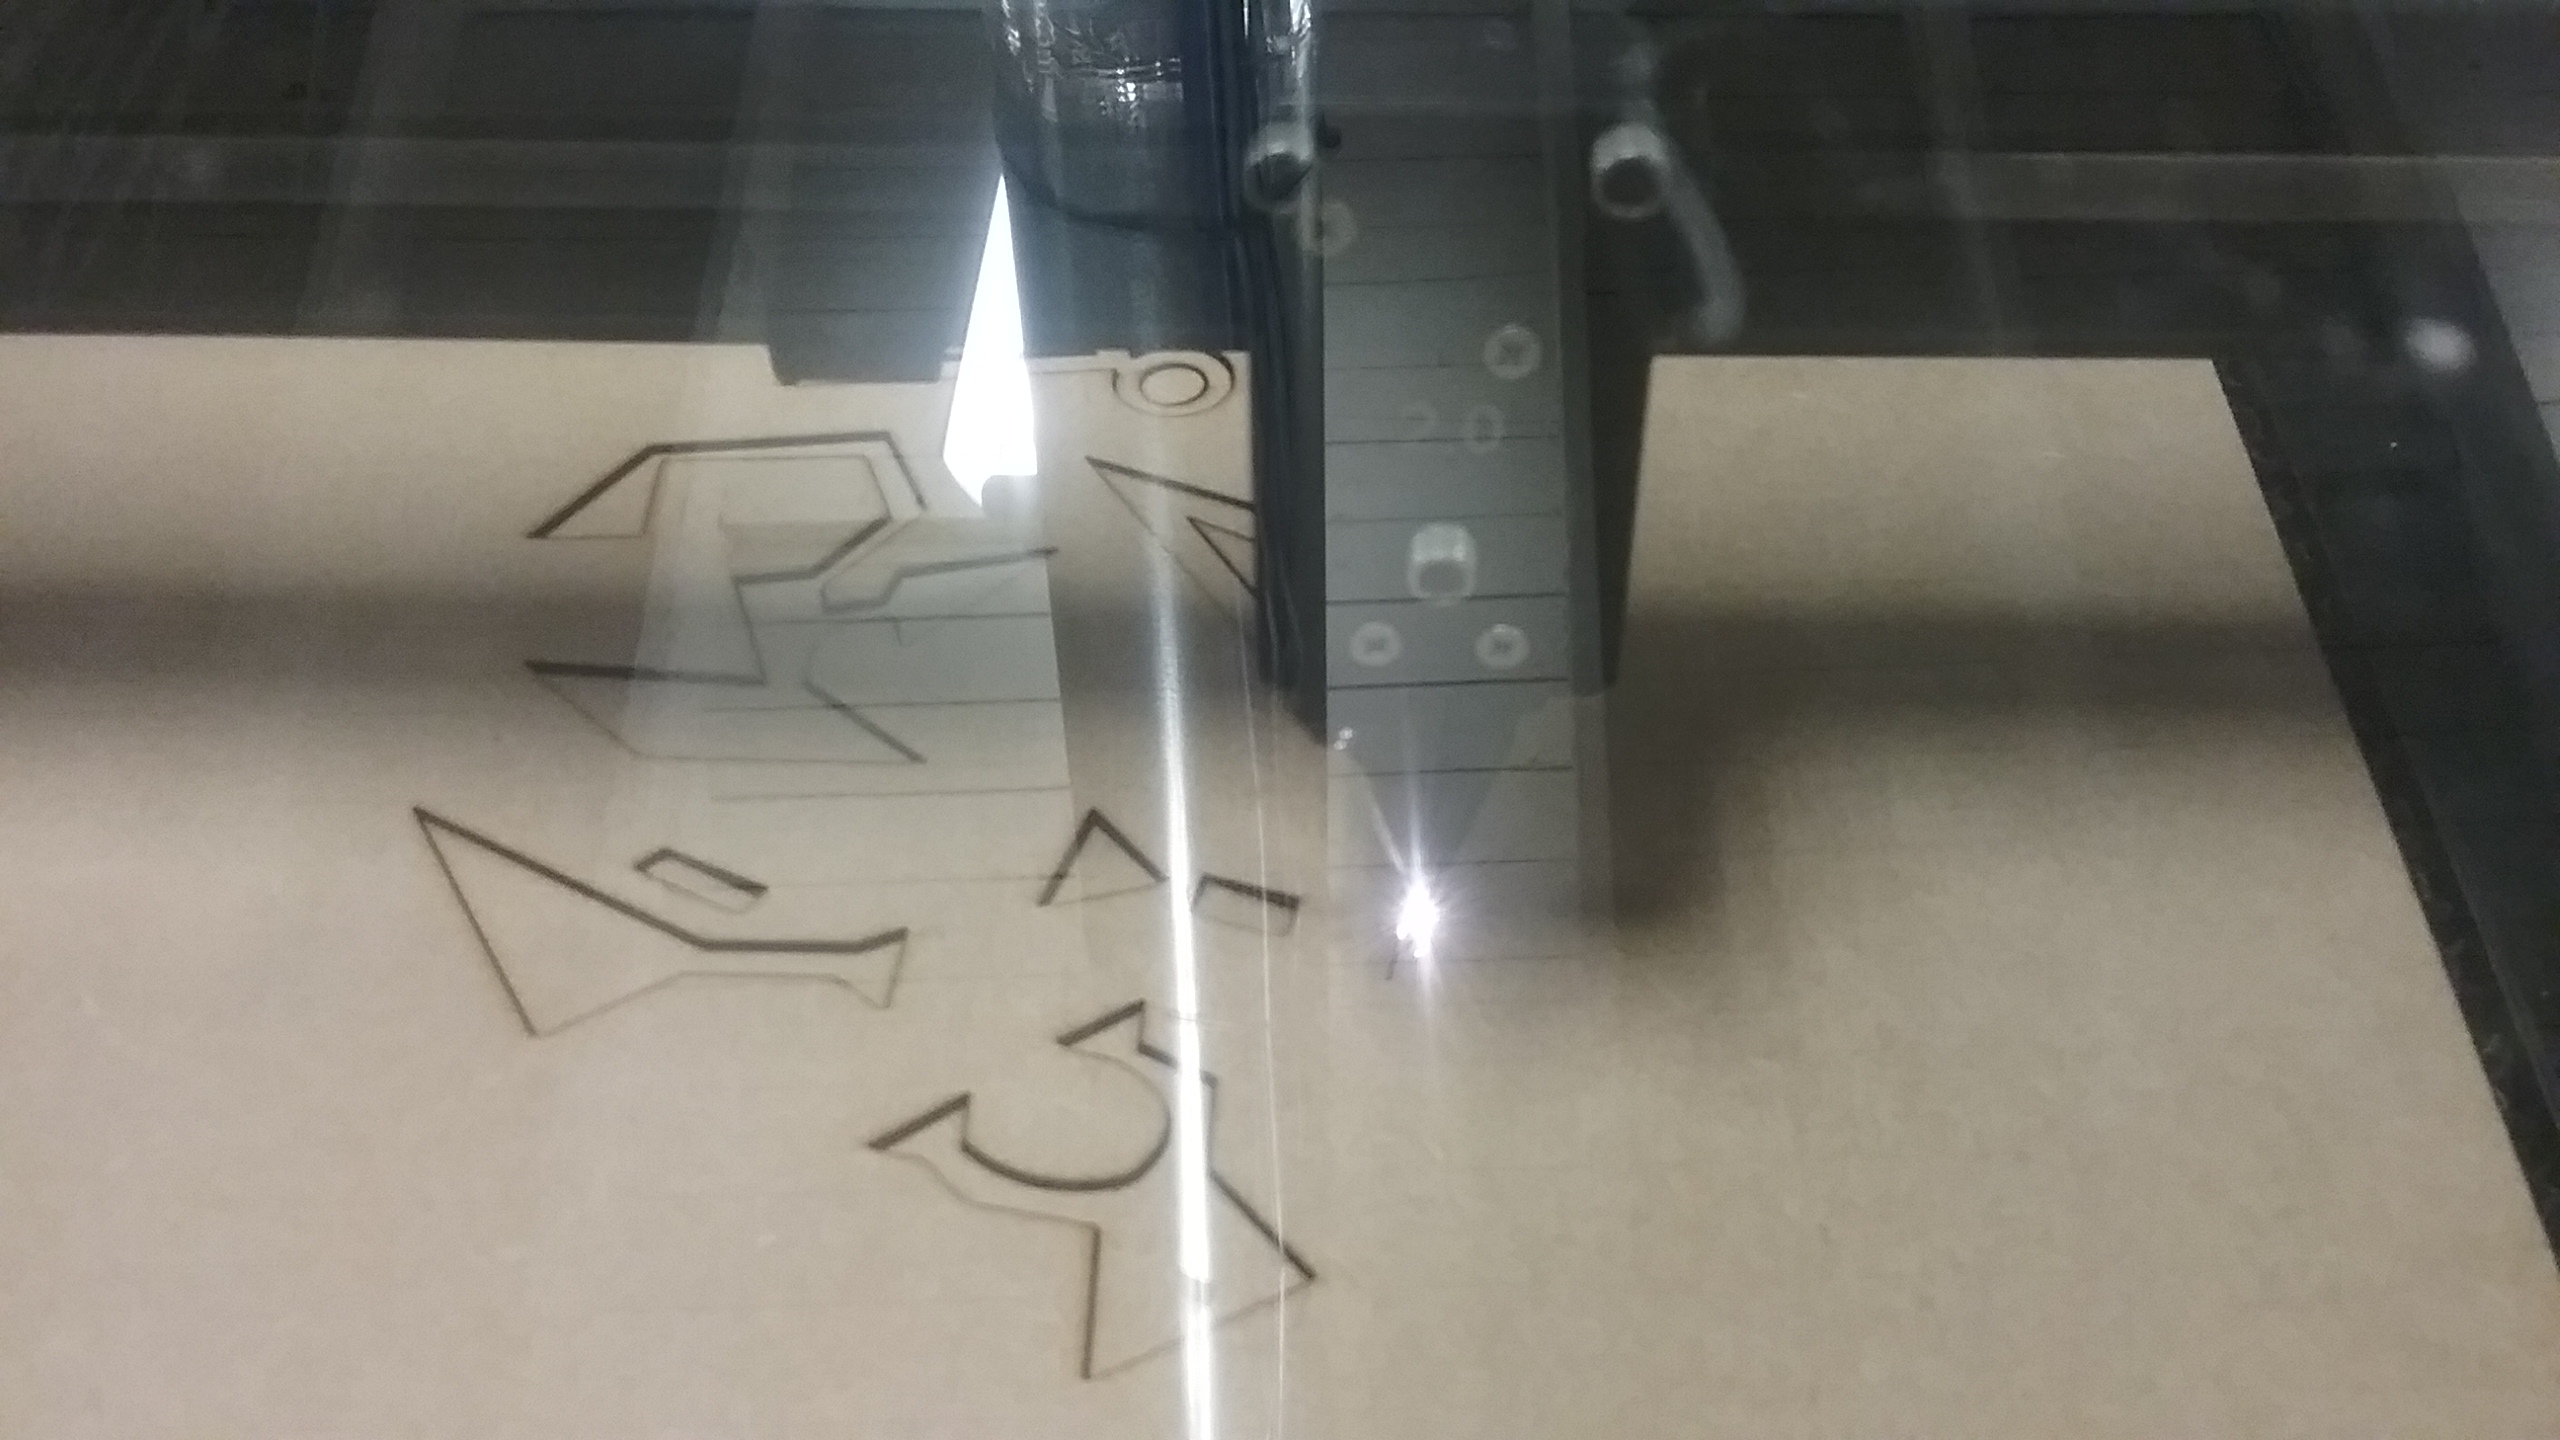
 Laser cutting the glyphs:
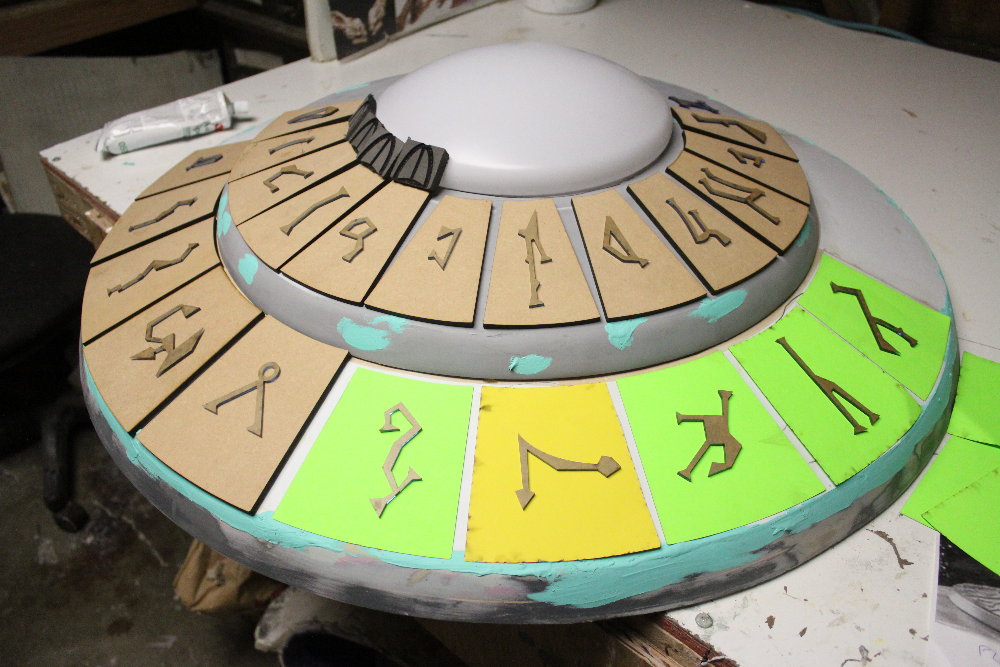
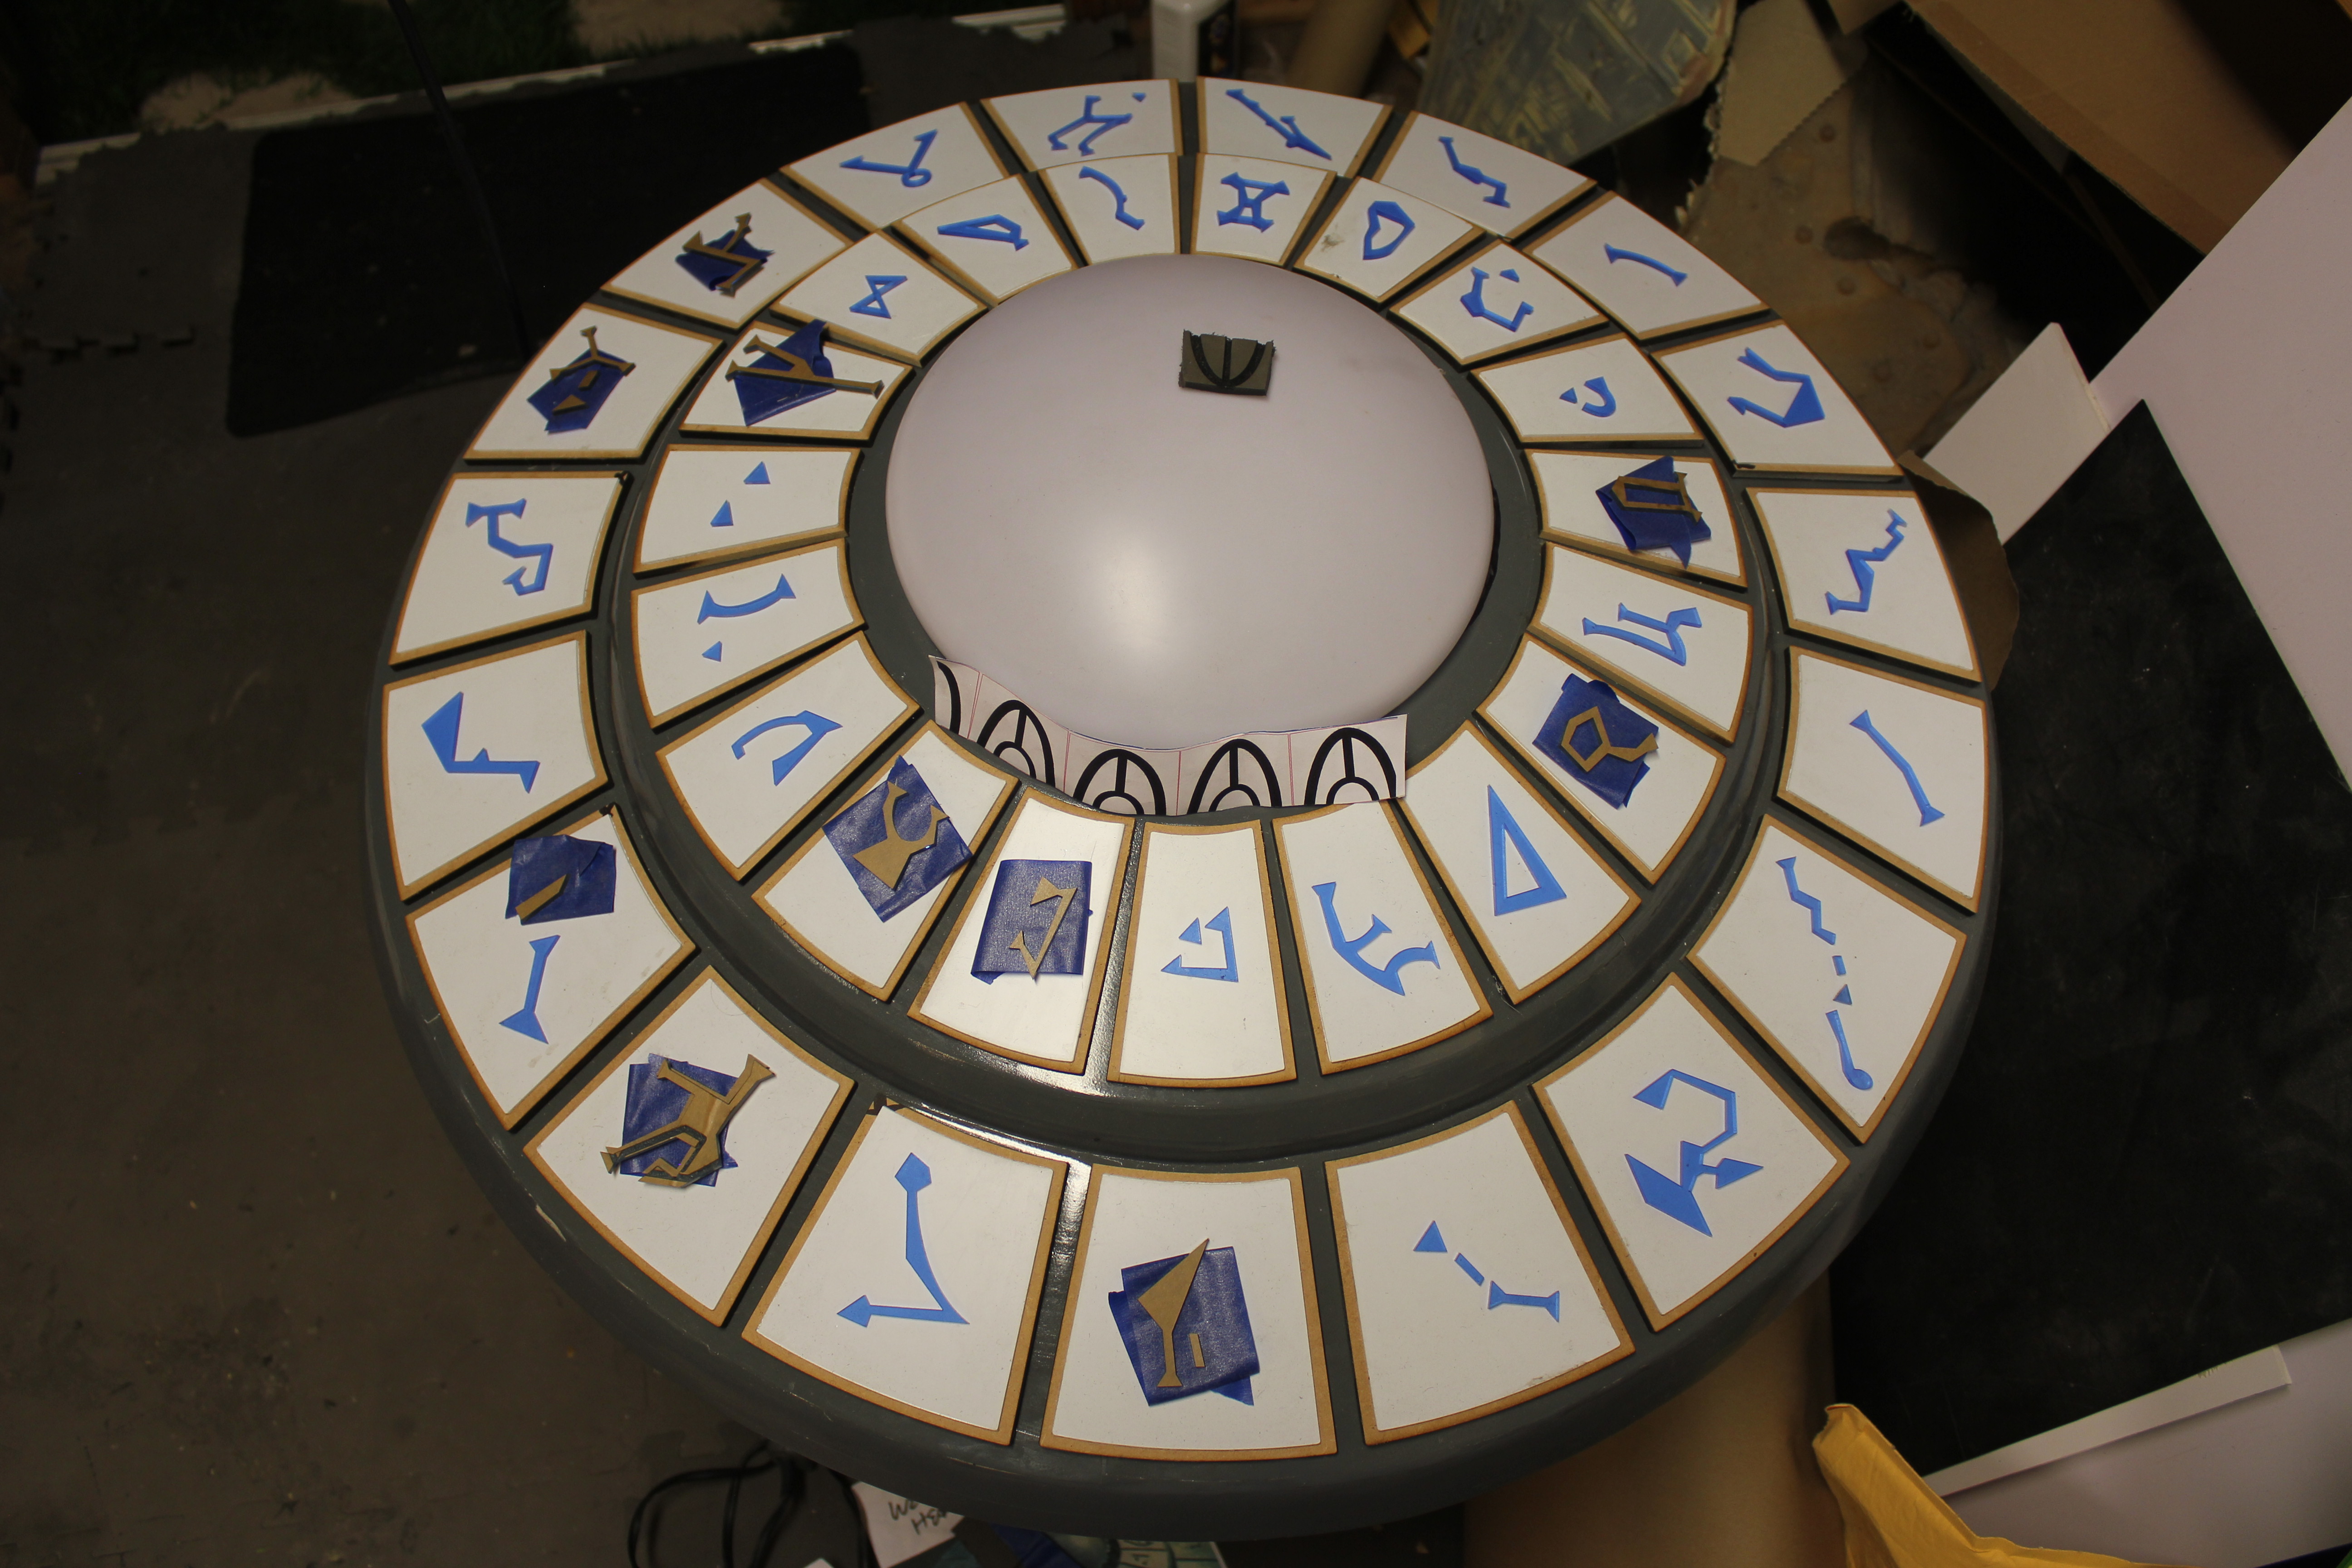
Behind the scenes I have been designing different versions of the pedal buttons and here you can see the third generation of button bases - some in 1/4" wood and some in construction paper. The paper glyphs are my third generation attempt but still need a tiny adjustment. When working in a sloped circle, things get tricky. This 'aint like dustin' crops, boy.
The dark tiles are laser cut EVA foam I produced as an experiment. A very SUCCESSFUL experiment. I'll be developing a design to laser cut the tiles as a single strip I will wrap around the dome.

After a few more hours of shaping, this is the nearly completed DIAL BASE coated in automotive urethane. There's still a ways to go!
A few hours at the laser cutter with acrylic and styrene, and then another few hours glueing: (p.s. the glyphs aren't glued on yet, and they're in no particular order. I realize I may need to resize and re-draw some of them. The symbol maps I found online are not entirely accurate.
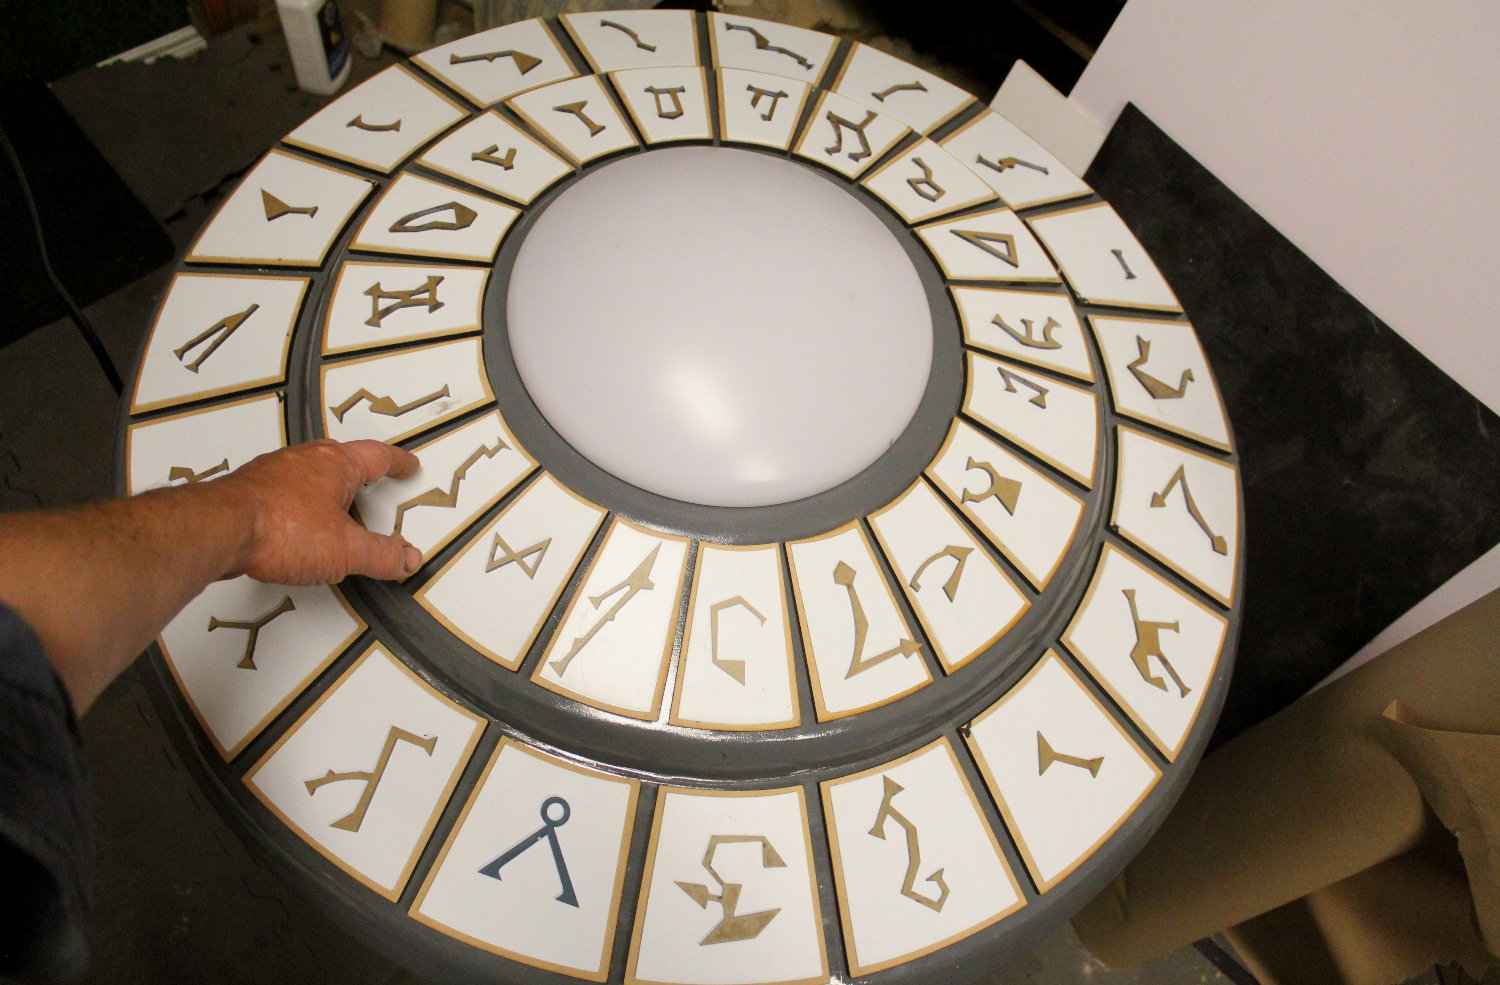
Placing the glyphs in their final positions:
I innovated last year and learned it's possible to laser cut AND raster EVA foam. That's that's how I decided to do the globe liner detail trim. Visit the KNIGHTS SHIELD to see more of this unique technique.

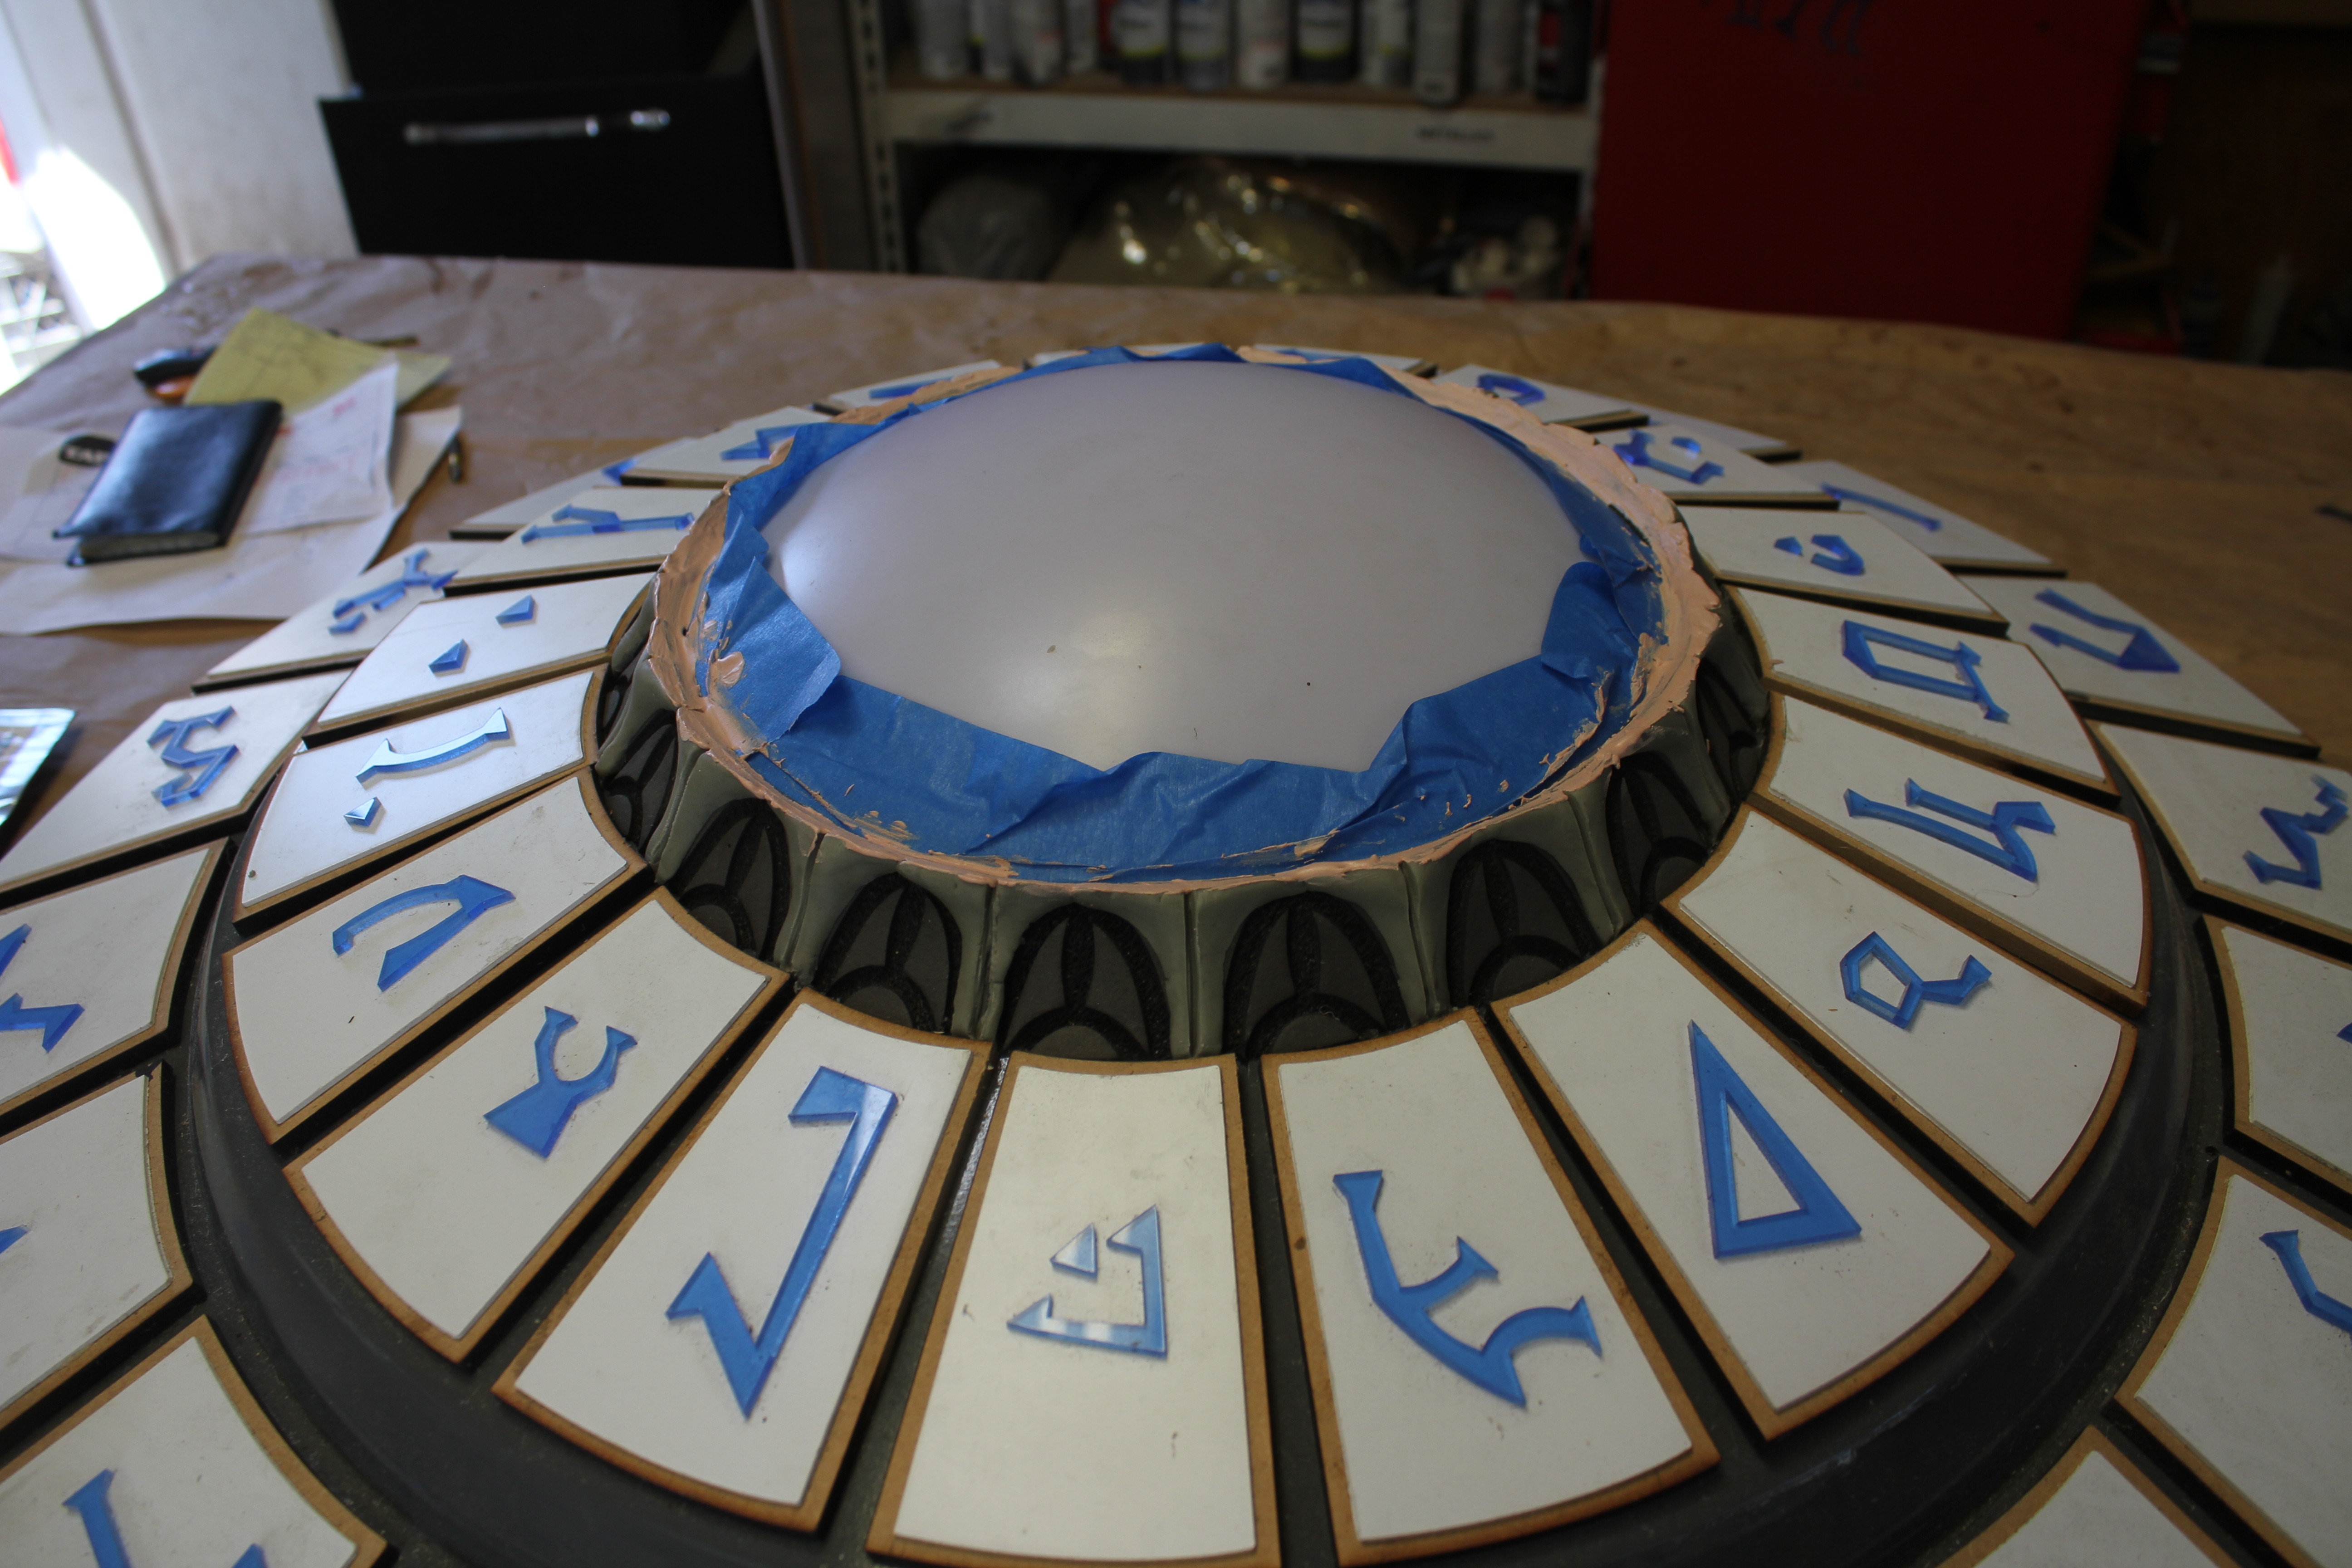
Here is my third generation of glyphs which were laser cut onto 1/8" acrylic.
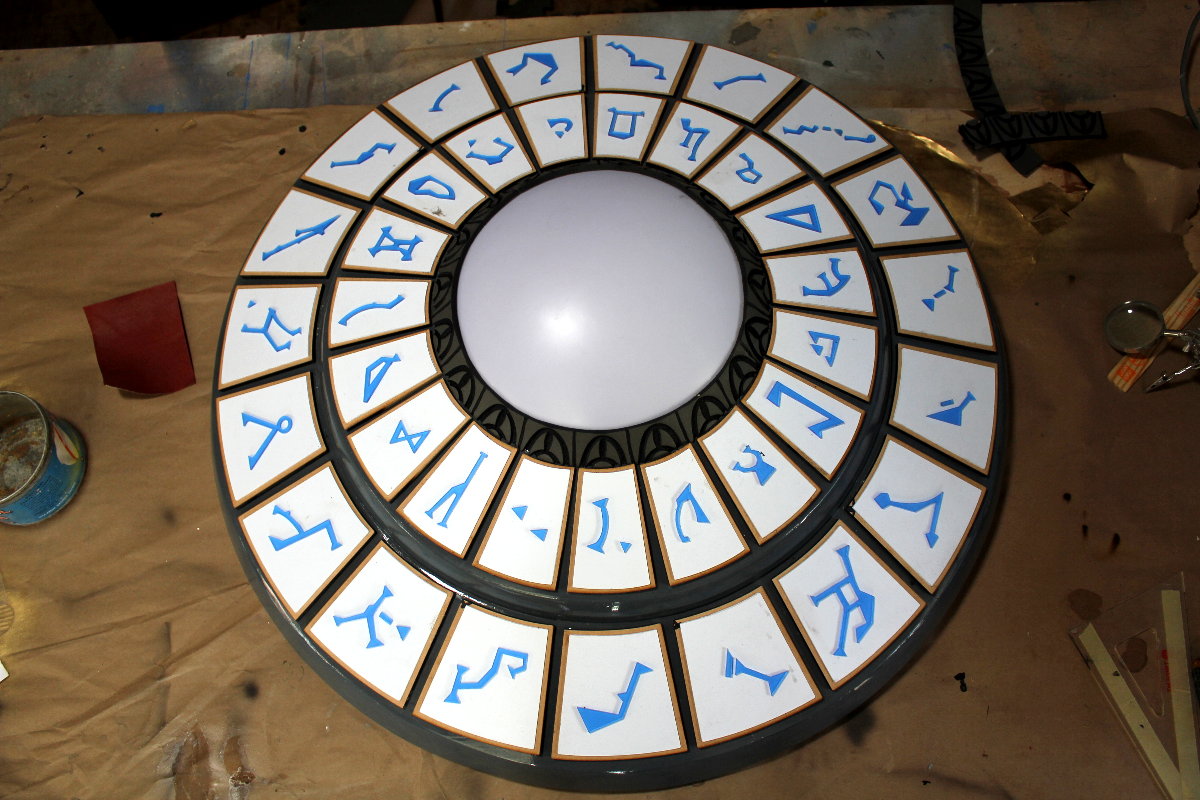
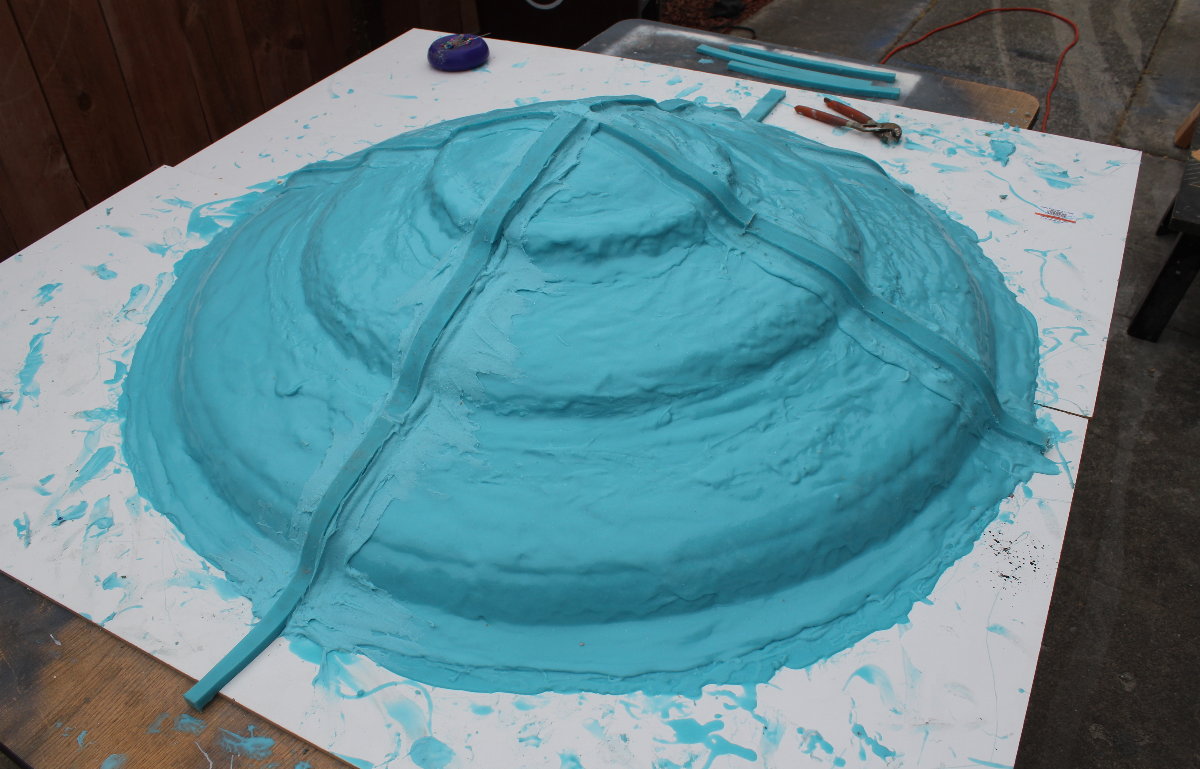
Blending the last layer of detail:
PATTERN COMPLETED!
MOLD MAKING:
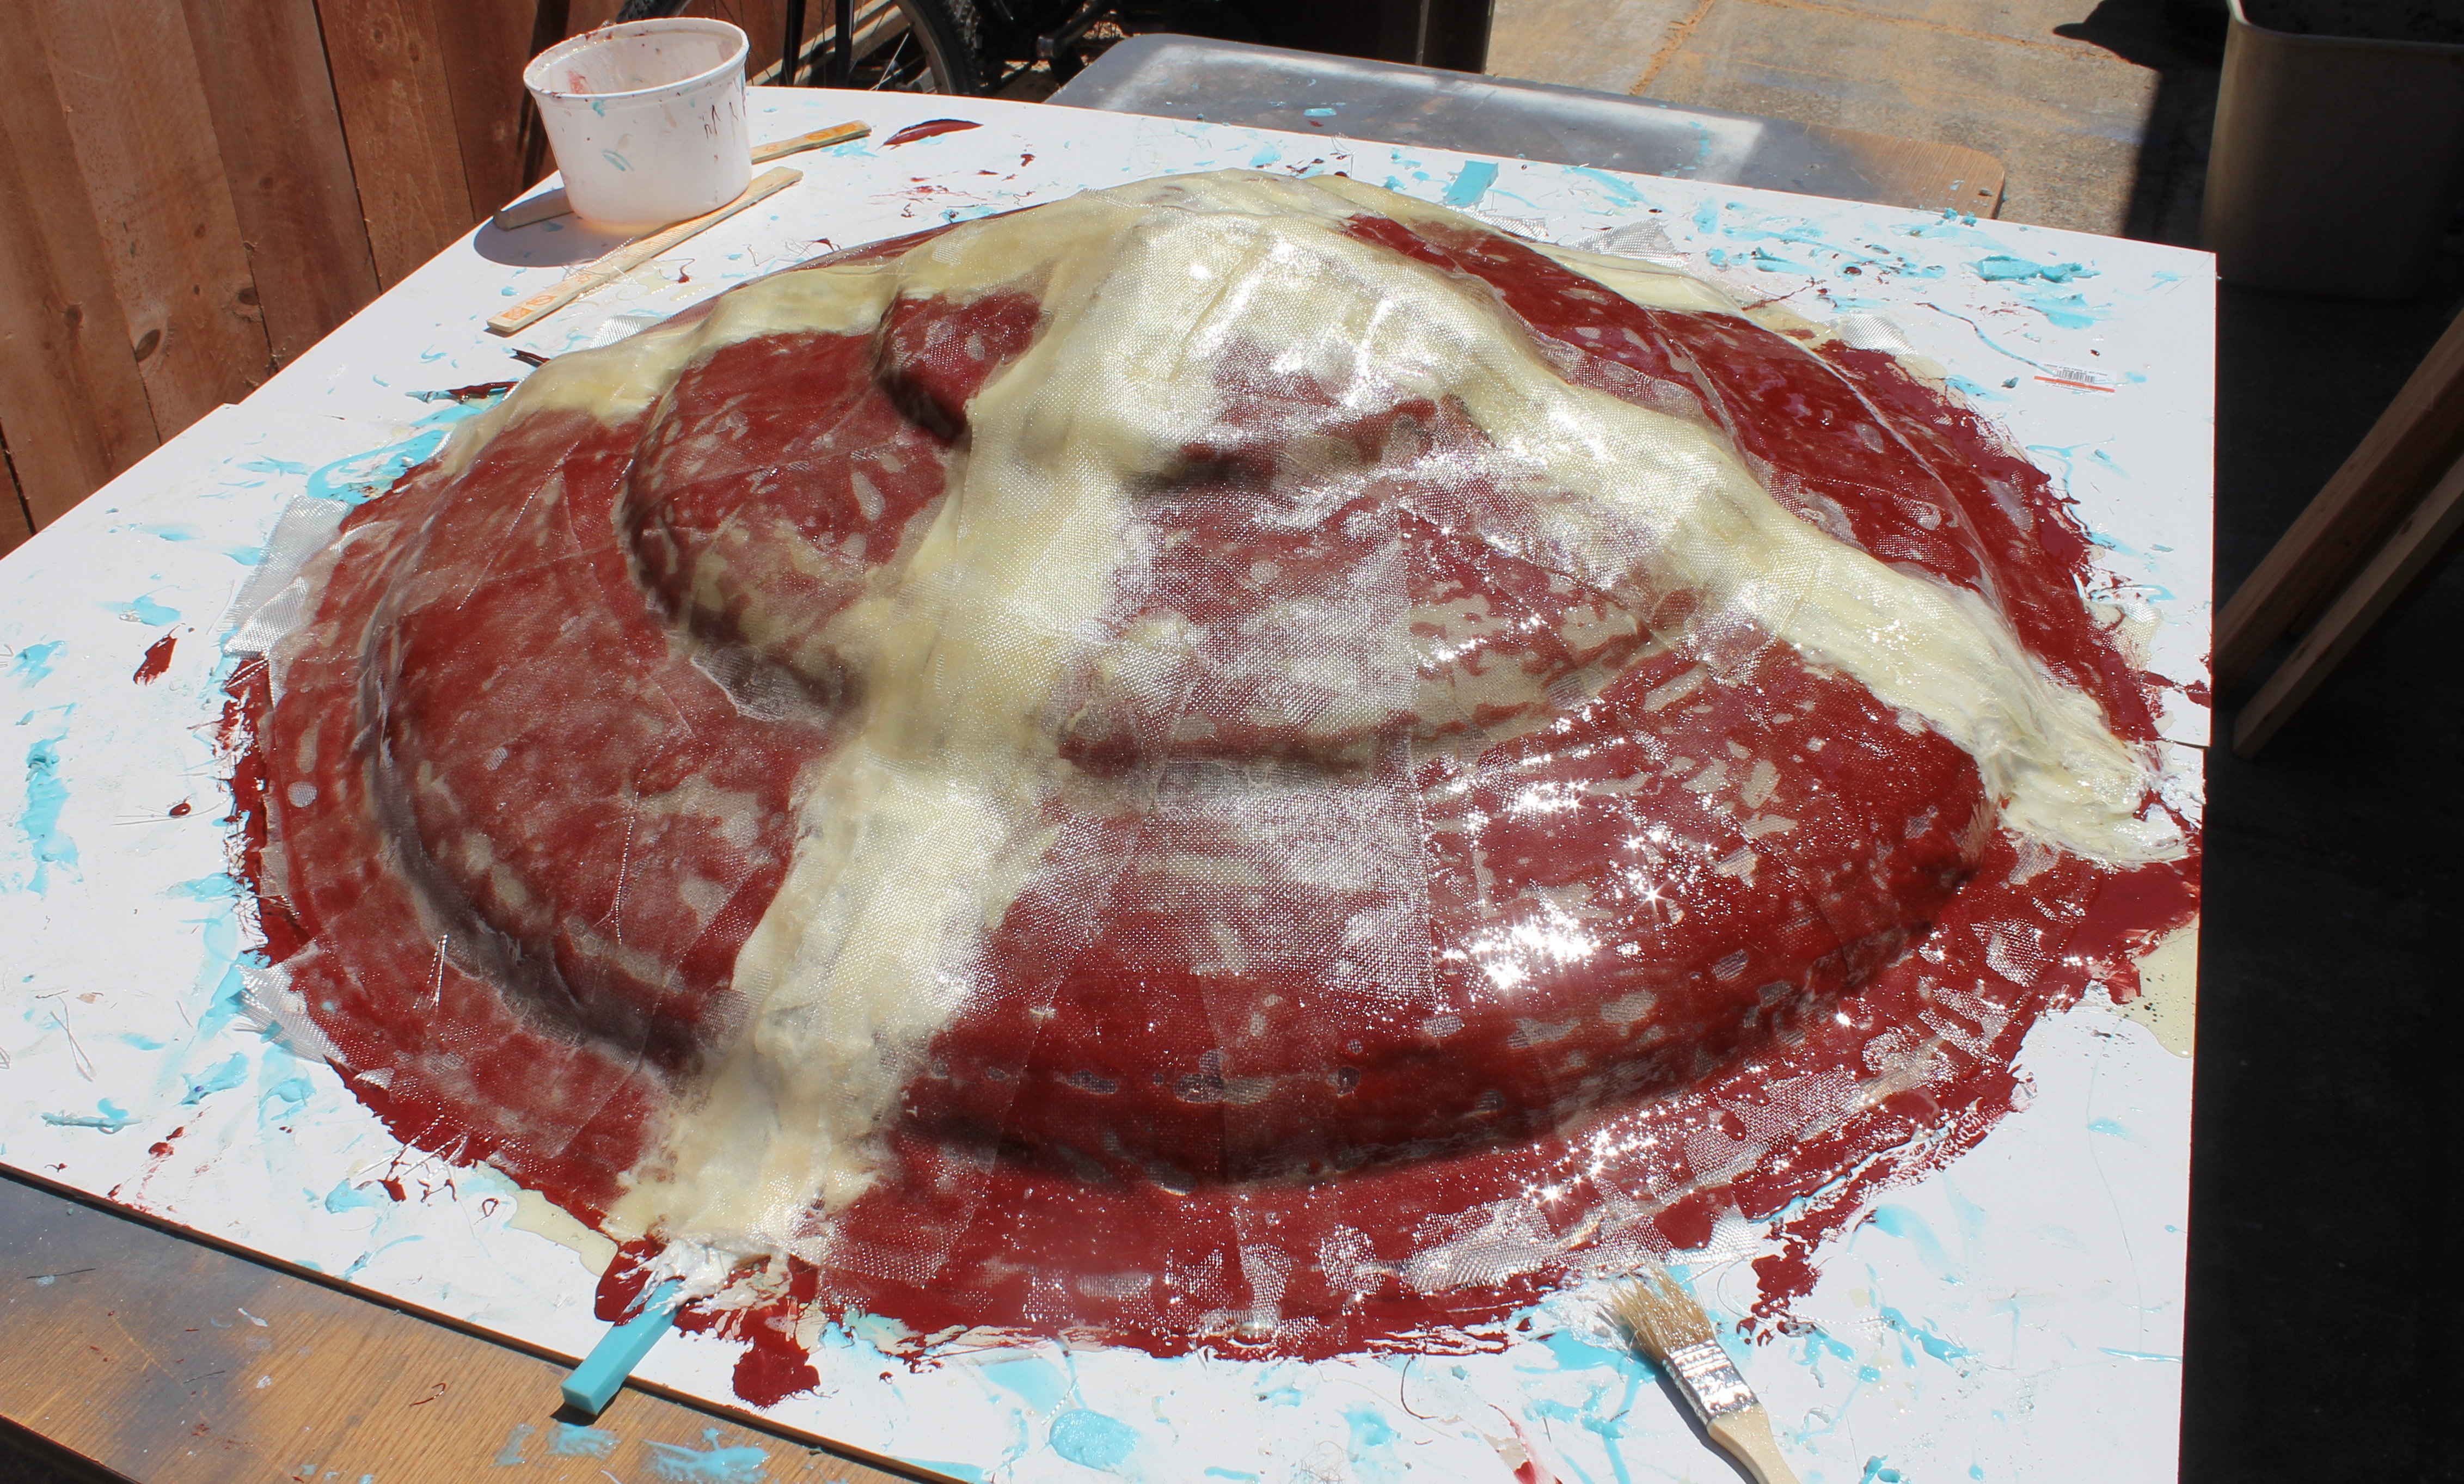
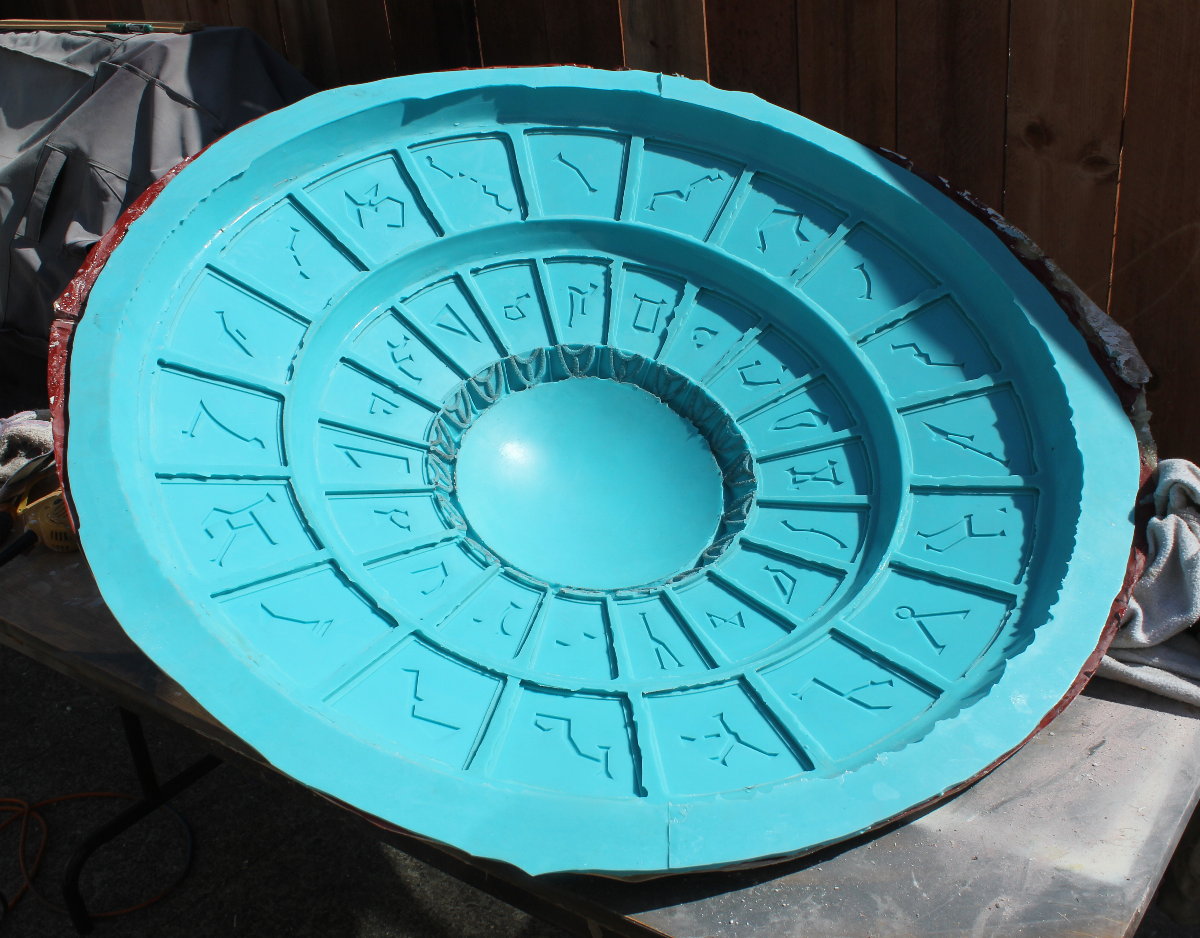
Beautiful mold, beautiful casting!
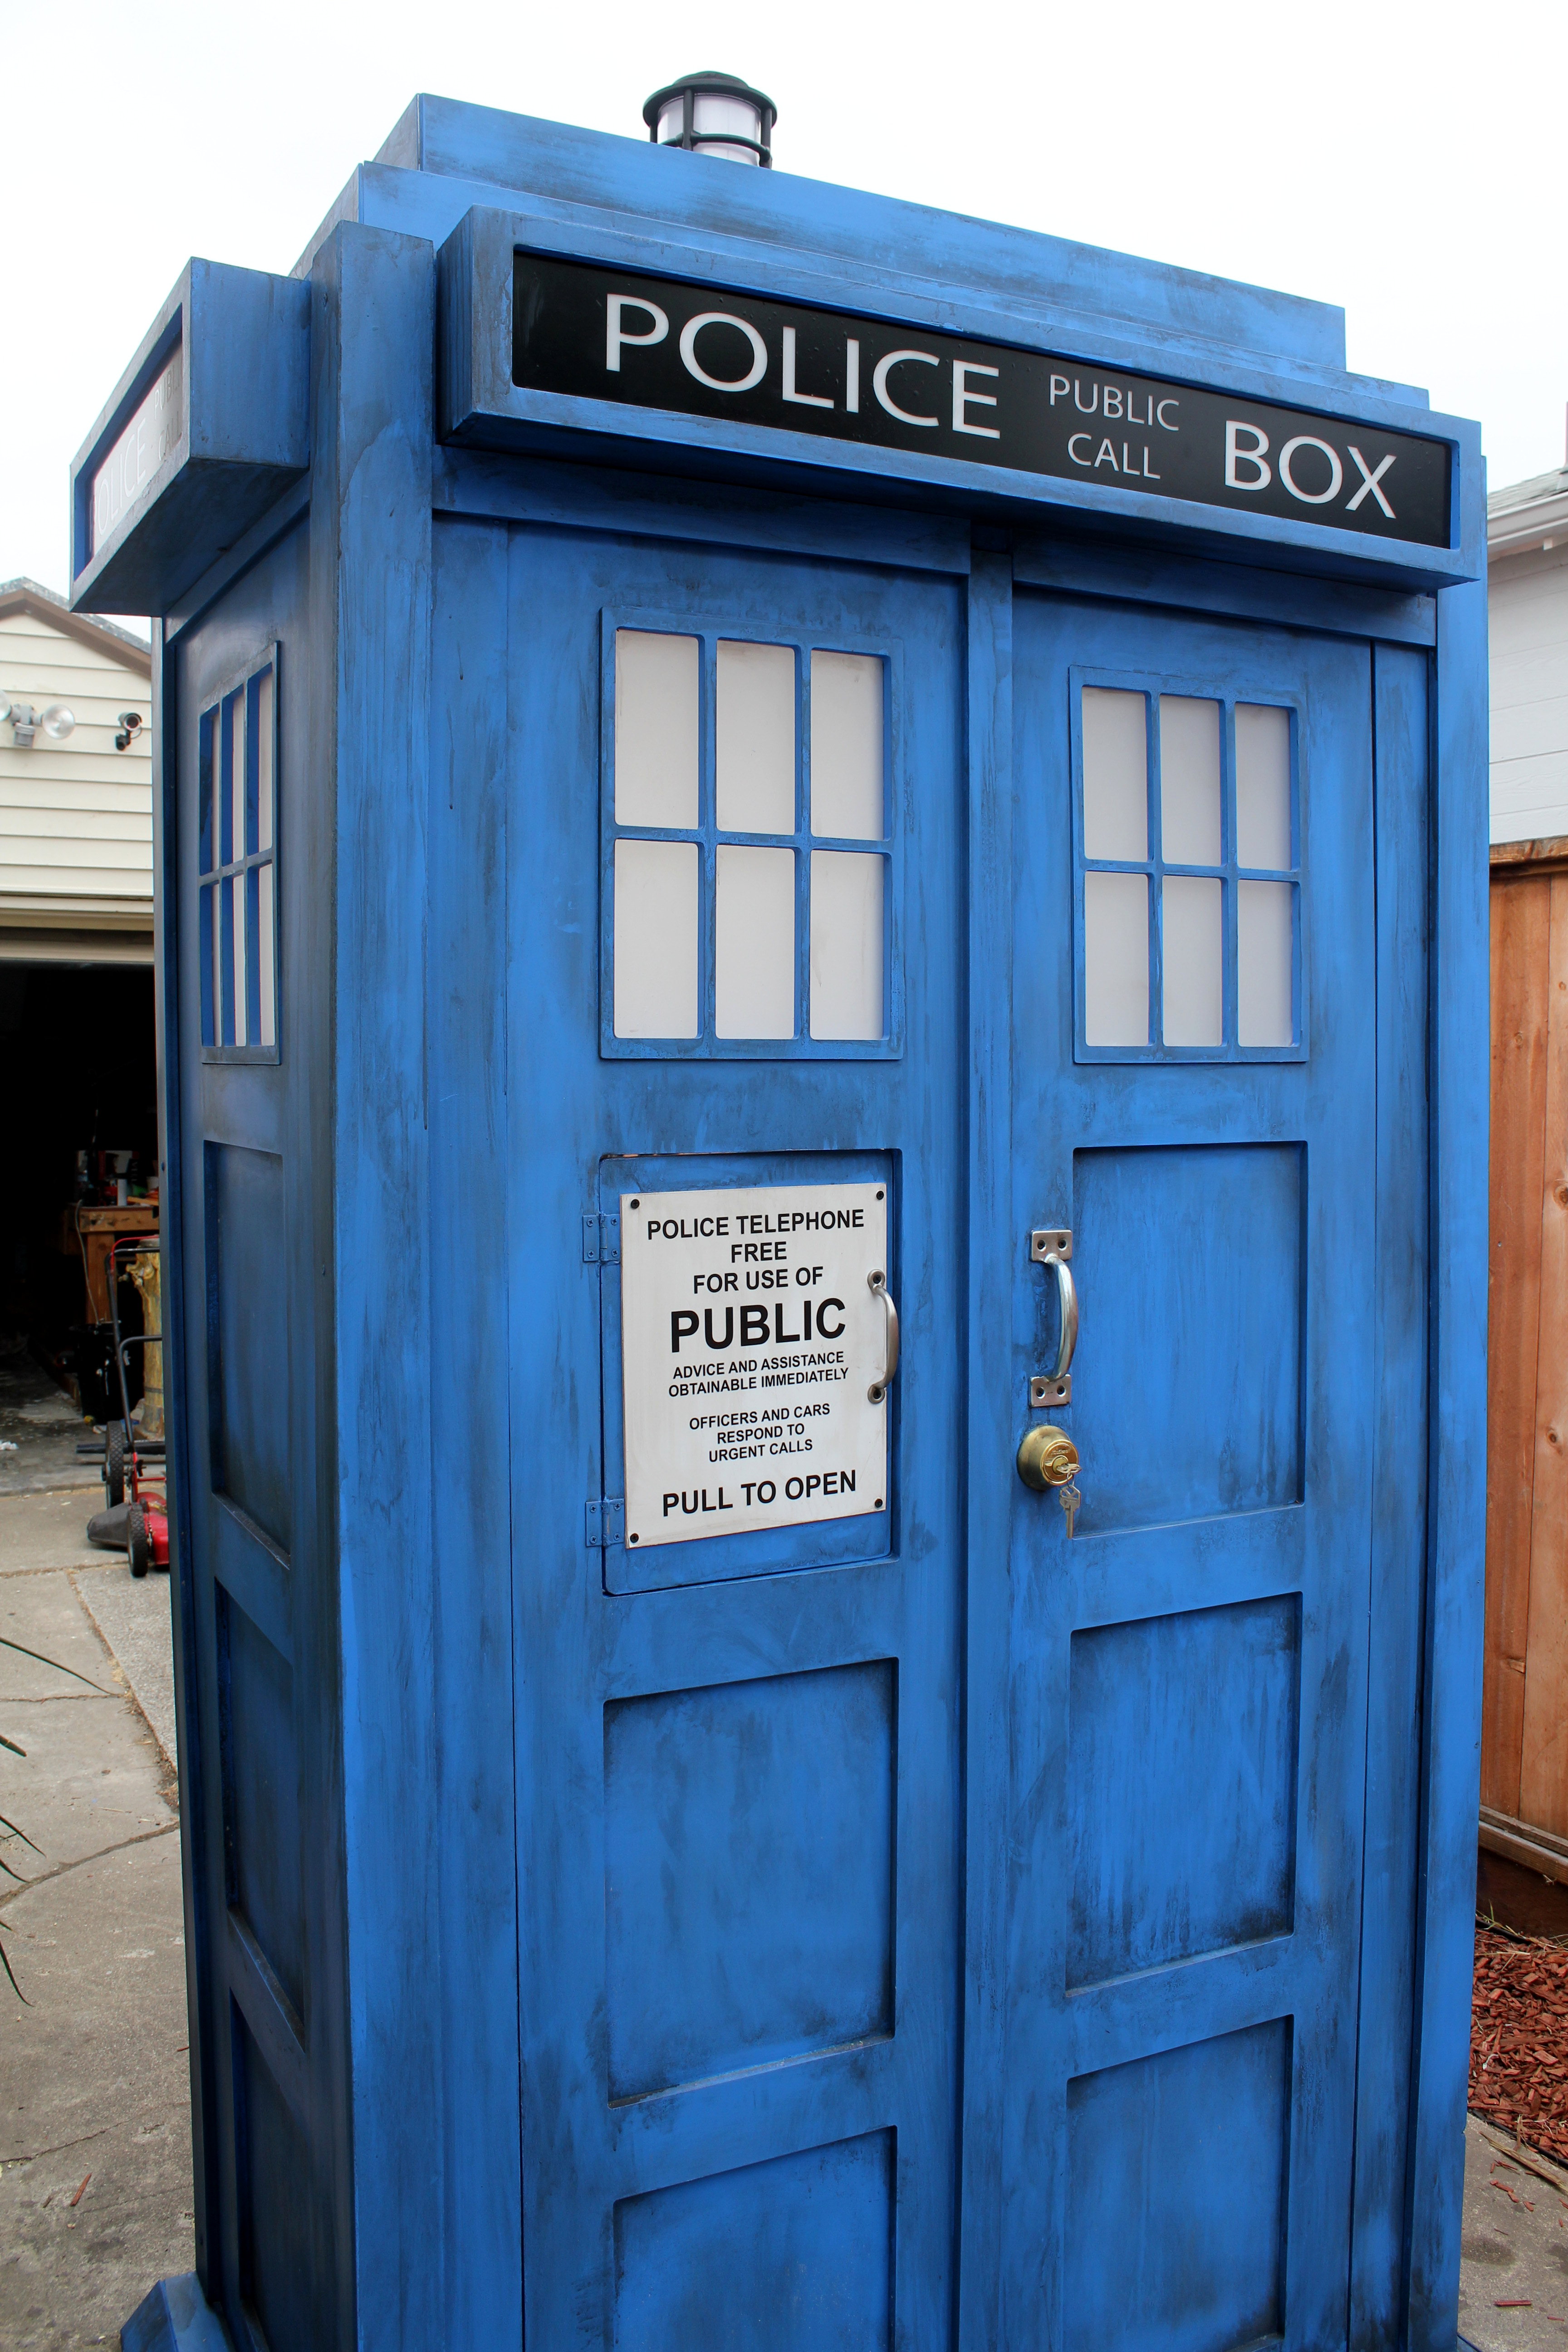
VISIT THE LIFESIZED TARDIS!!
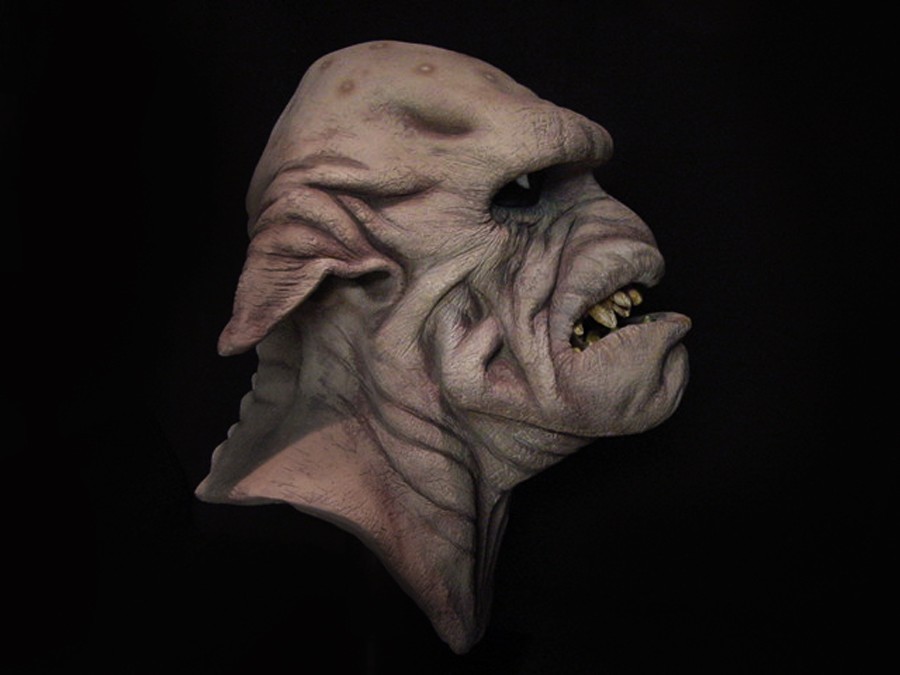
VISIT THE ARCHEOLOGIST ARTIFACT PAGE!
 Email Article