Sir Richard's shield Indiana Jones
updated 2024 This is a build-blog for SIR RICHARD'S GRAIL SHIELD; appearing as the final marker in The Last Crusade.
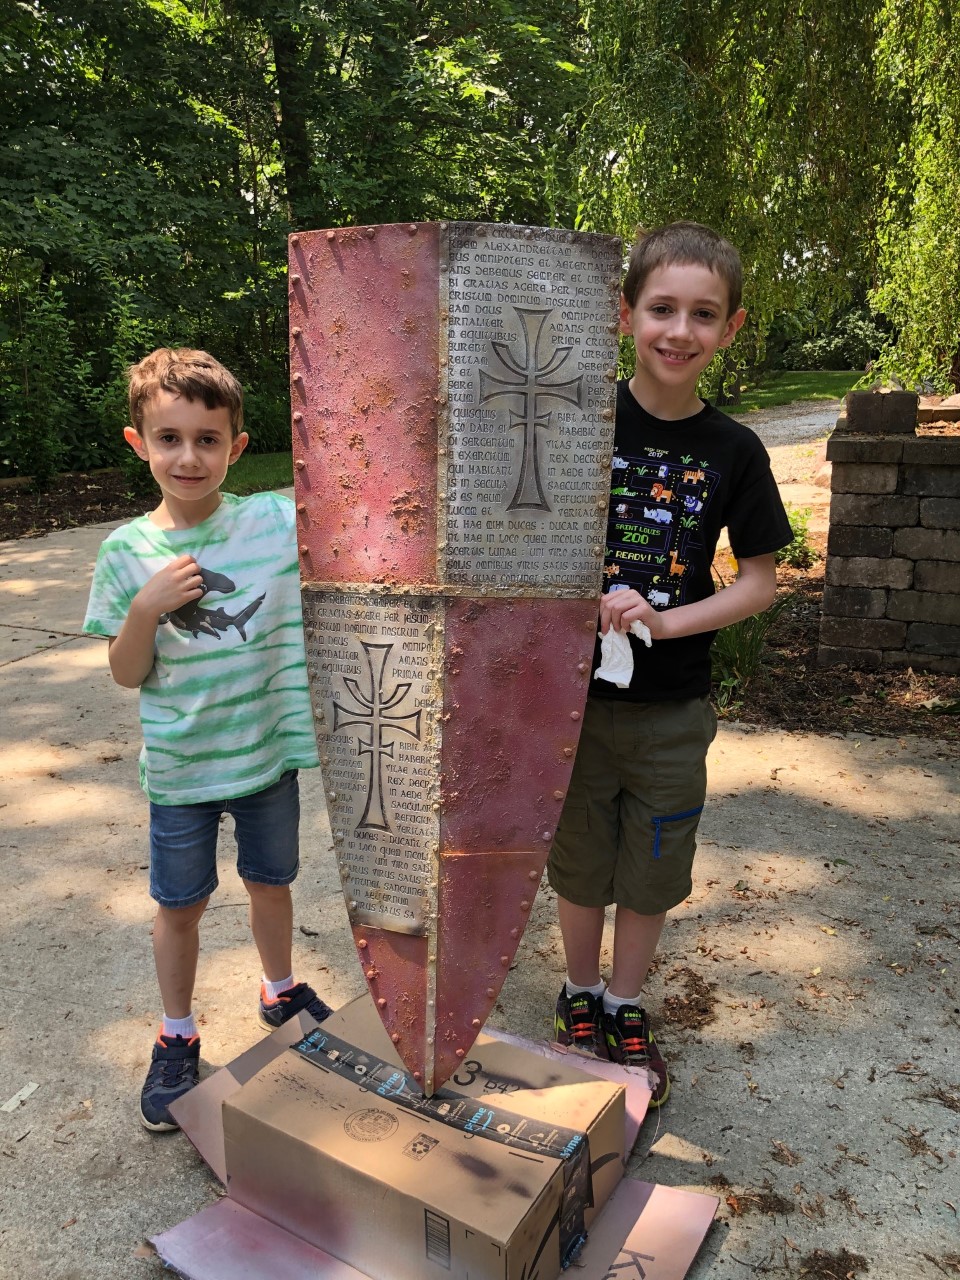
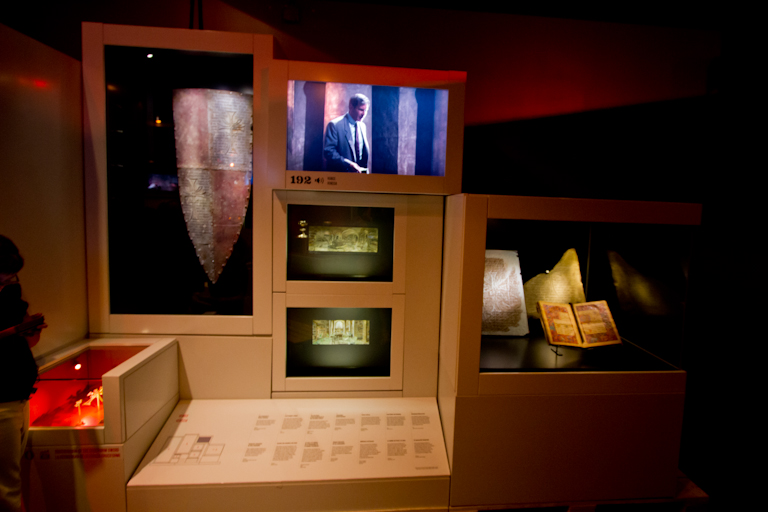
I loved this movie and I loved making this replica. This is a lifesized replica of Sir Richard's grail shield, seen in the film as the last marker for the location of the holy grail.
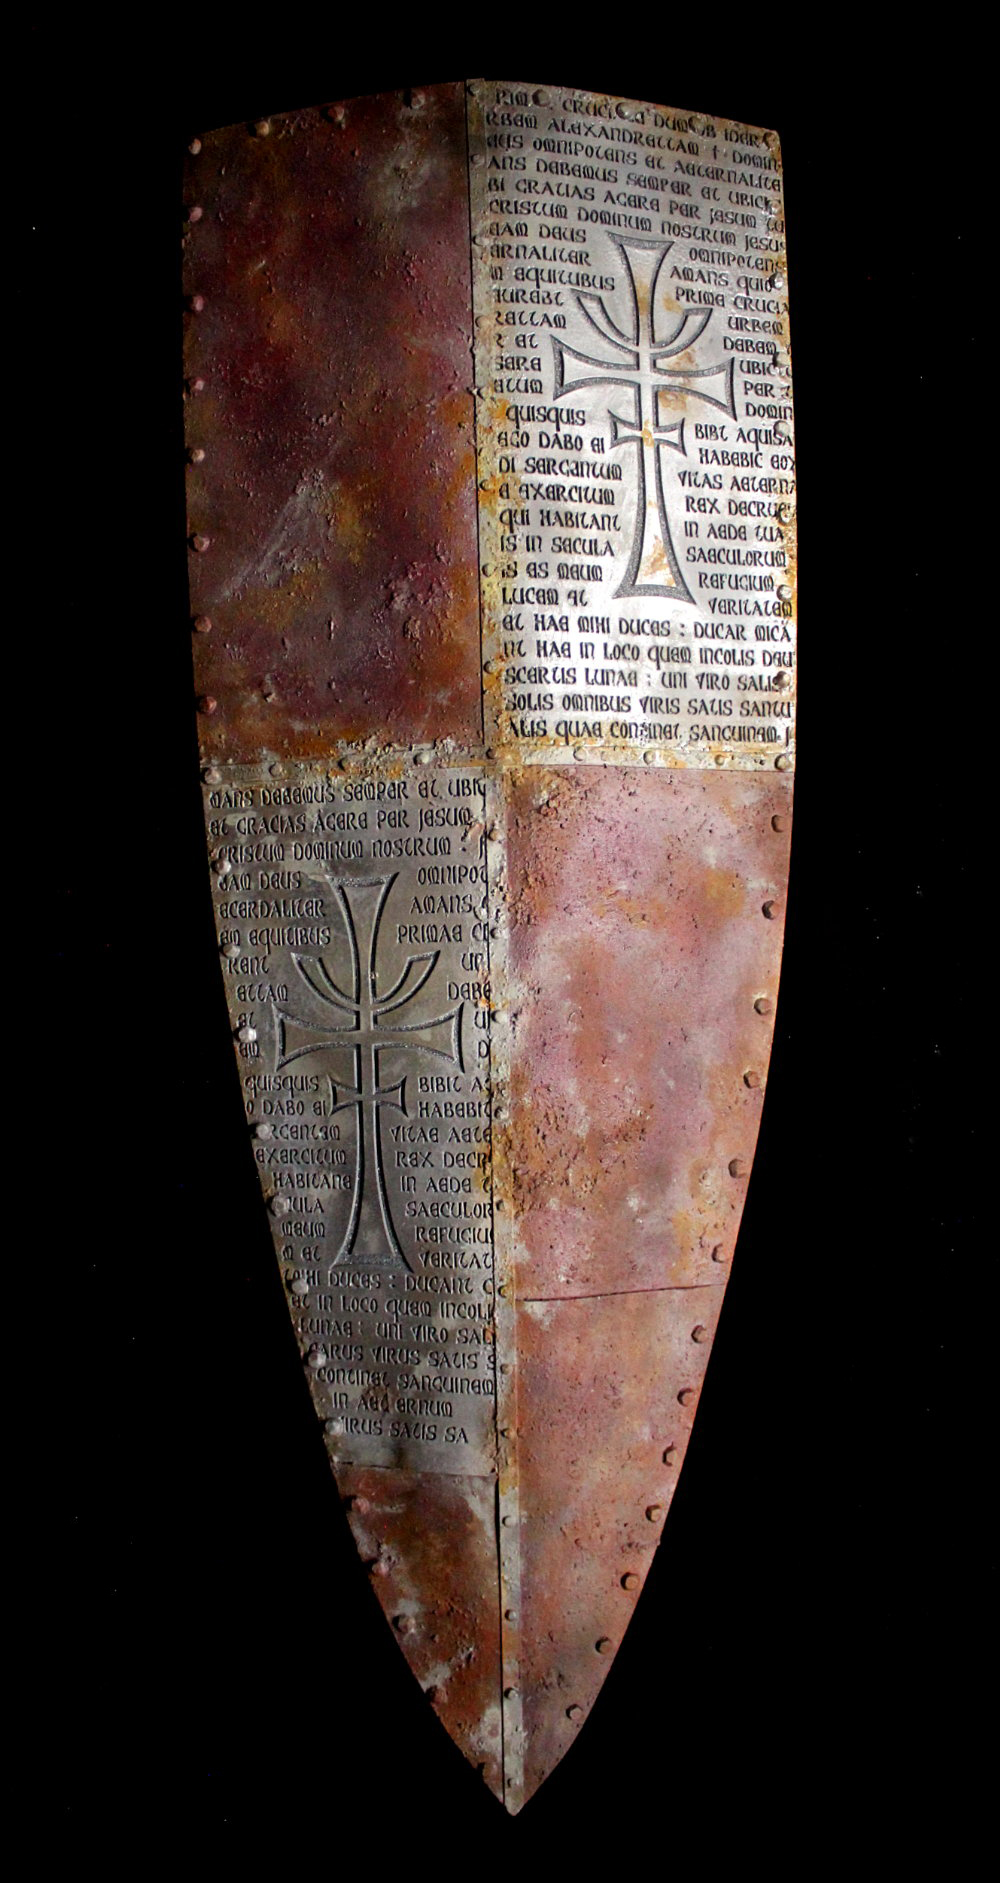
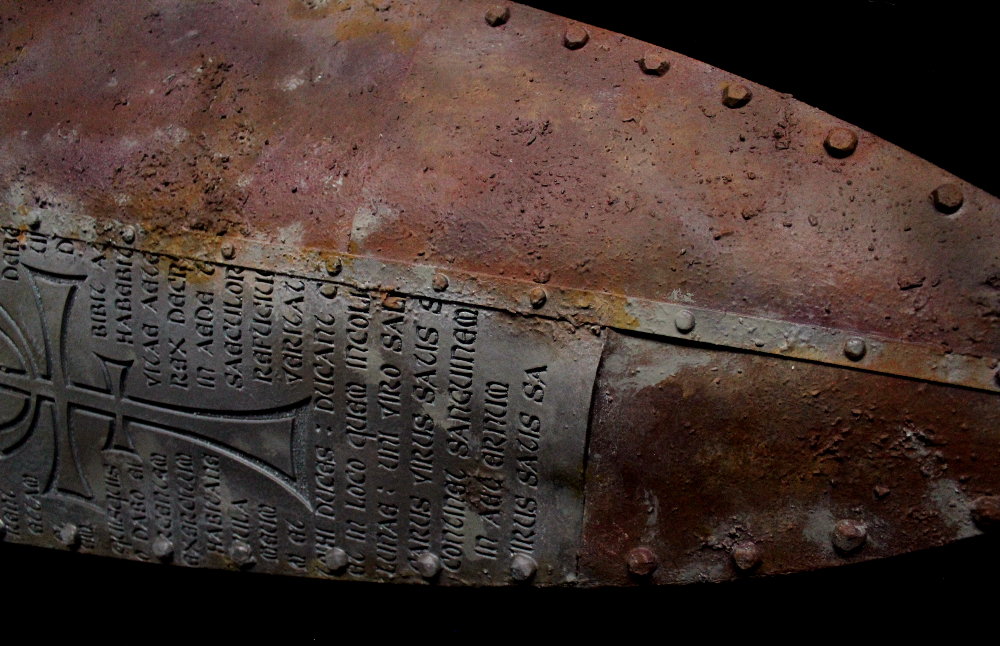
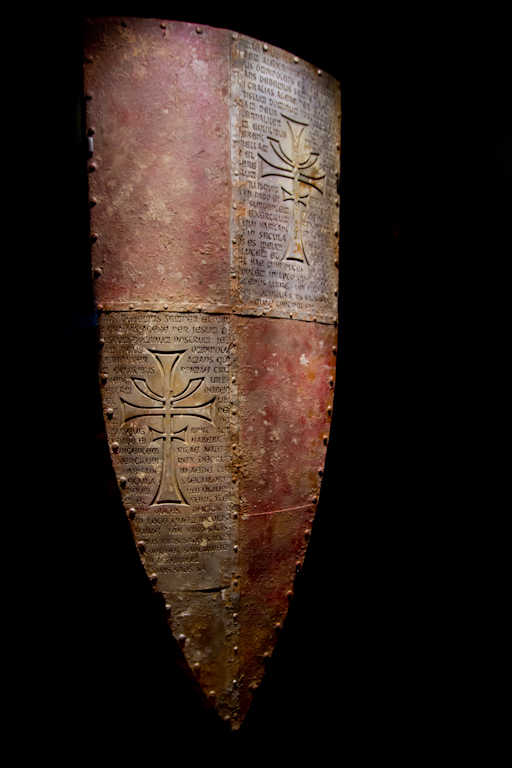
This replica is a finely tuned recreation of the original film-used prop, and features latin engraving, corroded texturing, and separated panel structure on a frame that's four feet tall!
PAINTING TUTORIAL:
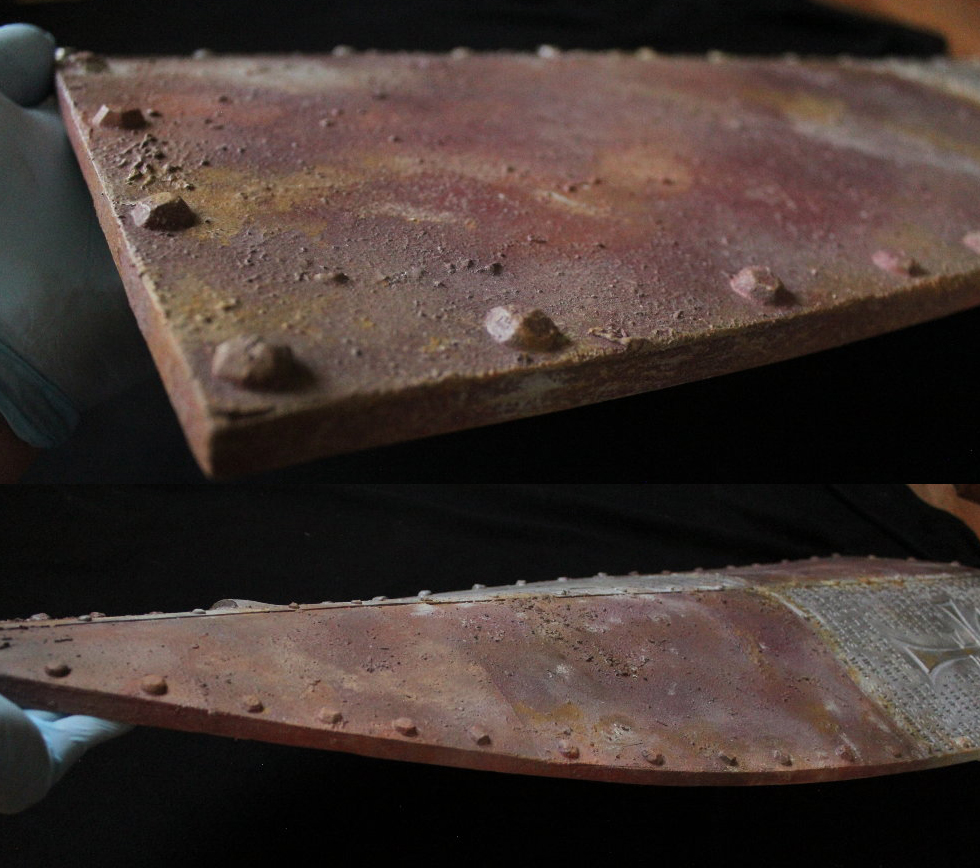
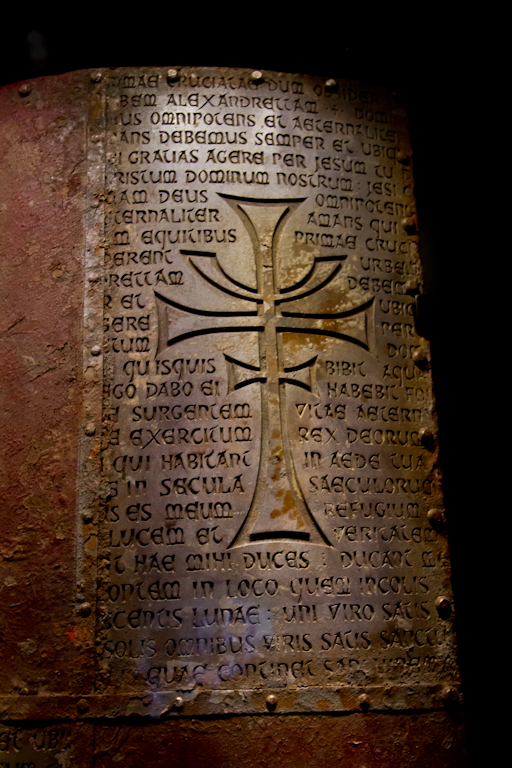
Behold this magnificent texture. I wanted to match the gritty corrosion and topographical nature of the film-used prop.
No assembly required! The kit:
Price includes one four foot long fiberglass layup grail shield. Shipping in 2024 has been updated to reflect new shipping prices in the U.S. Unfortunately rates have increased so much for jumbo boxes the price had to be adjusted in 2024.
I modeled a significant edge to the shield, making it appear ultra realstic.
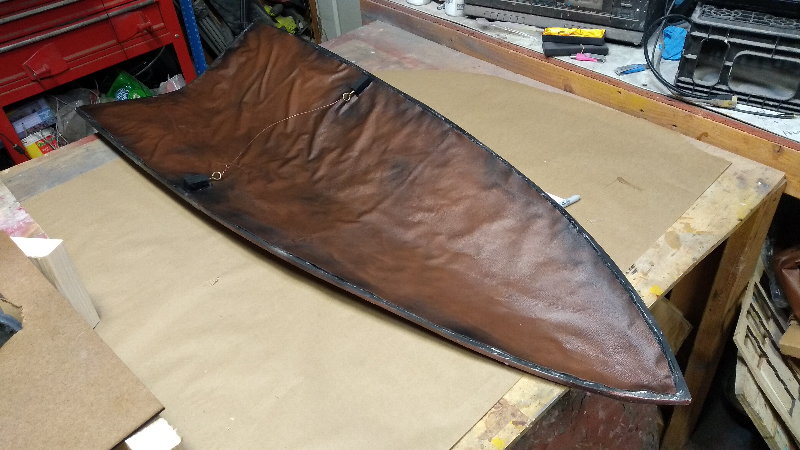
The rear of the armor can be kept blank (since it will likely be hanging on a wall at all times) or you can finish it like this:
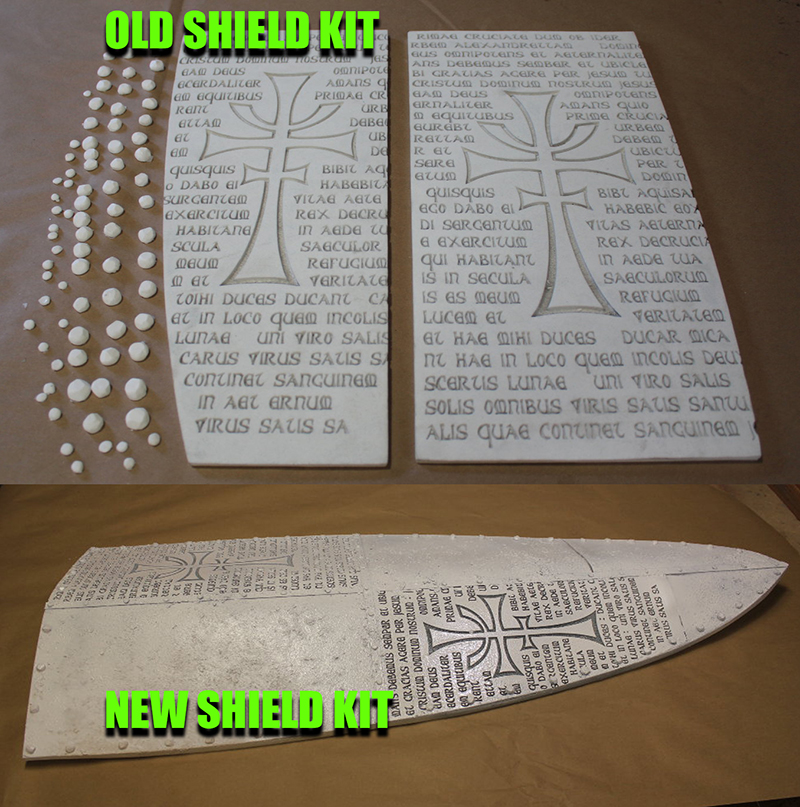
This photo demonstrates the old version of the shield compared to the new version of the shield. The new version takes all the work out of artpiece. All you have to do is paint.
HOW IT WAS MADE:
For the 2020 remaster of the SIR RICHARD'S GRAIL SHIELD, I literally started from scracth.

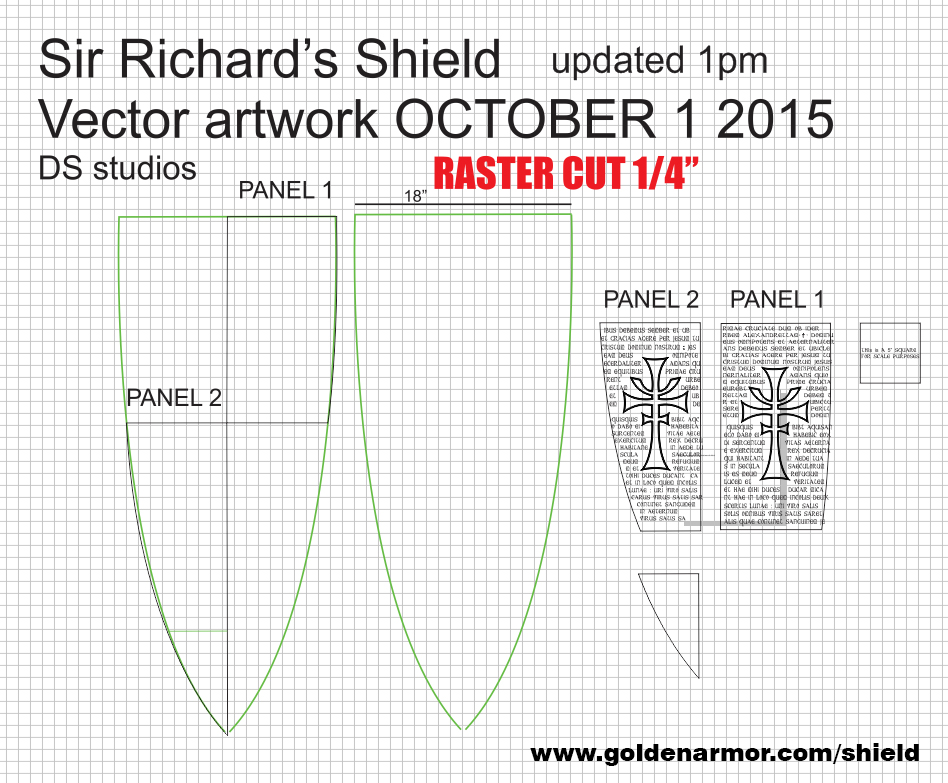
Using my original lifesized template, I made some vector changes to the tablets and re-cut fresh panels, this time using a 5mm substrate of foam.
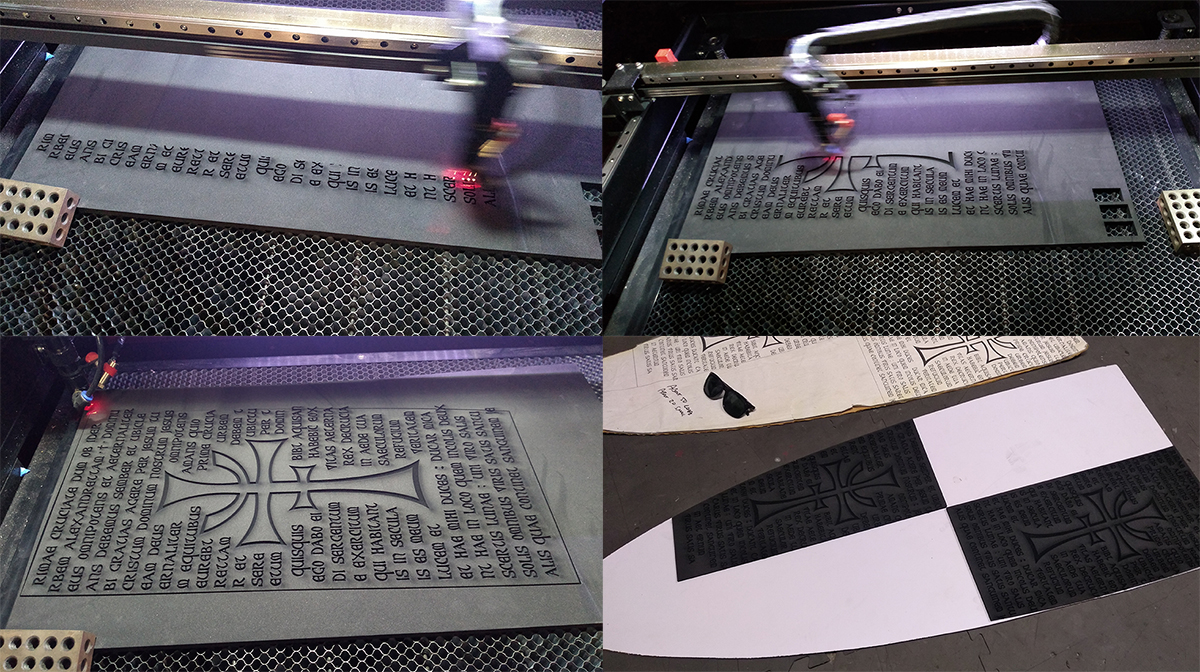
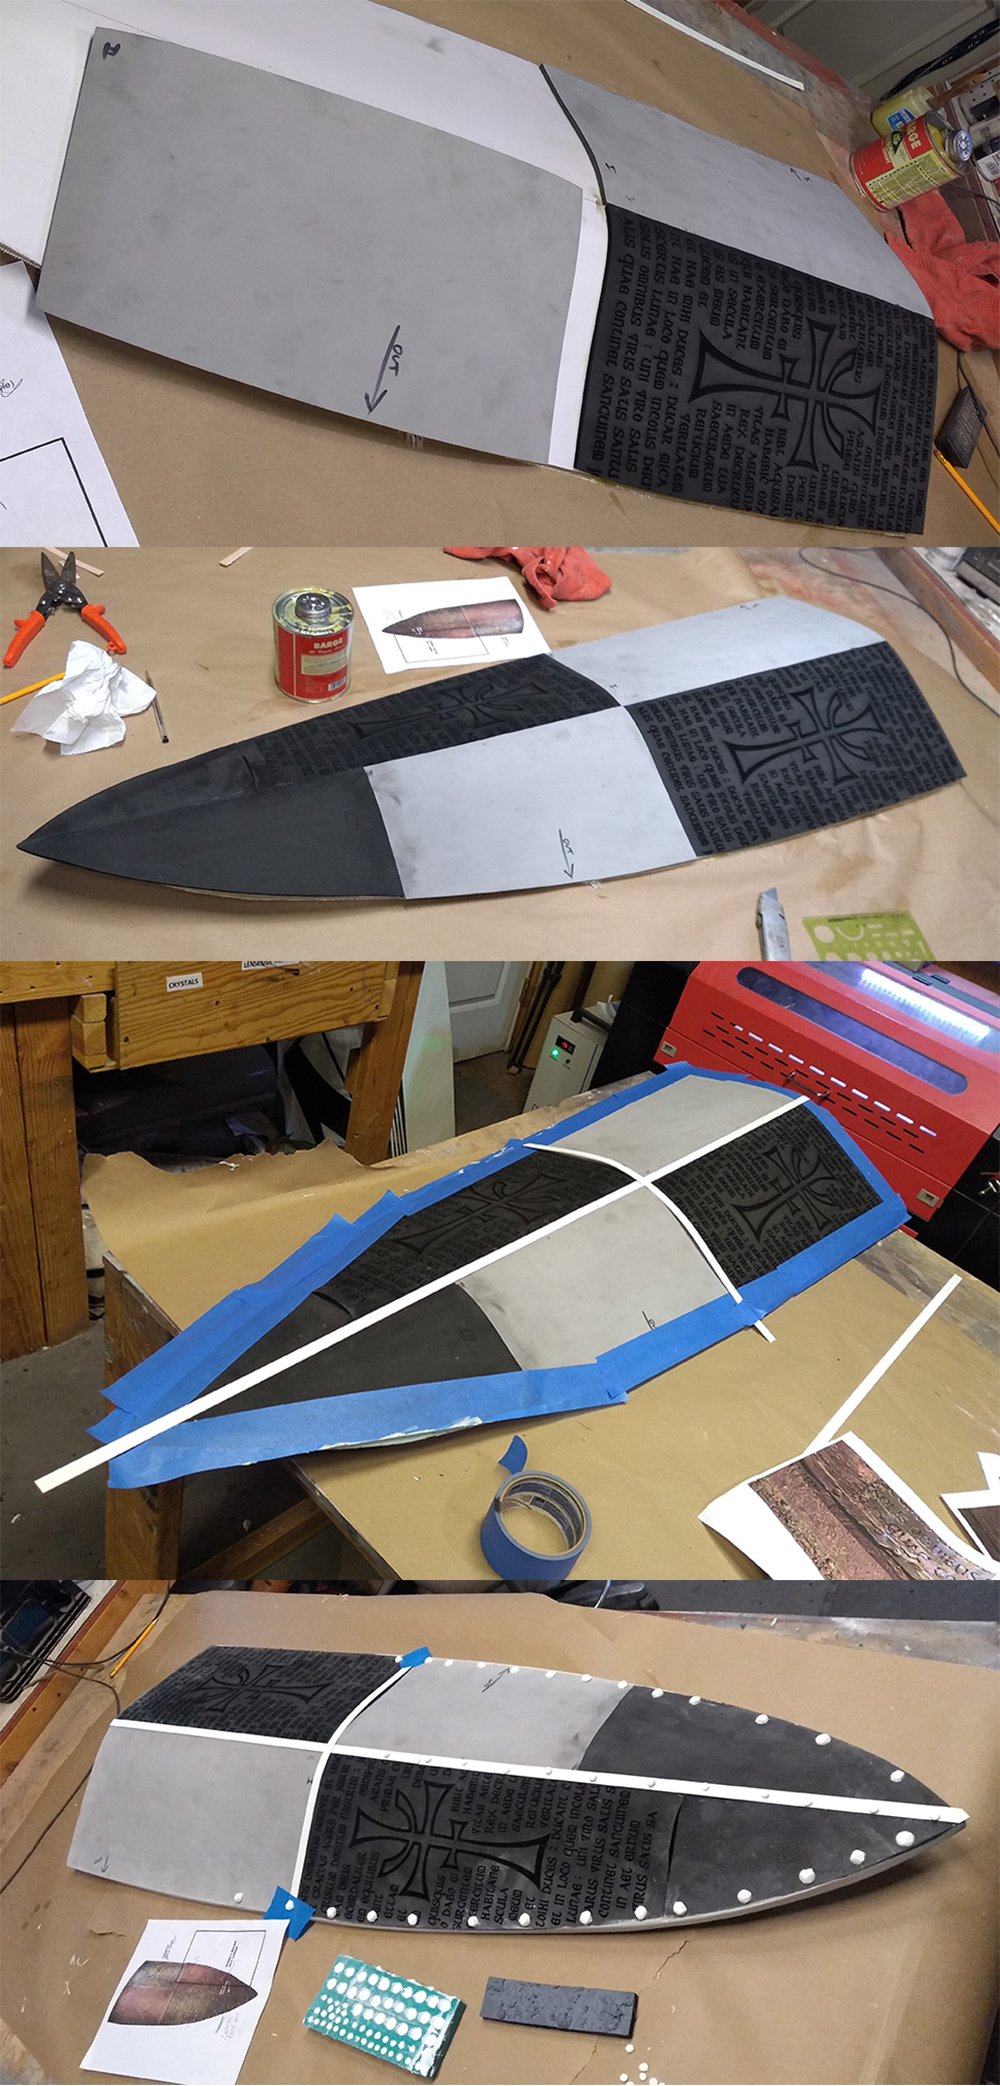
The base of the shield was created using quarter inch sintra. A PVC spine was attached and the pattern was bent using intense heat to form a gentle curve. The newly curved shield was re-enforced with fiberglass mesh.

The laser etched panels were then carefully applied to the shield pattern with contact cement. In the areas where the panels needed to be warped in or out, I used shims under the surface. Styrene strips and custom sculpted rivets were then applied.
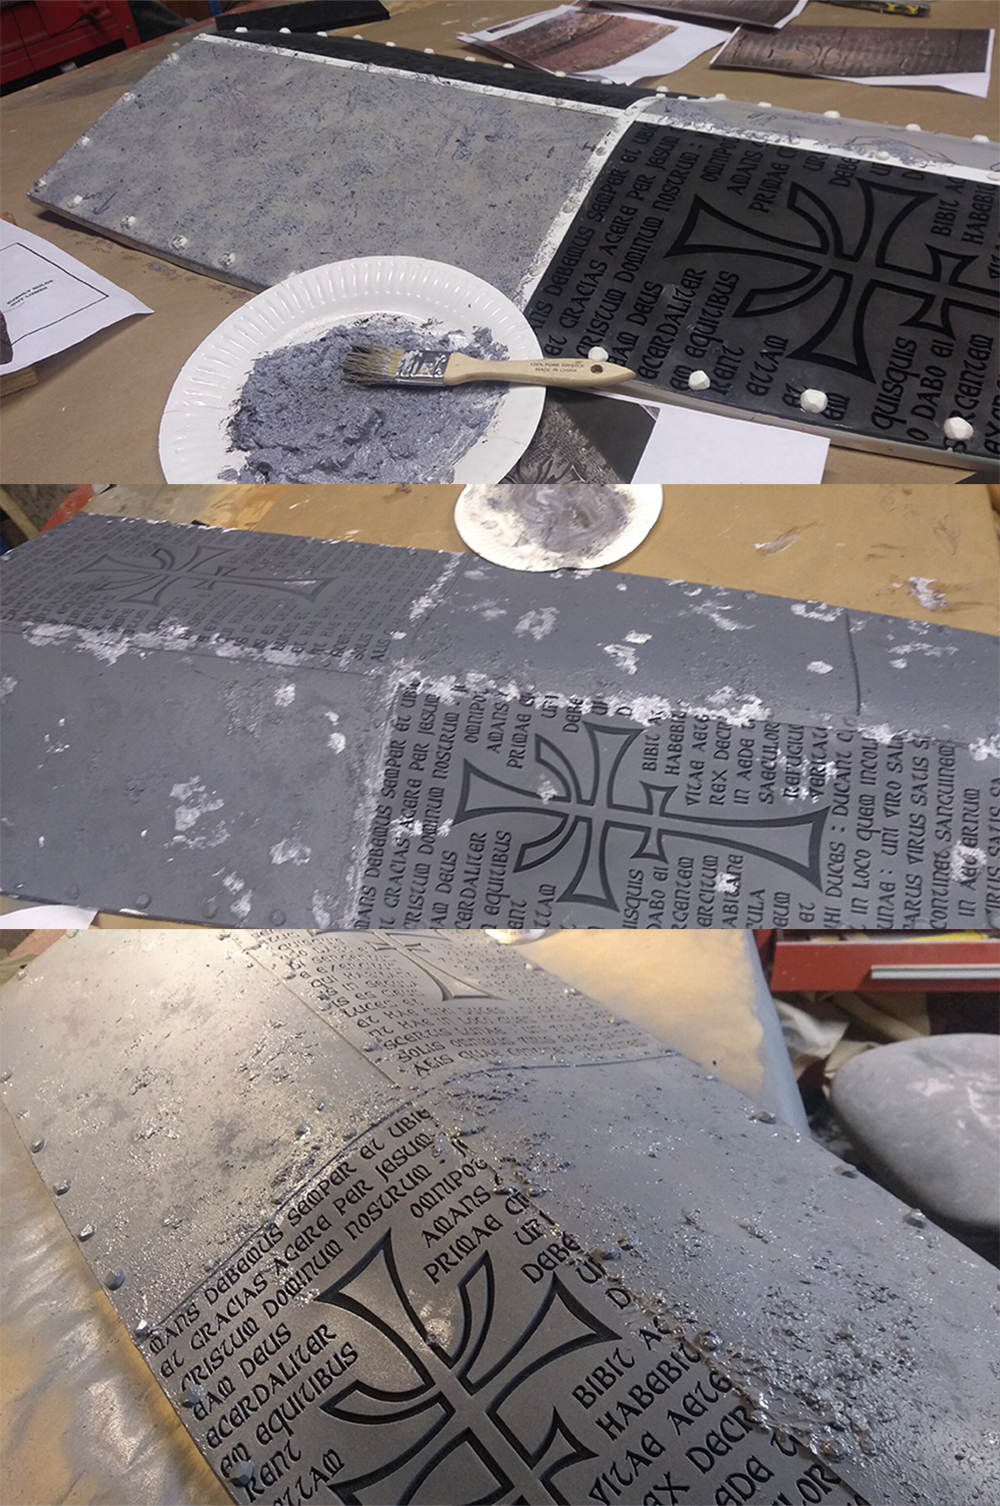
To achieve the intensely rusted areas, I used an acrylic compound mixed with dirt and liberally applied it. These areas represent heavily caked up rust and rotting metals. Additional rust flakes will be added to the casting before painting.
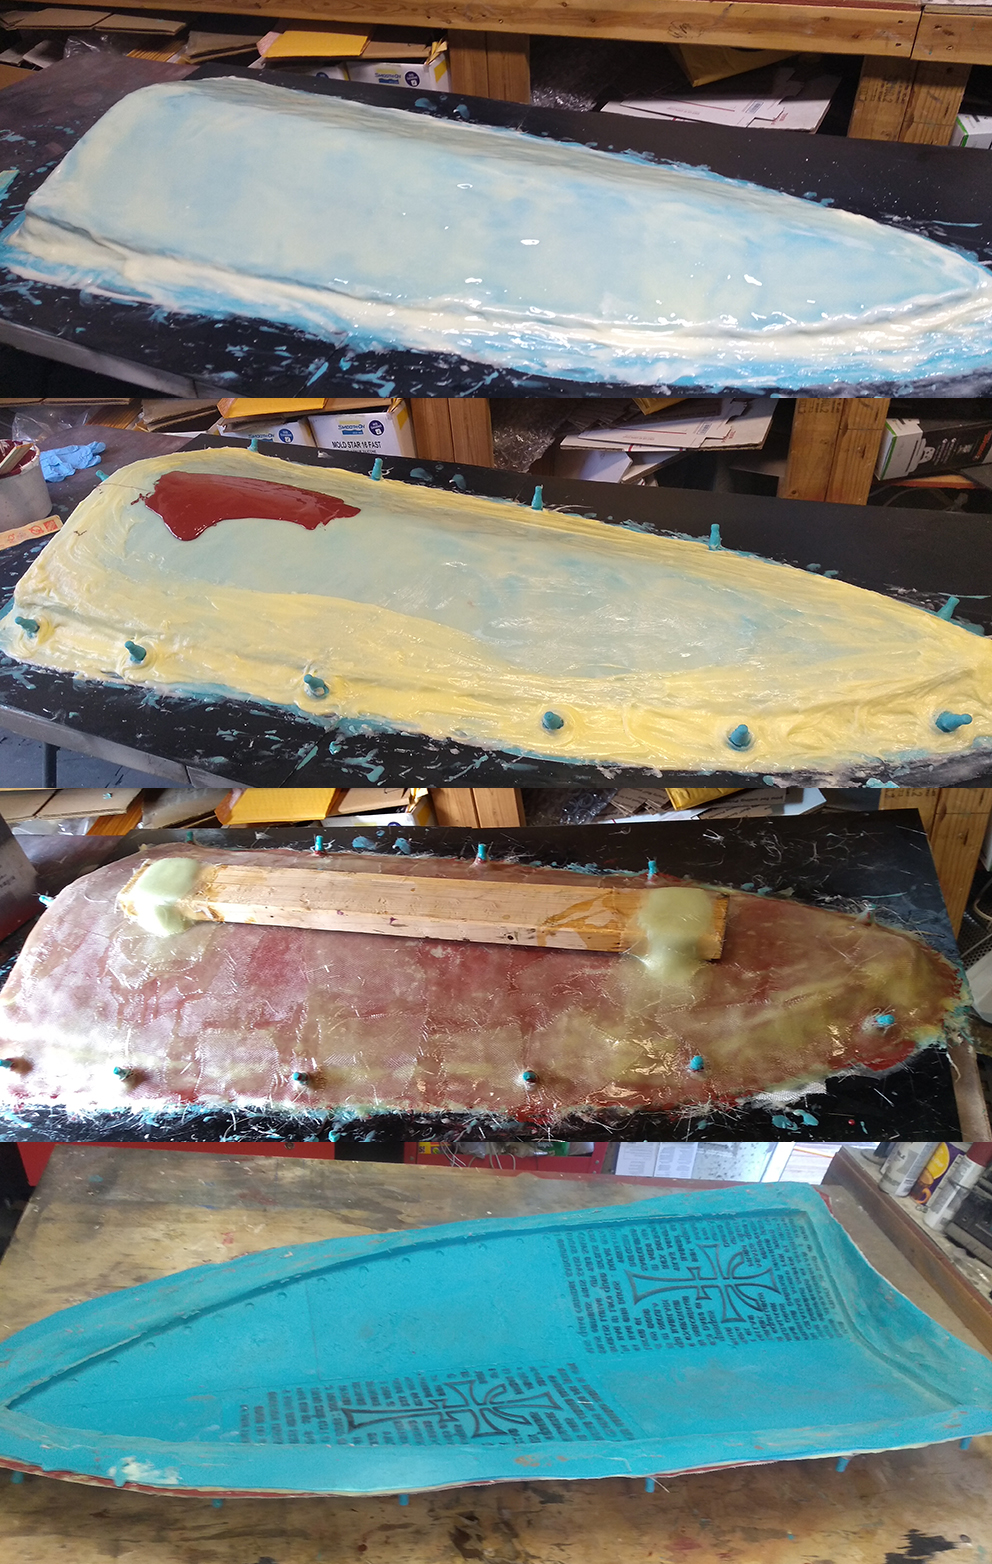
Mold-making stage
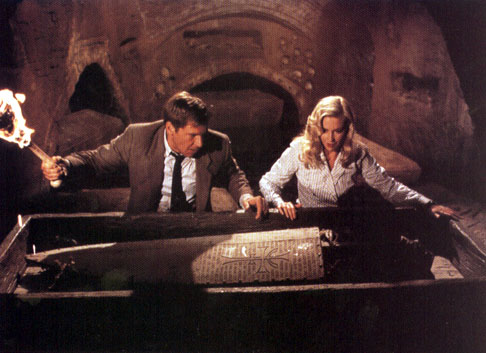
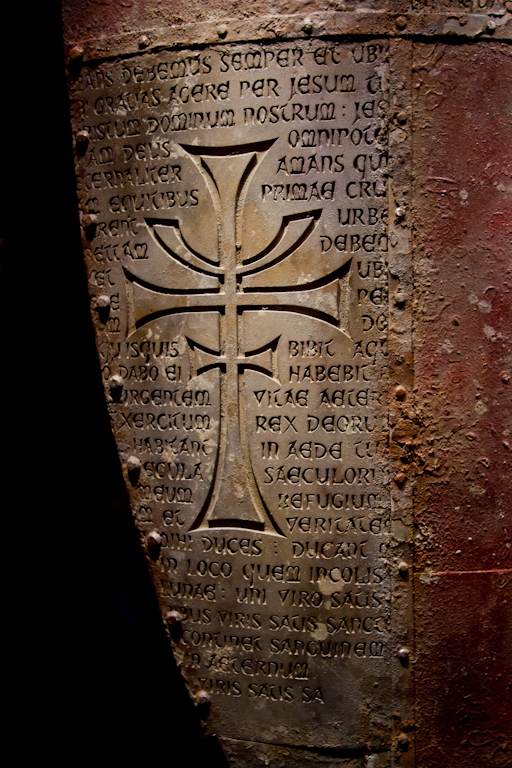
First, here's the film-used prop.
The texture on this prop is absolutely wonderful!
VISIT THE TARDIS PROJECT!