THE KLINGON BIRD OF PREY STUDIO SCALE HOMEPAGE
 Thursday, October 14, 2021 at 6:52PM
 Welcome to the BIRD OF PREY model page! This is a scratch-made 3D model that is a true labor of love for the discriminating collector. This is a set of 3D digital parts to create your own Klingon Bird of Prey. No physical kit is available of this particular model. I recommend using SLA/DLP resin printers to produce the parts, though a finely tuned FDM machine will produce amazing parts also. The detail on this is is THROUGH THE ROOF! This kit is recommended for the well-seasoned modeler, as it involves substructures, hinges, locking pins, etc..
If you have trouble reaching me, try me at my social media accounts: facebook.com/letsmakethestuff or instagram.com/chaucer44 and email: impervium@hotmail.com
There is also a BoP Builders group I created here: Check in and say hi! GA Klingon Bird of Prey and other digital model Builders Group! | Facebook
Video review of the a full set of parts:
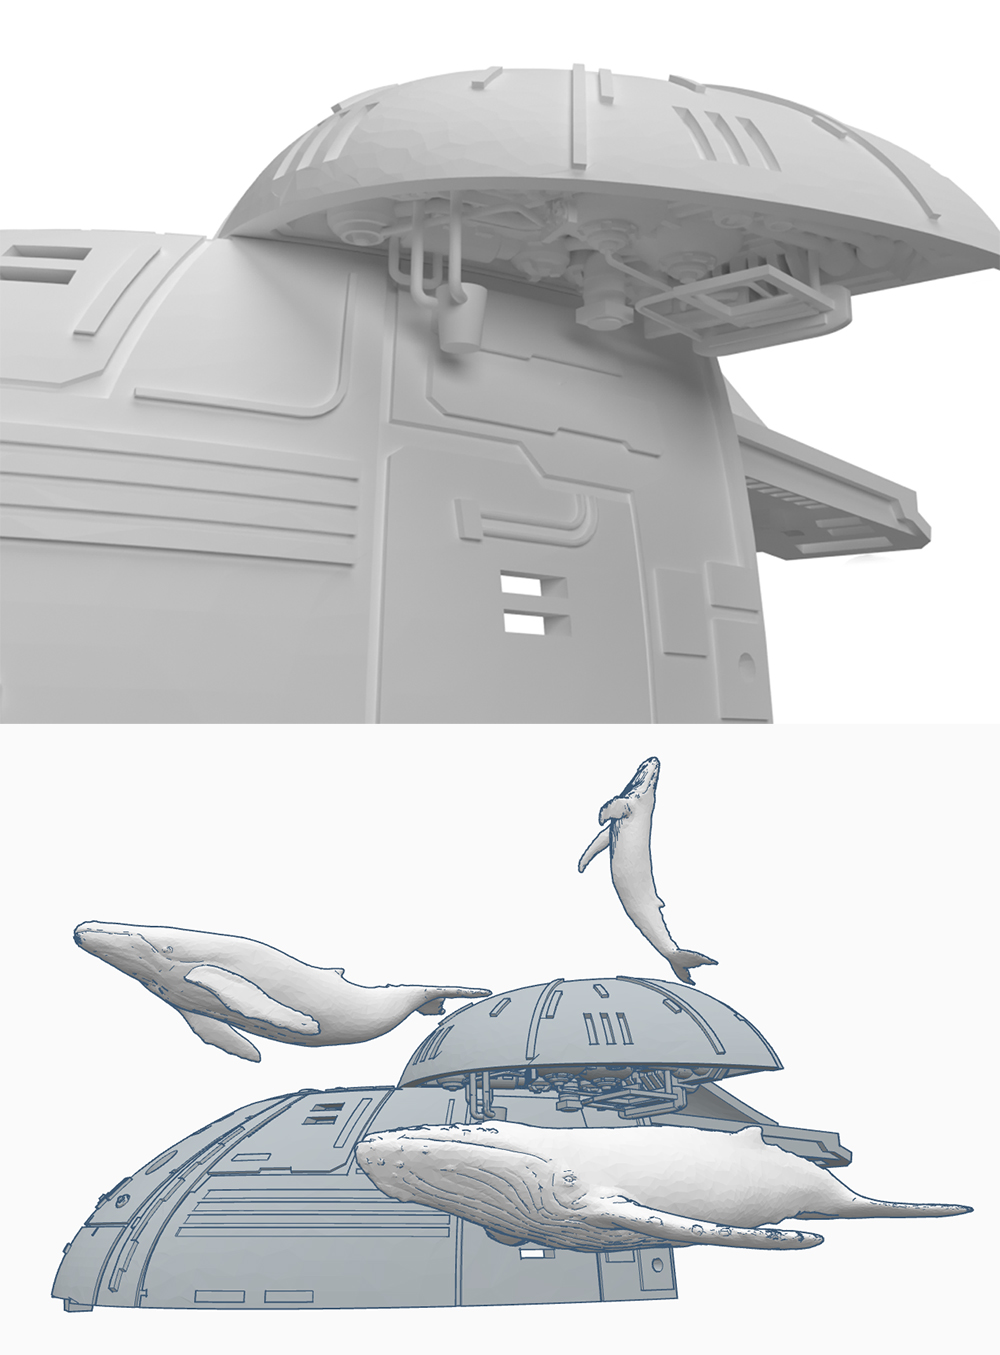
SOMETHING NEW!!: GEORGE AND GRACIE, the humpback whales! Photos and build-up from master maker Randy Neubert at voodoofx.com. George and Gracie are included FREE in the BoP digital file set, but can also be acquired as physical resin 3D prints. Add them to your collection!

GEORGE AND GRACIE DIGITAL MODELS (no physical media)
GEORGE AND GRACIE RESIN 3D PRINTS (ready to paint)
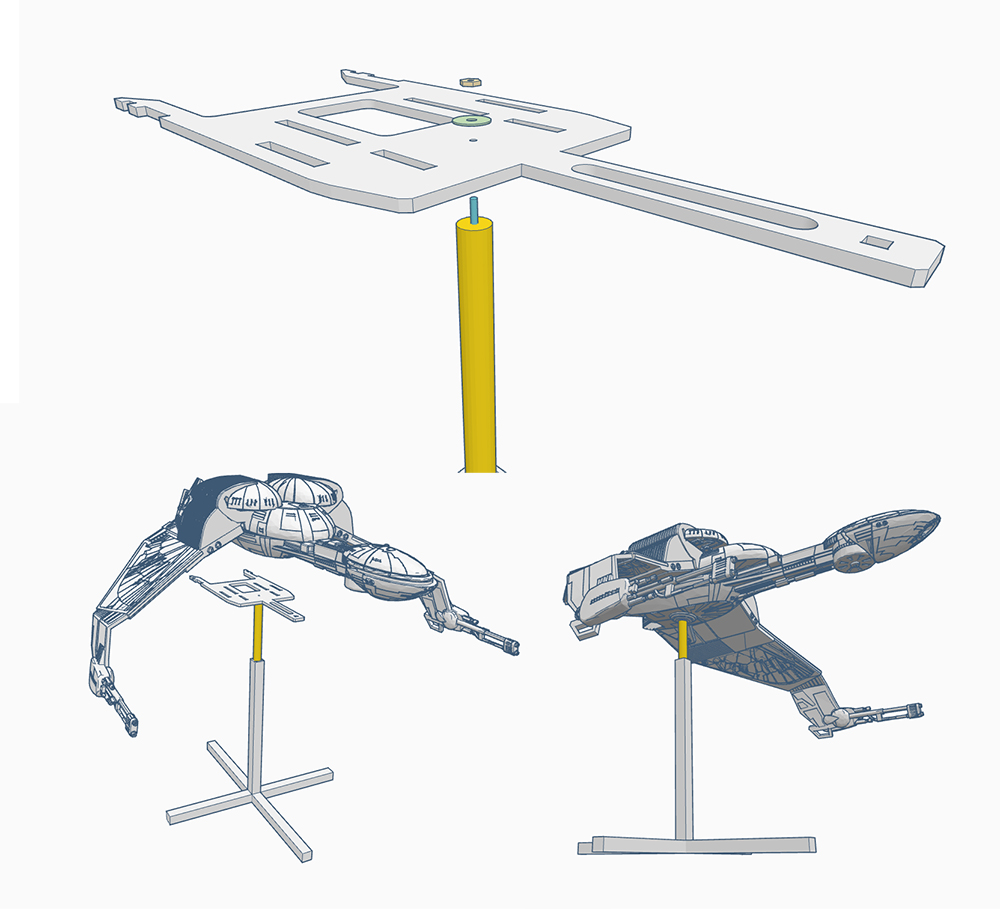
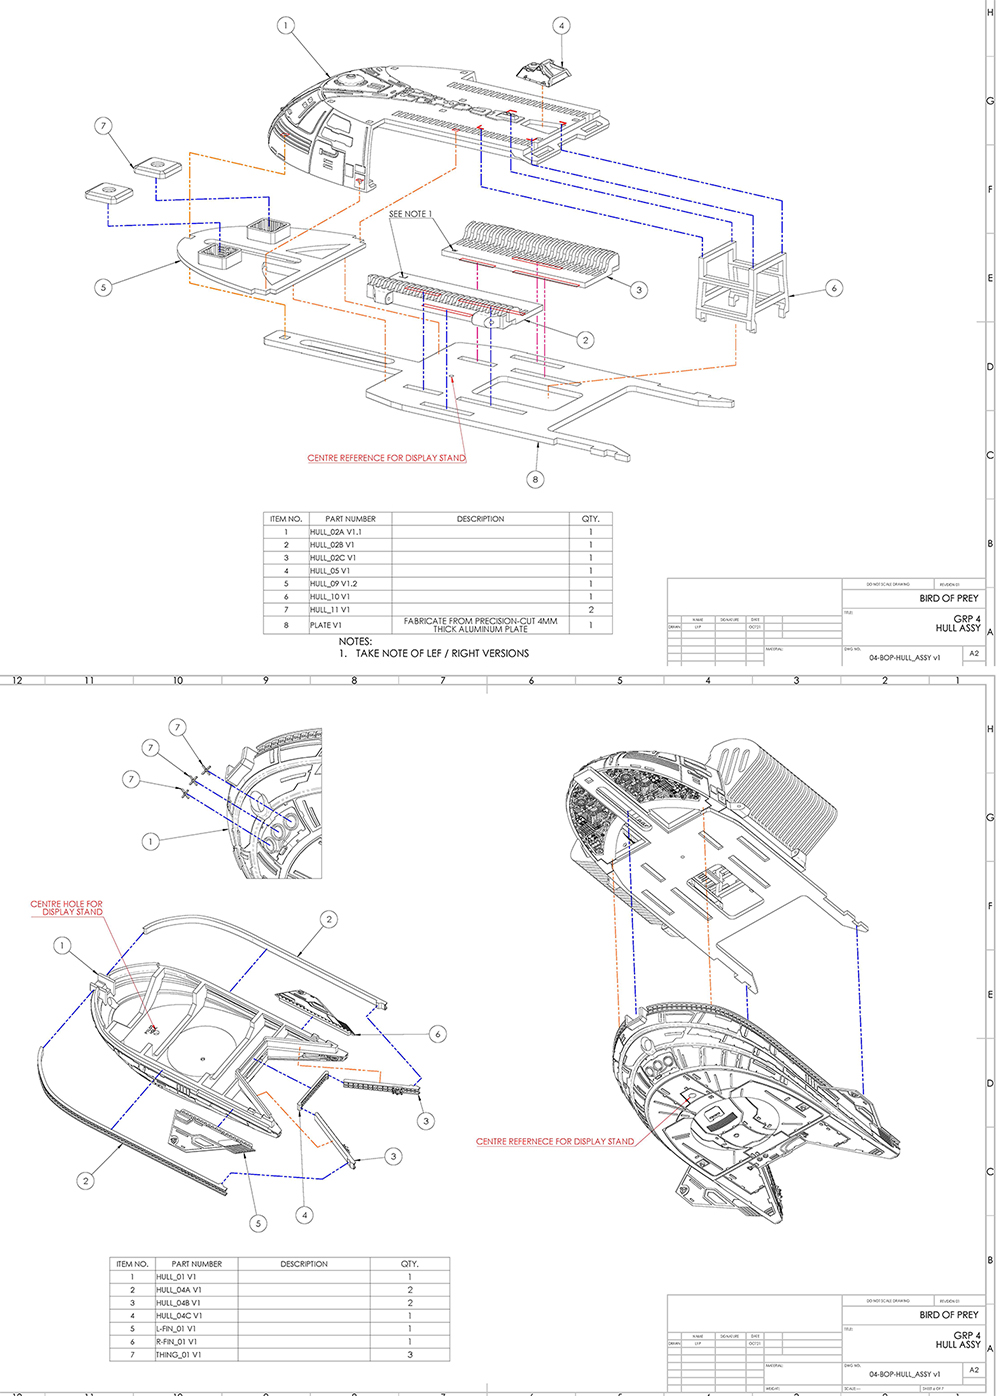
If you have welding knowledge, here's some sketches for a metal display stand that attaches directly to the interior hull support plate:
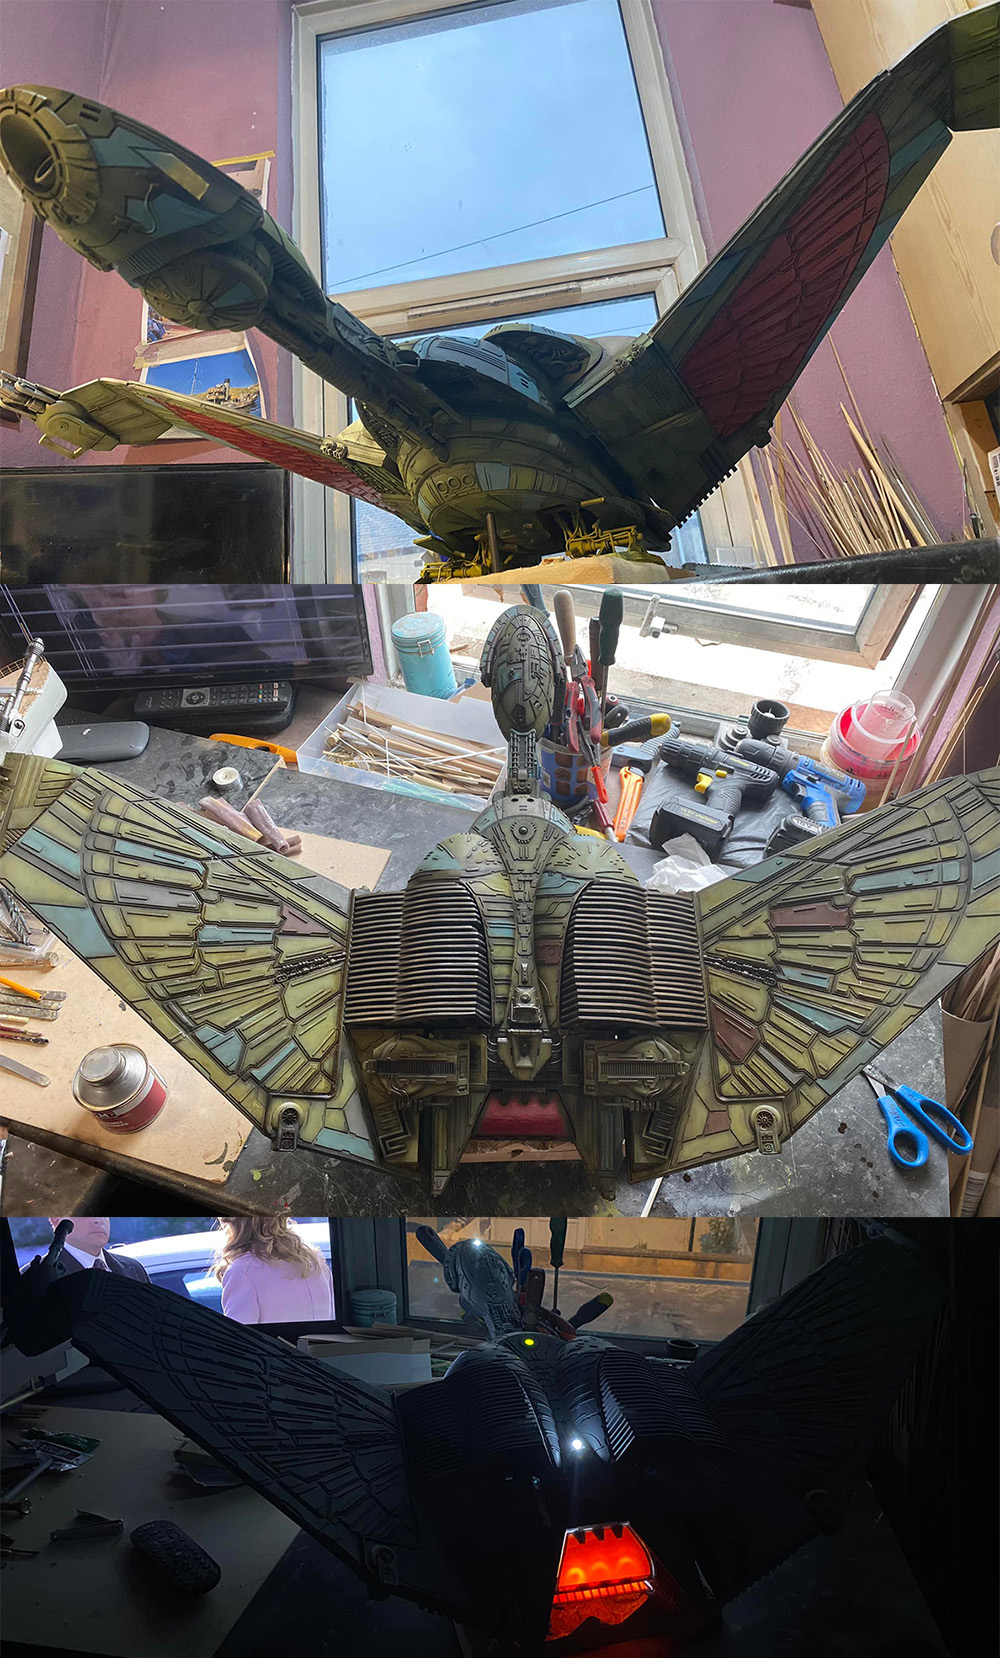
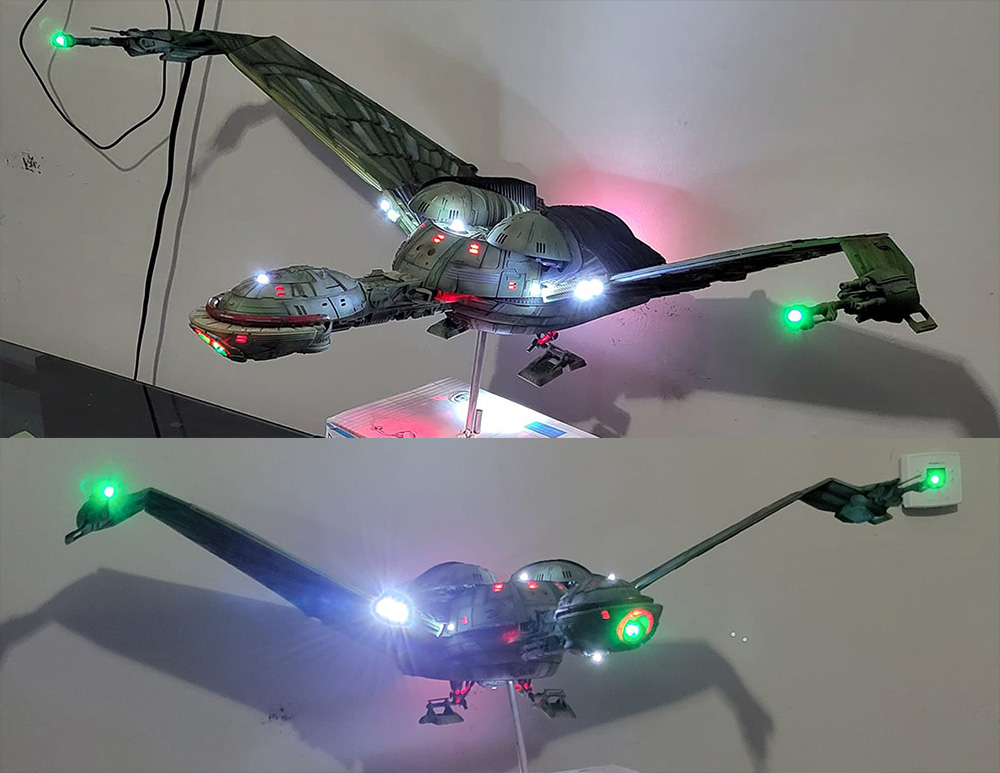
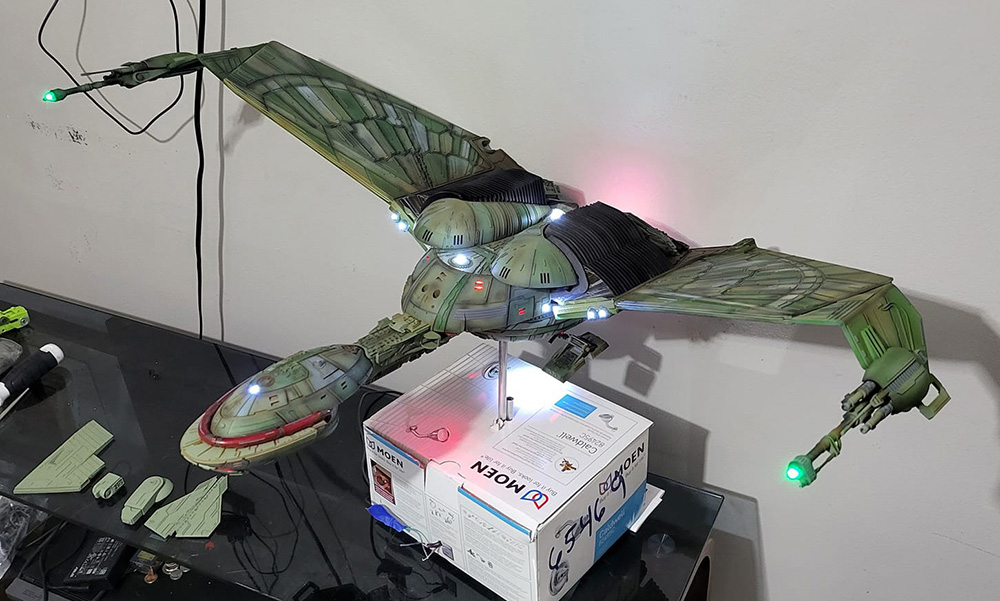
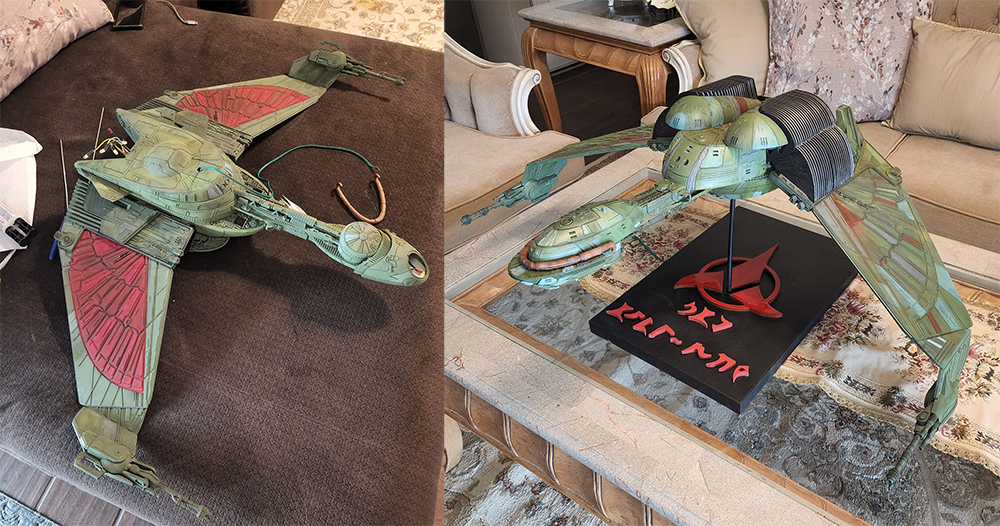
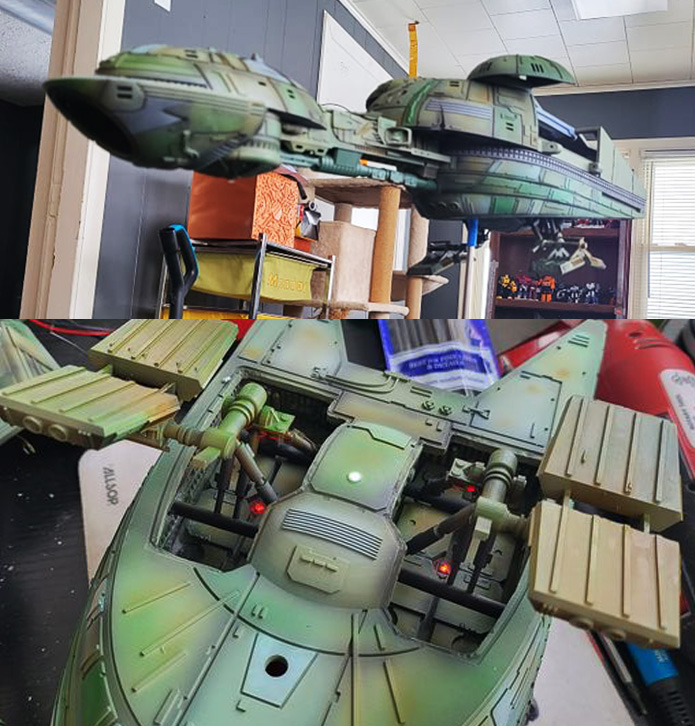
Photos of finished models are courtesy of members of our BoP facebook builders page. Specific thanks go to David E. Paul Jr.. Michael Koff and Mark Graham for their magnficent buildups of this model!
Note: the landing gear and flaps/gear box and BOARDING RAMP are not part of the main digital model. They are add-ons for an extra cost.
If you have interest in this model, please email me at impervium@hotmail.com or contact me through my social media mentioned above with "Bird of Prey" in the title.
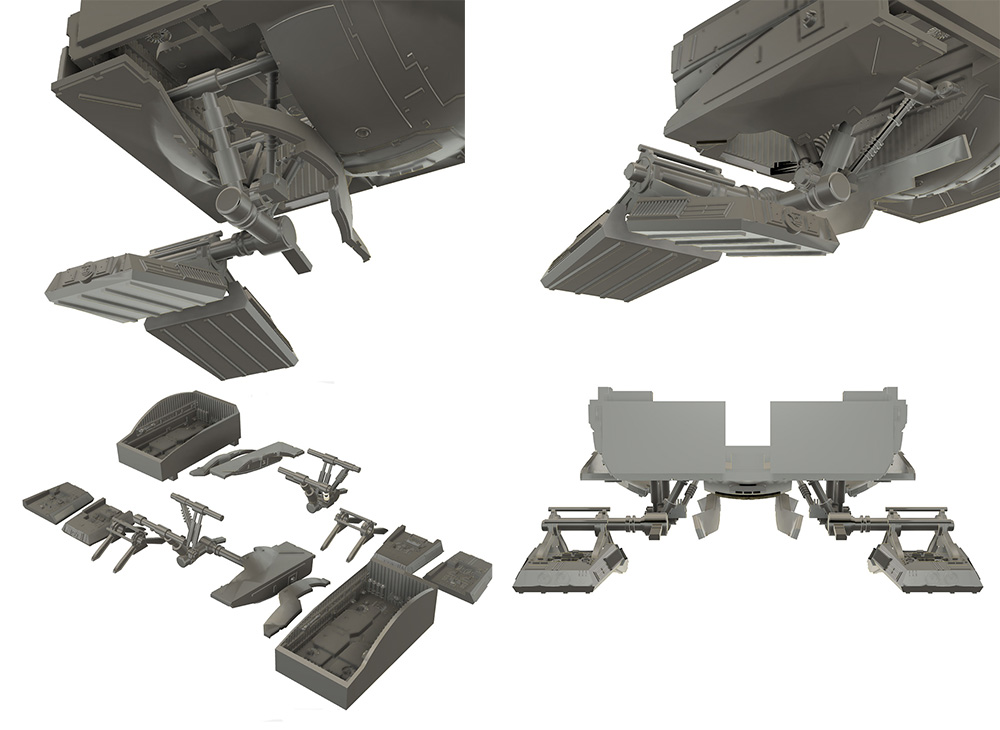
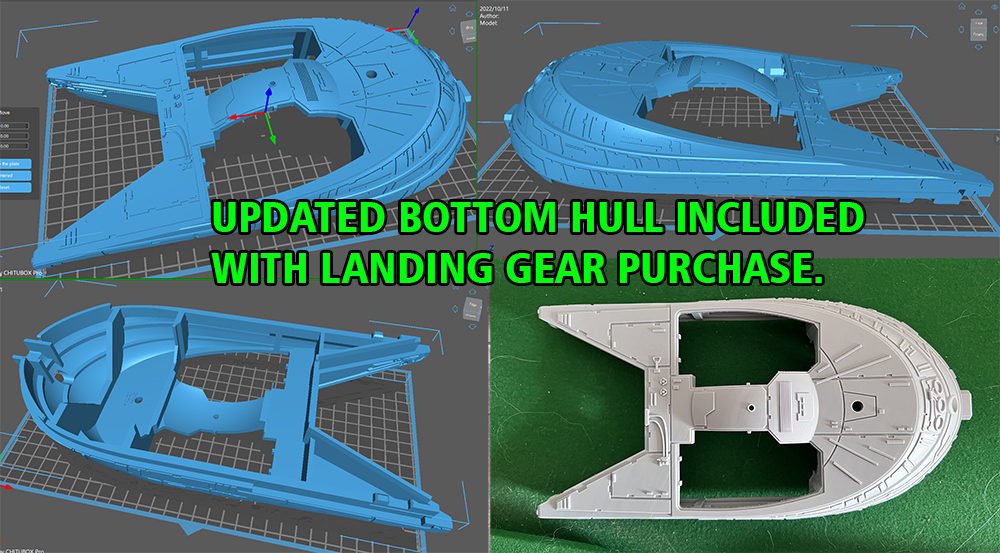
LANDING GEAR for this model is now available! The set of STL files is set to default scale (100%). They include the landing bay, landing feet, struts, brackets, etc.. for creating the landing feet and gear for your starship. Some sanding/filling will be necessary for fitment and you will need to manually trim out these sections of the lower hull
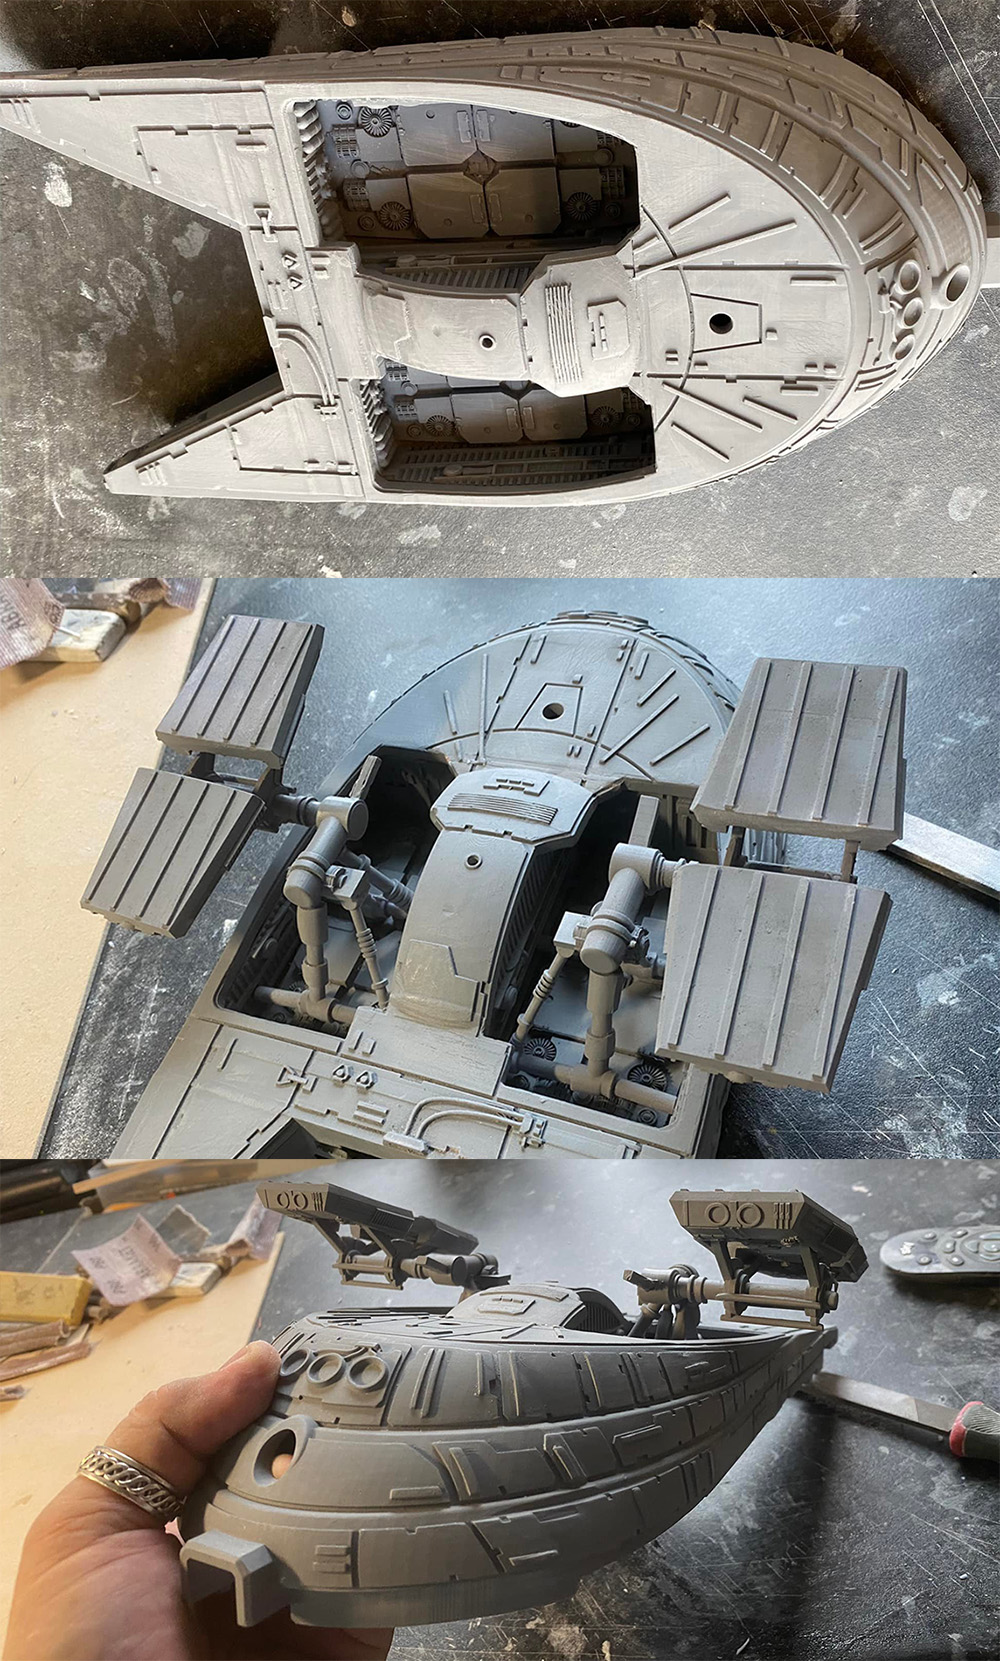
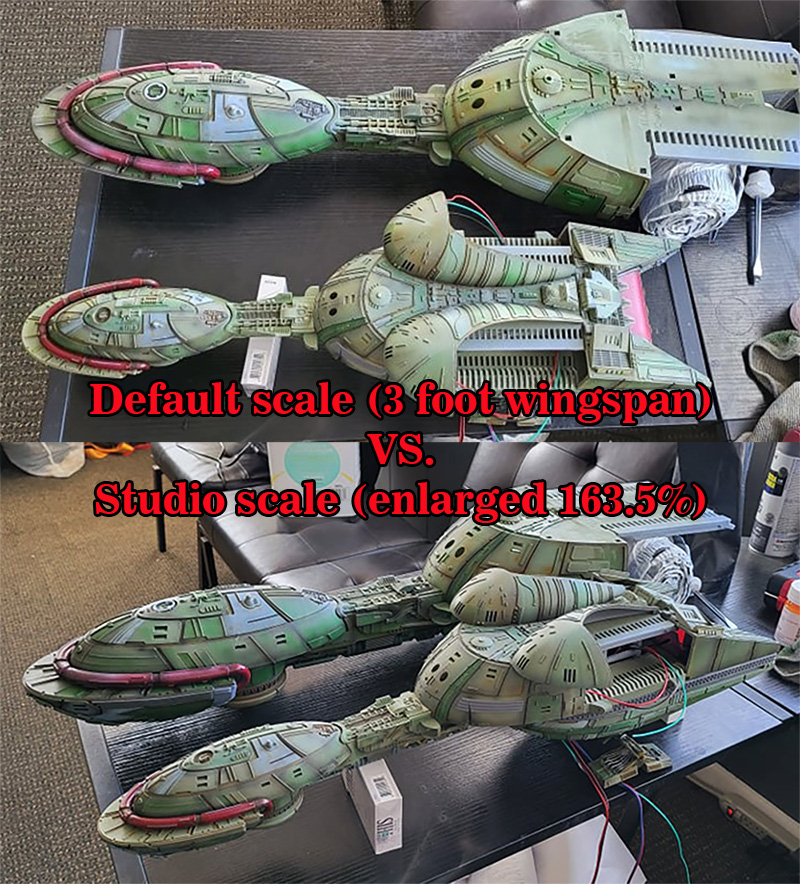
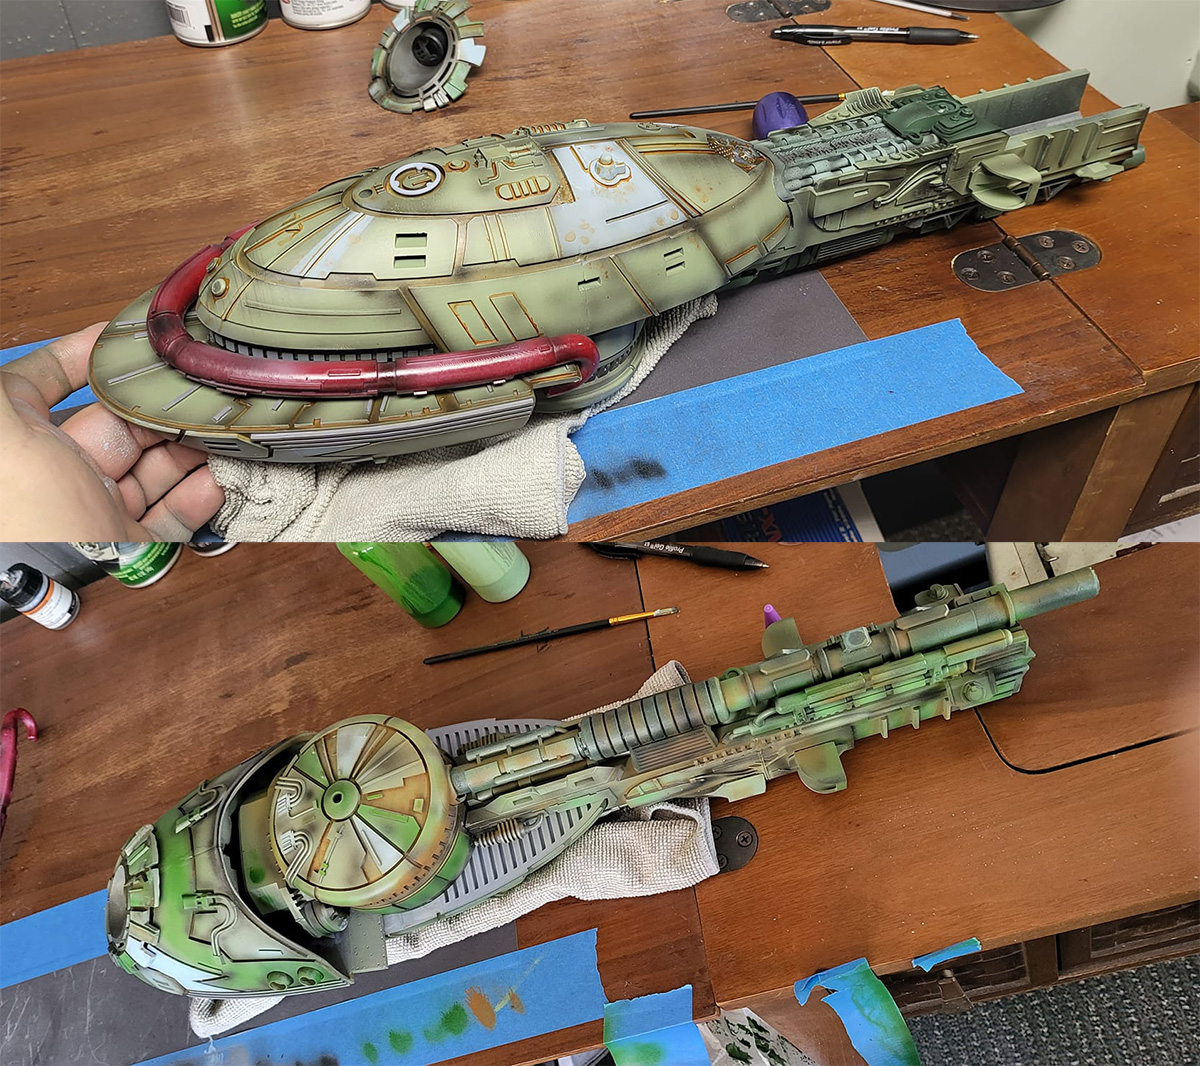
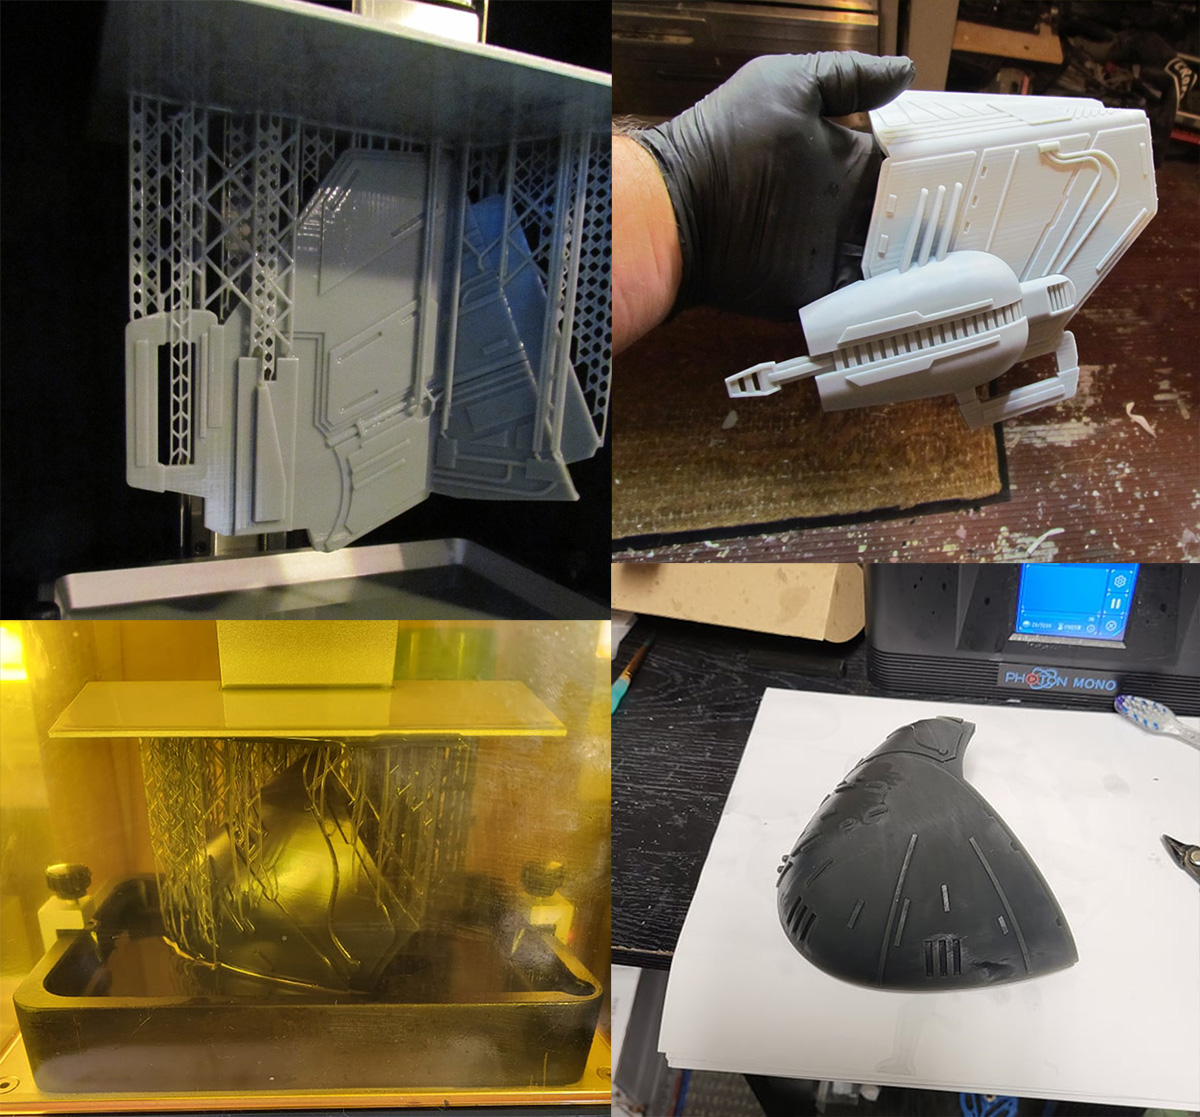
UPDATE: TEST PRINTS IN PROGRESS: These photos show a left wingtip that I printed at 140% and a bridge/neck that I printed at 163.5% that approximates 'studio scale'. More photos on my fb page facebook.com/letsmakethestuff
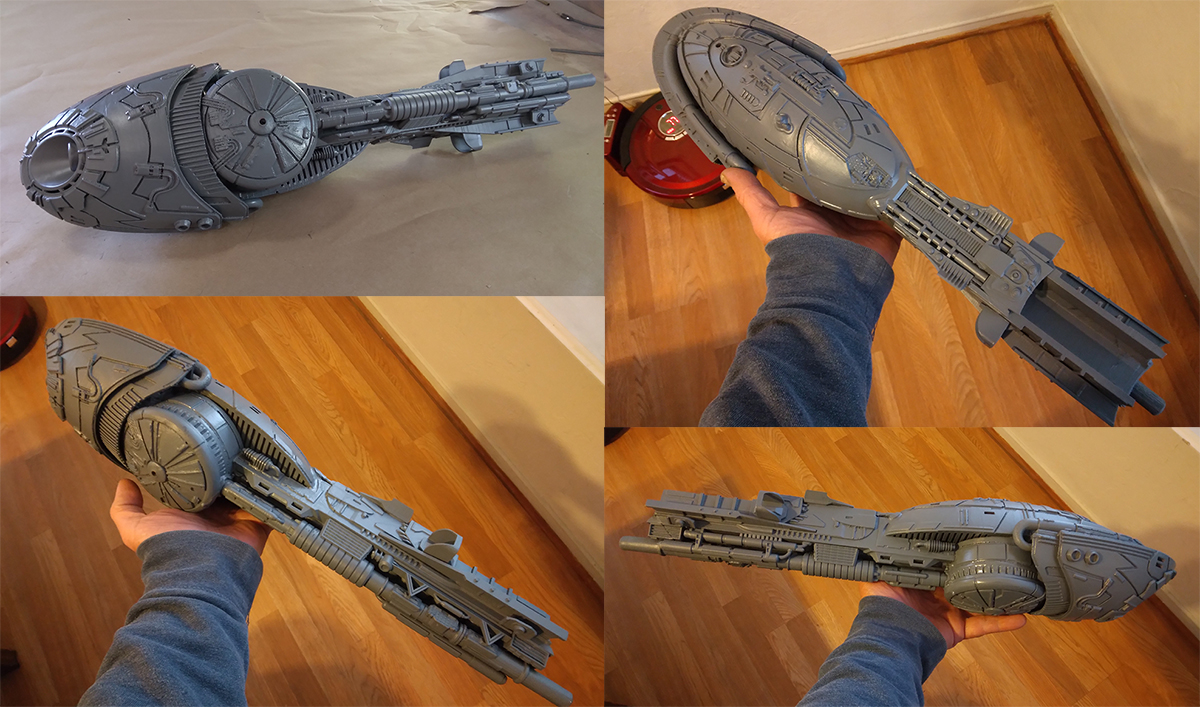
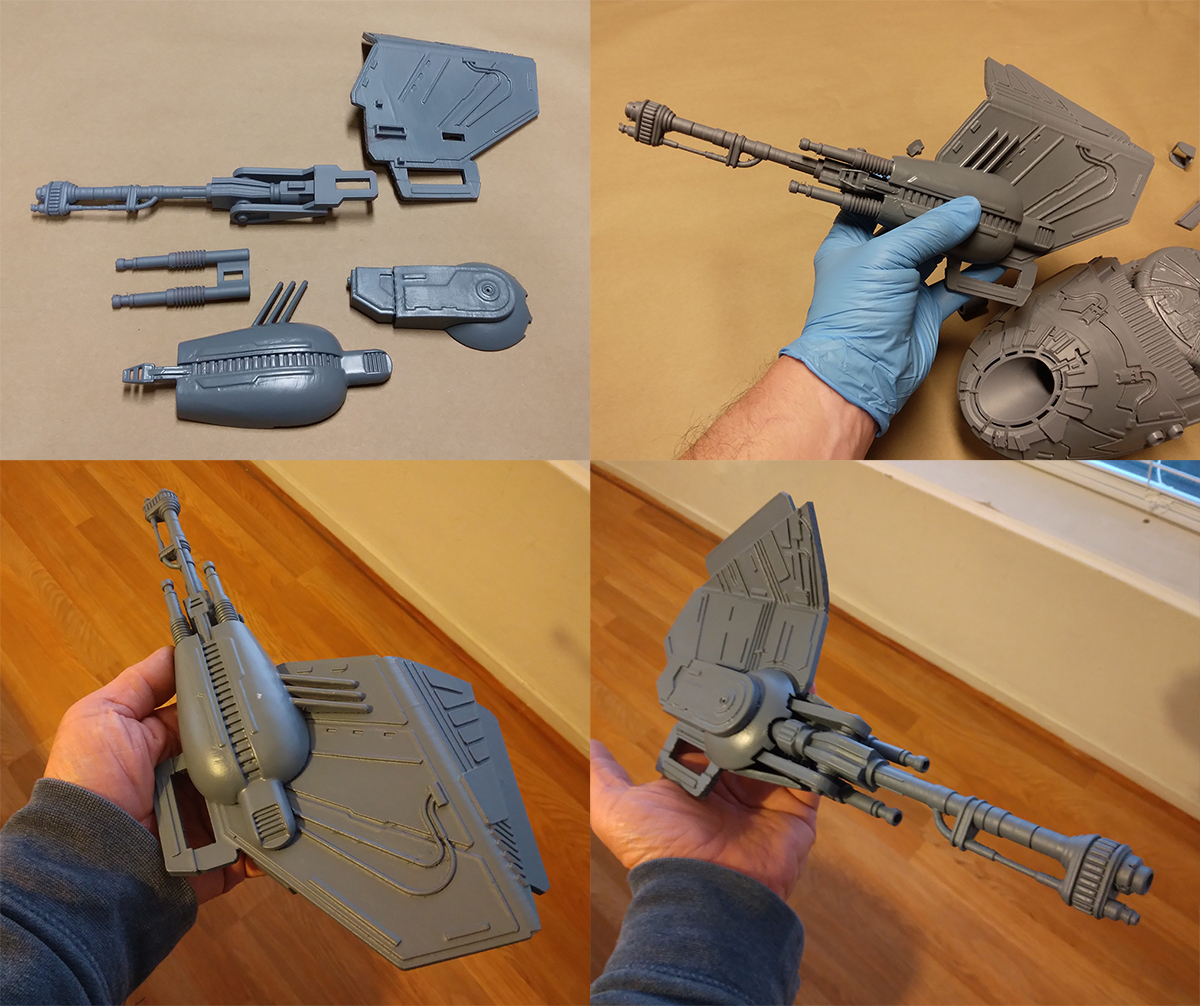
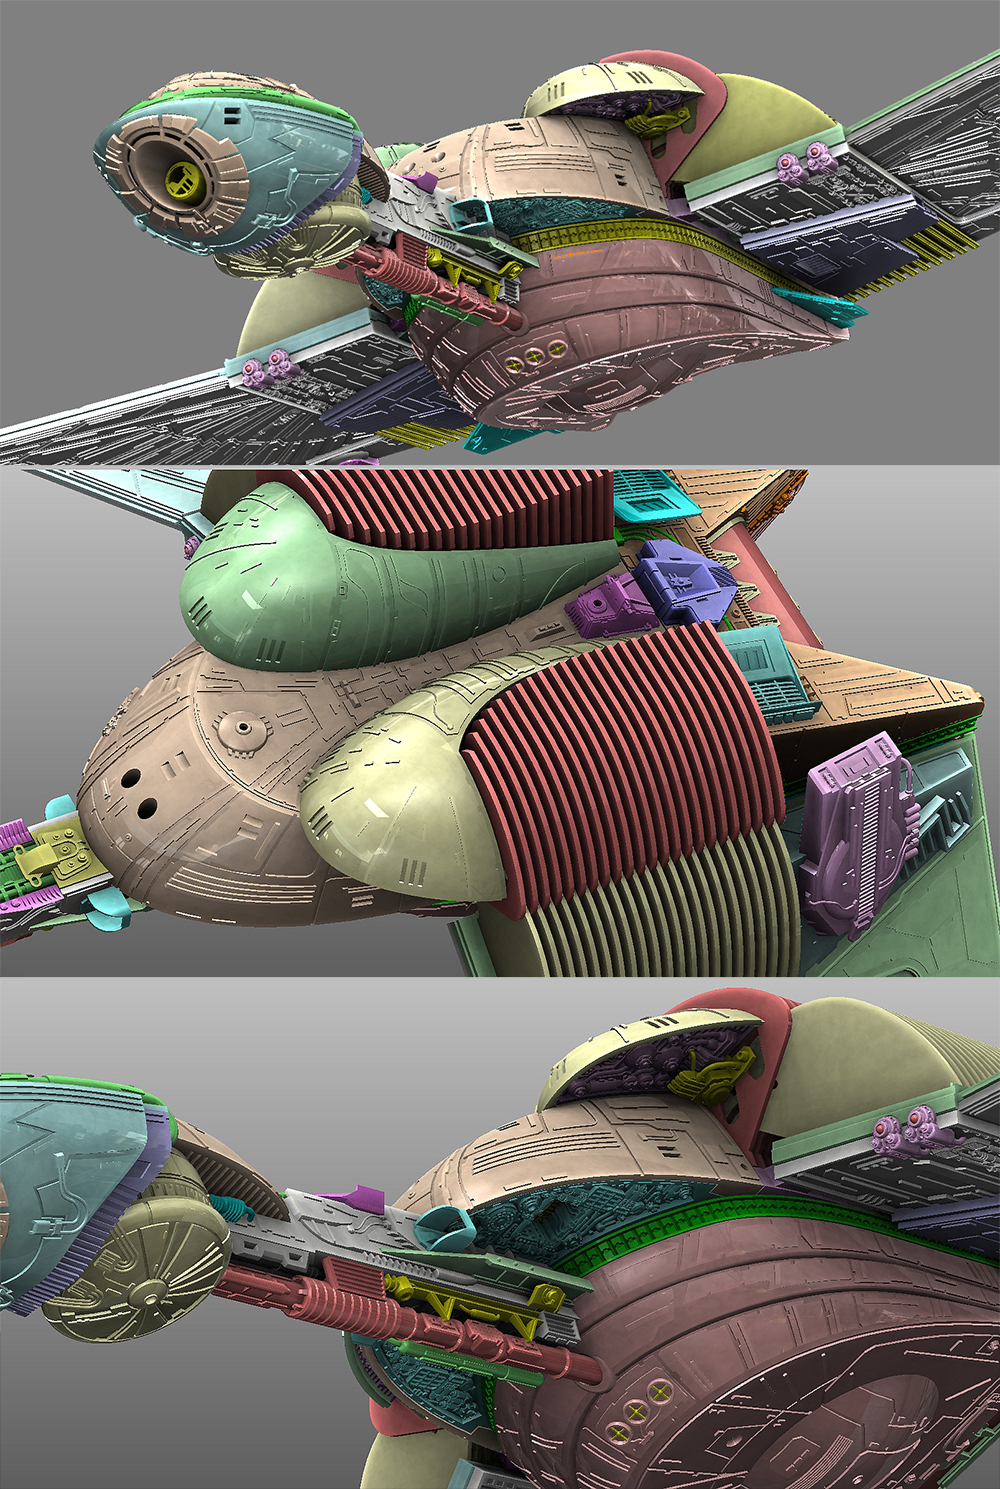
The model is 117 individually grouped parts, but is fully customizable into hundreds of separate parts.
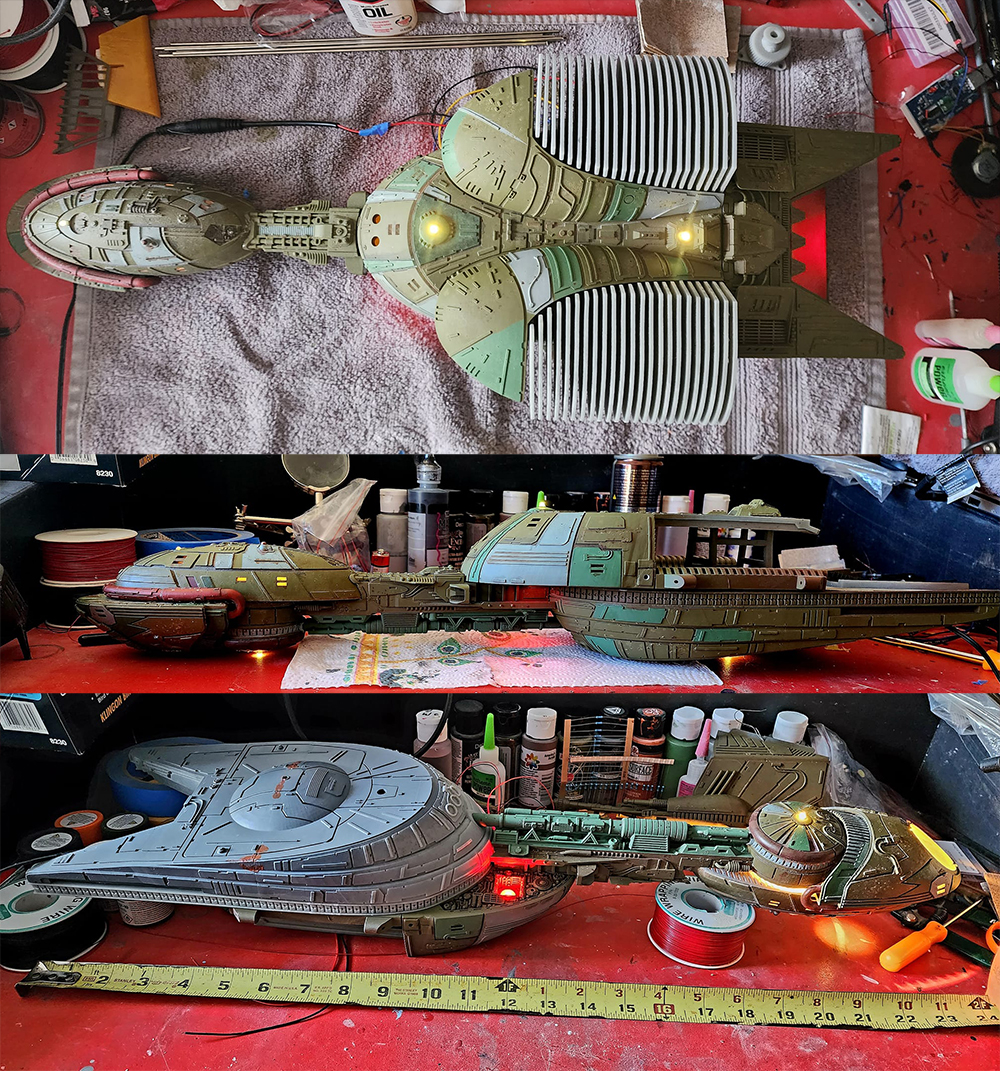
The default scale of my files will yield a starship with a 36.4 inch wingspan which is plenty large for most builders. Increasing the scale to 163.5% renders a model, according to my calculations, that is STUDIO SCALE. It's TITANIC and will need special considerationS by a seasoned modeler to mount the beast without sagging. (aluminum plates in the hull for mounting, and laminated aluminum plates in the wings to prevent droop).
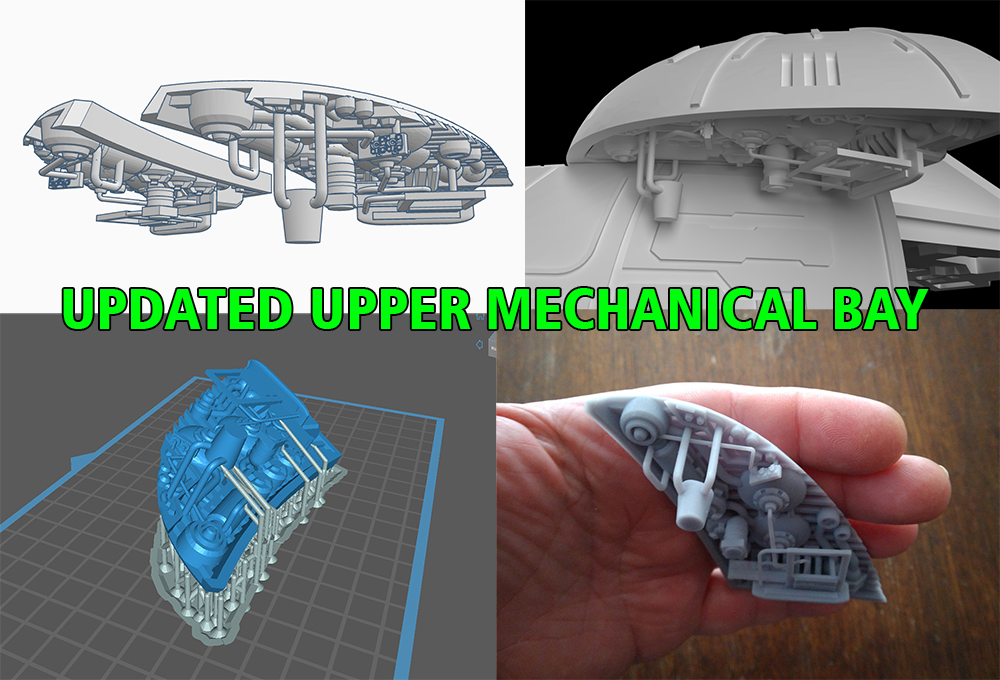
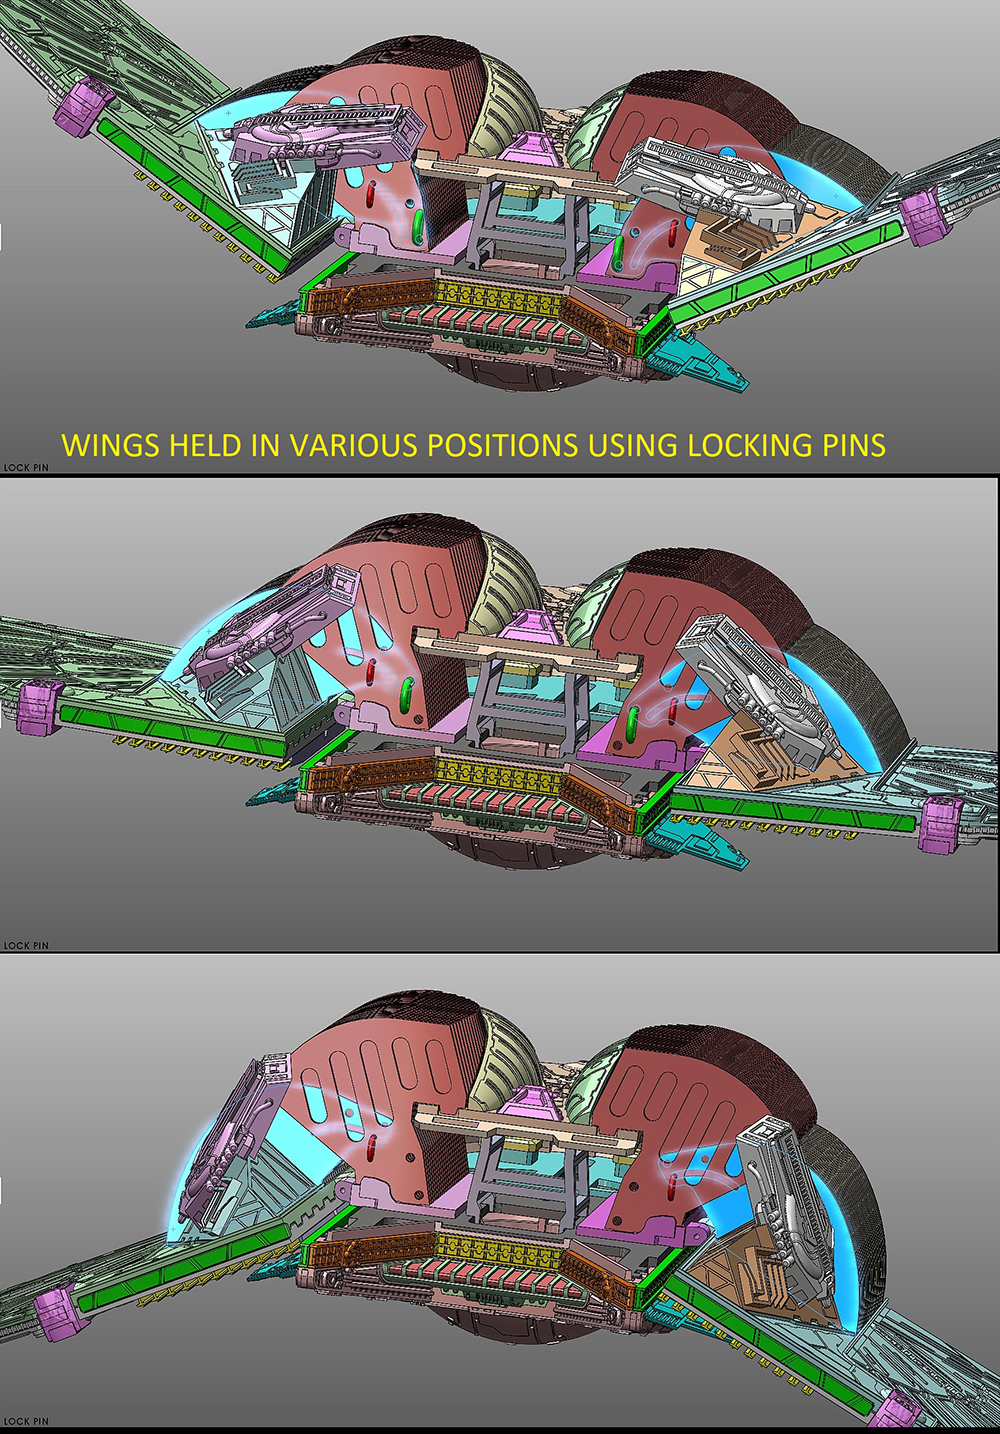
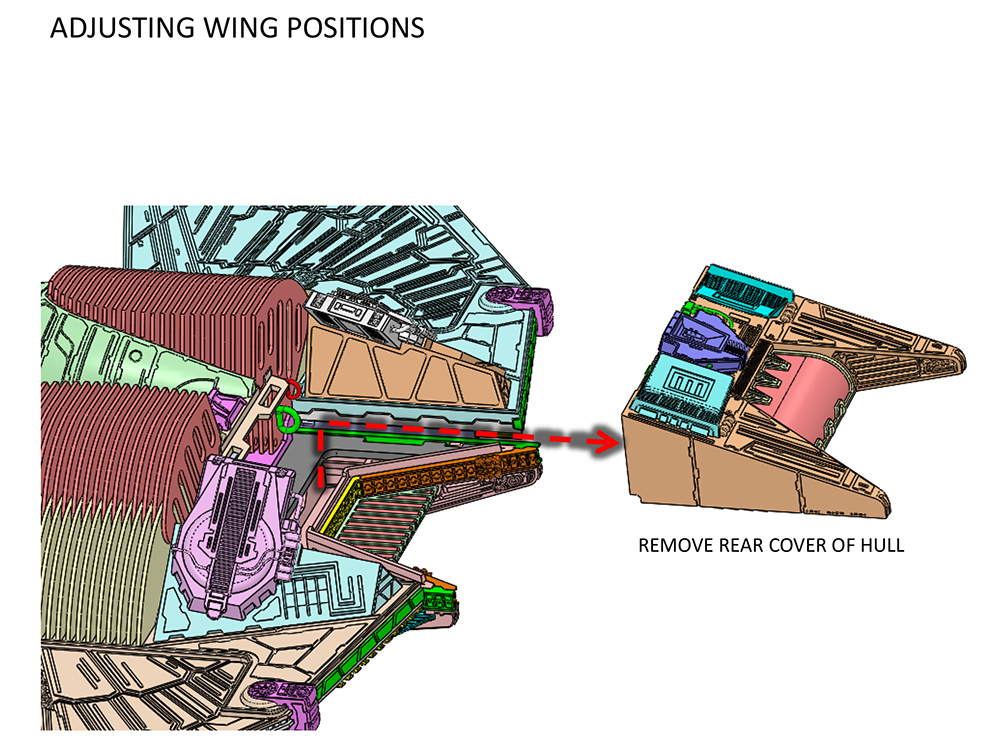
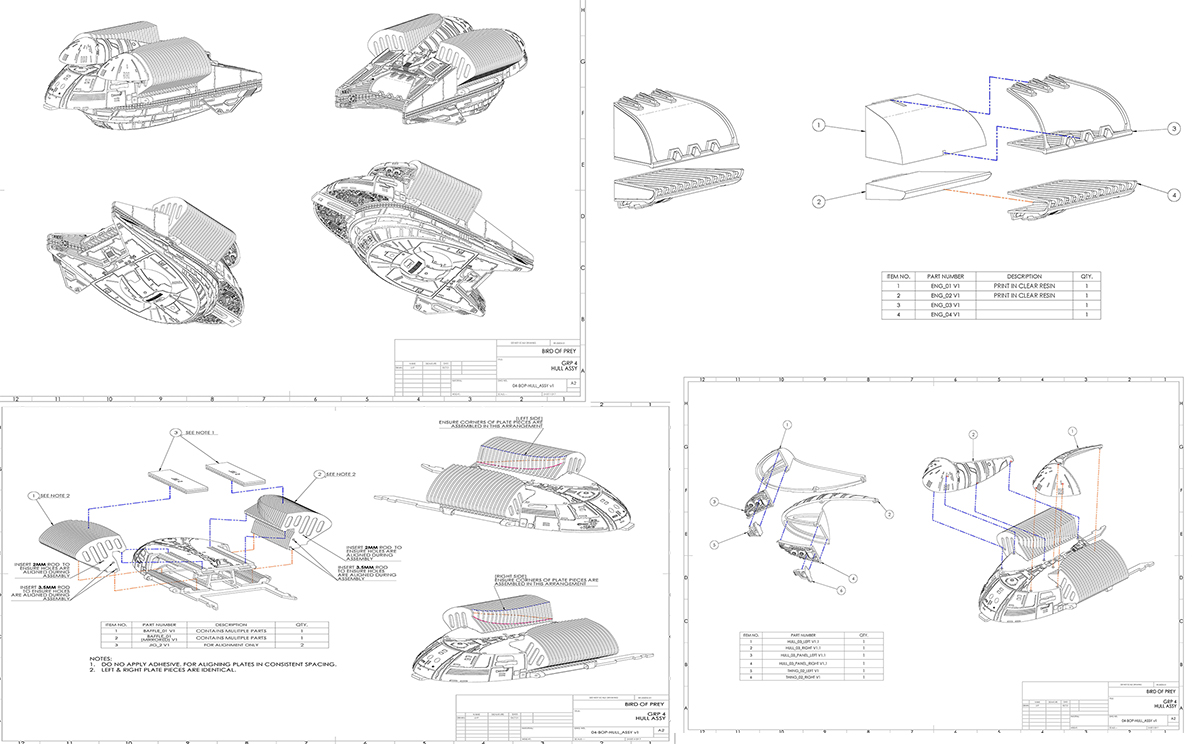
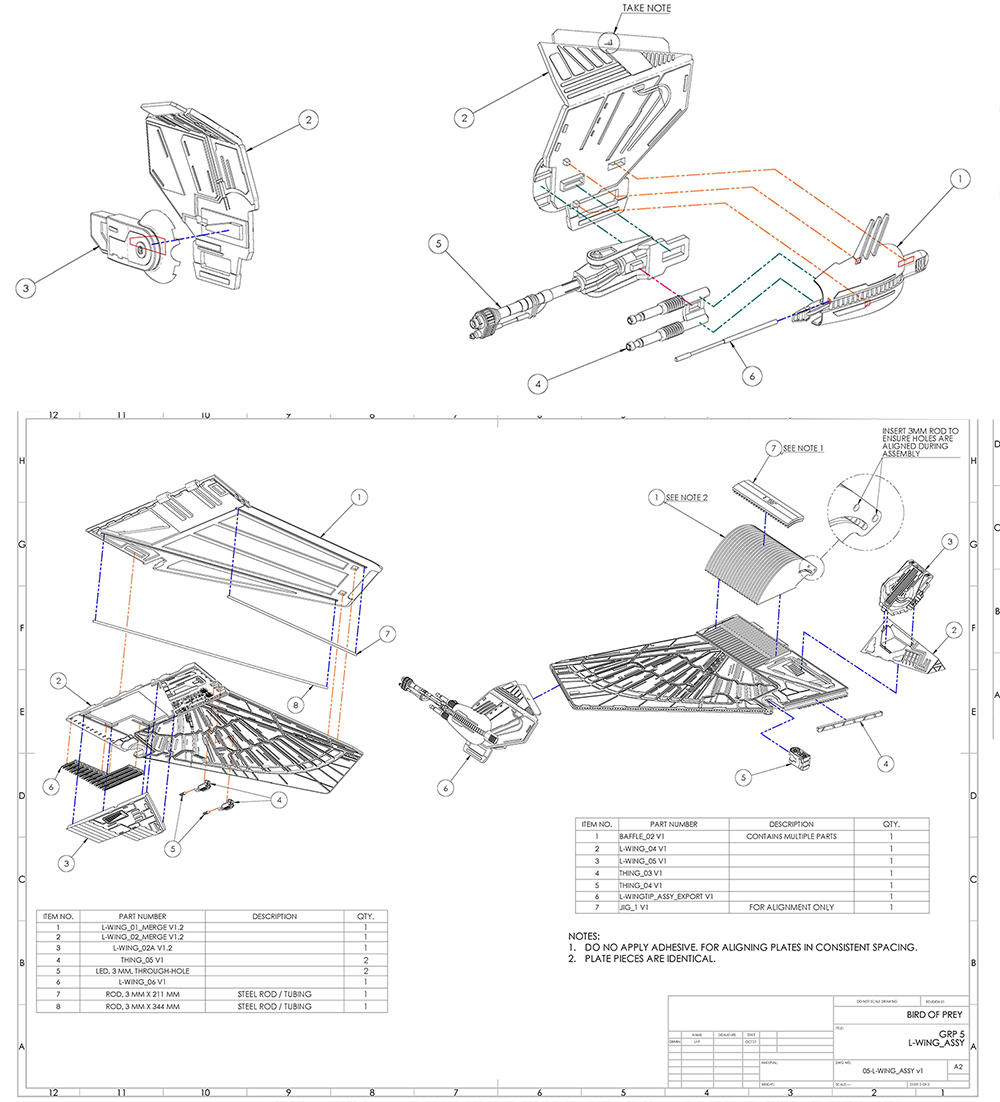
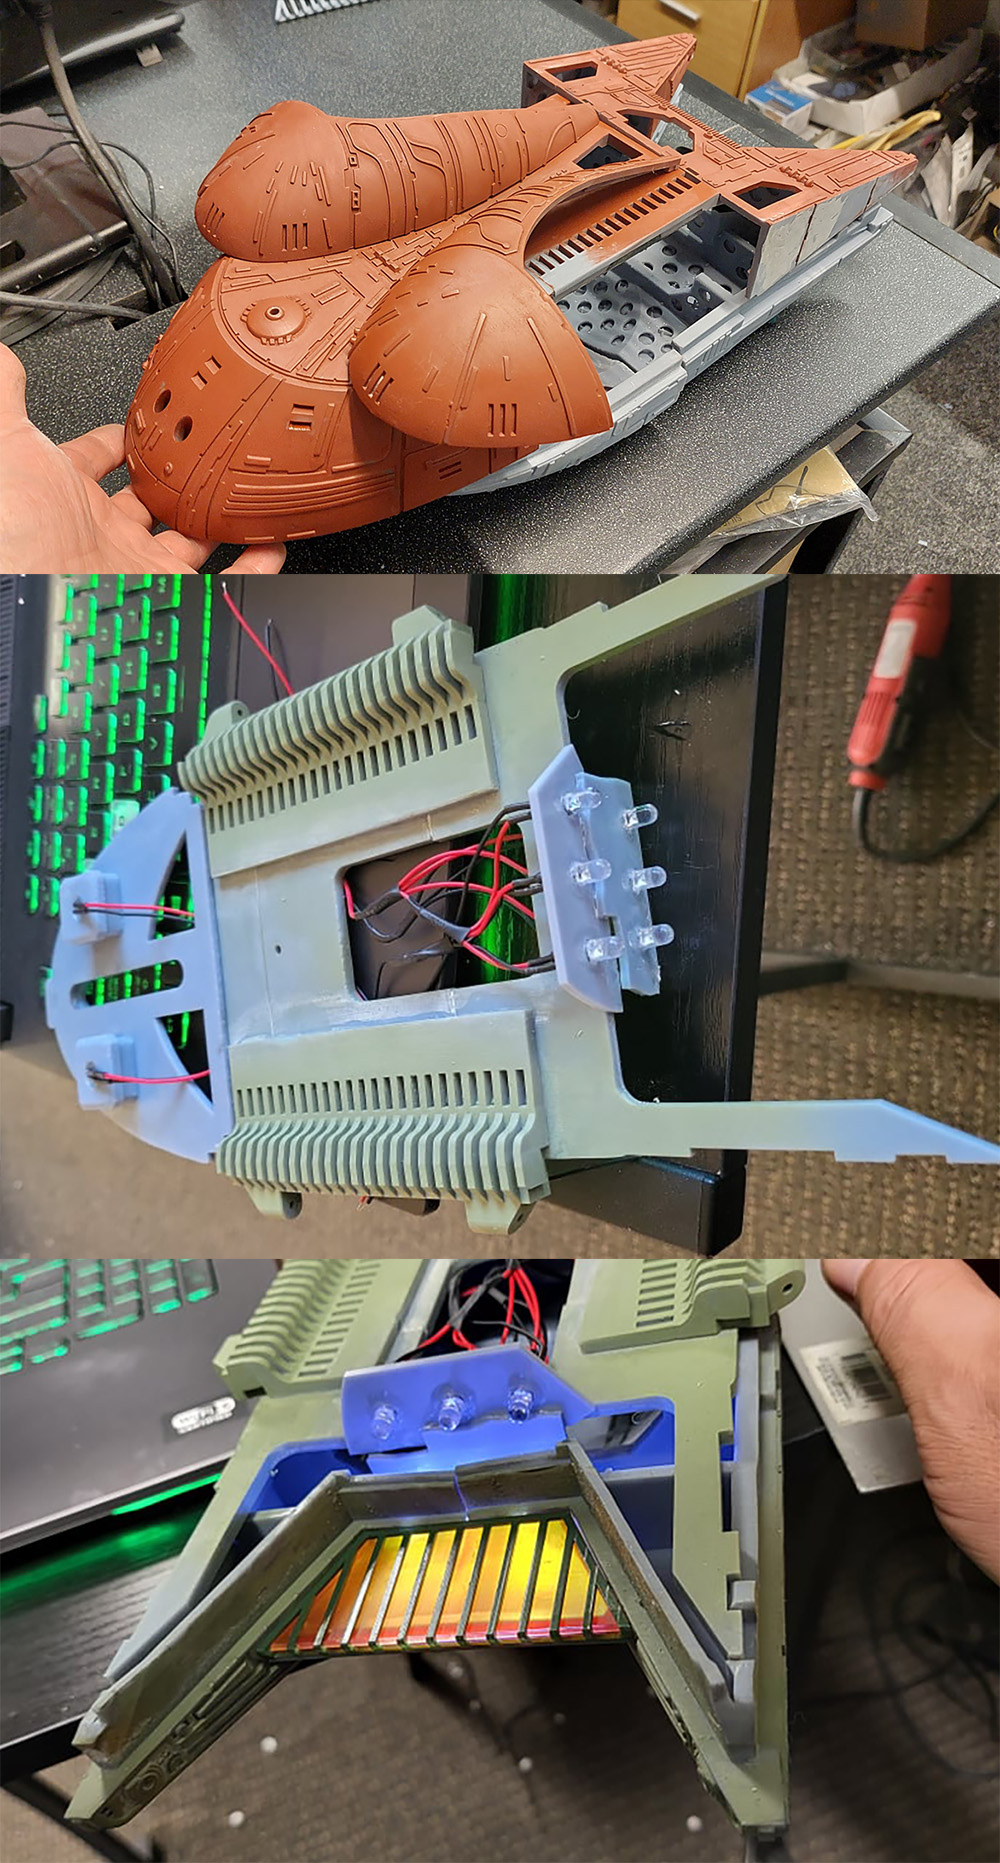
There are pathways and hollowed out areas to allow access for lighting. Lee designed an astounding mechanism for hinging and locking the wings in the 3 different positions using hiidden locking pins. The engine is modeled as separate pieces to allow you the freedom to print the glowing section in clear resin you can backlight. The baffles all fold up into each other when the wings move just like the original filming model. There is even a jig 3d modeled to assist with aligning the baffles during assembly.
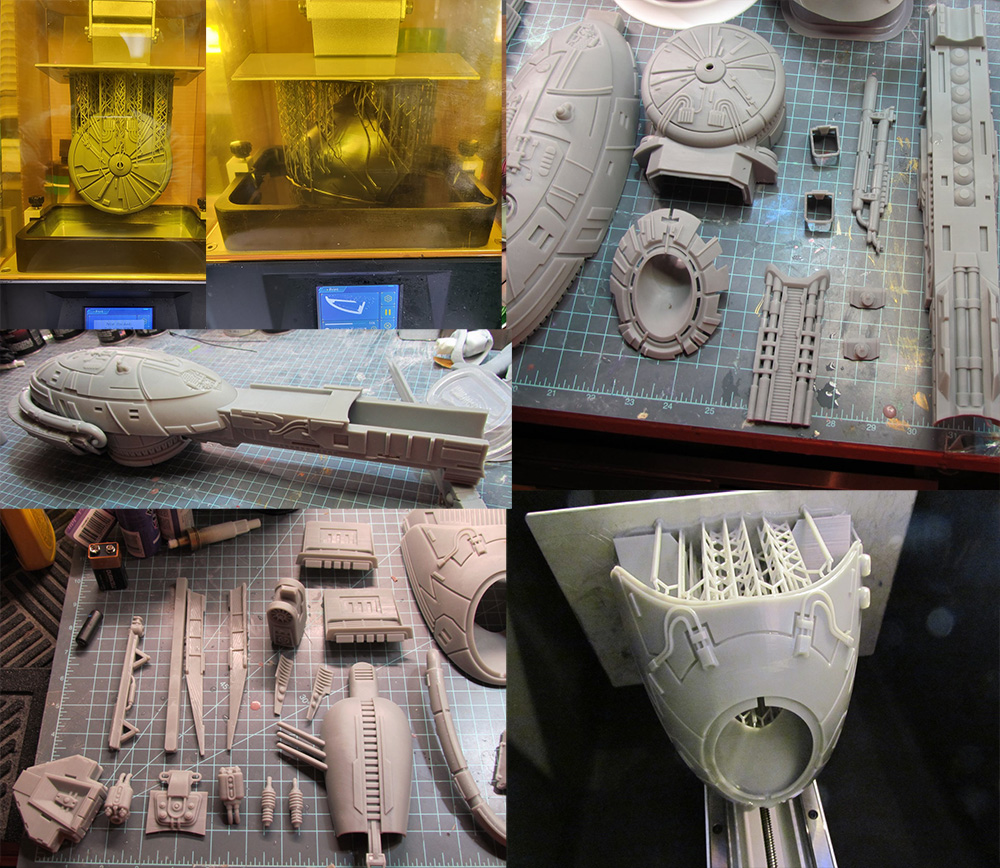
People ask me which 3D printer is best for this model. Honestly, even the most modest FDM (filament) printer will turn remarkable pieces - Like a Creality Ender or CR10 (S4, S5). Here you can see the Photon Mono hard at work. Elegoo (saturn, Jupiter) are astounding printers to use. Whatever your printer, you will likely need to segment some of the larger parts.
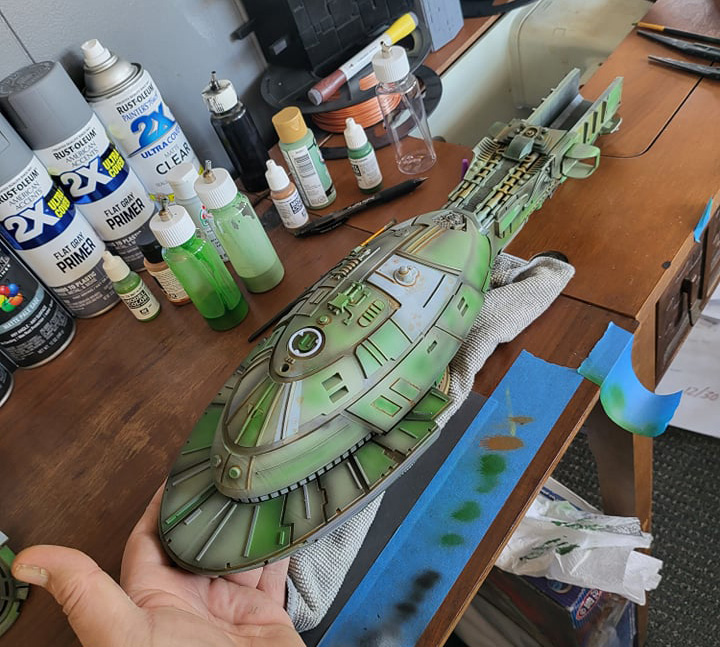
photo courtesy Mr. David Paul
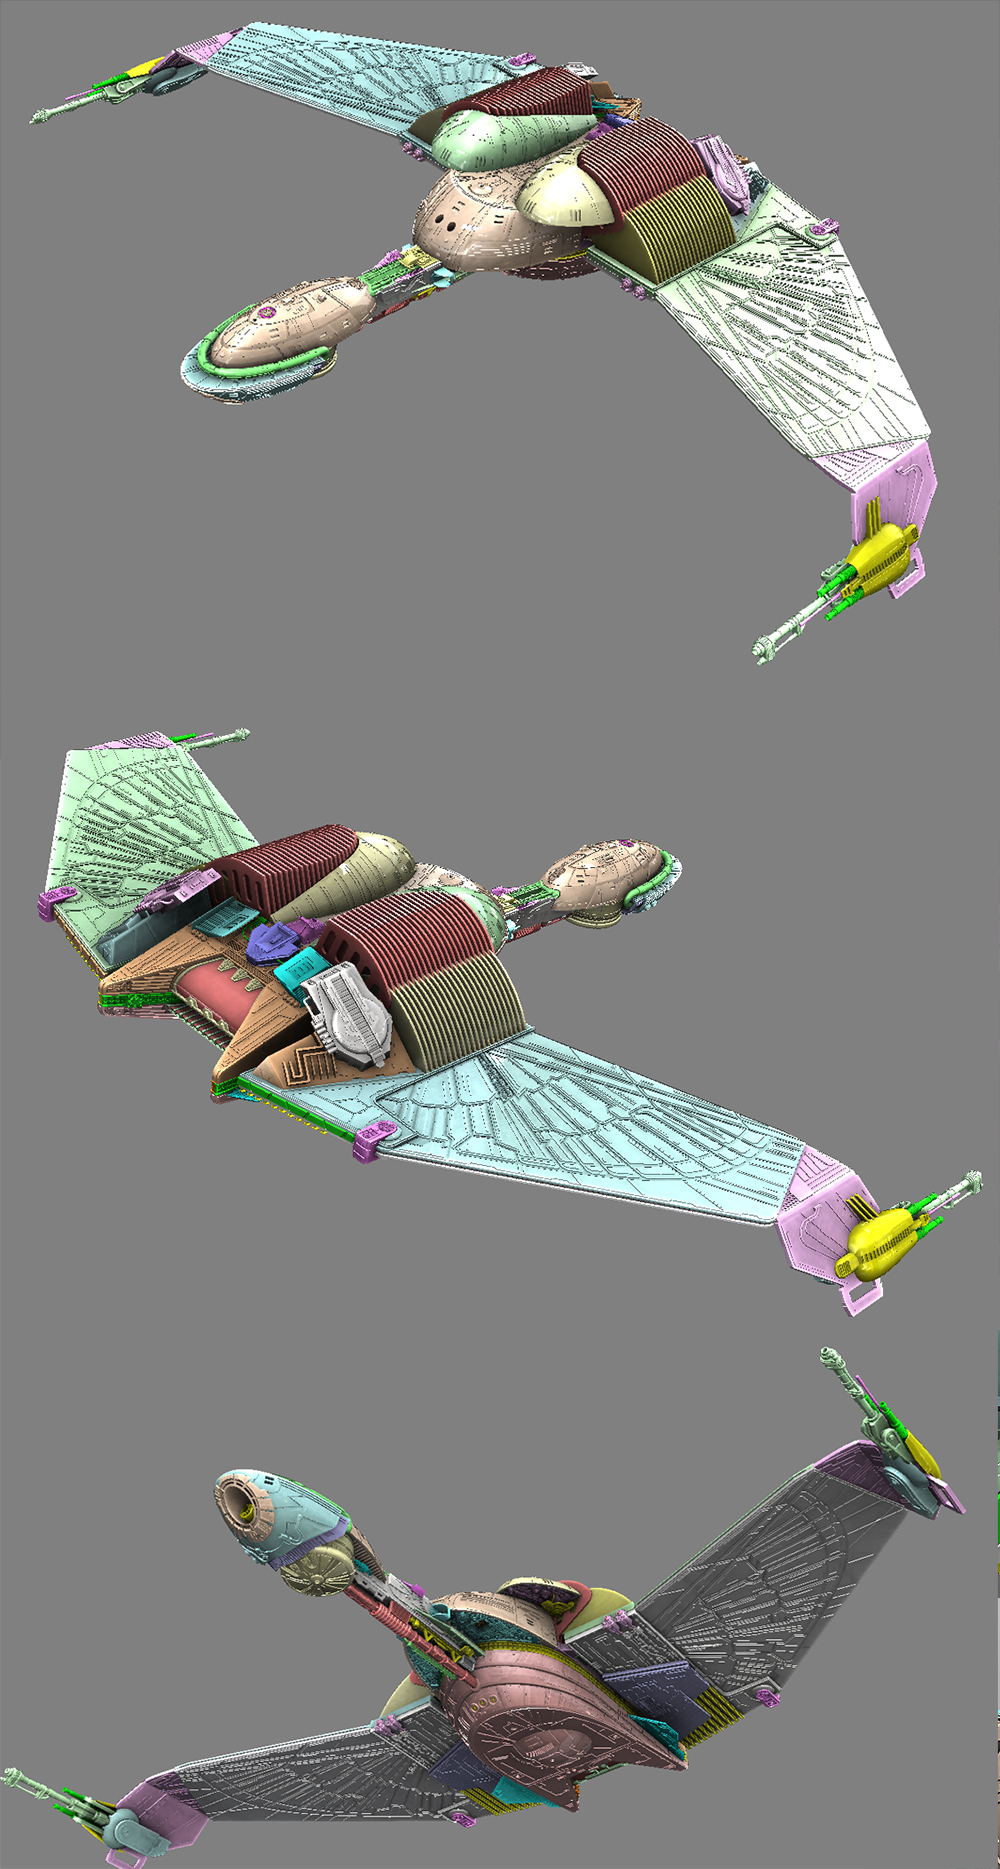
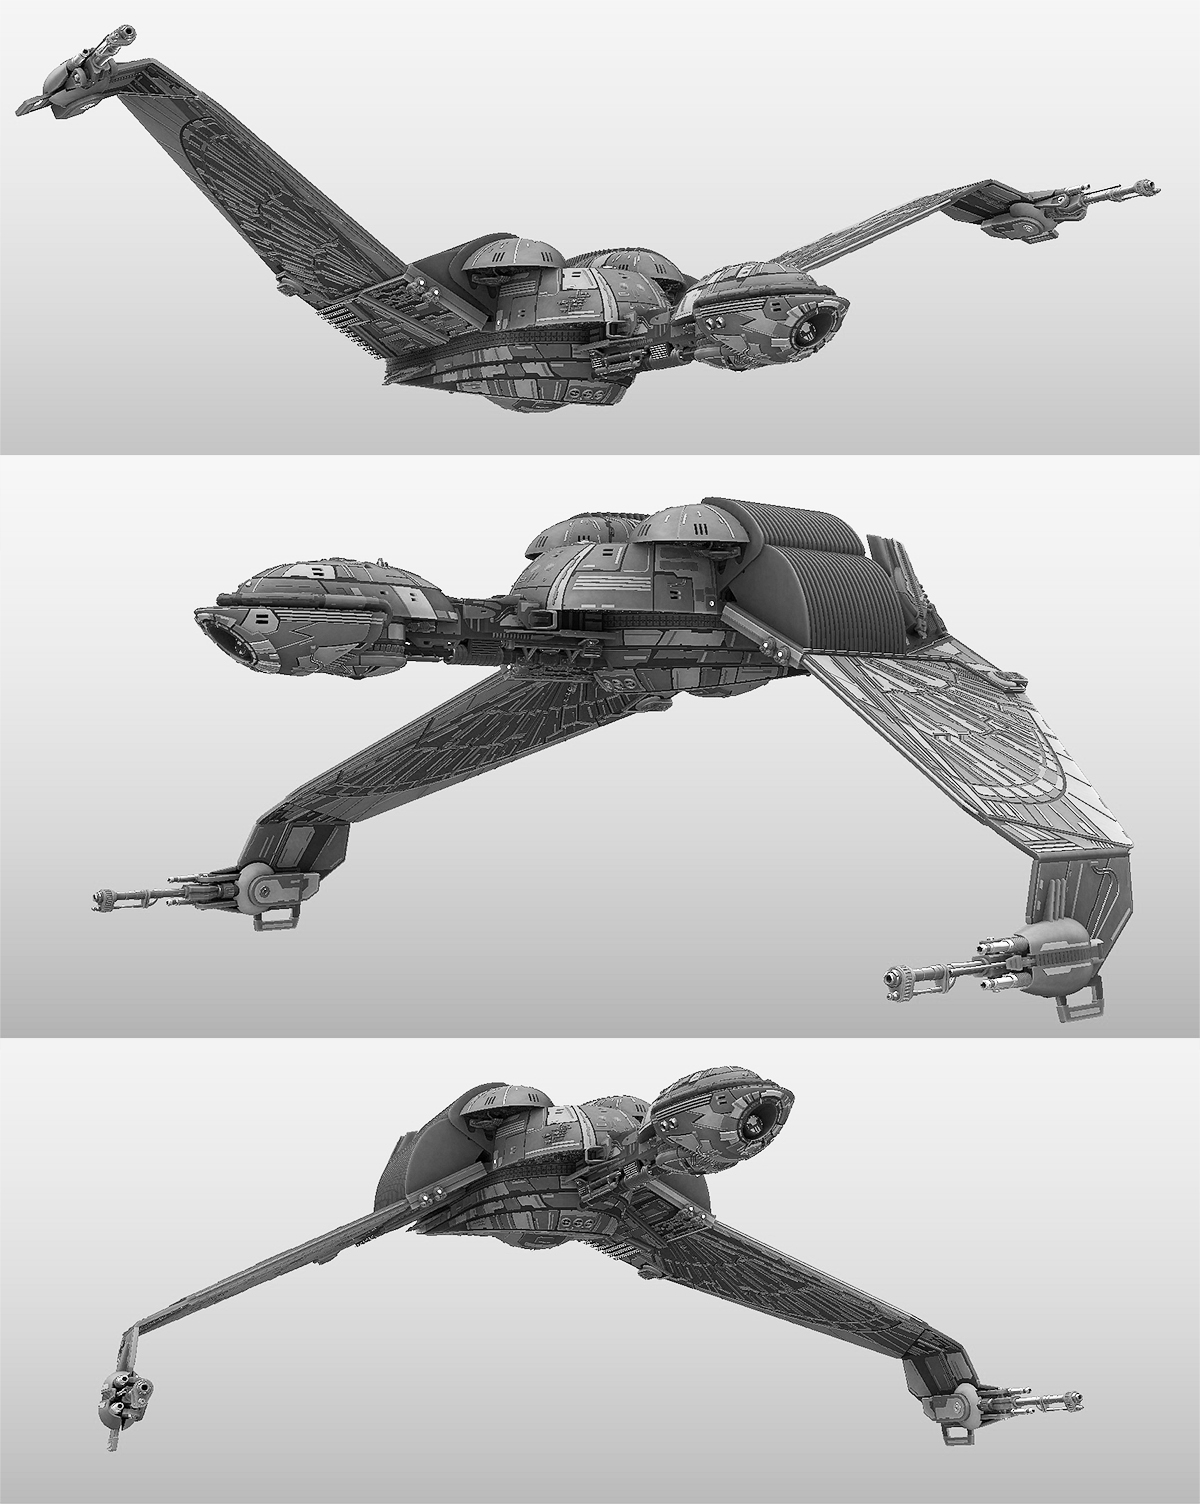
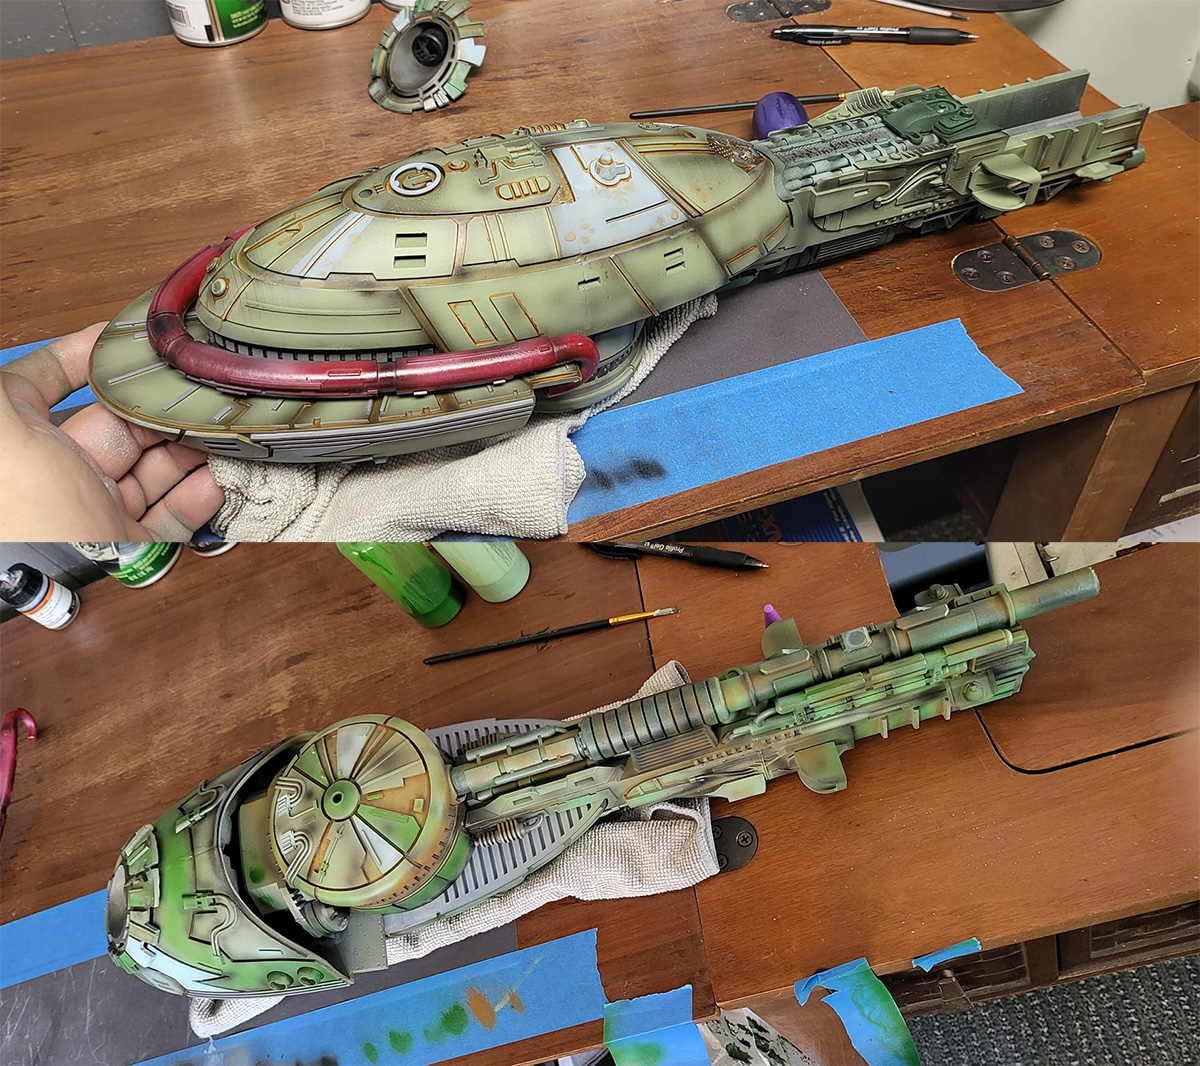
Photos courtesy of Craig Lee and David E. Paul
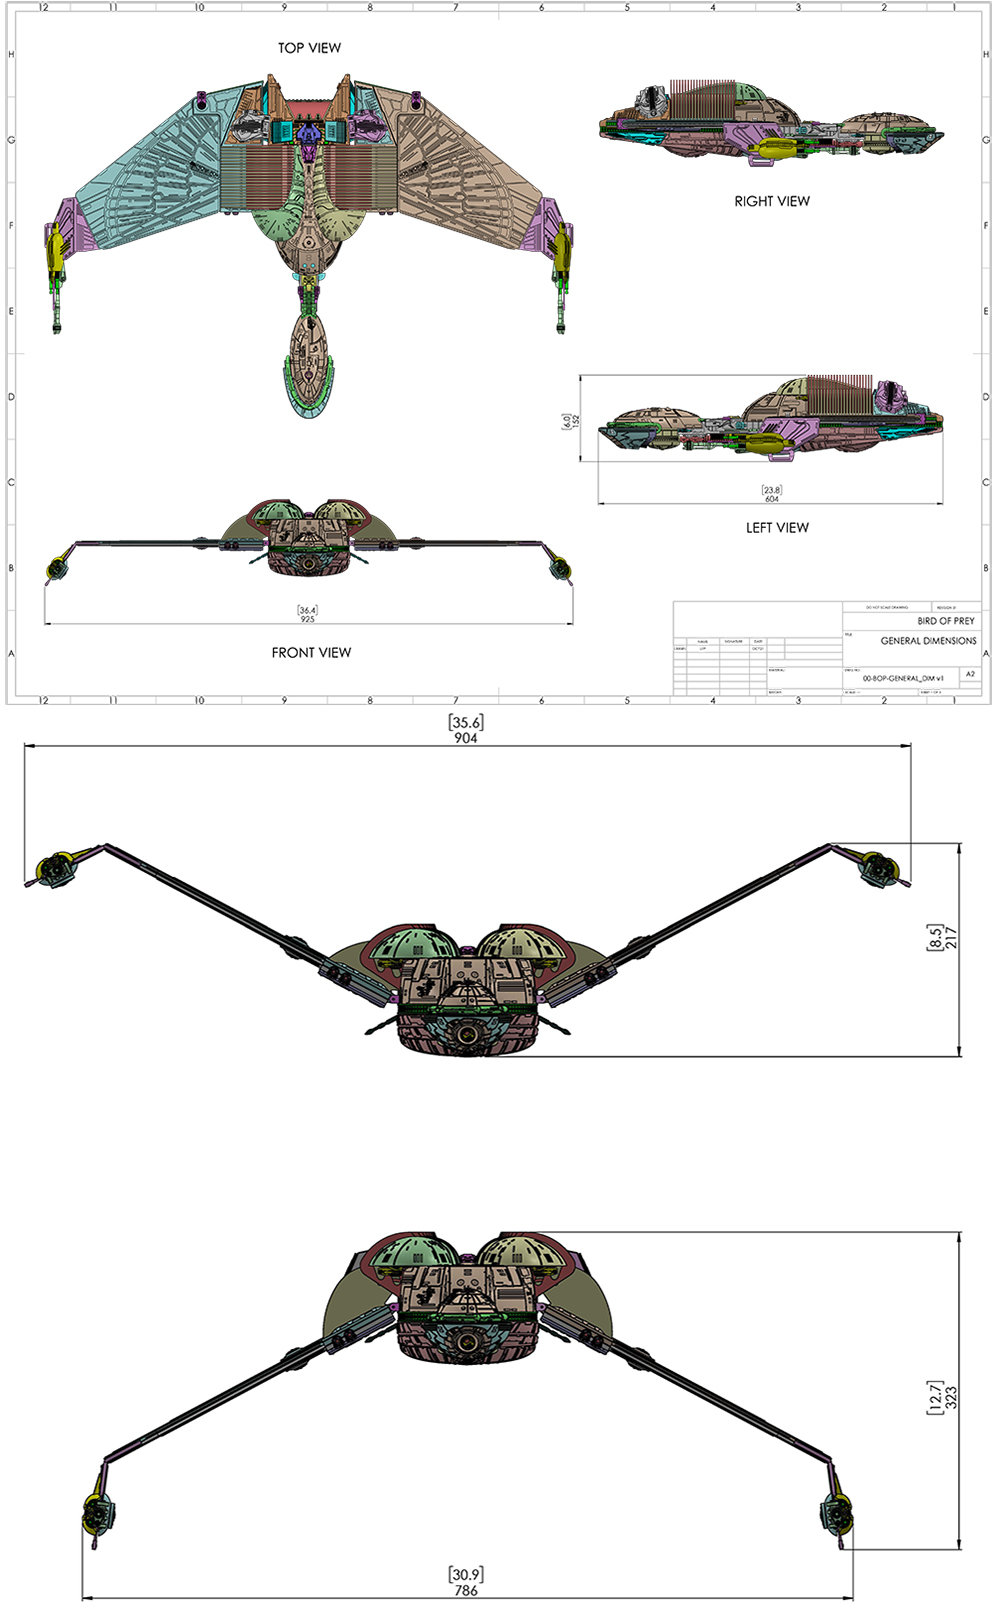
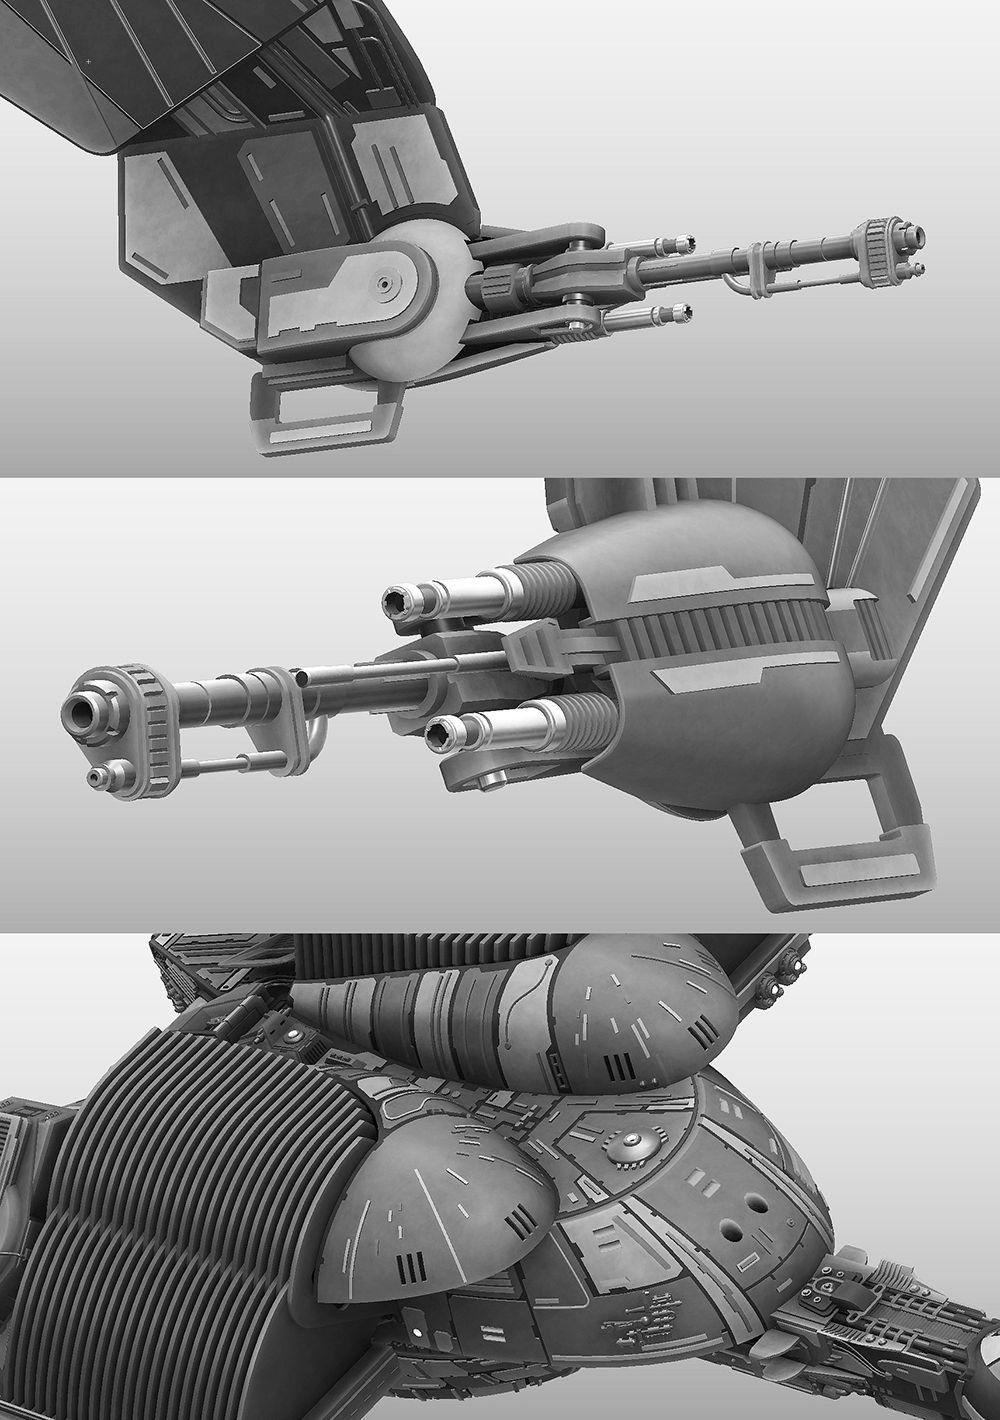
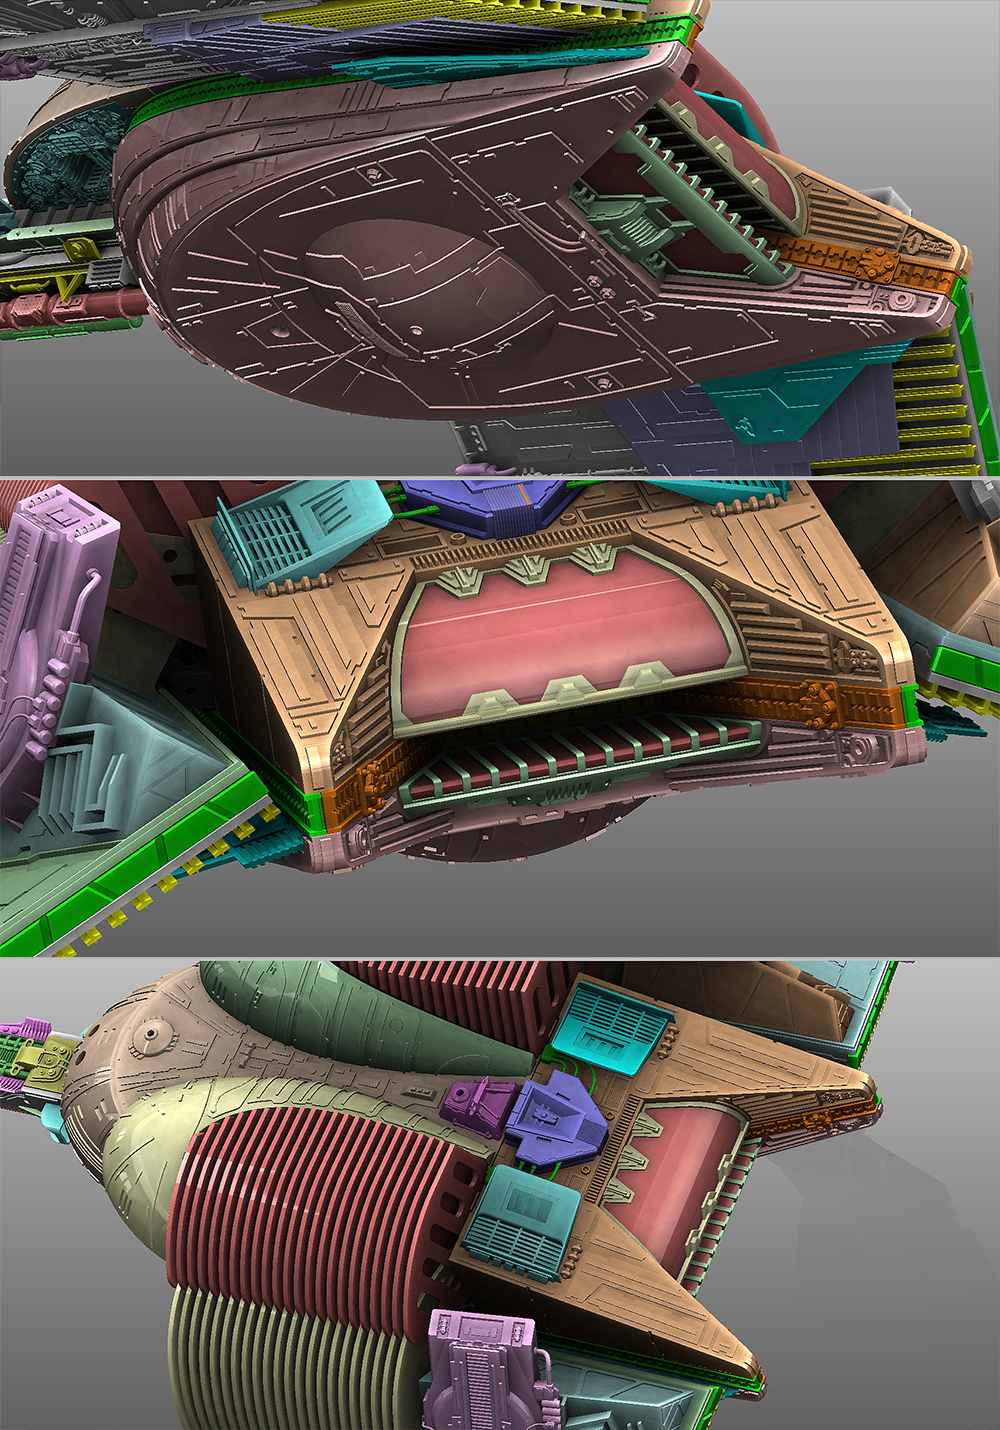
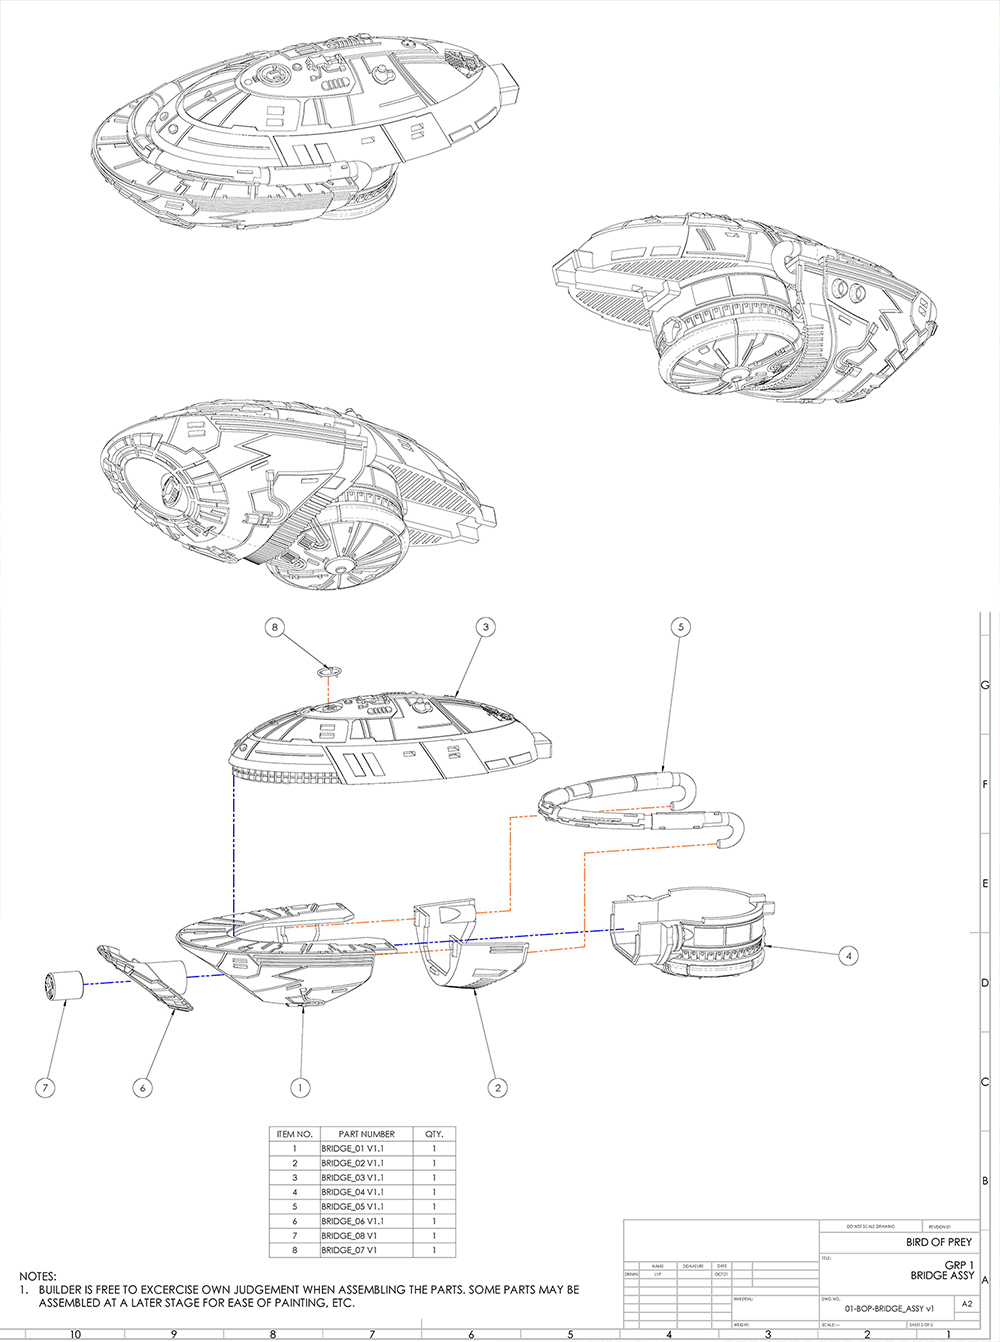
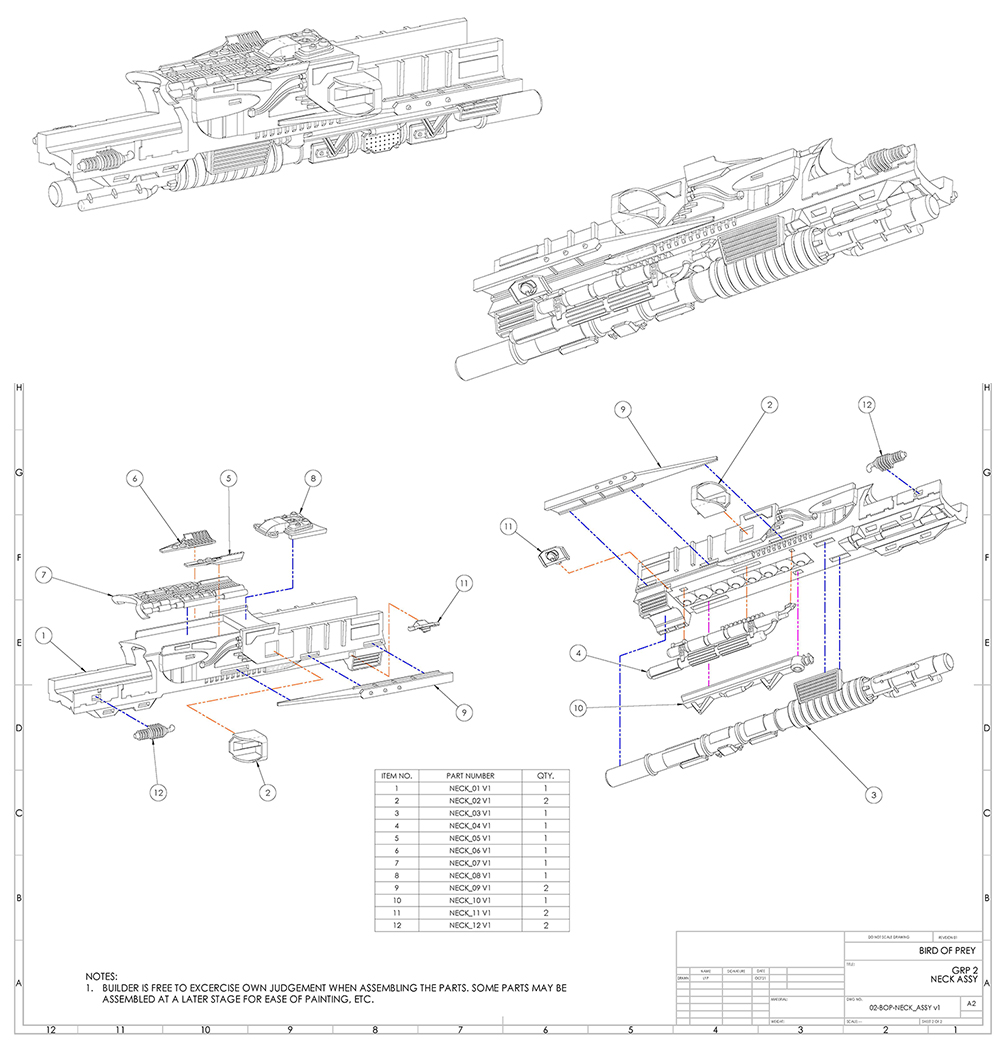
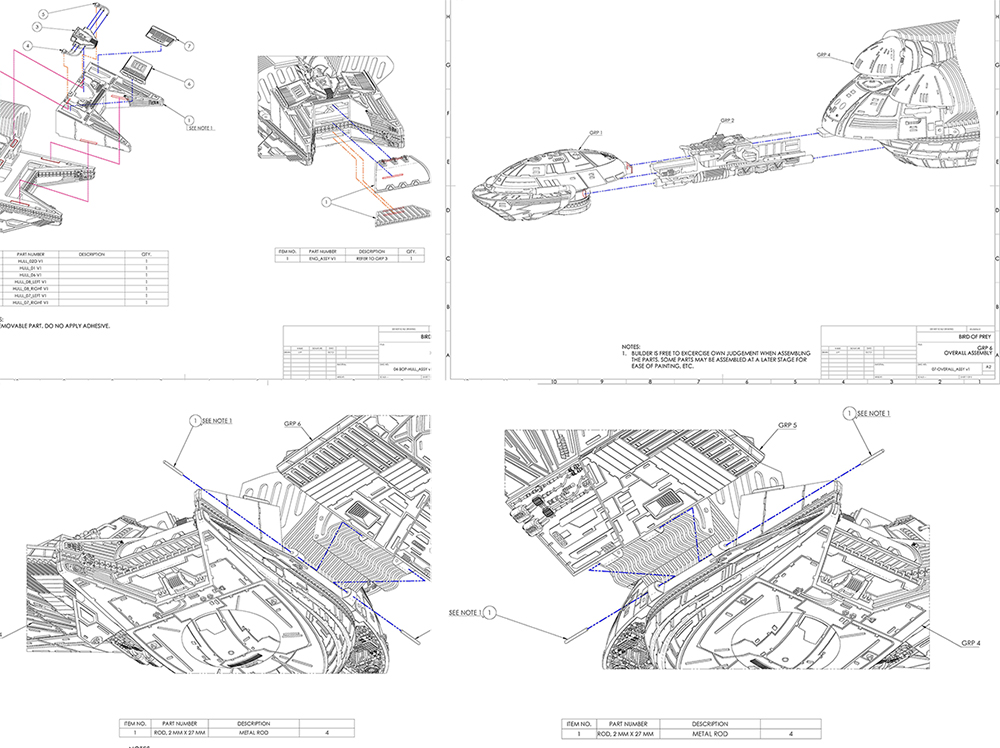
Over 2 dozen pages of incredibly detailed PDF instructions accompany this 3D file set with notes for each section. Aluminum rod is recommended for assembly the wings and hulls.
Here's a sneak peak at the 26 pages instructions:
The wings can be locked into 3 separate positions as seen here. The pins are then hidden by the engine assembly.
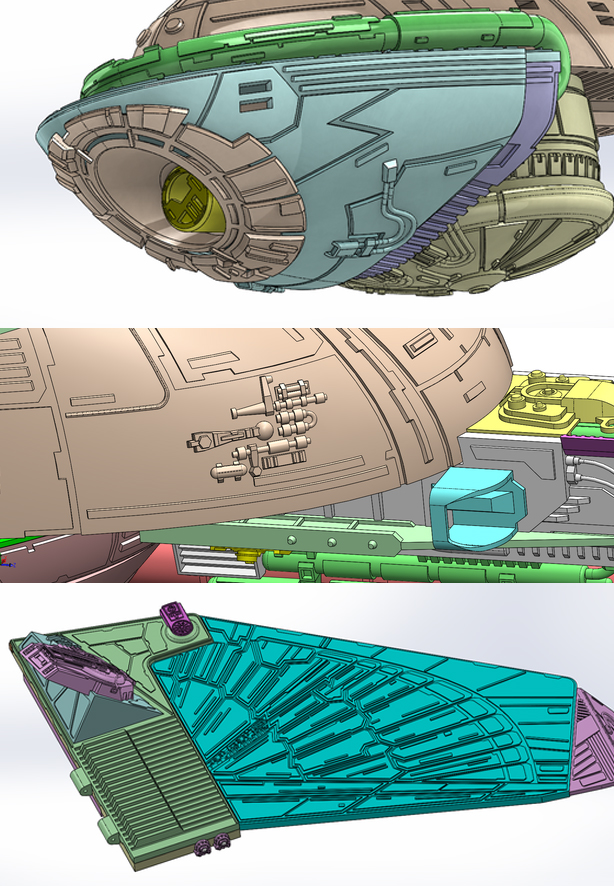
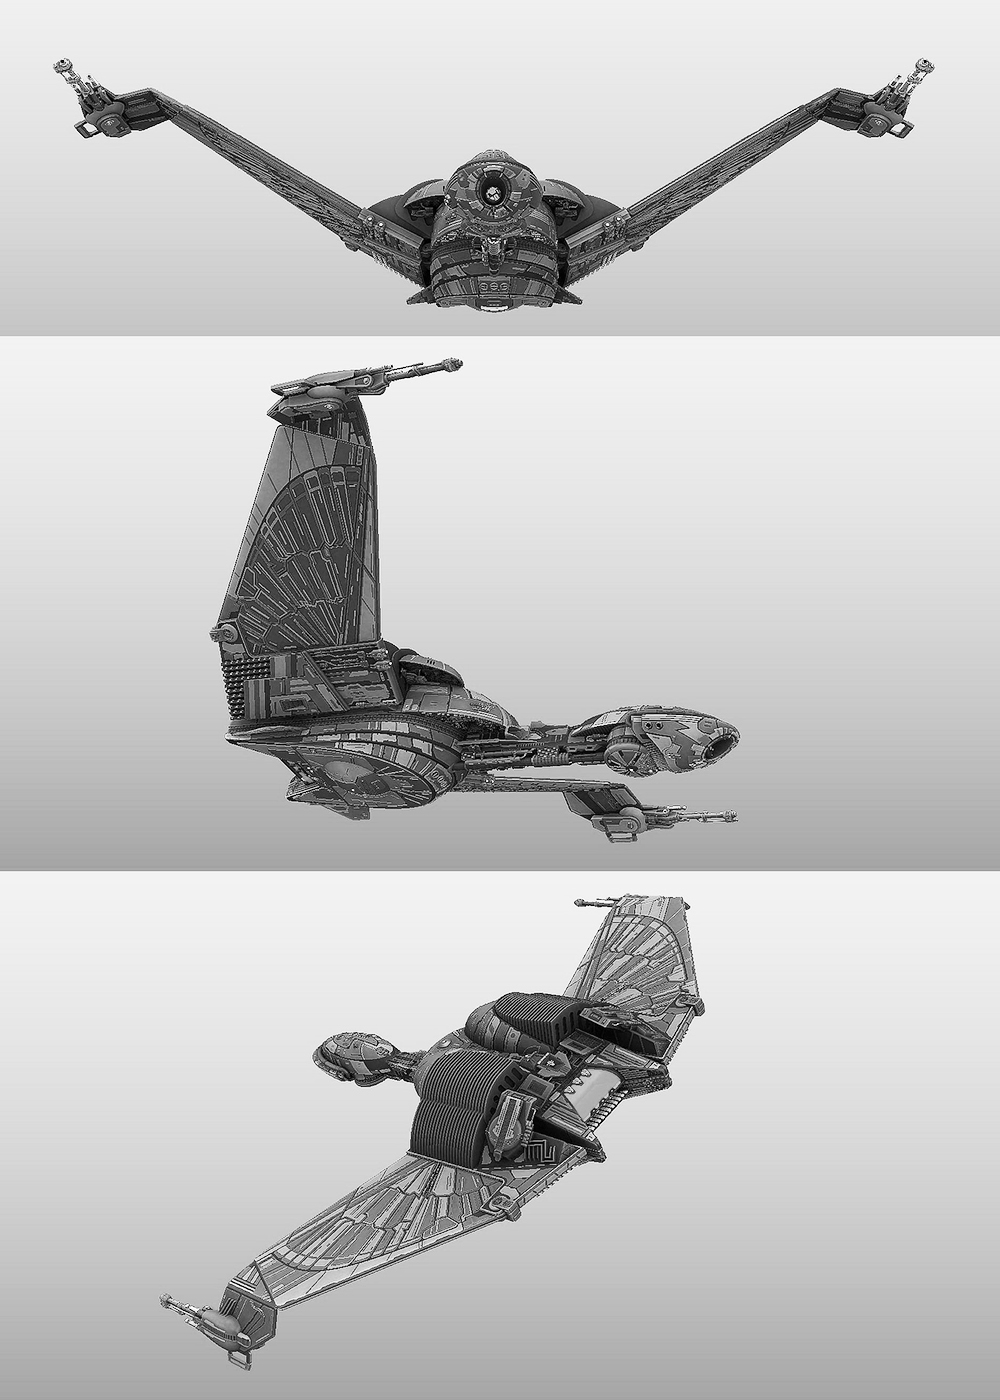
Development process:
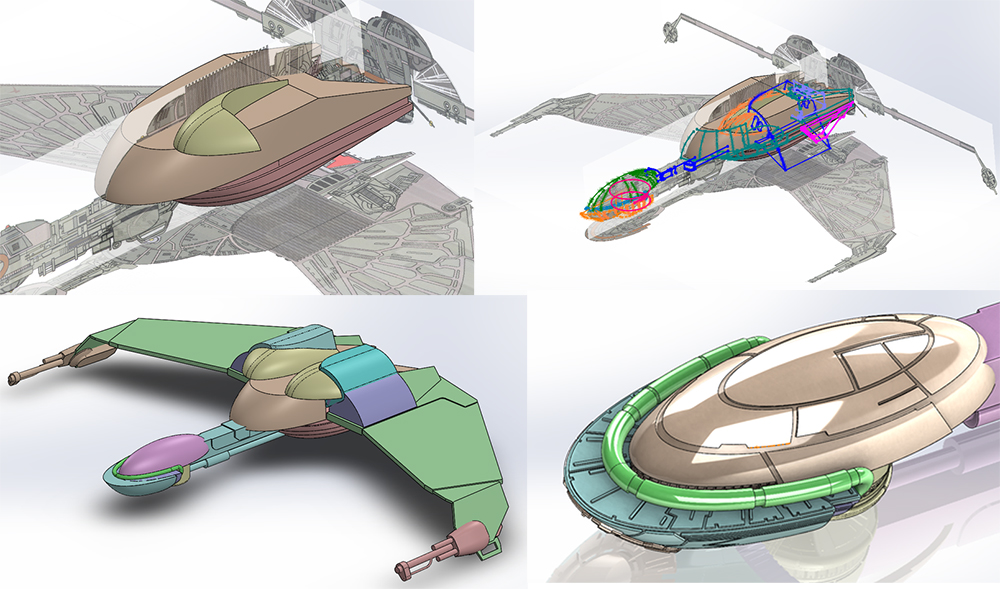
HEAD BACK TO MY 3D MODELS PAGE
