Ark of the Covenant
MOST OF THE INFORMATION ON THIS PAGE IS OUTDATED. Please refer to the updated page at www.goldenarmor.com or CLICK ME.
Email impervium@hotmail.com for more info.
- :Before you start construction, you should be familiar with some basic resin kit assembly, construction skills and have access to woodworking equipment such as: a bandsaw, a tablesaw, dremel tools with various bits, belt sander, drill etc...
Please be sure to wear appropriate safety equipment (work gloves, goggles, etc..) when you work with these dangerous tools.
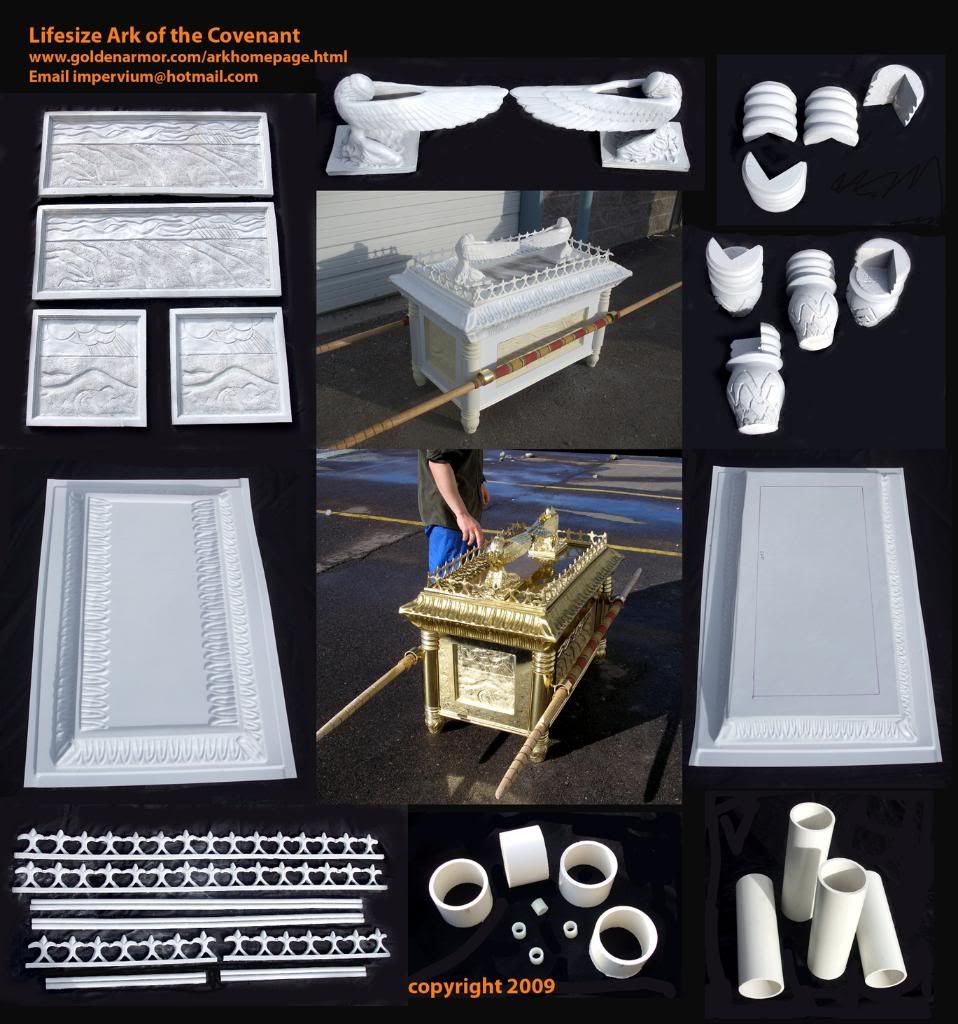
- PVC lengths to create the corner posts (4 sections)
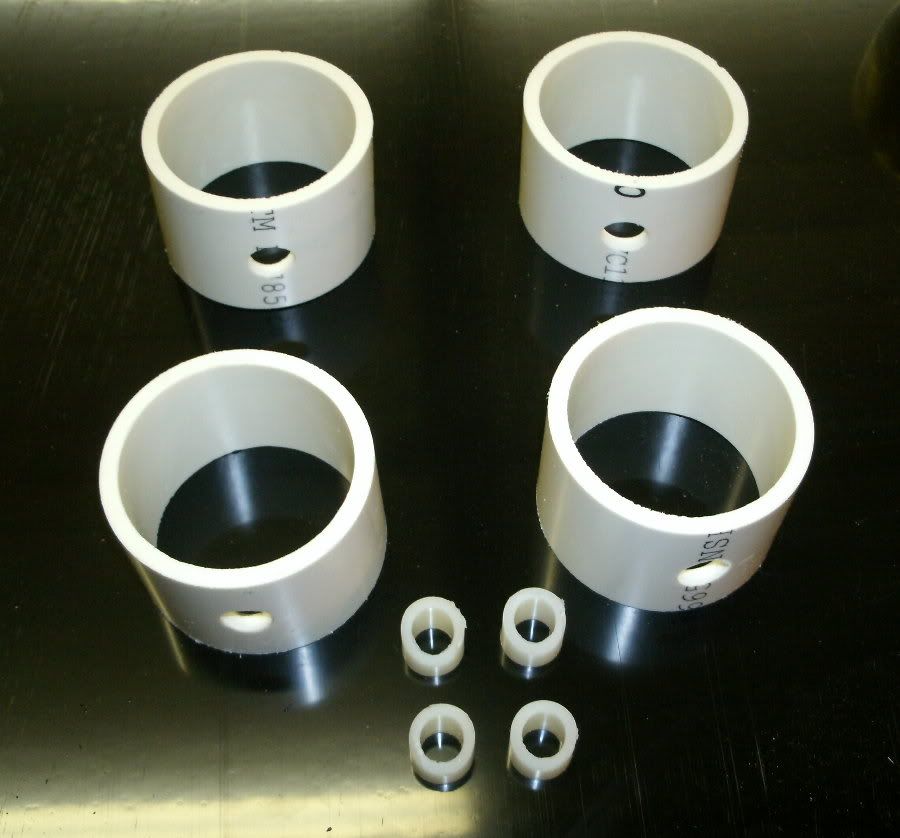
- PVC rings to create the stave rings (4 rings)
- Plastic side panels (2 rectangular, 2 short)
When you order a full kit, you will be receiving an instructional disk that contains video instructions, photo galleries (ample reference material!), printable instructions, and related materials collected through decades of research. The galleries and video are playable on any computer.
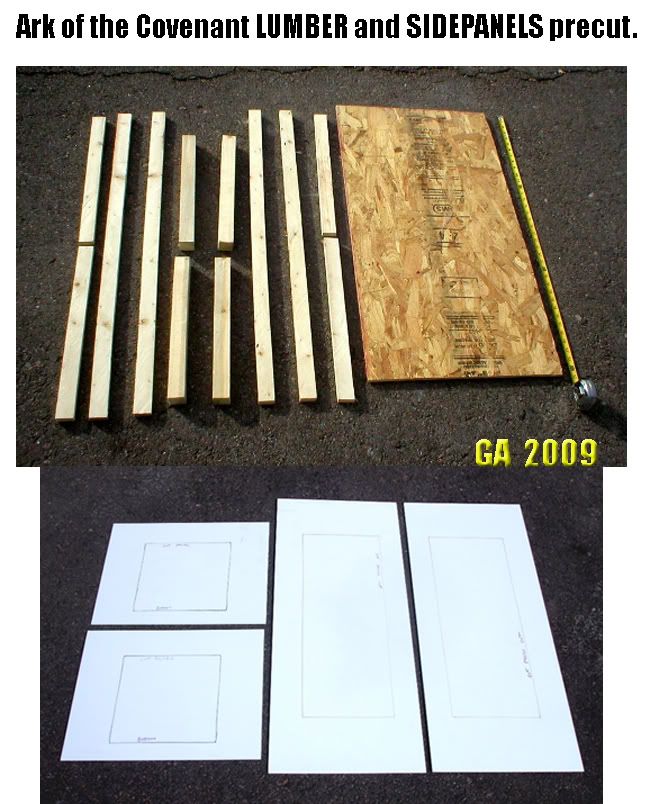
The Lumber needed to create the trunk substructure is available at any home depot, but the sections can be pre-cut and included with the kit on special request.
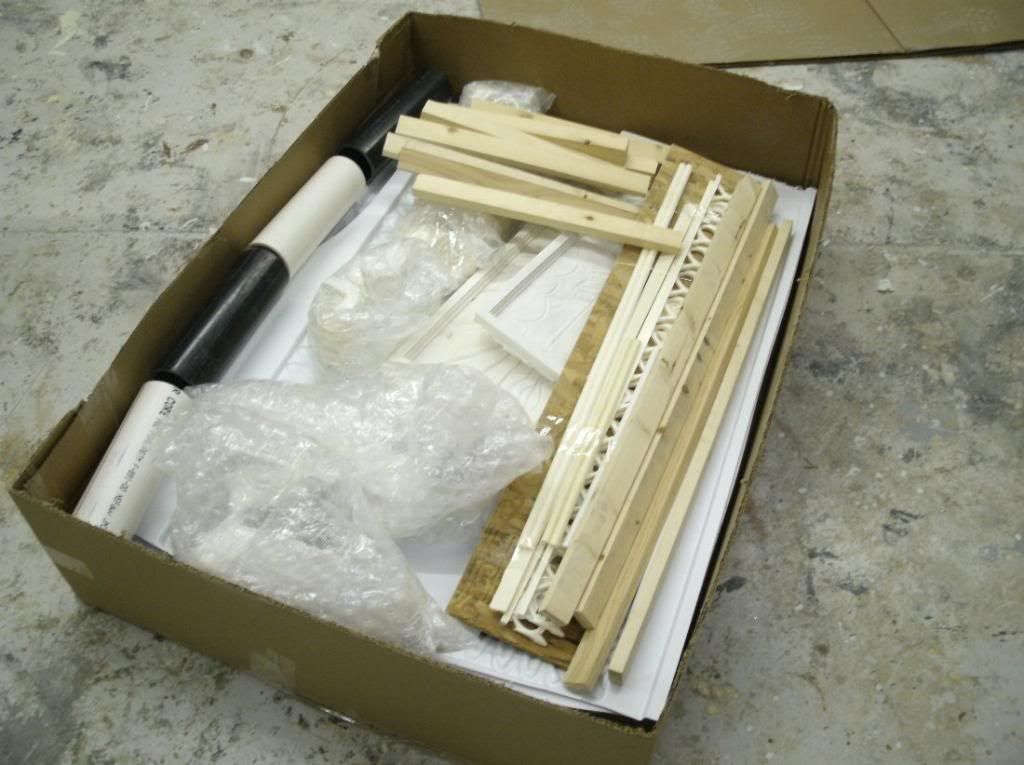
A kit looks like this:
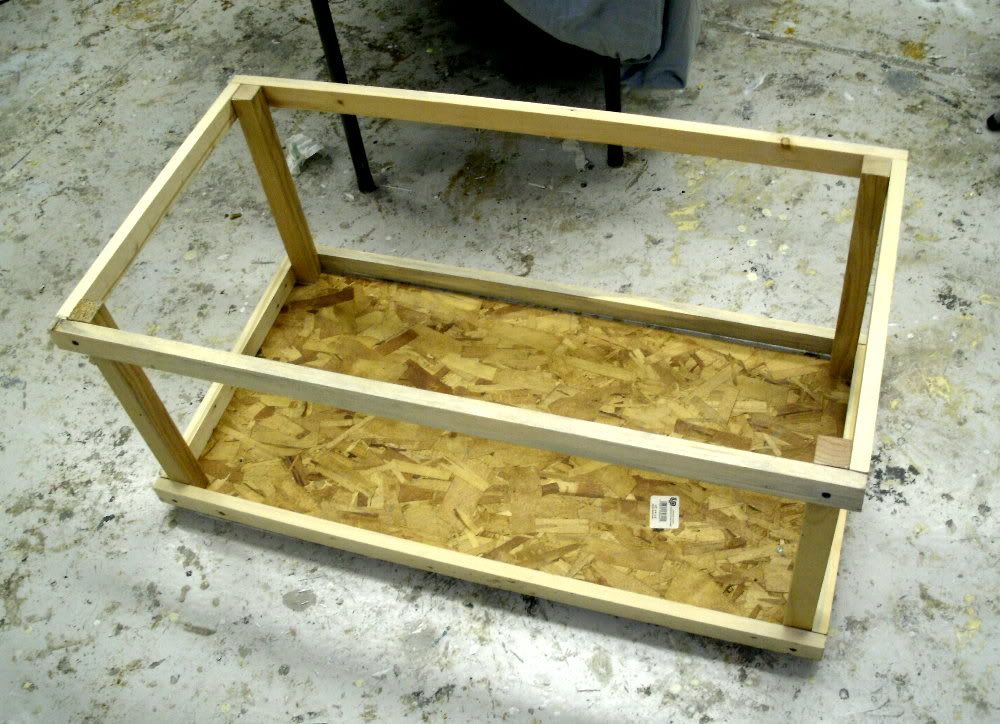
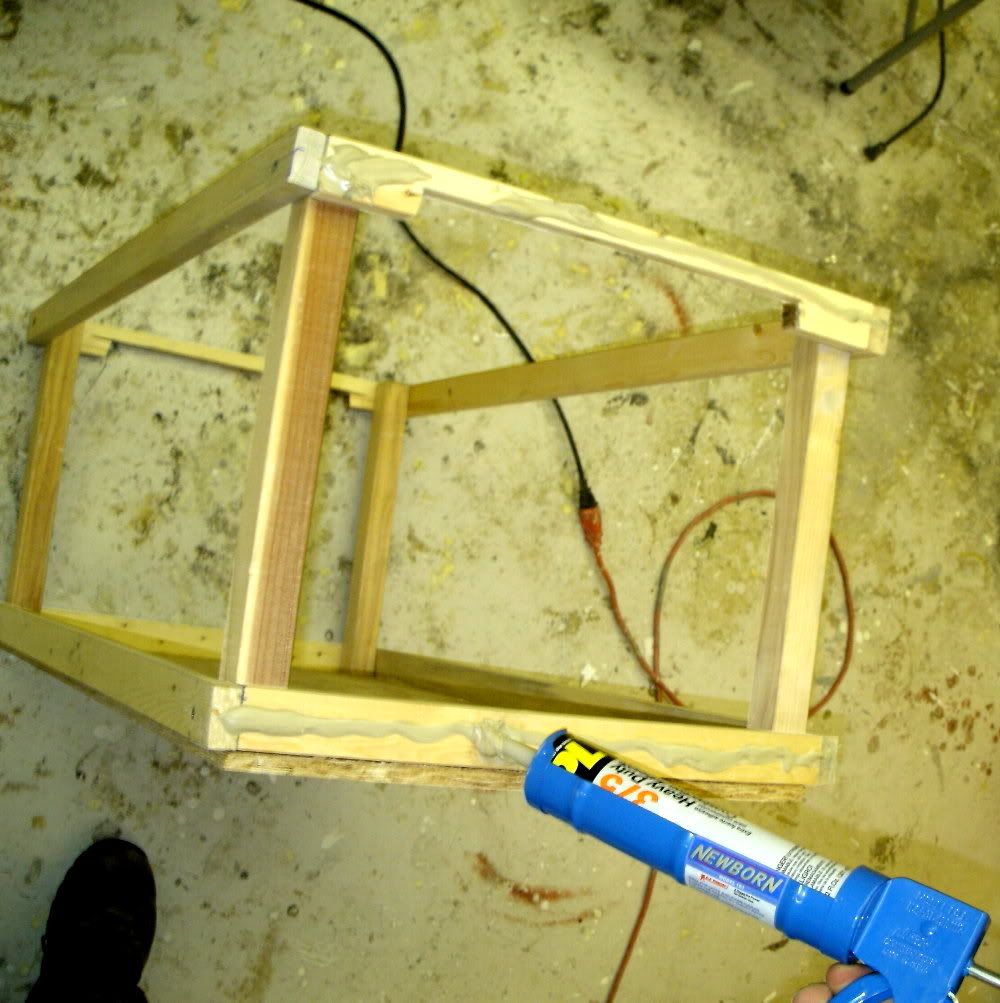
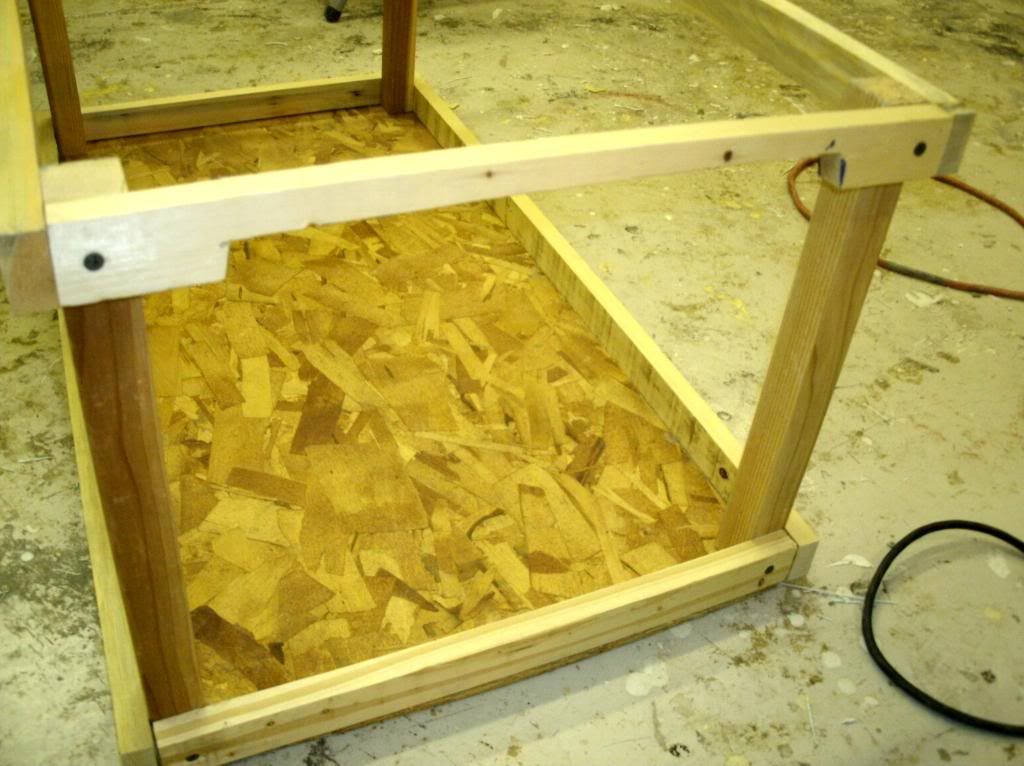
Start by assembling the trunk. The short beams are screwed flush on the corner posts, and the long beams are screwed flush to the short beams like so:
Then bolt down the bottom. MDF or plywood works just fine. The short beams at the top will need a notch taken out at the top to allow for the installation of the story panel. This cut looks like this: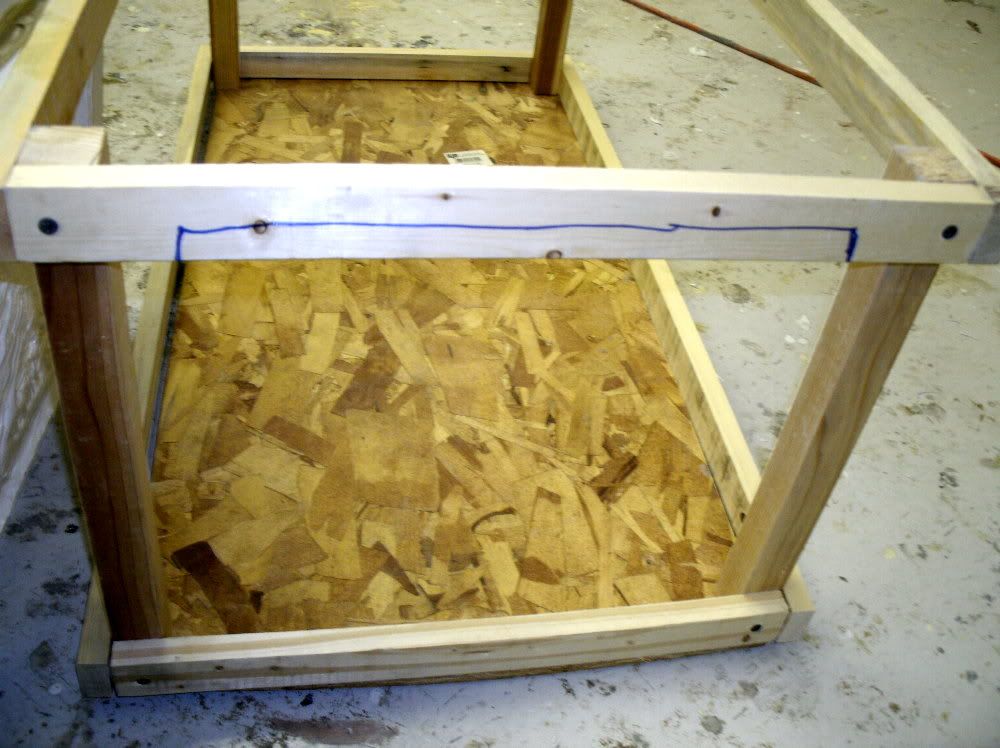
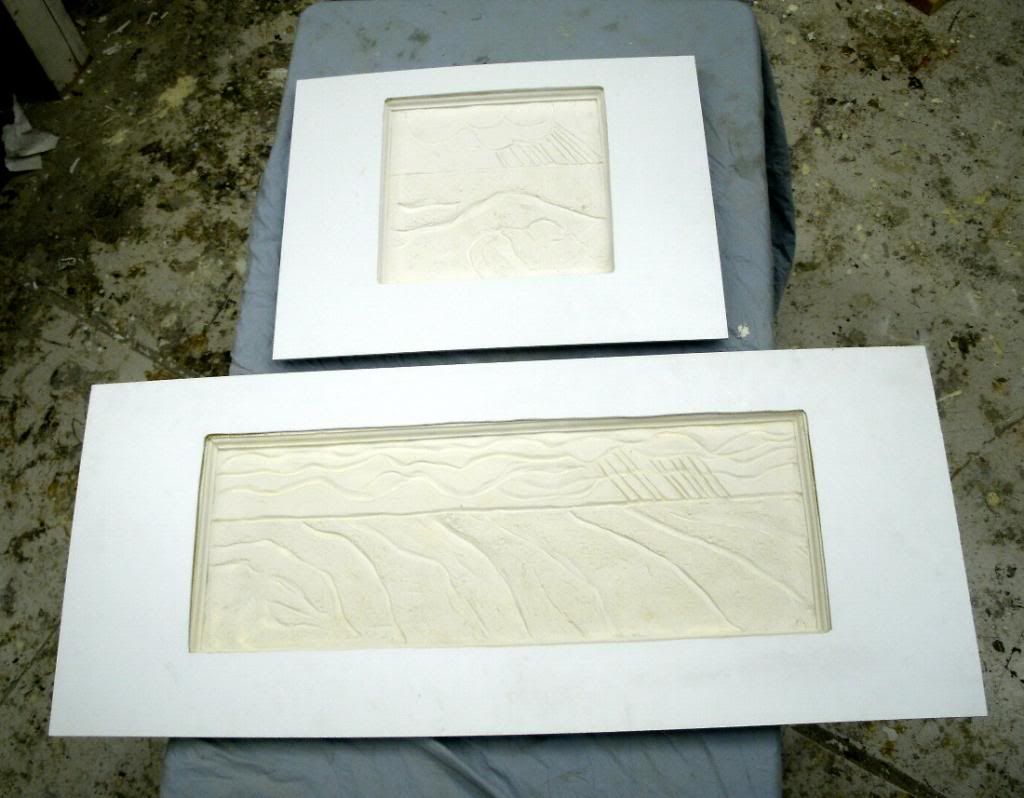
Now begin assembly on the side panels. Any method can be used to remove the 'windows'. I did this step using a dremel with a cut-off wheel and a metal straight edge as my guide. Clamp the straight edge in place and carefully remove the windows. Please wear protective heavy duty gloves during this step. The cut-off wheel can do some severe damage if it skips off onto your hand!
A file and/or handheld sander will remove any flashing left over from the window edges.
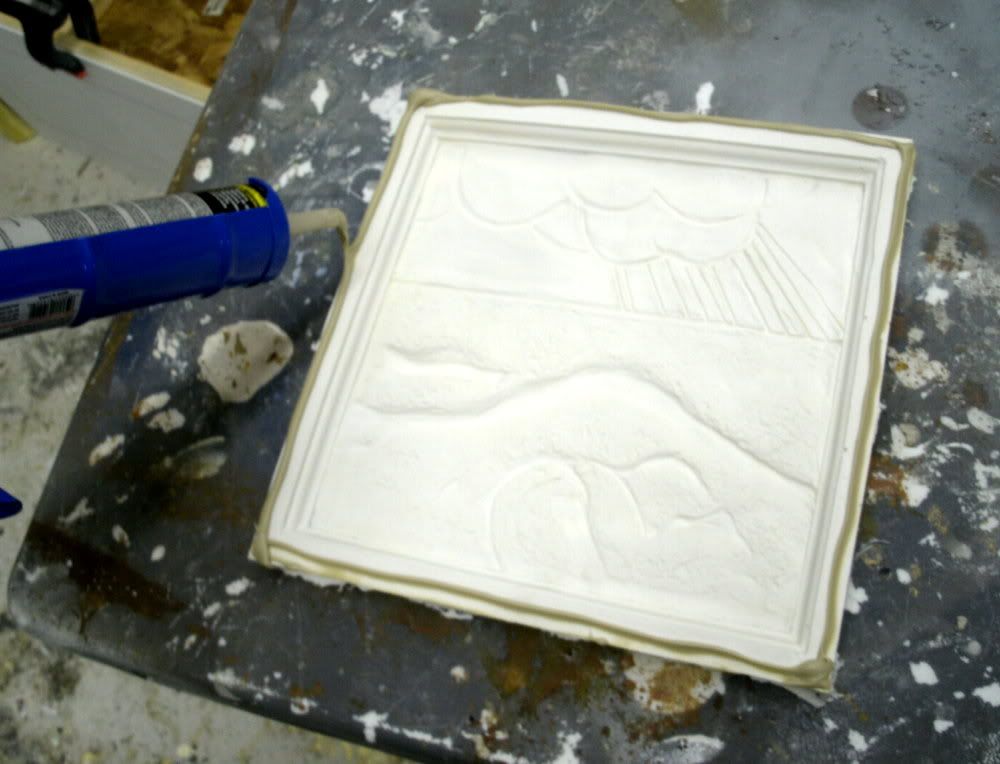
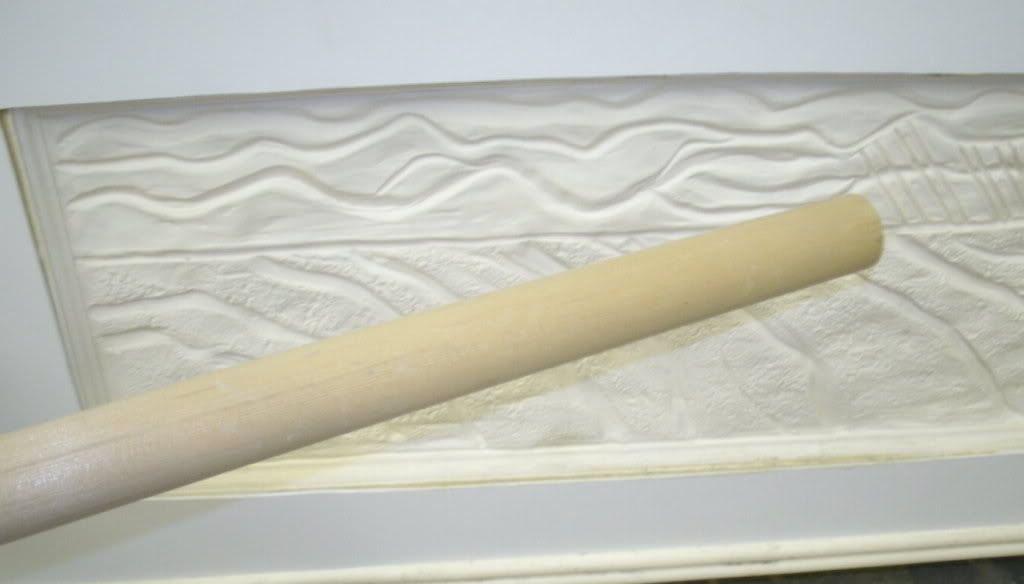
Once you have all 4 side panels prepped, it's time to install the story panel CASTINGS. You can use any kind of adhesive you'd like to secure them in place but the least expensive method is construction adhesive from a caulking gun. Lay down a bead of adhesive on all the edges and press the panel into place. Leave them on a flat surface to cure overnite.
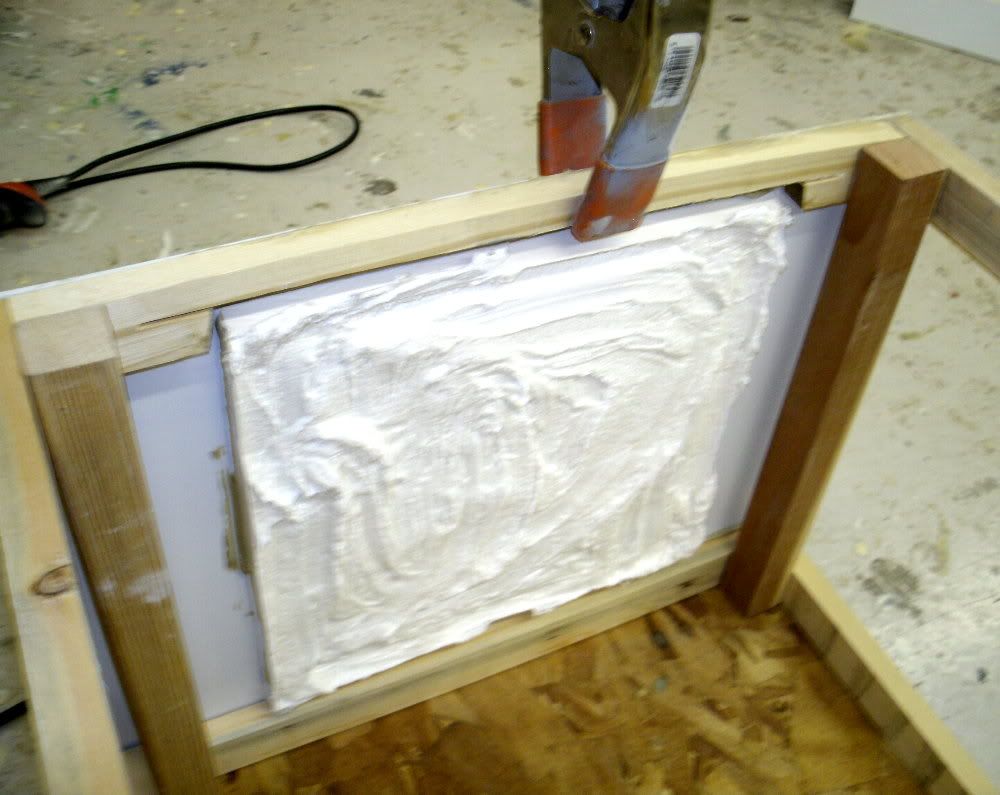
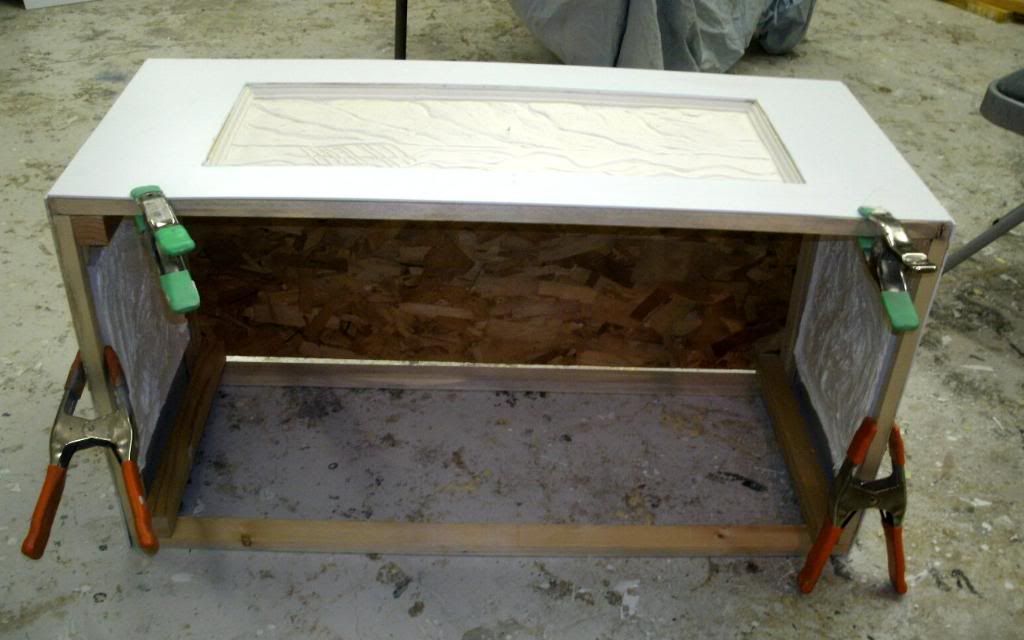
The next day you can apply the panels onto the trunk. Again, use the construction adhesive and clamps to secure them to the trunk. Showing here:
Continue applying the panels until you have all sides covered. I used half-inch wood screws directly in the corners to hold the panels in place as I rotated the trunk to apply the next panel.
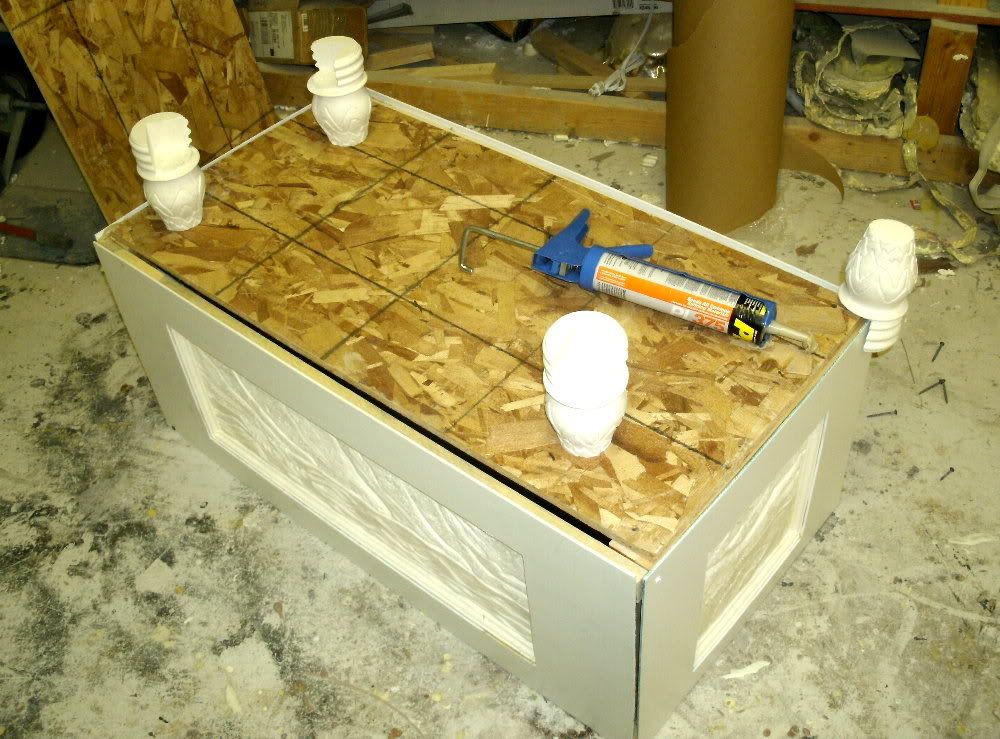
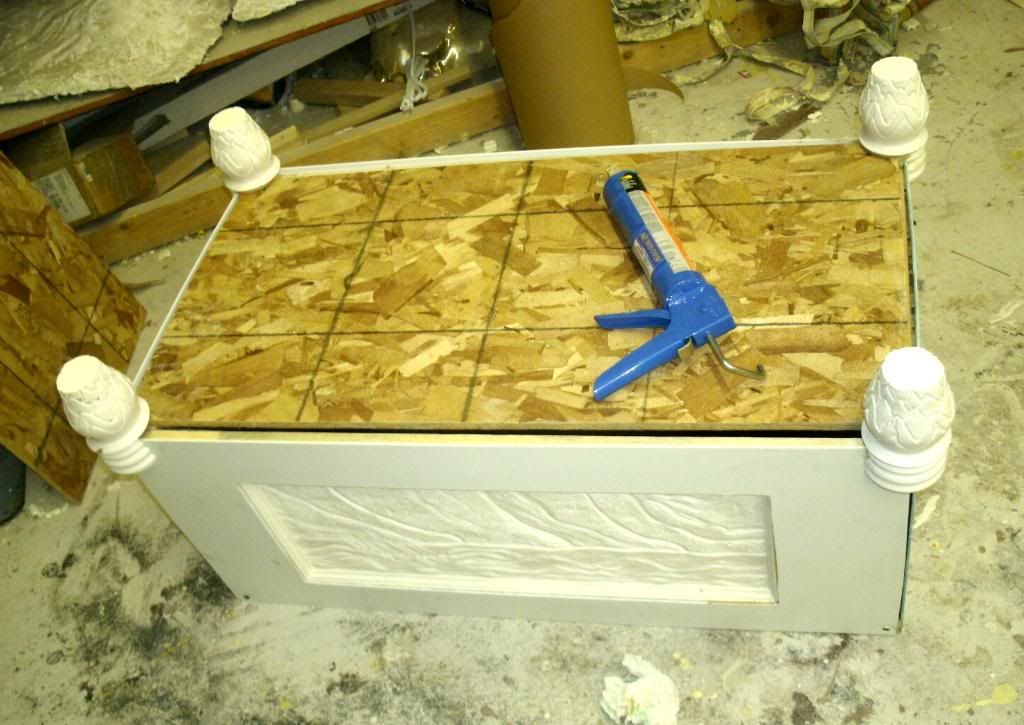
Now you can flip the trunk upside down and apply the feet in place. These are engineered to fit flush on the corners.
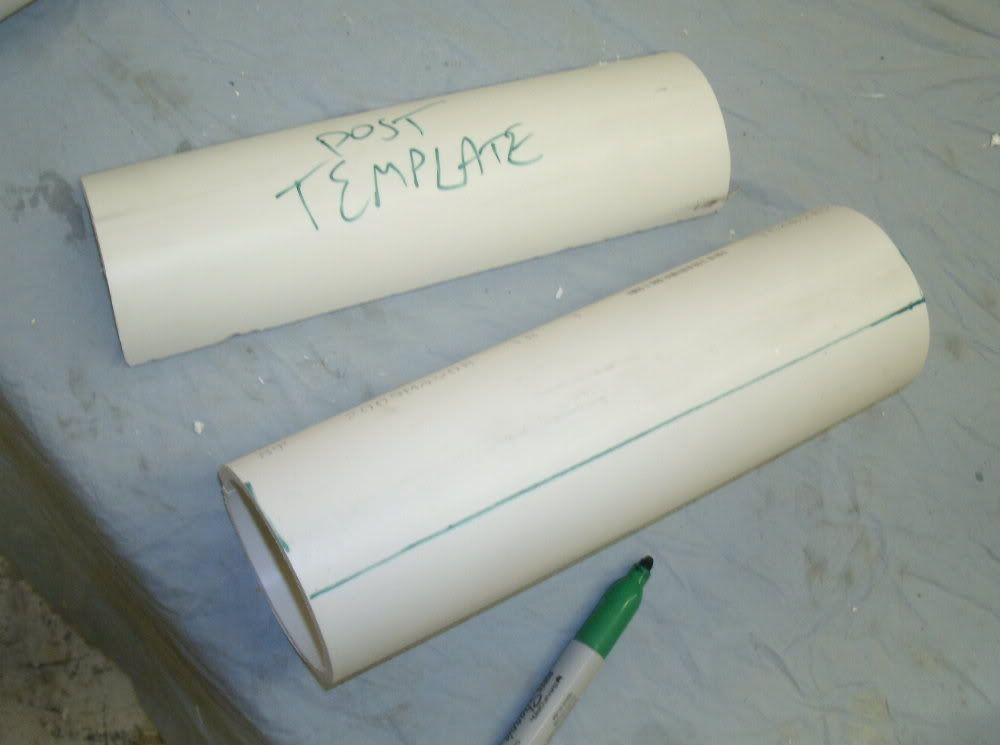
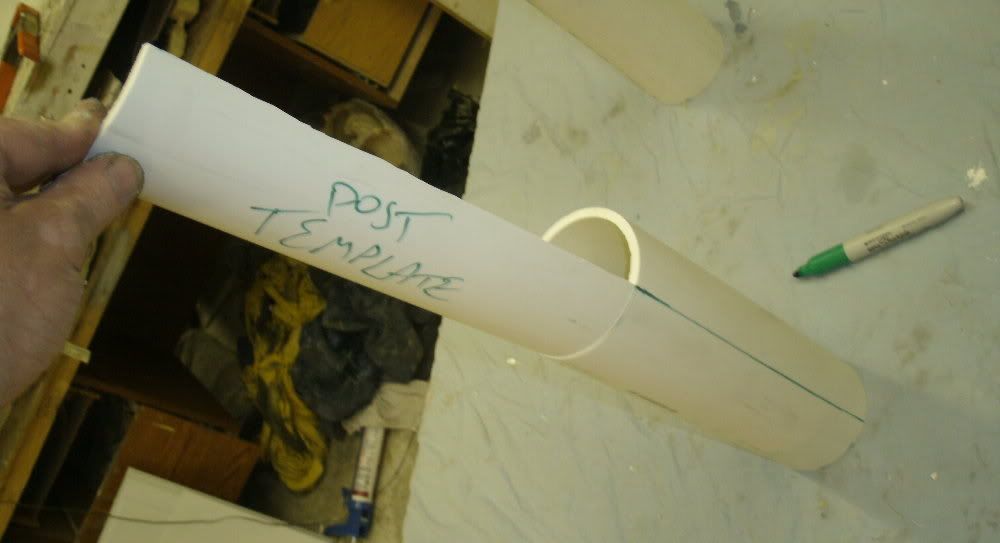
Let's begin working on the corner posts. Take your PVC sections and measure out the appropriate length and cut sections to allow the post to fit flush on 90 degree corners.
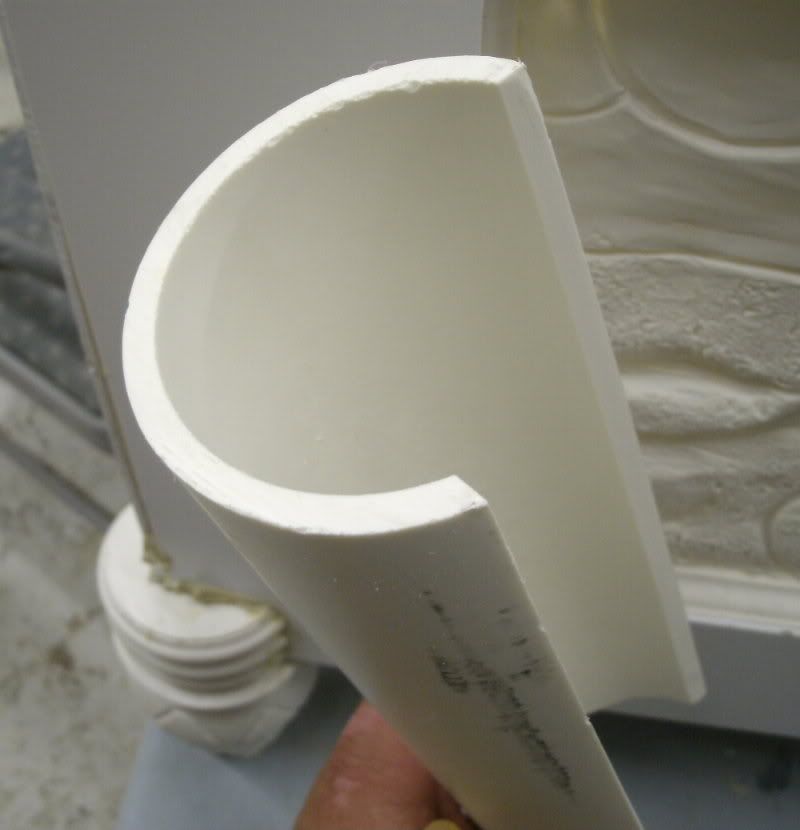
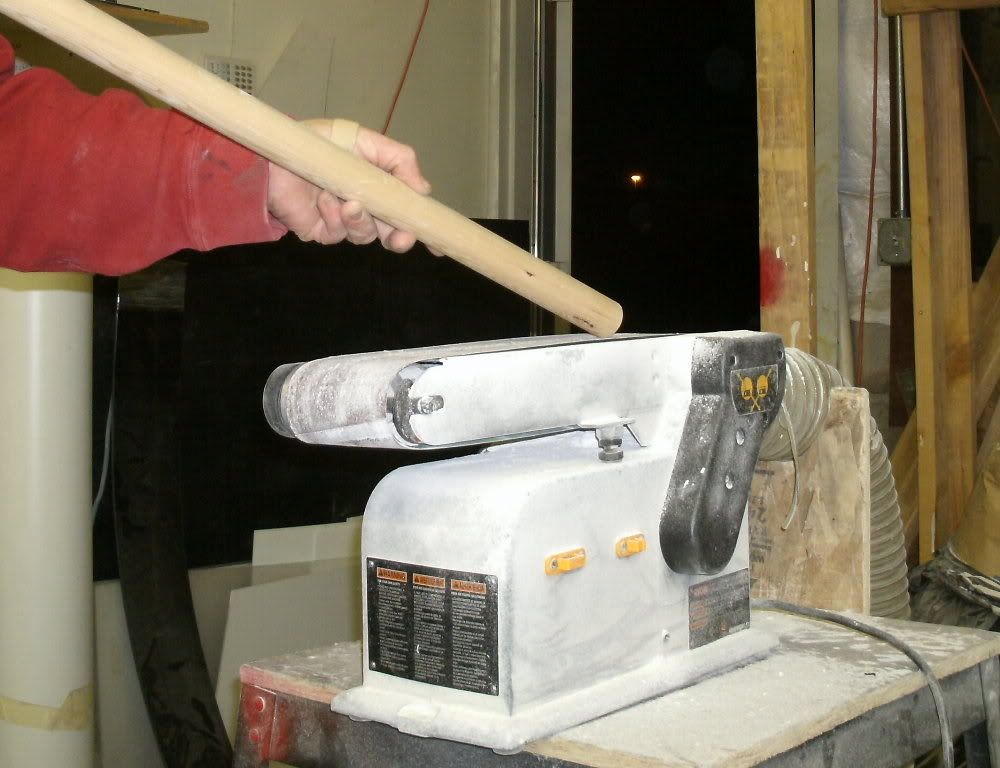
The edges of posts should be bevelled like so to allow them to fit flush. Use a belt sander to accomplish the this bevel:
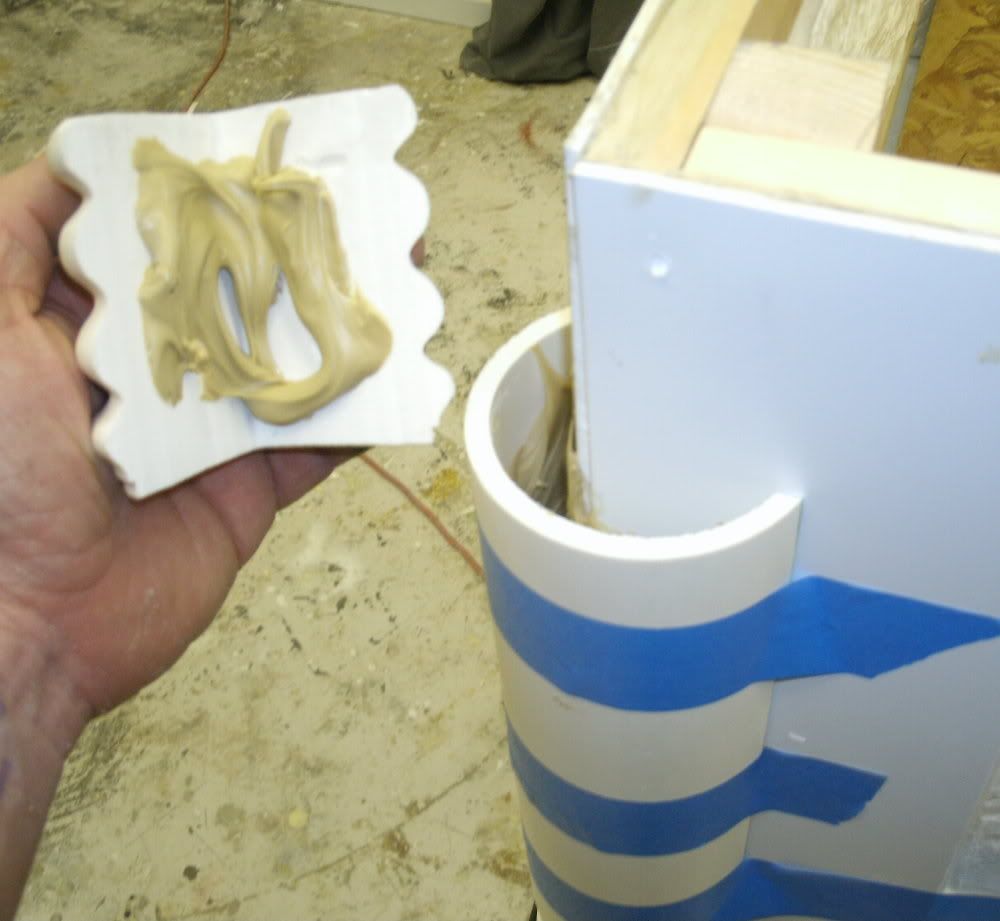
Apply all 4 posts in the corners and use a bit of construction adhesive on the interiors to bond them. I used painters tape to hold the posts in place overnite.
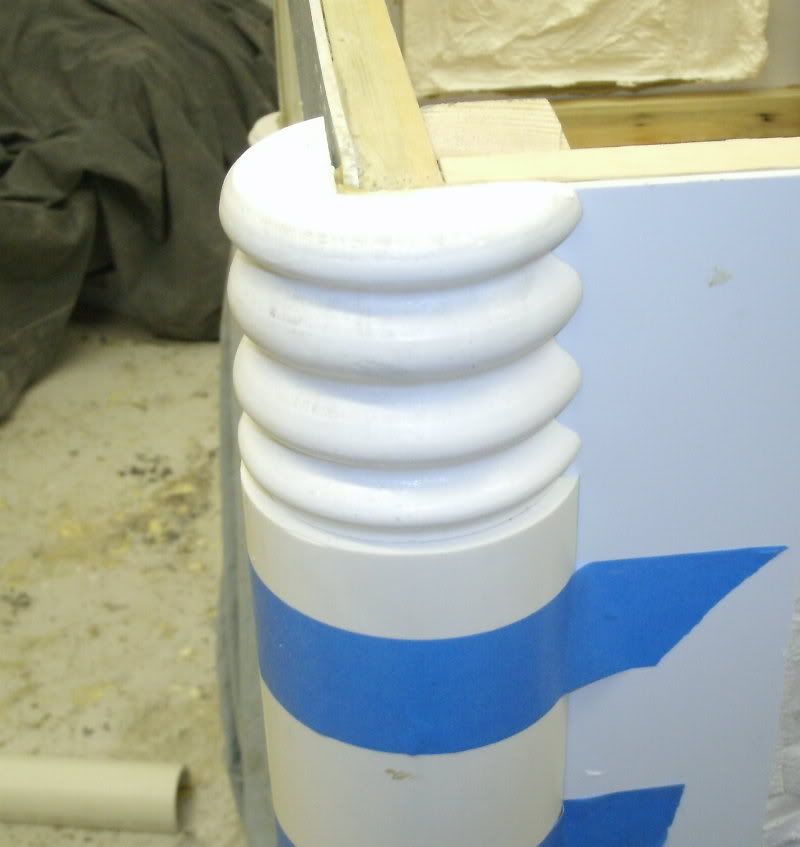
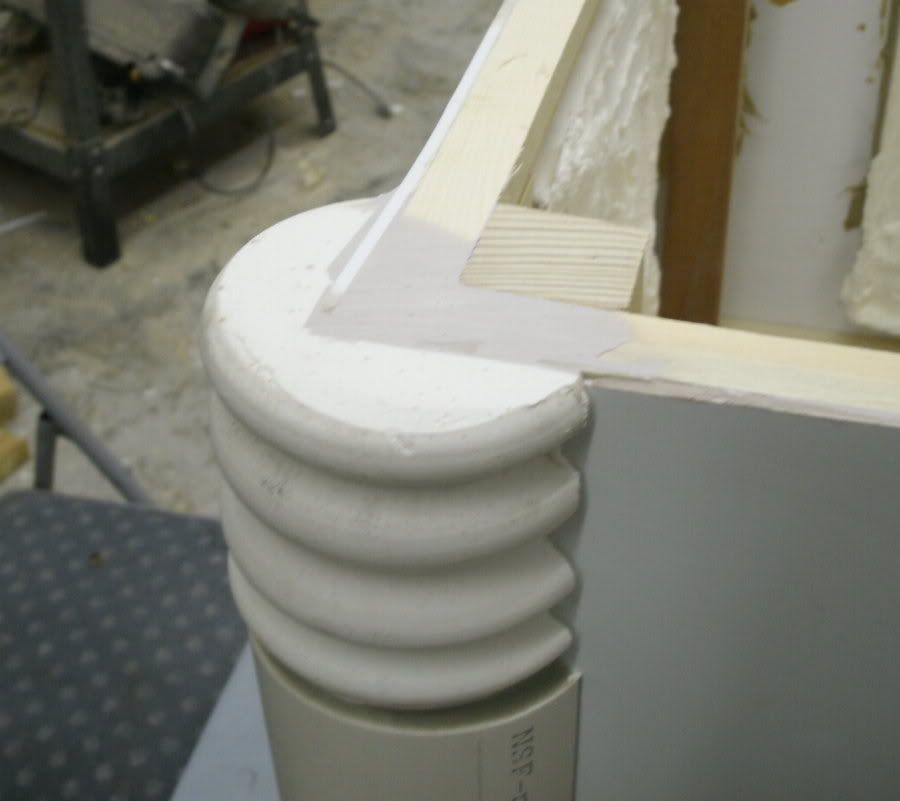
At this stage, it's time to install the top finials, or 'ribbed finials' to the top of the posts. Be sure they fit flush (they may need to be adjusted slightly) and glue them down to the tops. This looks like this:
The tops at the corners will have a gap that can easily be filled with bondo and then flattened with a hand sander.
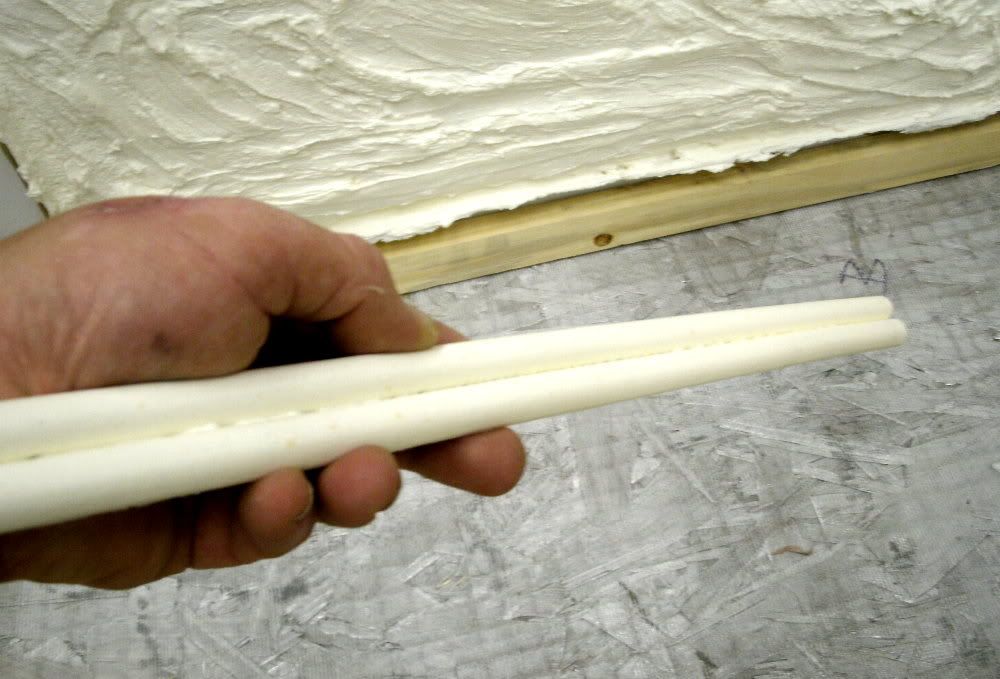
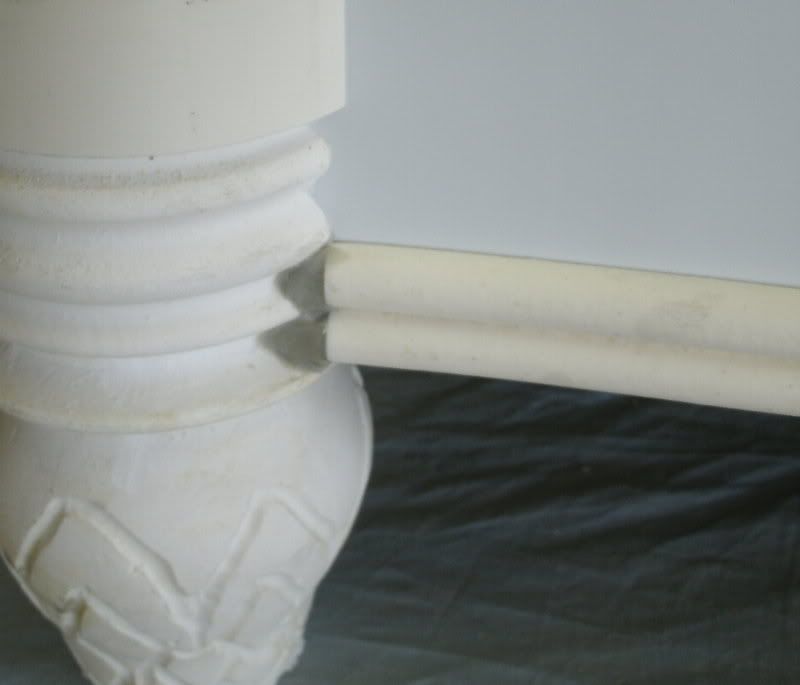
Now you can apply the 'bead trim' to the lower edges of all the sides. I use cyanoacrylic superglue to adhere these.
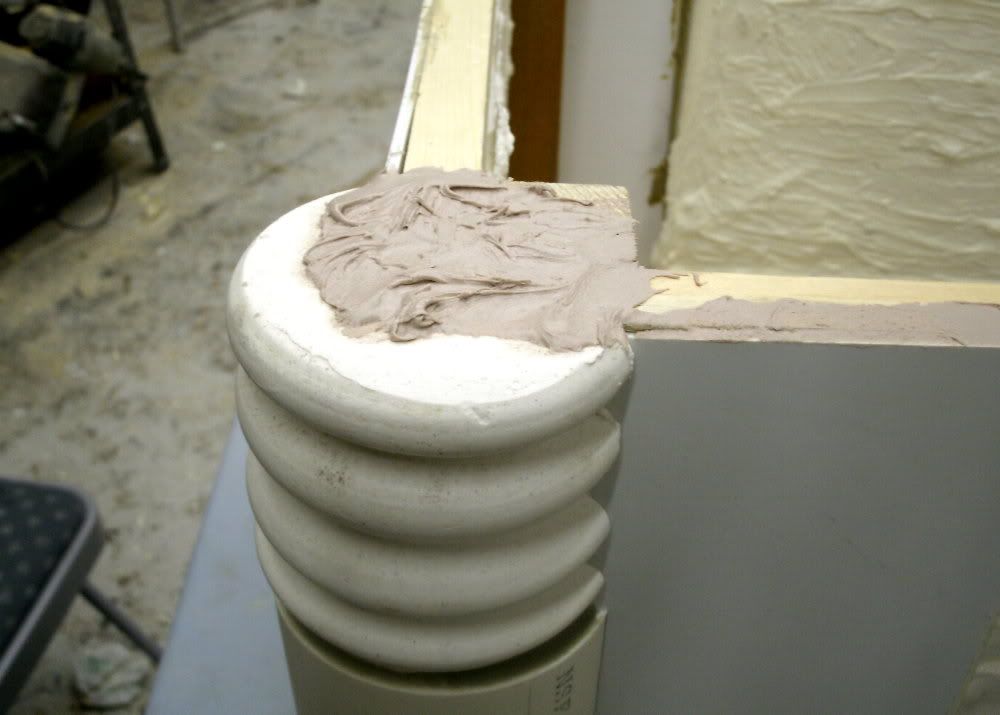
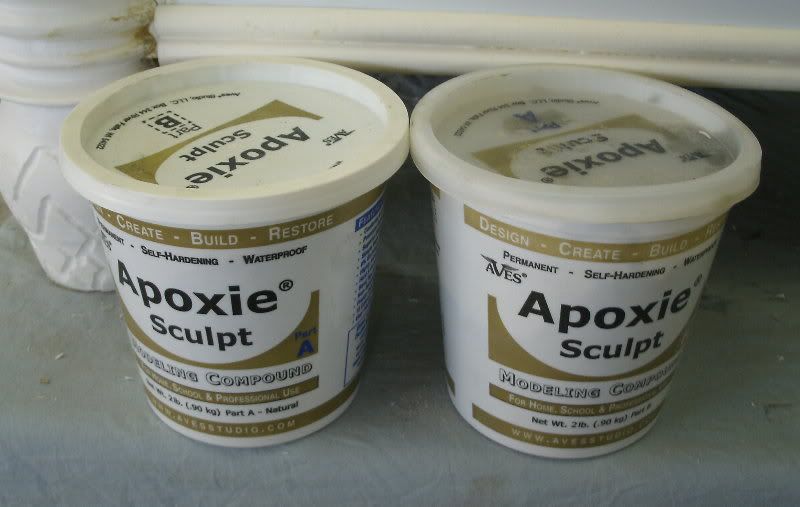
Once the bead trim in installed, you can use sculpting putty ( my favourite is Apoxie Sculpt from AVES) to aesthetically join them onto the ribbed area of the feet. That step looks like this:
Apoxie Sculpt can be used to fill in any gaps in your construction so far (e.g. gaps where the bead trim meets the feet, where the ribbed finials meet the body, where the posts meet the side panels etc....) Detail to your heart's content.
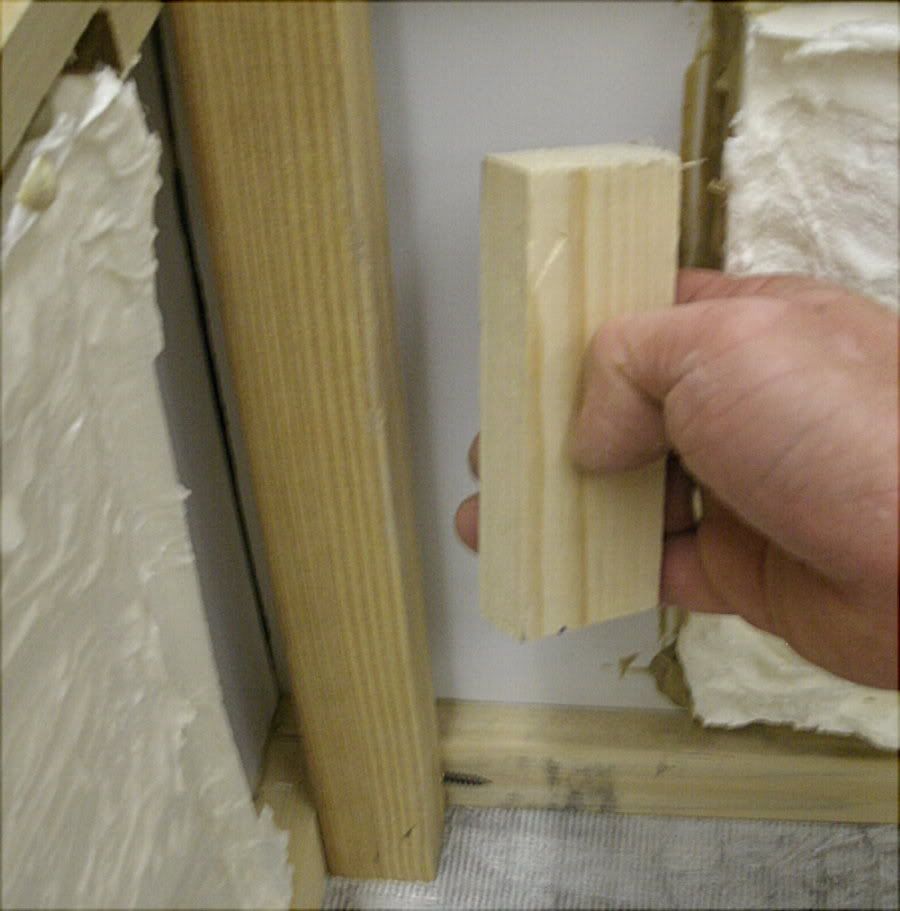
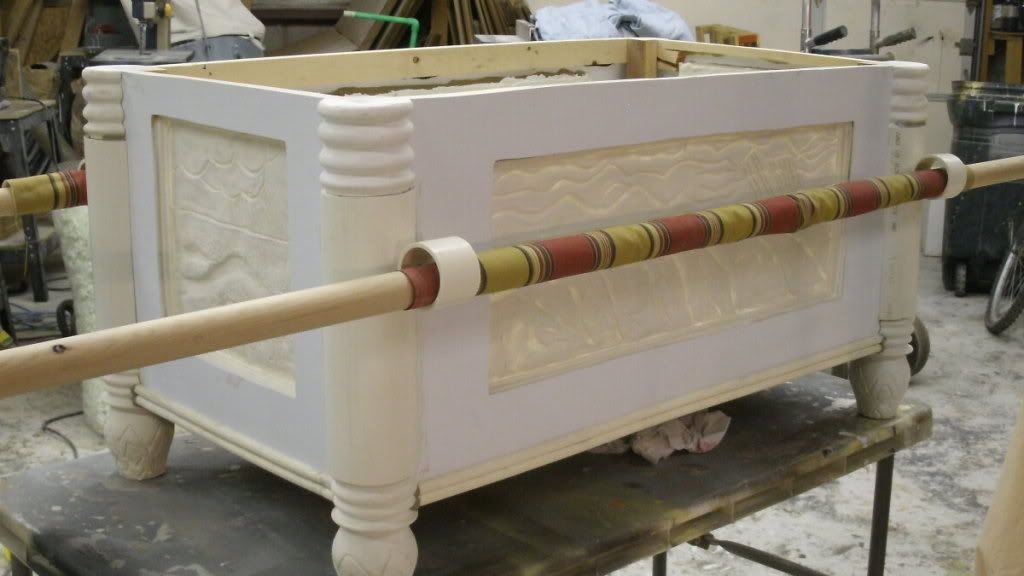
Now, if you intend on having the stave rings strong enough to be carried by stave poles, you will need to buffer the interior with some strength. I did this by securing a piece of 1X2 stock in the gap between the interior corner posts and the side panel interior surface. This allows the bolt to carry through the exterior pvc post and into the frame without any compromise. Like this:
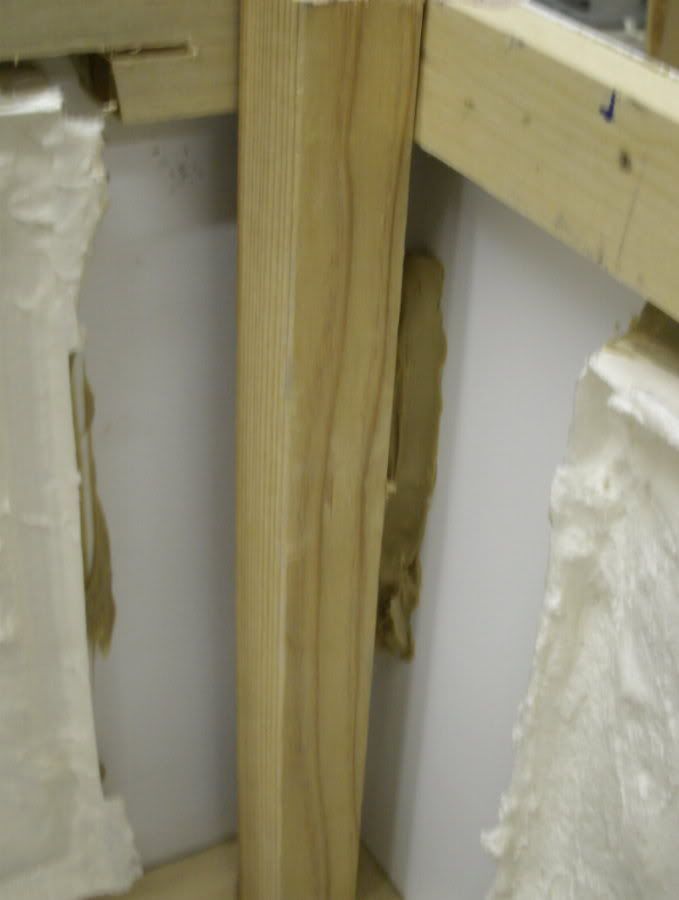
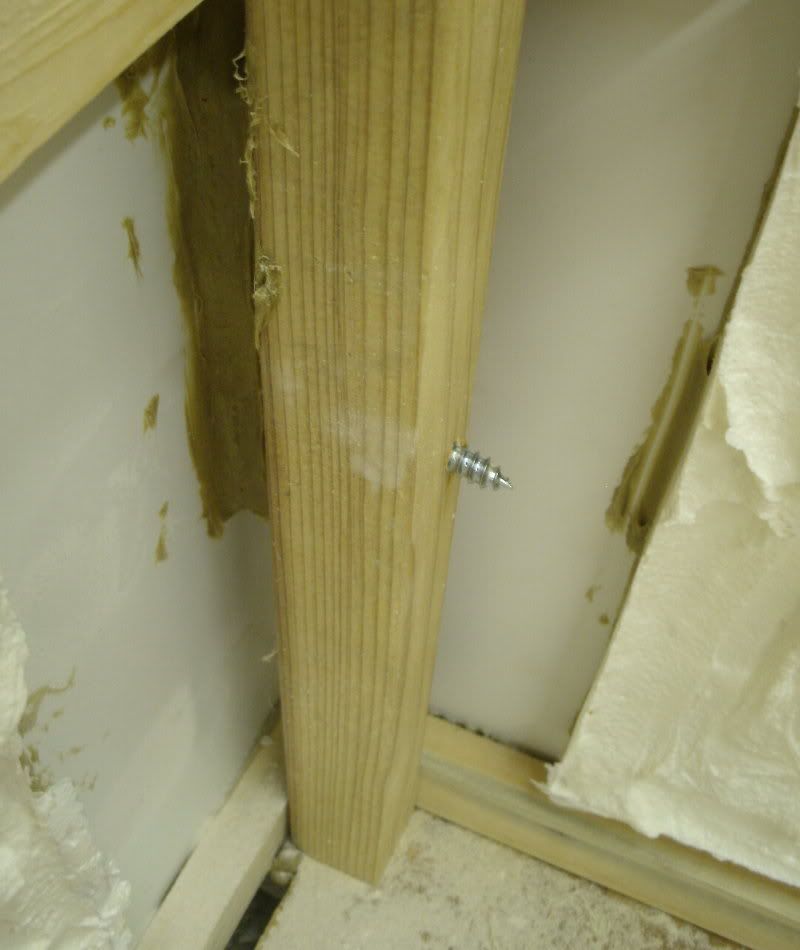
STAVE RING ASSEMBLY
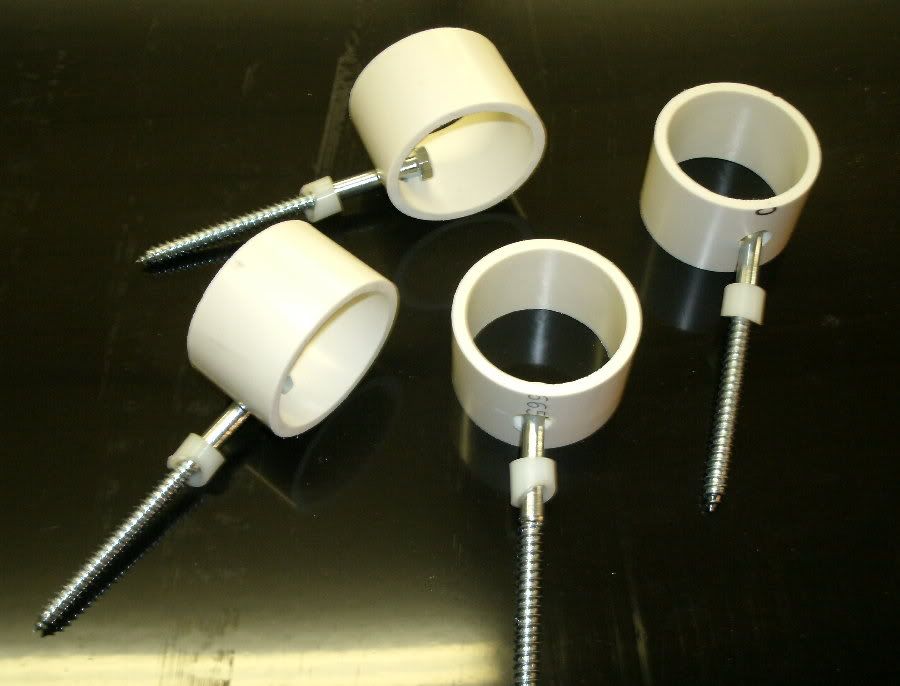
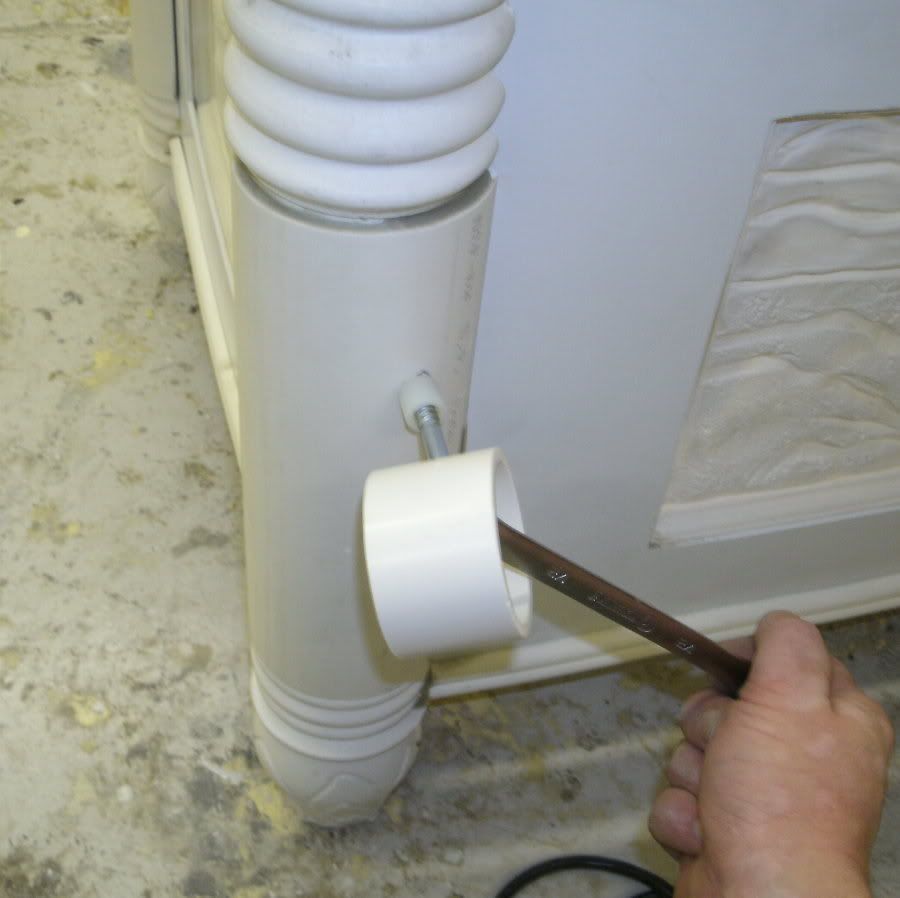
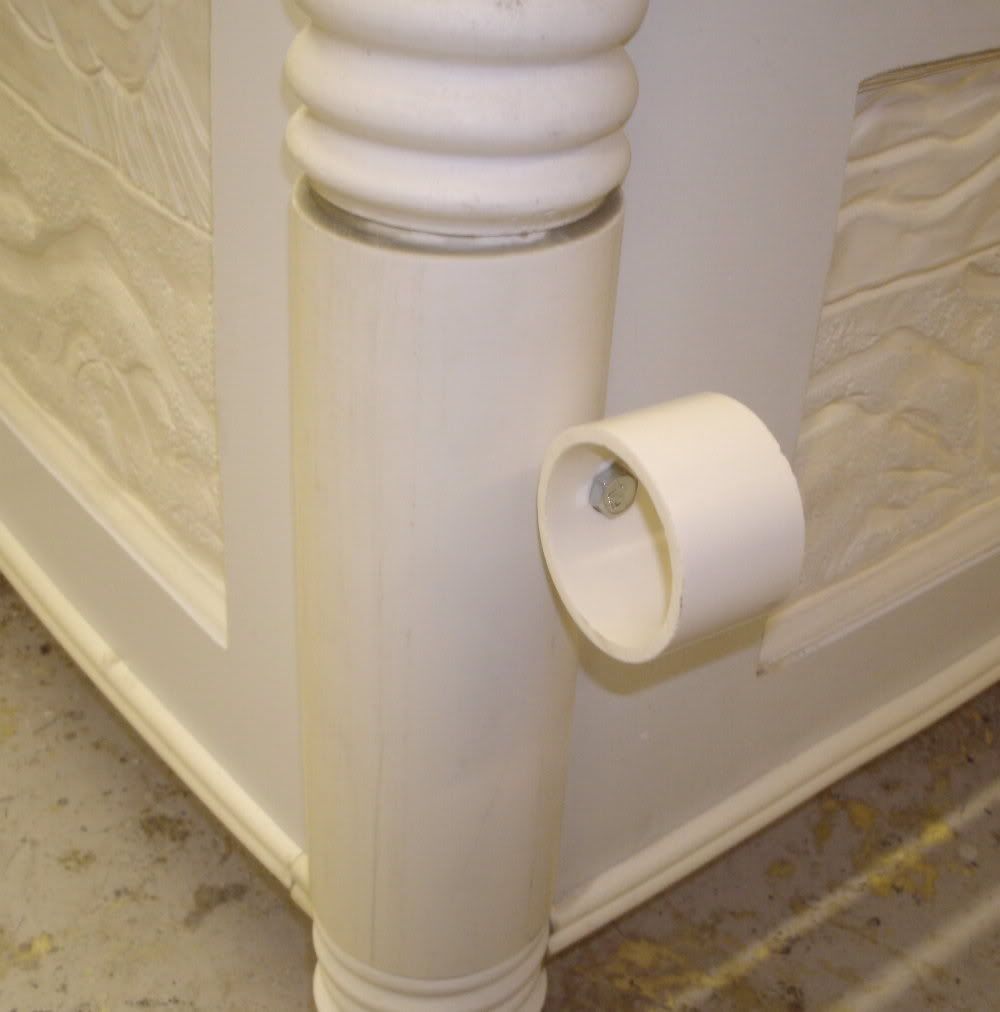
Now we can install the STAVE RINGS. Each stave ring assembly consists of: The pvc ring section, an angled sleeve, and the metal bolt. Drill a hole through the ring wide enough for the bolt to pass through cleanly from the interior. The sleeve goes on with the angle facing outwards (so it meets the body of the post at its angle).
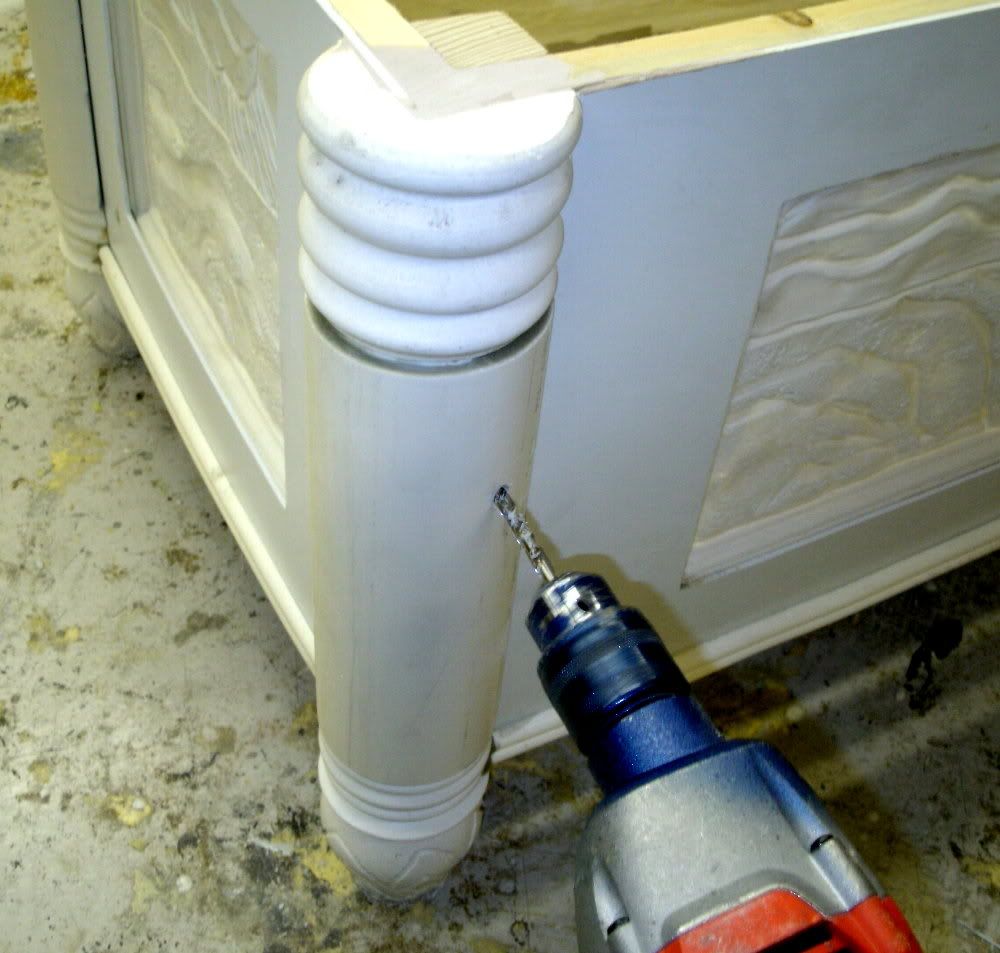
Drill a hole through each corner post in the position I show here. Use a long bit to make your pilot hole all the way through the substructure. (obviously you're using a larger size bit for the pvc post than the one you'll use to make your pilot hole into the wood.
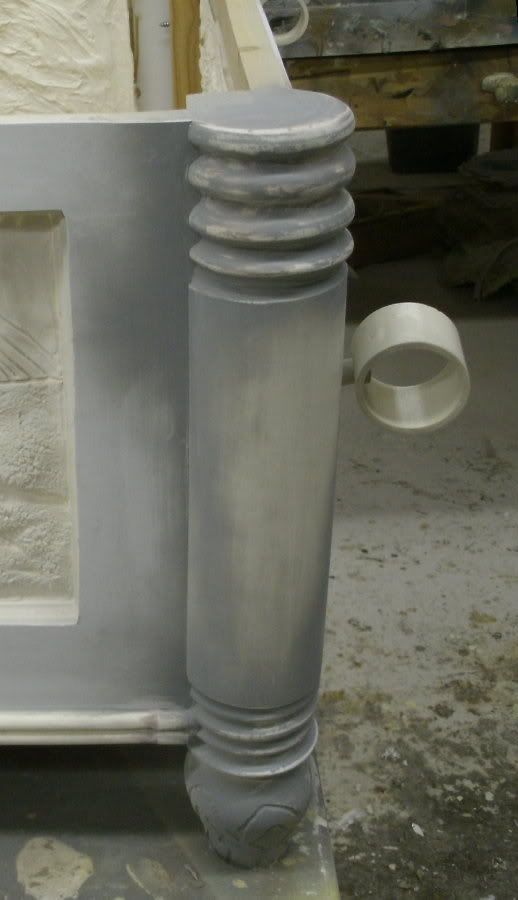
Now you're free to bolt the stave ring assemblies in place. Repeat X4
Clean any areas that have any excess adhesive and fill any gaps using bondo, putty. Then sand any areas that need attention and finish the surface with an 800+ grit paper.
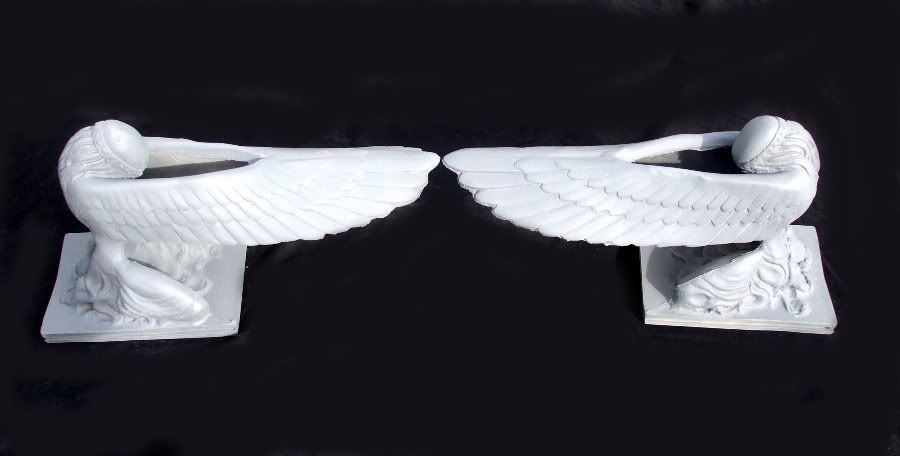
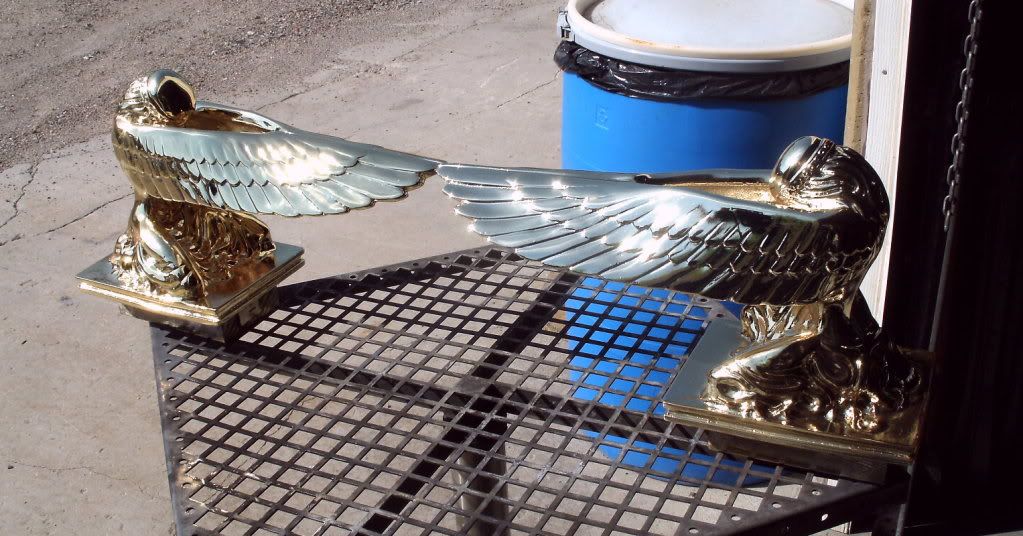
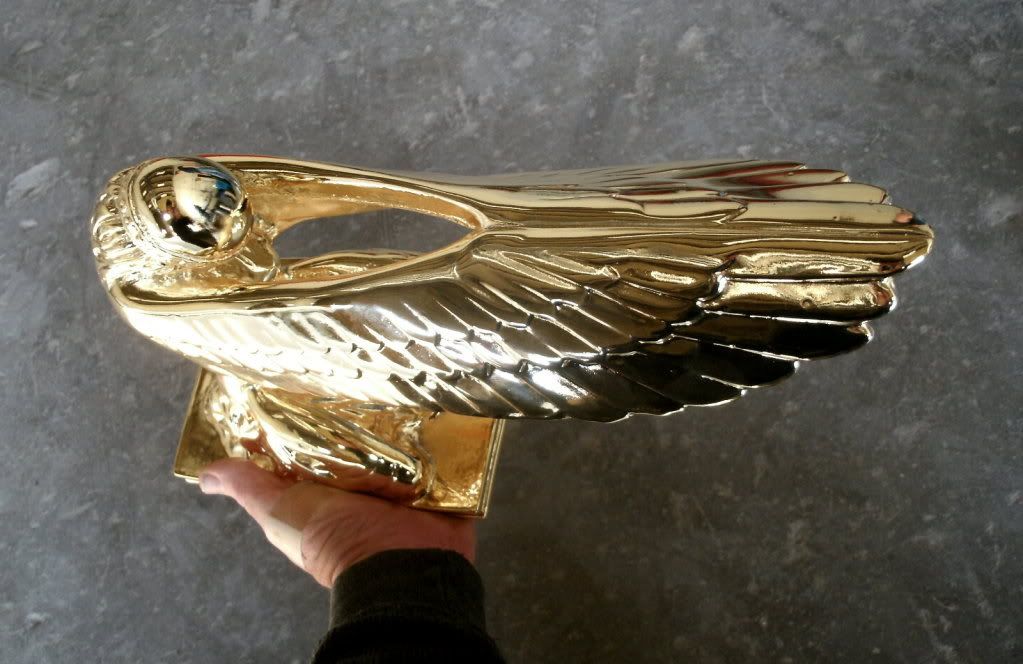
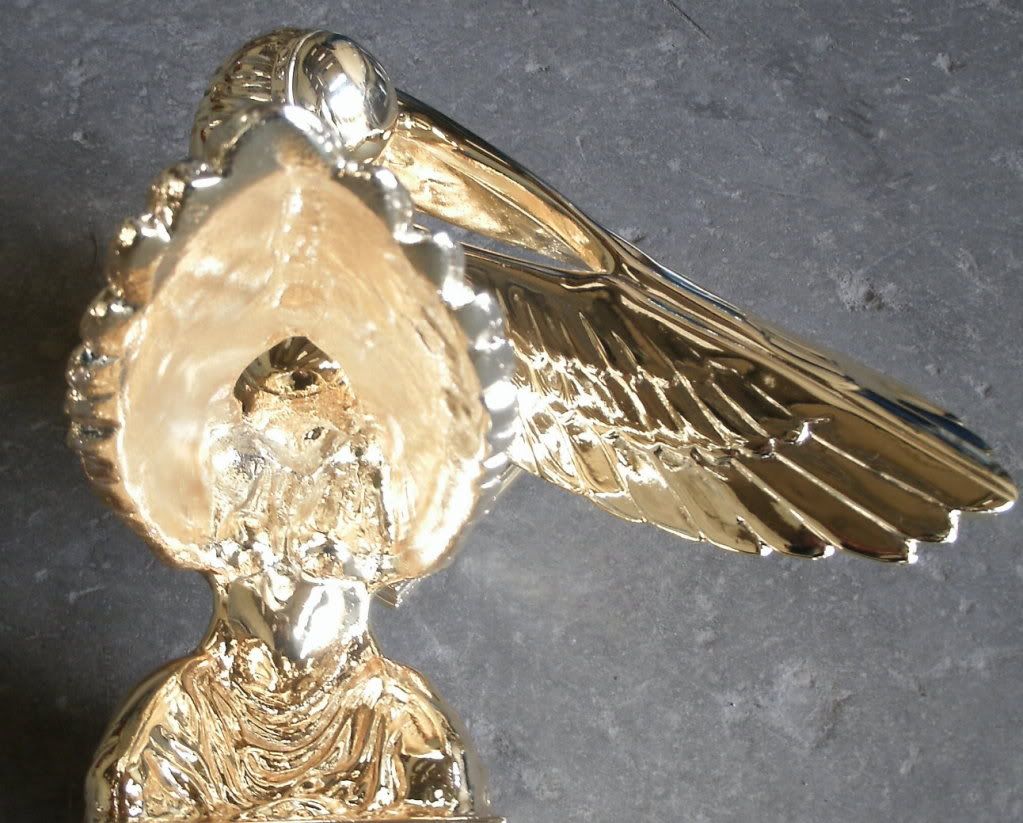
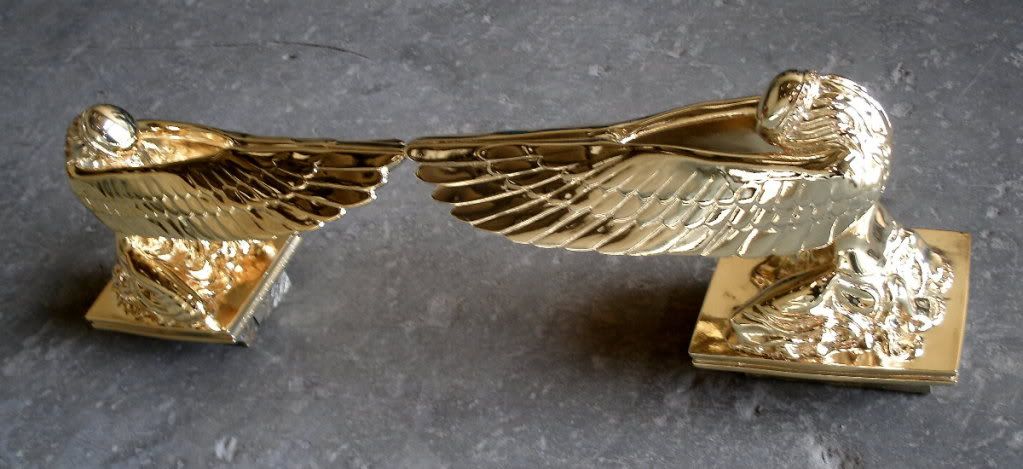
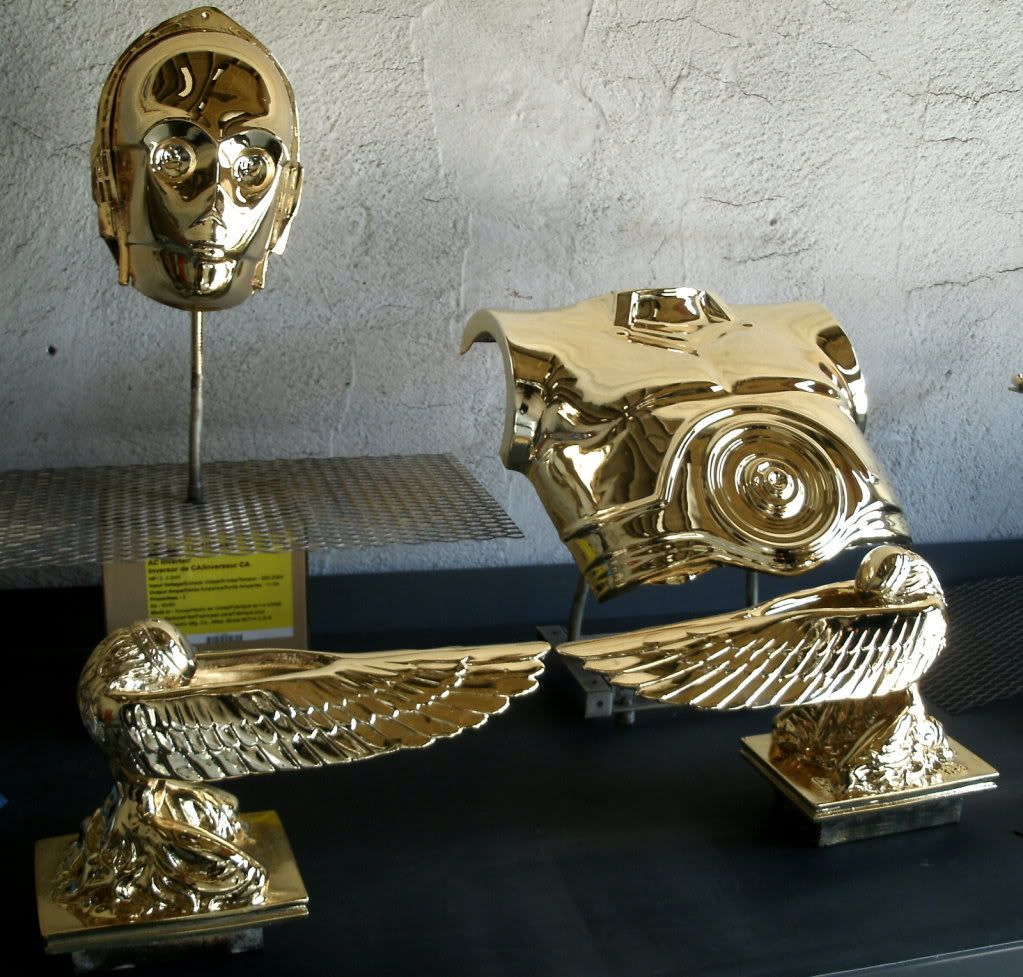
The angels are cast in one piece so there's no assembly required. Give the seamlines some attention with a dremel, bondo and sandpaper. Primer, polish, and you'll be done before you know it.
ASSEMBLING THE LID
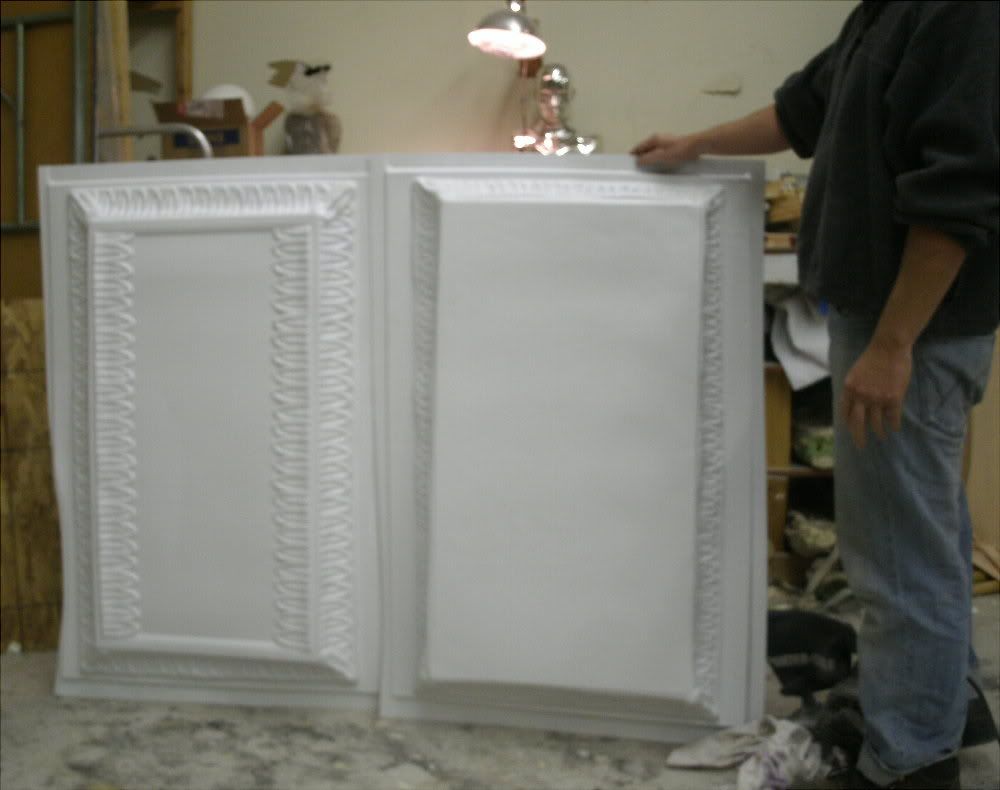
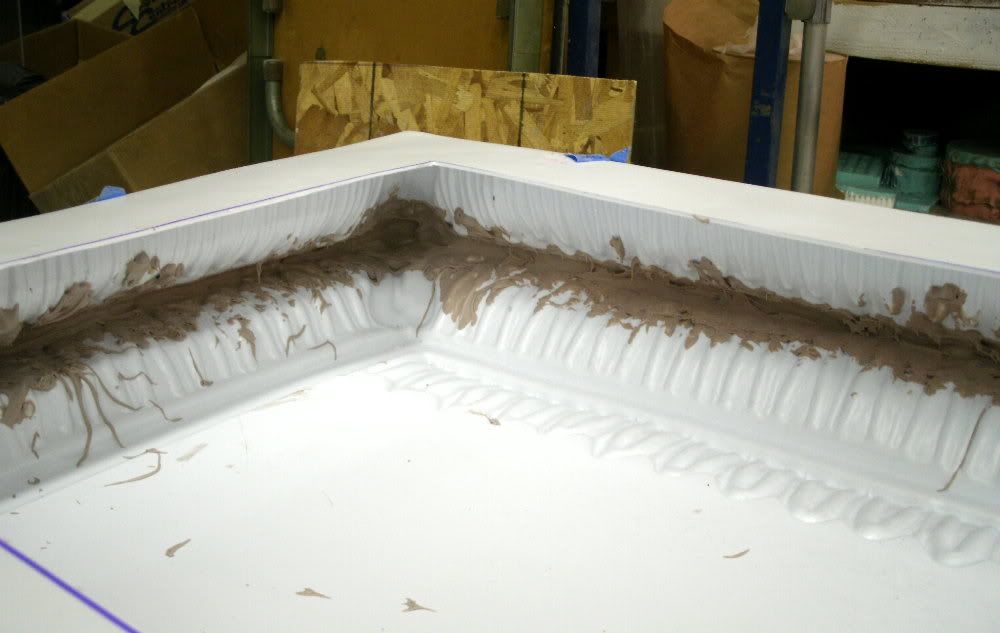
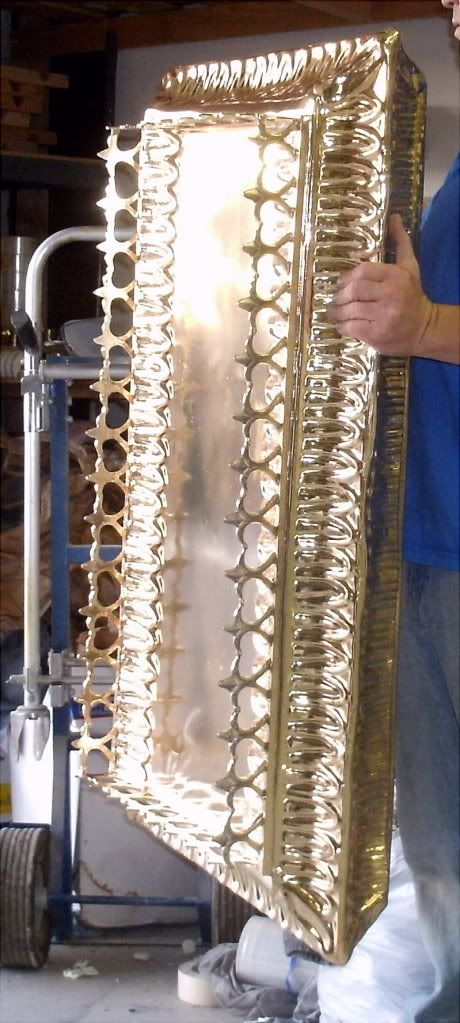
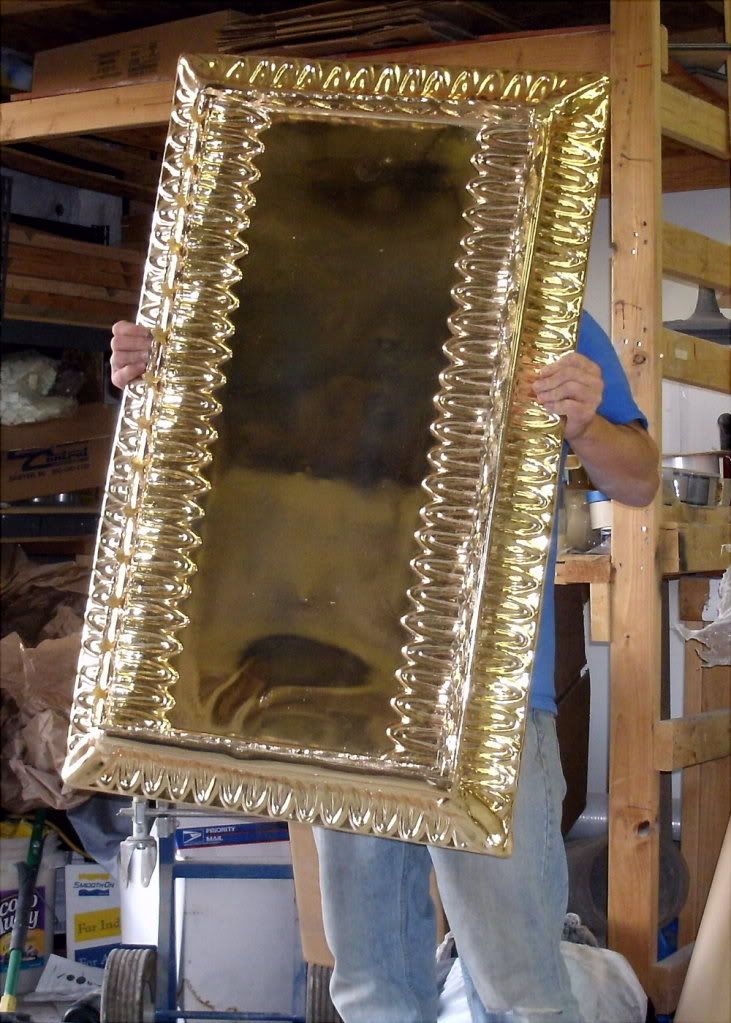
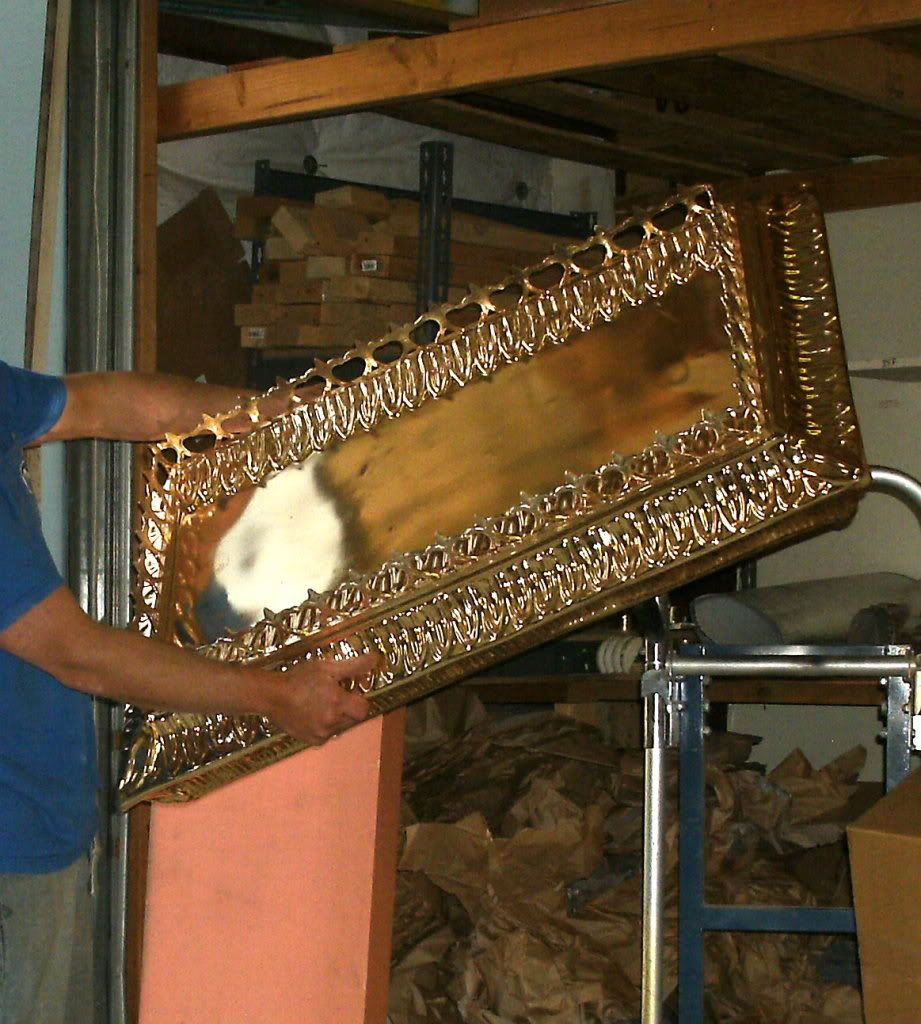
A fiberglass lid was not cost effective. So a thermal formed lid was engineered. This is of great benefit to the gold plating process as well.
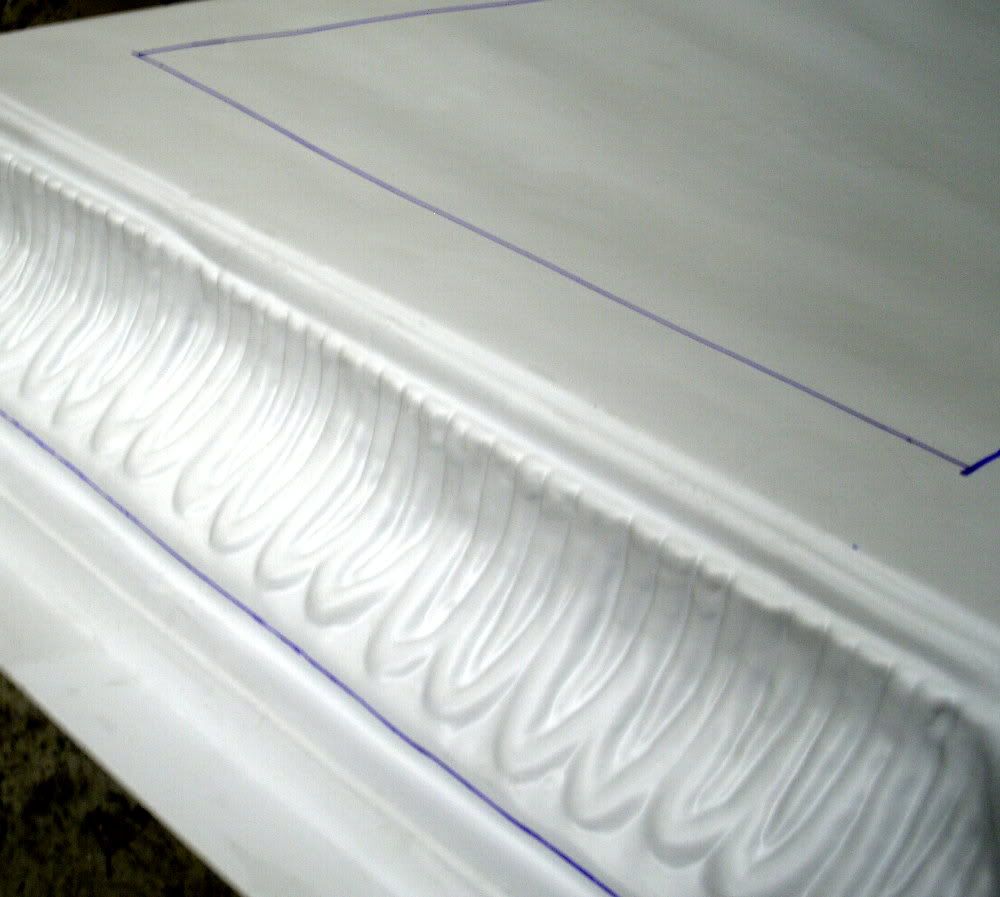
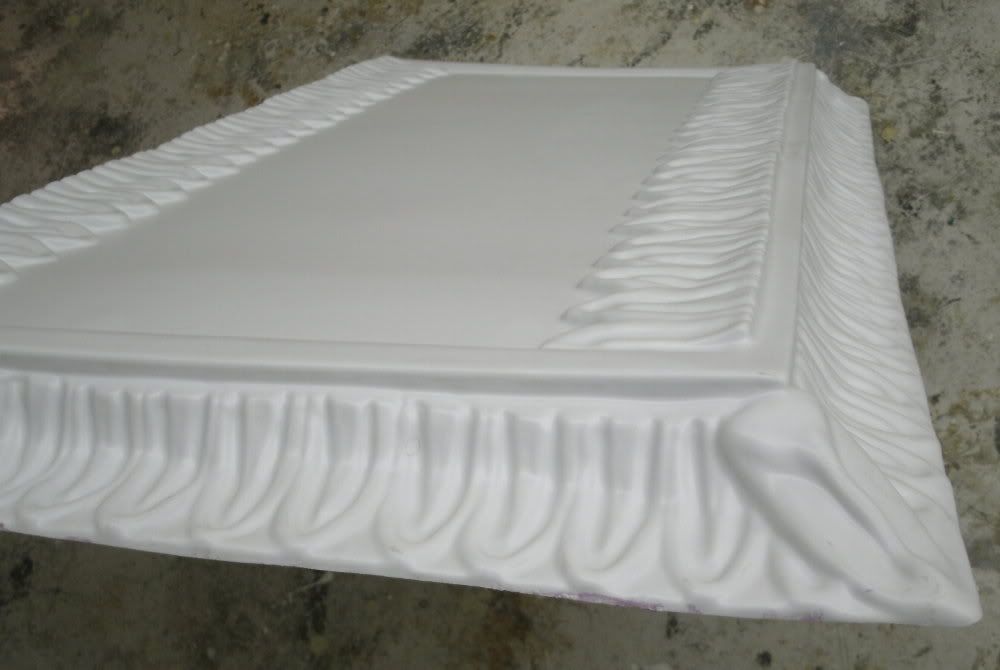
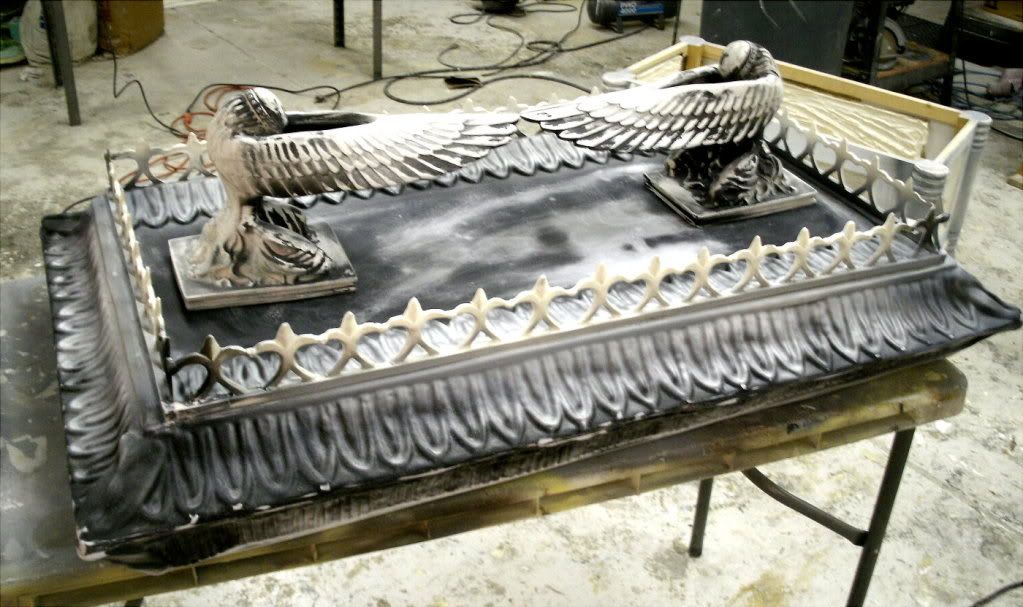
This lid is comprised of the thermal formed TOP and BOTTOM shells, and the gallery rails.
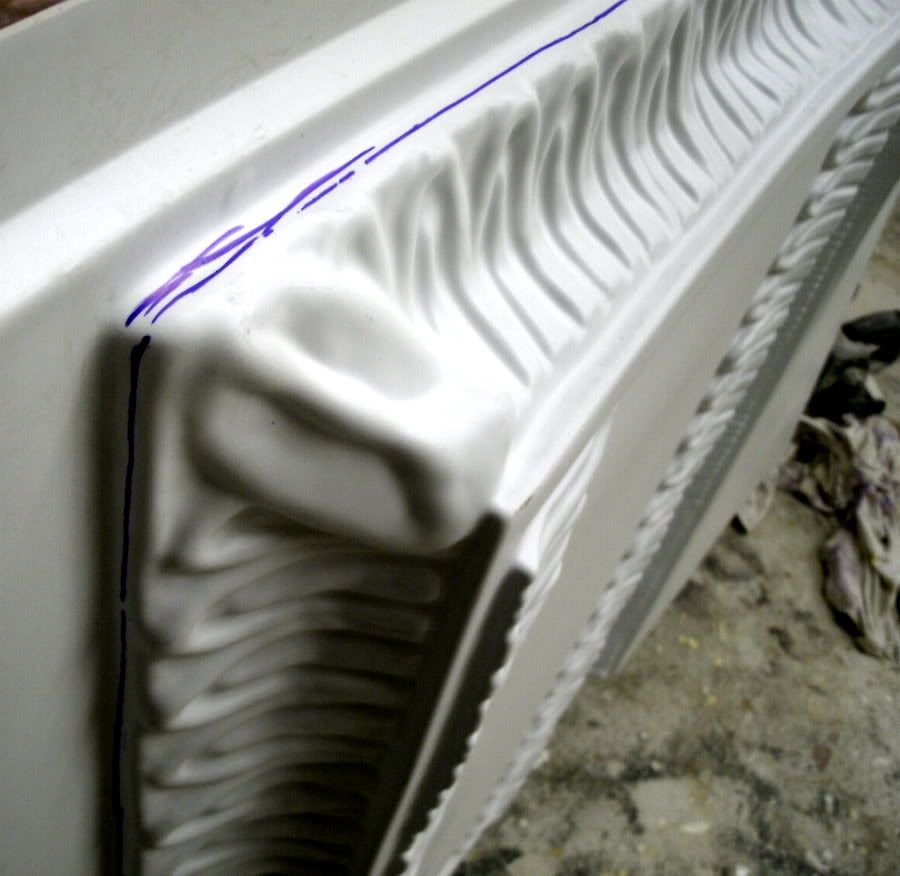
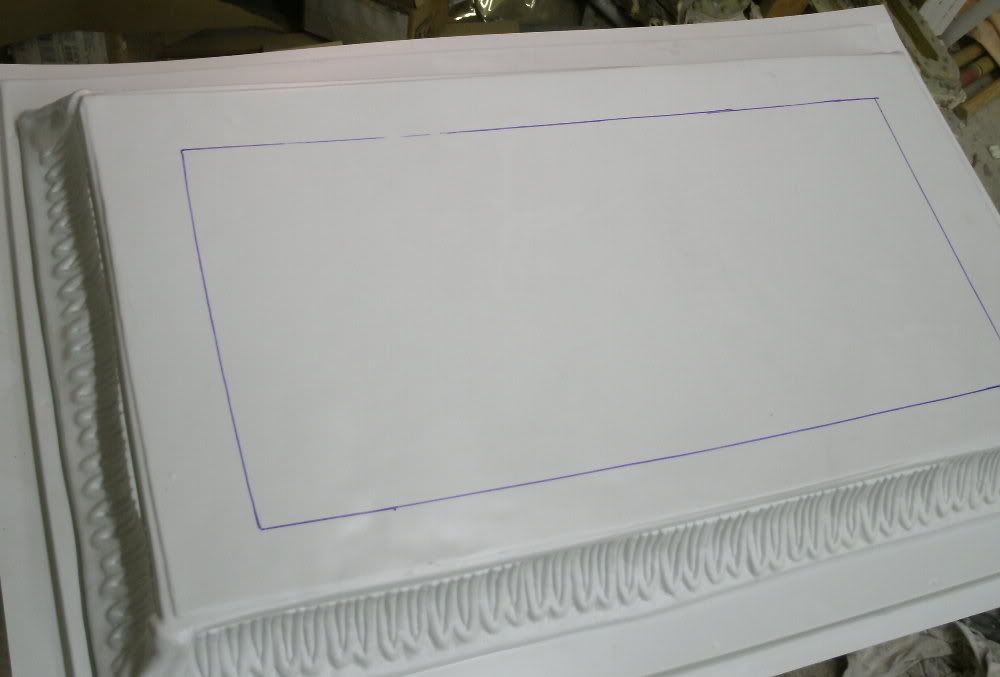
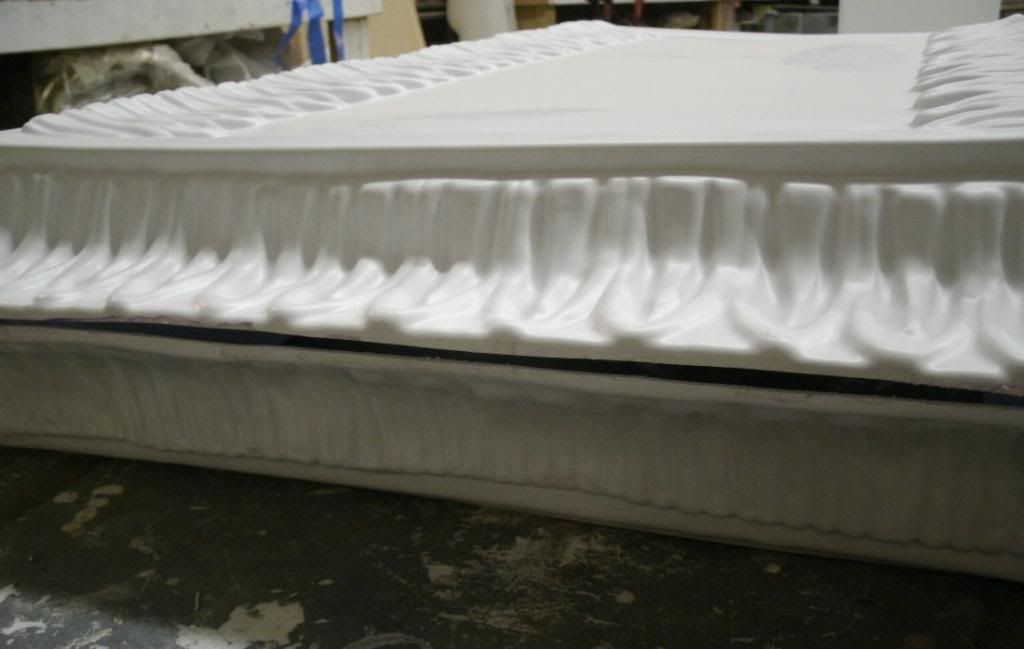
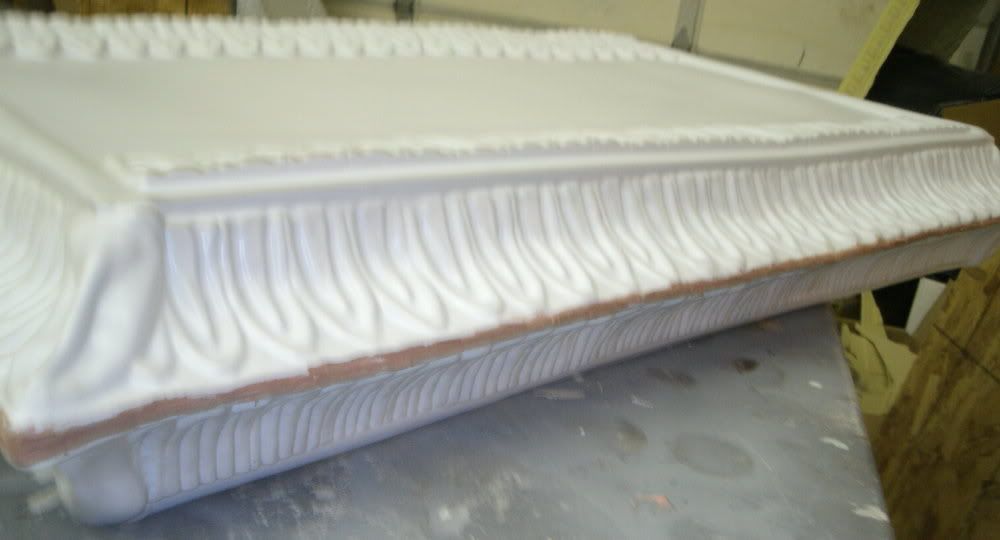
You'll need to plan out your trimming before hand and draw the lines in place before you start. The lid edges need to be very shallow like this:
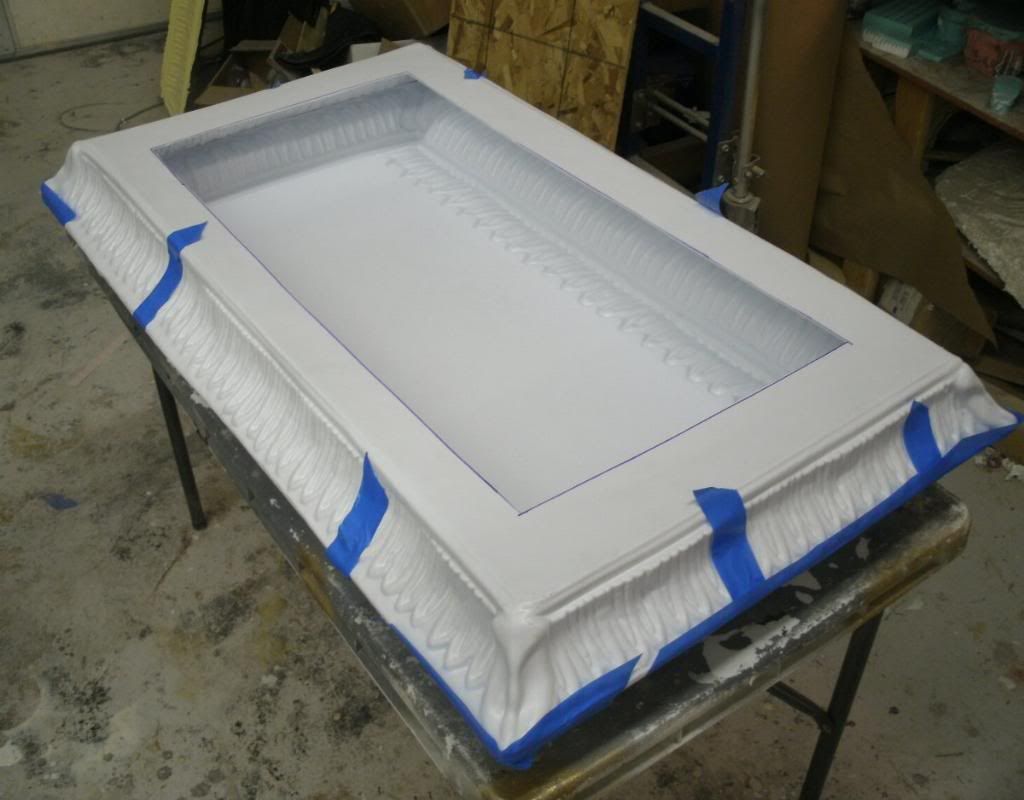
The BOTTOM lid will need to have a window cut free to allow access to the interior during assembly.
Be sure to trim those edges VERY shallow! You can do this with a dremel, and then flatten the edges on a belt sander.
Lay the halves on top of eachother and tack them down. Use CA glue and spray kicker to accomplish this. This is VERY TRICKY and time consuming but once you get one of the long edges tacked down the other edges will follow easier.
Once the edges are lined up and tacked down with glue, apply bondo to the interior of the entire edge line. This looks like this:
Now you can do some cosmetic gap filling on the edges exterior. Bondo works fine. Apply in seamlines, and sand.
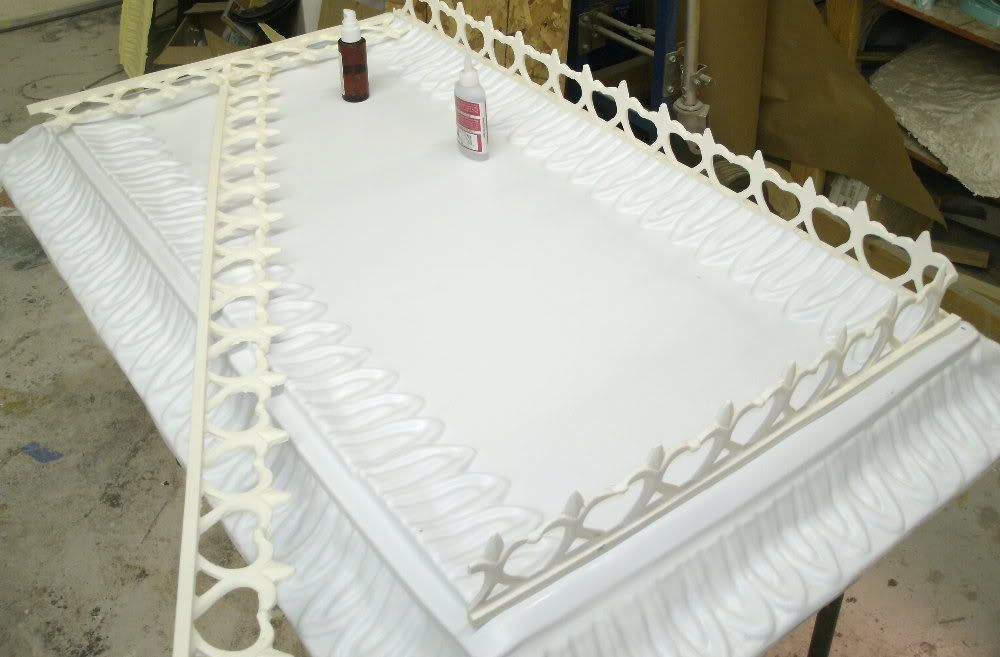
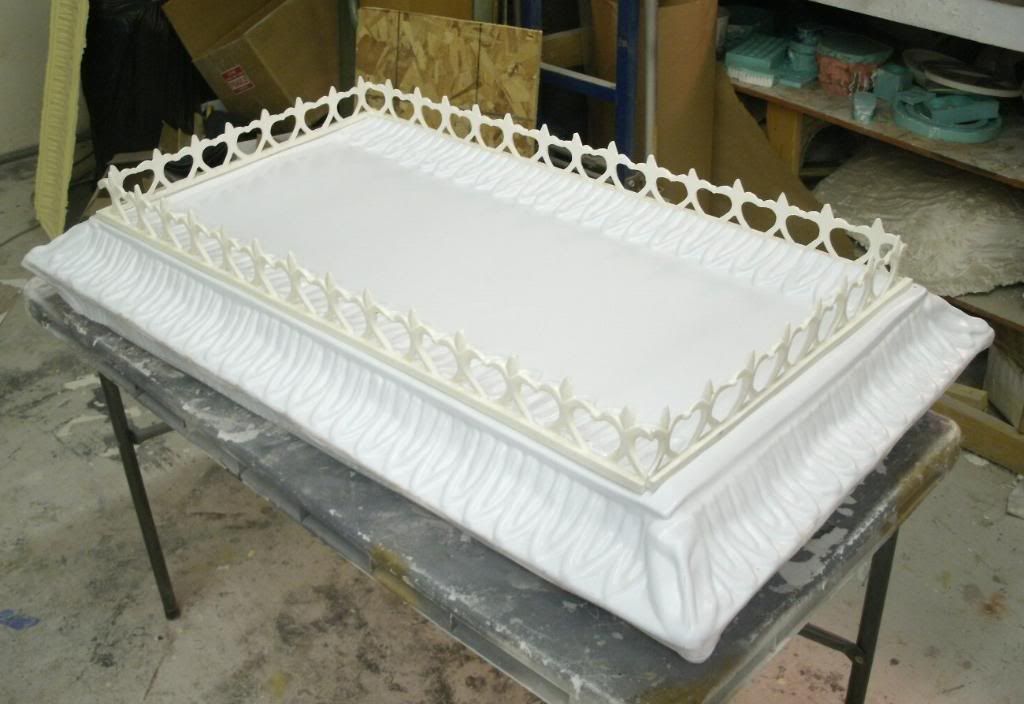
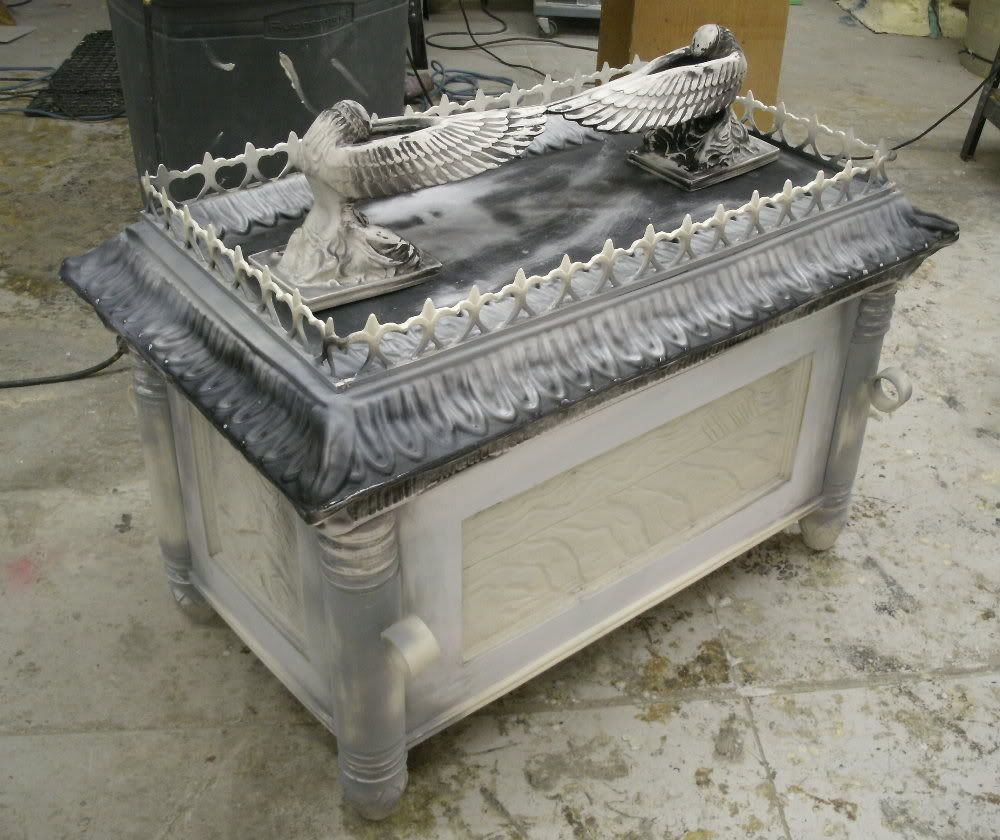
It's now time to install the gallery figures. Working with one rail at a time, use CA glue and spray kicker to lay them down in place. The corner figures will need measuring and adjustment. Any figures that overlap must be trimmed. Then glued so the meet at a strong joint. Use putty to fill any gaps.
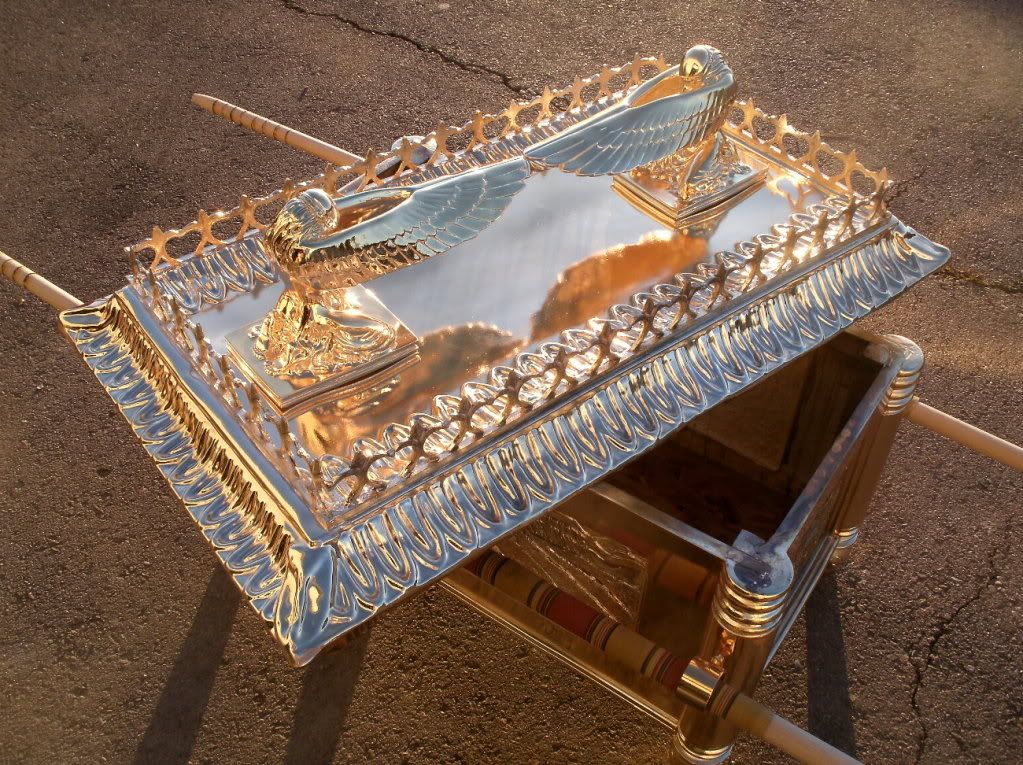
Primer, sand, primer again, polish and you'll have this:
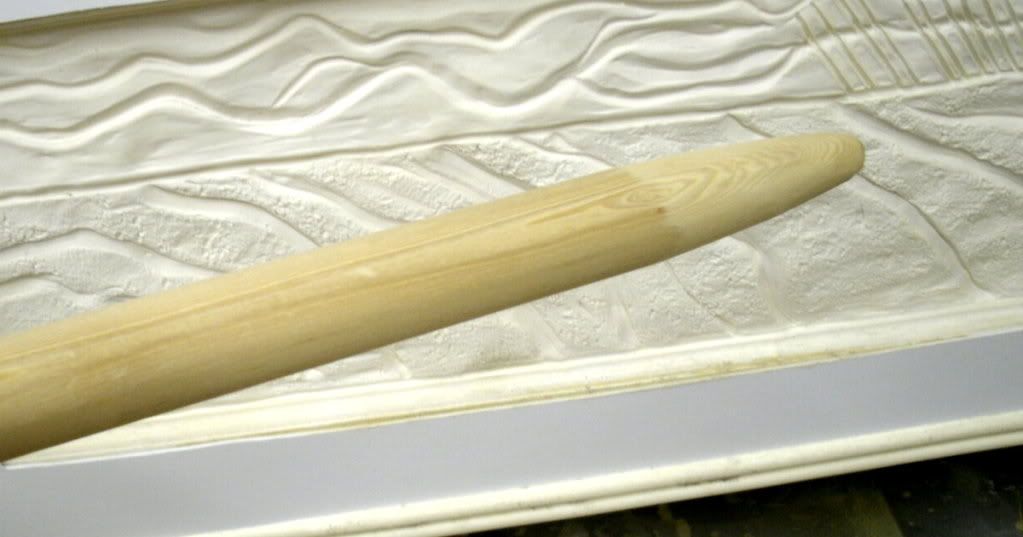
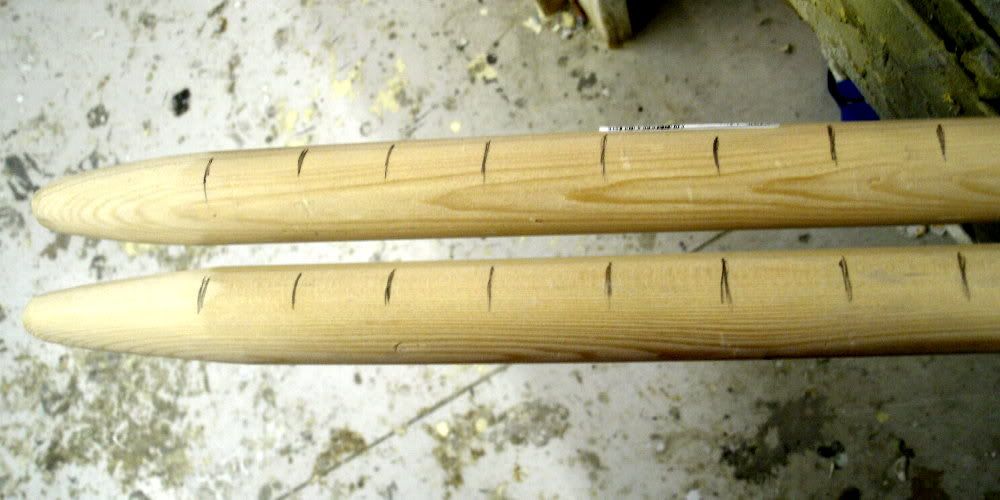
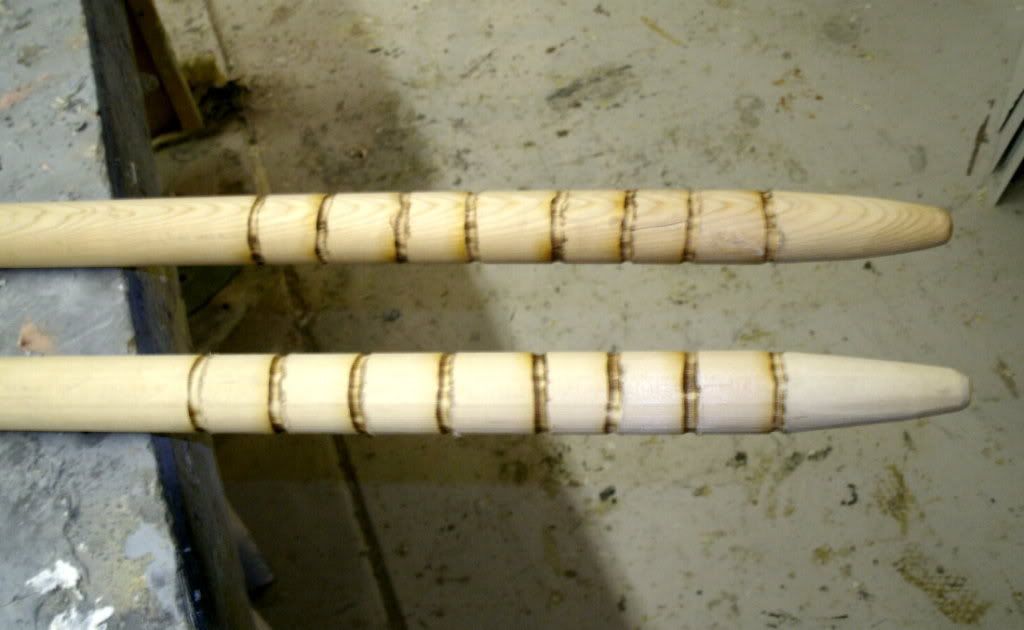
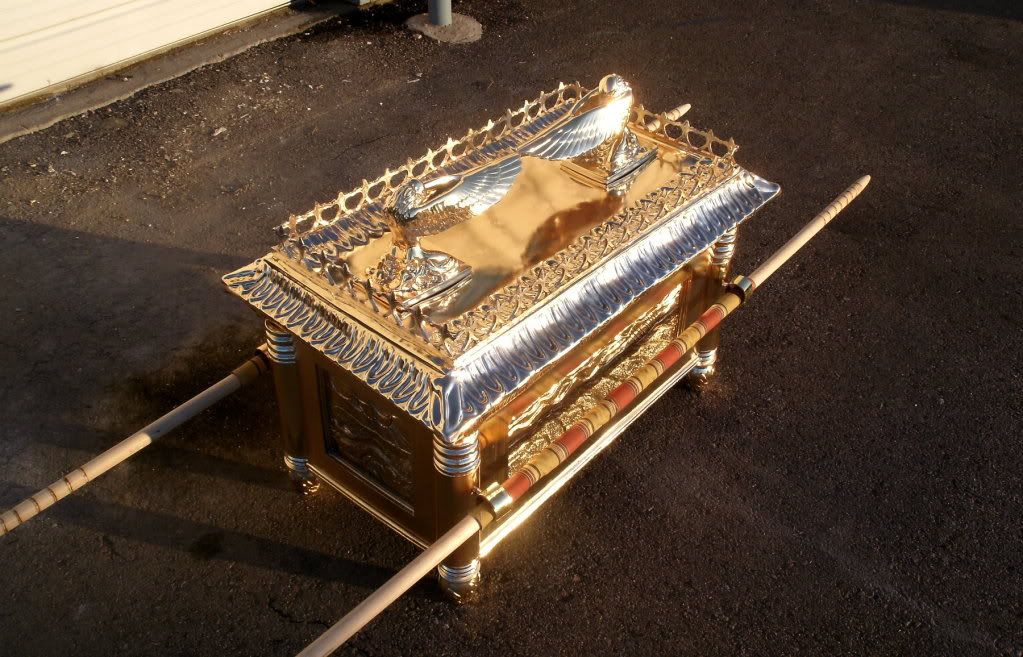
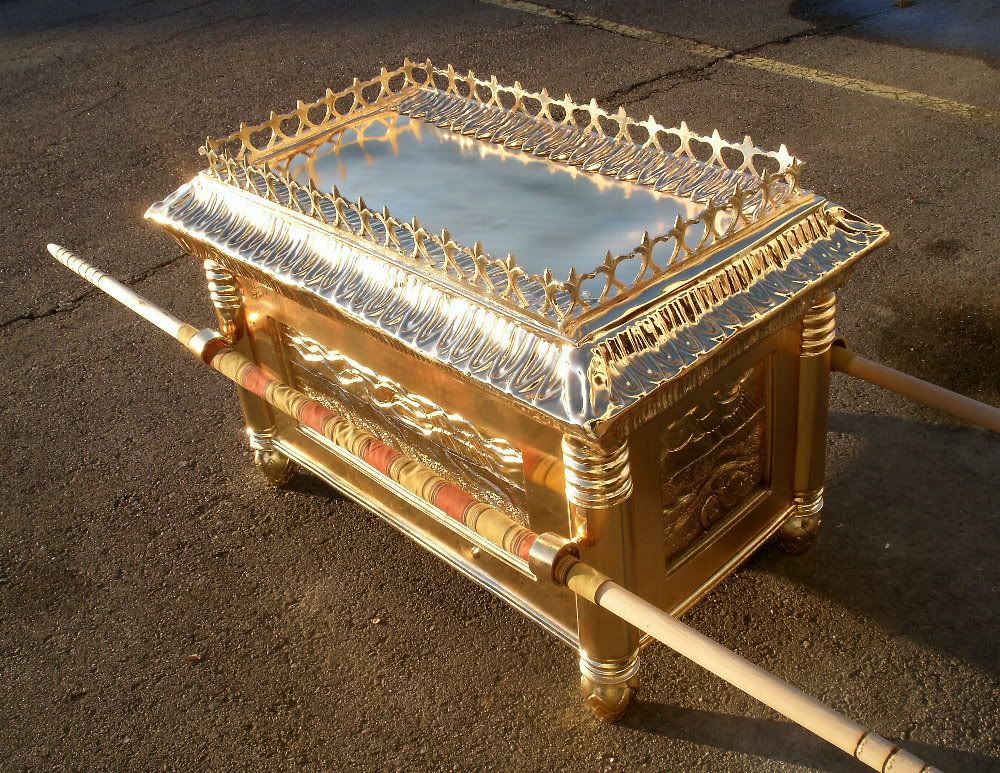
Okay, for your STAVE POLES, you'll want to head to Lowes or Home Depot and pick up 2 8 foot long wood posts (I think they're sold for bed posts).
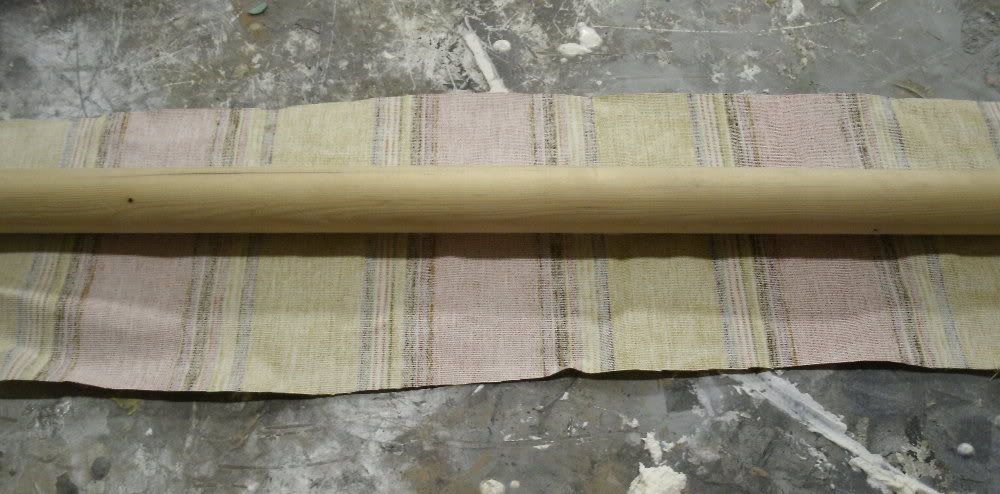
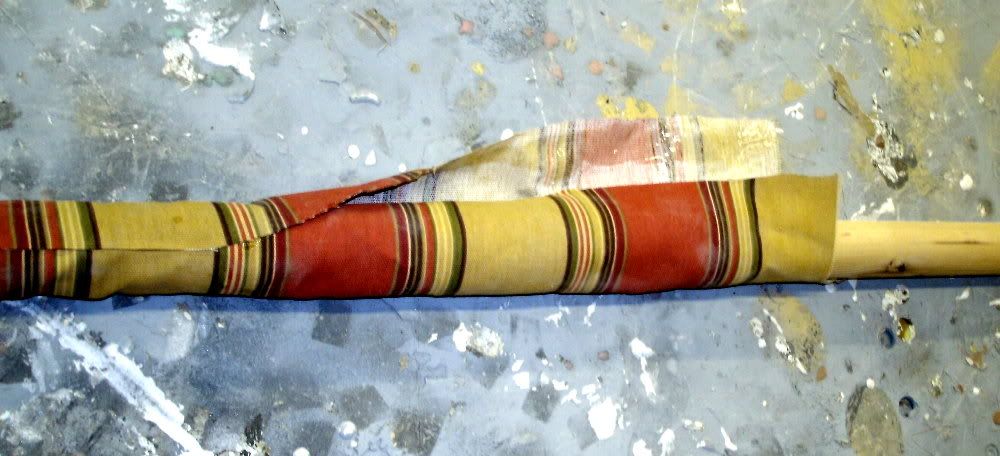
The Stave poles are wrapped in fabric in the middle to protect them against the stave rings. Do this by cutting an appropriate length of material lenthwise, and enough to wrap the diameter of the post 1 1/2 times.
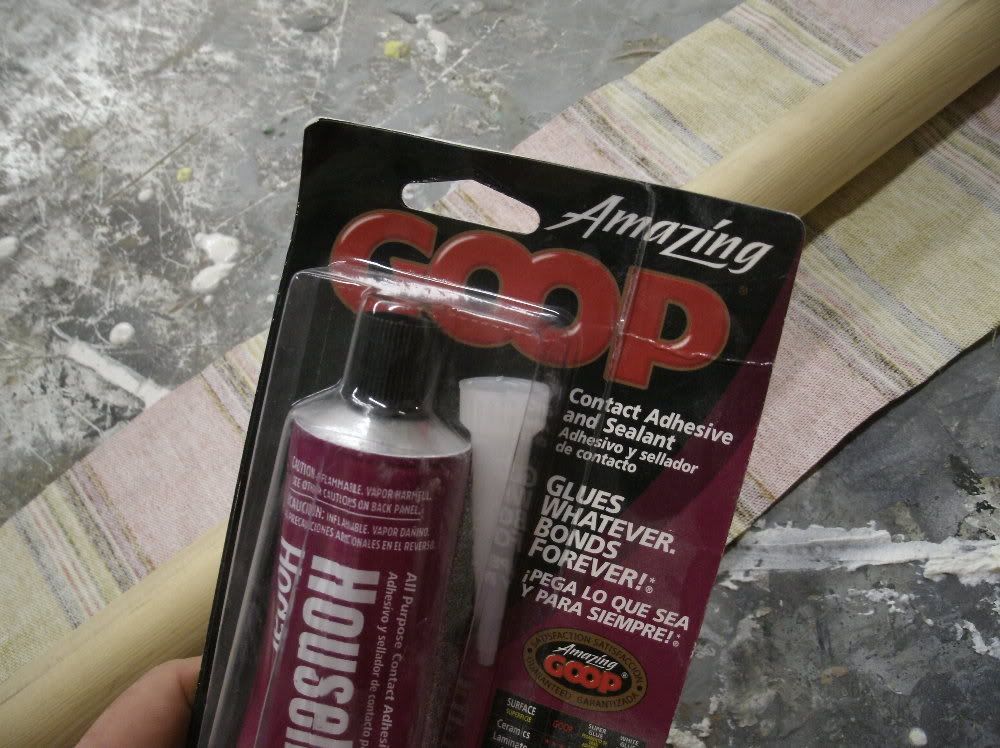
Rubber cement, or "GOOP" is the best material I've found for creating an instant tack for this step. Run a bead along the long edge and then wrap it.
When you wrap the fabric, be sure it does not bond to the actual pole itself. You want adhered to itself only, and able to move freely (like a sock.).
'
There are a few different options for finishing your ark:
-
Gold PAINTING
-
Gold GUILDING
-
Gold PLATING **
Before you do any of these steps, you'll want to prep the surface. Use an air compressor to remove any dust and residual debris from all the surfaces. Then use a de-greaser to clean the surface of any hand oils. Wear rubber gloves to prevent your skin oils from transferring to the substrate.
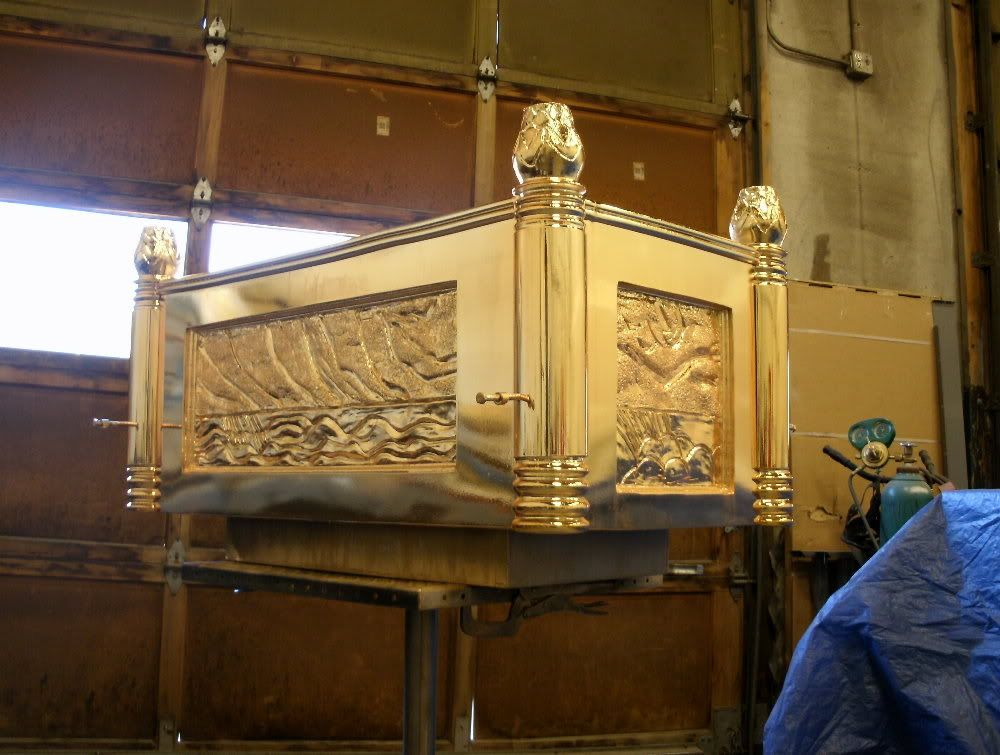
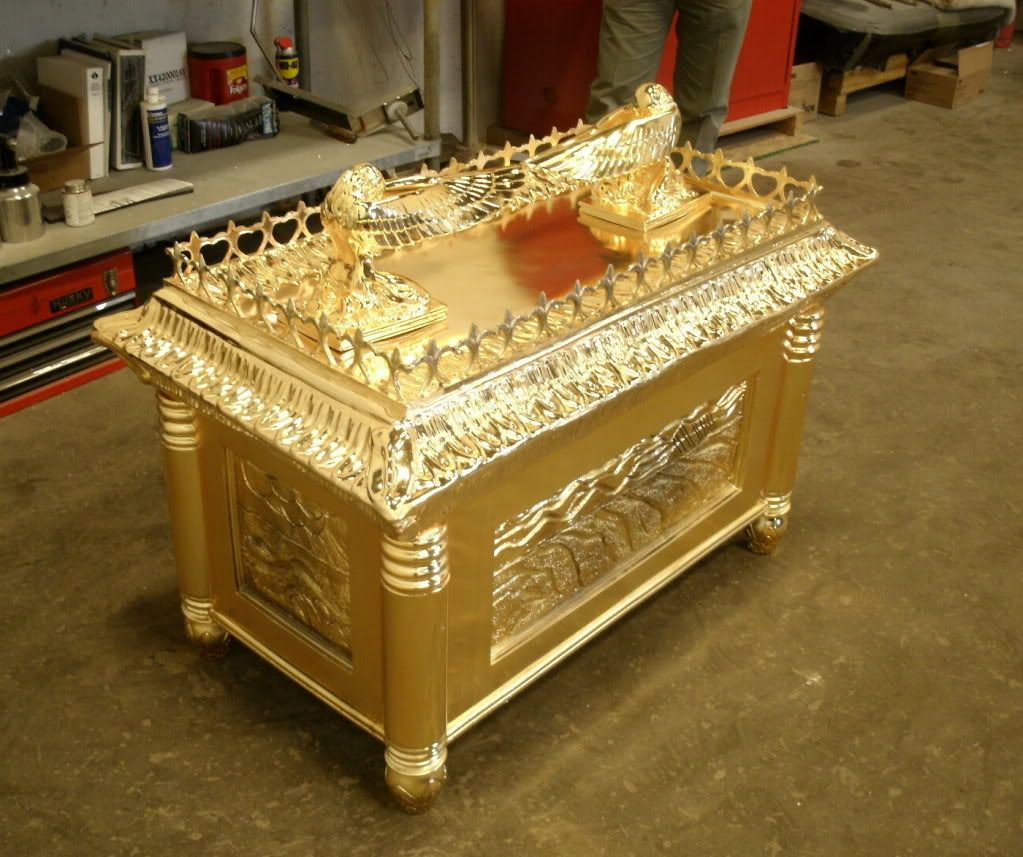
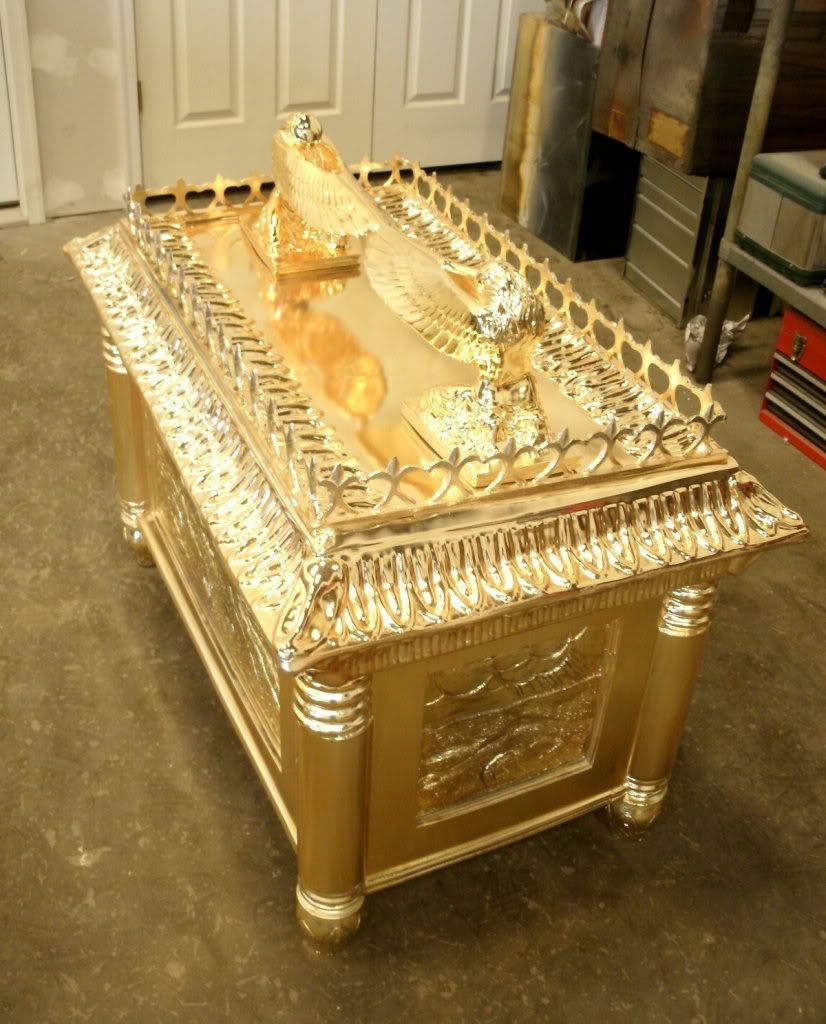
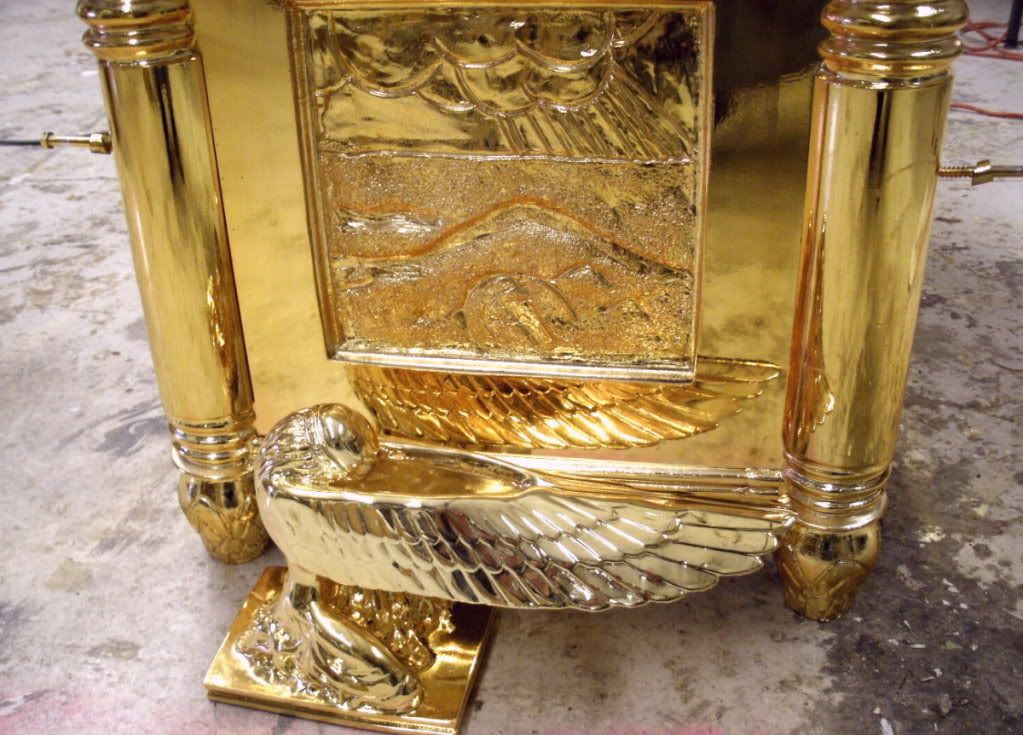
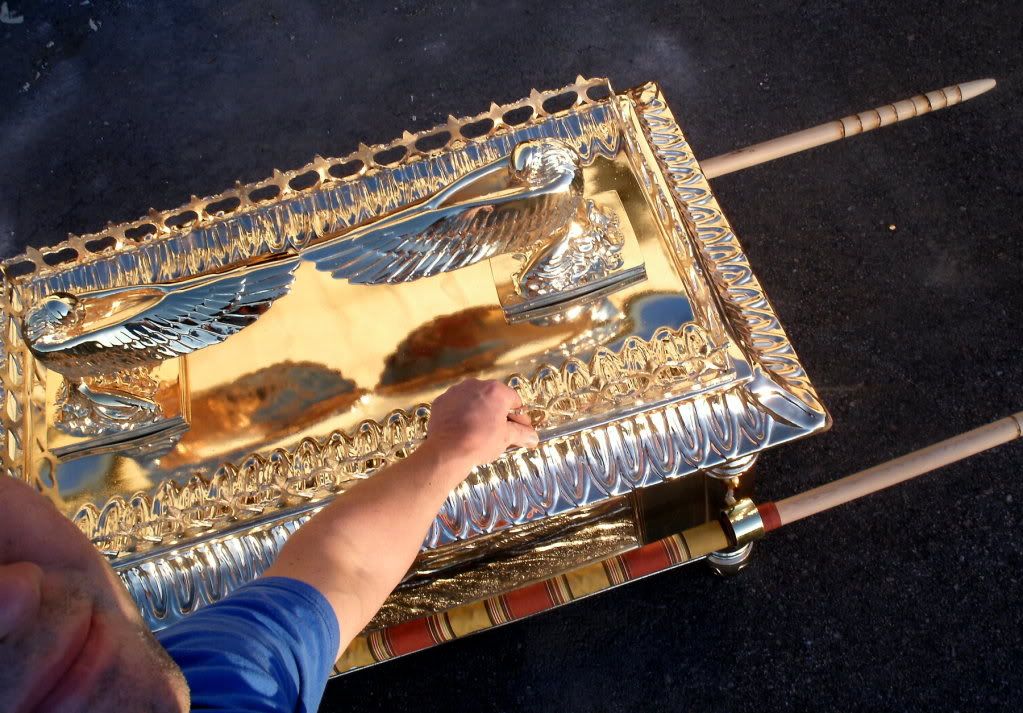
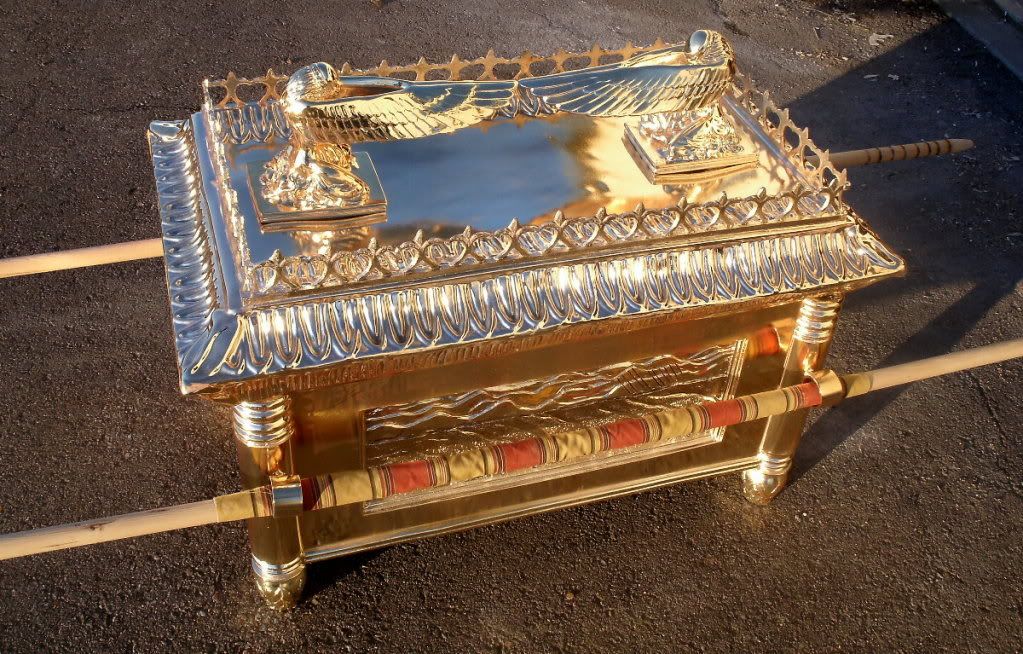
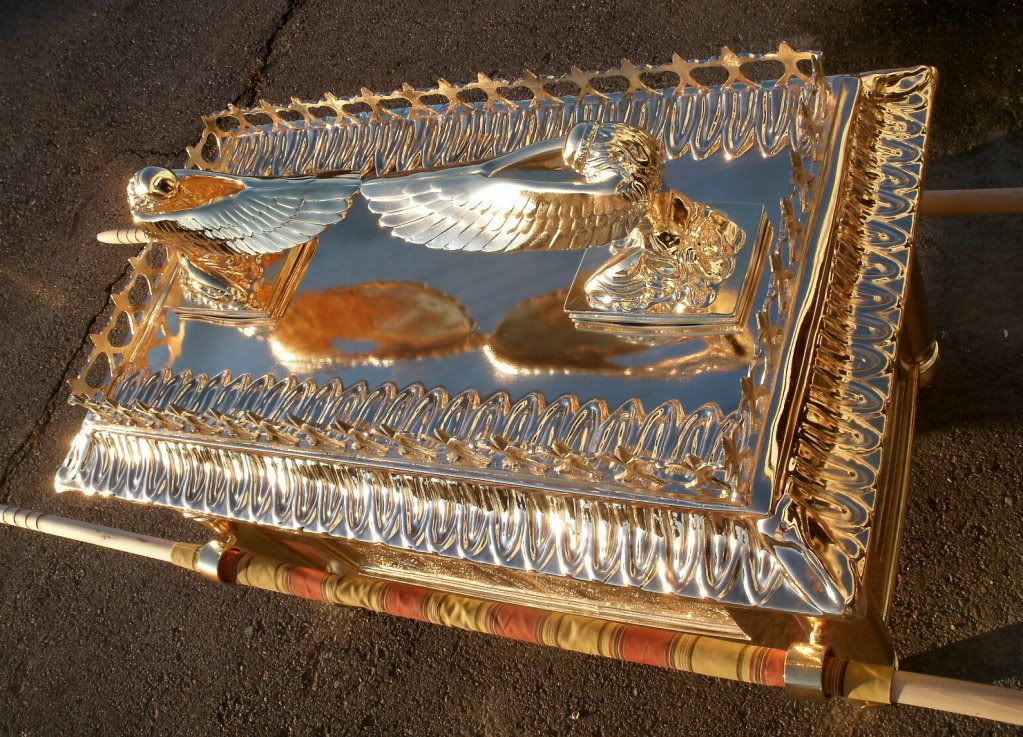
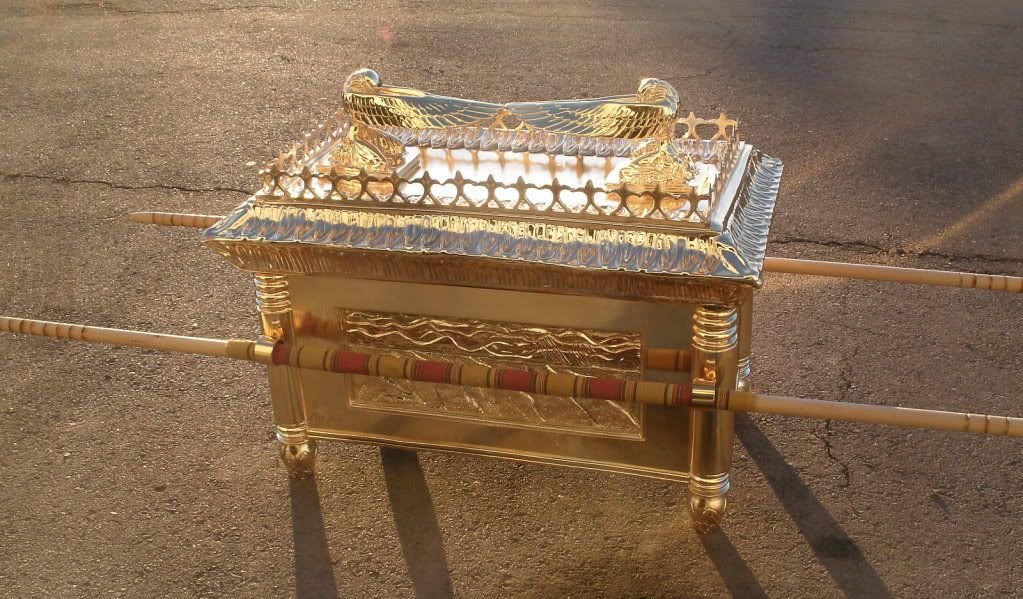
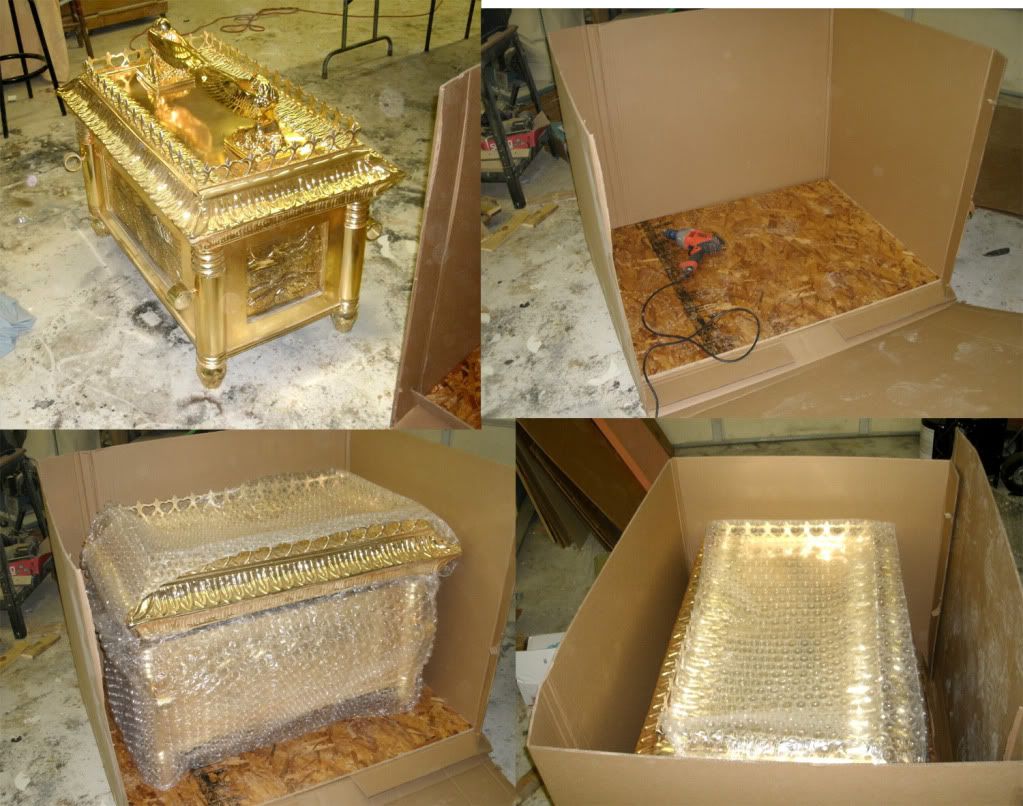
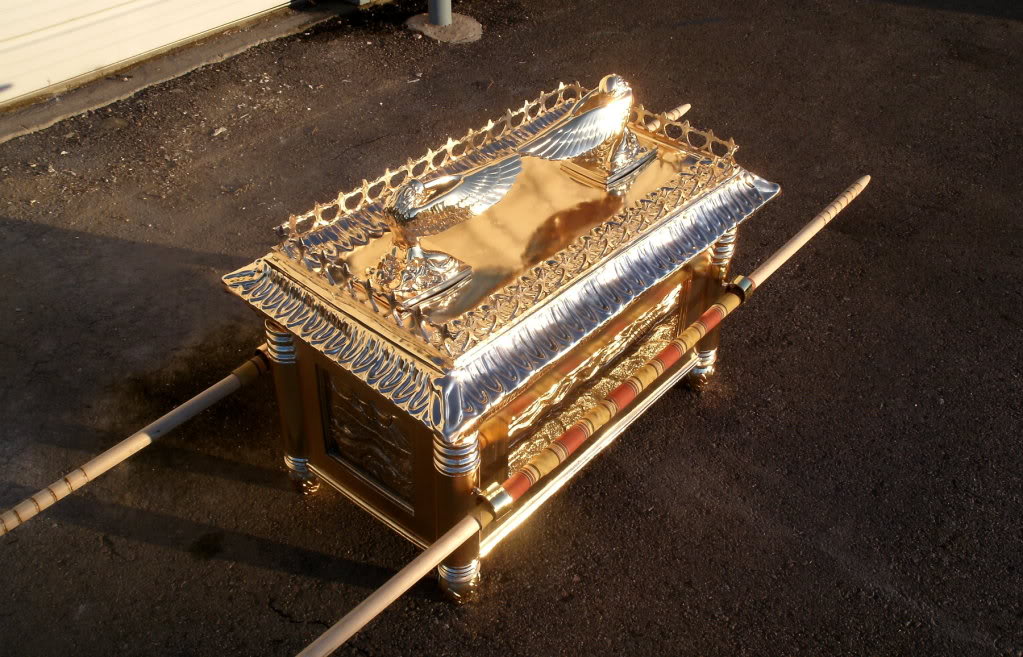
The ABSOLUTE BEST method for surfacing the Ark is GOLD PLATING. Here is a plated surface:
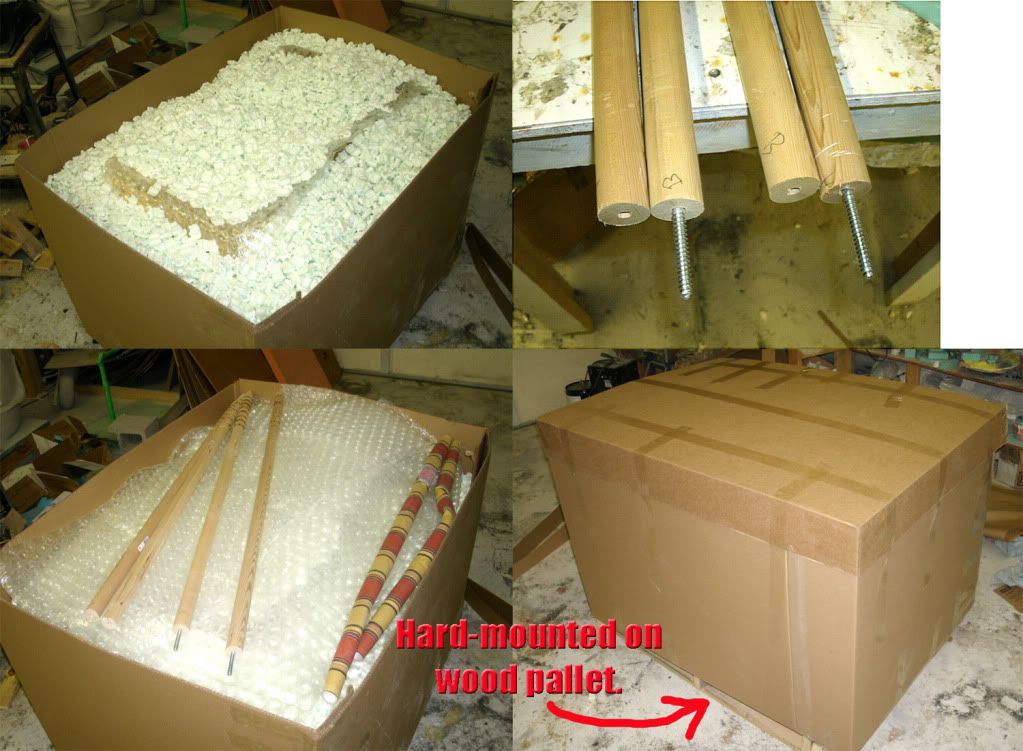
The following photos show how this finished Ark was packed up. I purchased a freight carton and measured and cut a plywood baseboard that allowed ample room on all sides for the ark trunk and mercy seat. The freight carton was squared on a shipping palet and the baseboard was anchored (with 1.5" screws) directly through the carton onto the palet. The angels polished and carefully wrapped in copious amounts of bubblewrap, boxed, and placed inside the trunk . Then the trunk and lids were individually wrapped in bubble wrap, placed inside the carton, and the carton sealed back up.
Once the corner was thoroughly sealed, the entire box is filled with packing peanuts. The peanuts are packed VERY tightly ensuring zero movement during travel. The staves and fabric is placed atop the package and the lid taped securely in place.
The box is light enough for two people to lift it by grabbing the palet underneath.
EMAIL IMPERVIUM@HOTMAIL.COM if you're interested in starting with kit parts.

